
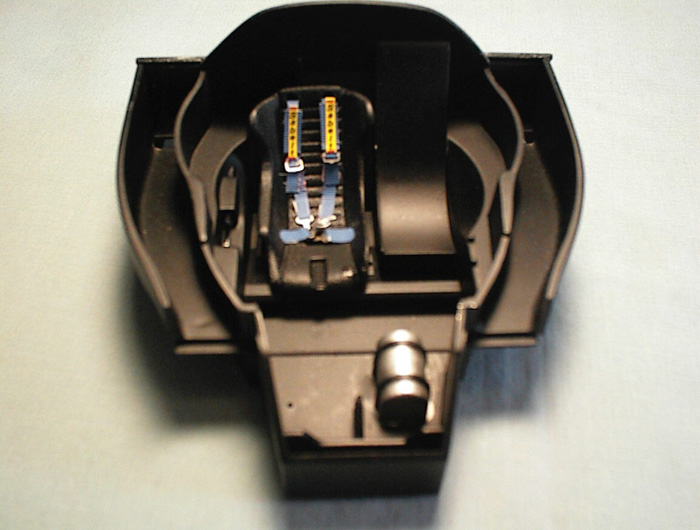
 The kit instructions are essentially an exploded view diagram of the kit with 14 general steps. The kit starts by constructing the interior tub. The tub detail is kind of sparse and consists of a one piece tub assembly onto which a seat, gear lever, and battery are added. The kit contains no seatbelts or even seatbelt decals. Even though I had decided to build the kit box stock, because I wanted to work on the painting and masking and there was no engine detail, I still could not overlook the lack of seatbelts. So much for box stock. I added a set of belts from a Modelers 1/24th scale seatbelt hardware set. The tub contained a rather crude molded in fire extinguisher that gave me problems. The kit instructions called for the extinguisher to be painted silver with black straps. The location of the extinguisher was so close to the tub walls that I had a difficult time masking it up completely with no bleed through. In hindsight I spent too much time remasking and painting the extinguisher when in the end it can't even be seen.
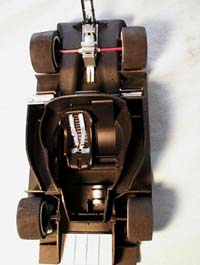 The next step has one assemble the tub to the chassis pan, add the front radiator and the front suspension arms. The suspension arms are crude and don't accurately represent the front suspension at all.
 Construction continues to build the transmission and rear axle, which is the extent of the 'engine' detail, and can only be seen from underneath.
 I then prepared the wheels. This represented some difficulty as the wheels needed to have a chrome outer wheel with a grey inner wheel. The wheels were molded as one piece in white plastic. I spent a lot of time masking up the outer wheel with a lot of small thin pieces of Tamiya tape and painting with gray 'exhaust' metalizer. I let that dry thoroughly and remasked the gray area and painted the outer wheel with a very nice Krylon 'chrome' paint I found that I was very impressed with. After removeing the mask there was some clean up and touch up required. The wheels had a lot of nooks and I did get a little seeping, but nothing that couldn't be overcome. Then there was some individual rivet detail that I had to hand paint. It took a while but in the end I was happy with the final product.
 I first prepped the body, filling in the seems with putty created when the front air ducts are assembled. The prepping wasn't easy because the duct seems went pretty deep into the front nose and were hard to get at. Other than that the molds were crisp and sharp with no sink marks to deal with as it was a curbside and the body would never be off to expose the underside. Laying down the primer helped expose seems that appeared filled. Patience was the key here as good preparation will help overcome problems later.
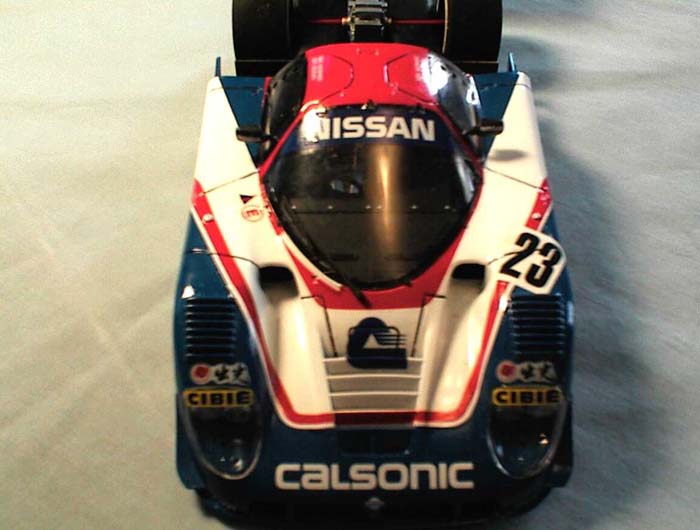 This proved invaluable because in laying down the mask on the front body section I wasn't completely satisfied all the time and several times I needed to cut another mask up until I was happy the mask layed down correctly with no creases or seep areas.
 I painted the white color after the darker blue which generally goes against the rule of thumb, which is light colors first. I use a PPG automotive paint for my pure white and I find that it covers so well in nice thin coats that I don't really need to follow the rule of thumb. The automotive PPG white requires a clear so after painting the colors I used a 1500 grit sandpaper to gently smooth out the paint demarcation line before laying down a clear coat.
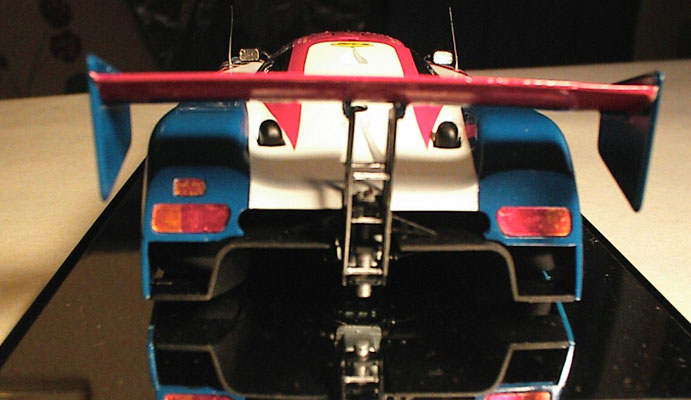 Next I painted the rear brake lights with Tamiya clear red and orange as well as the front turn signals clear orange. I also painted the headlight bases with the same chrome that I used for the wheels and then attached the headlights to the base with Testors 'clear cement and window maker', I also used this glue to attach the now painted brake and signal glass. I then attached the front headlight glass at this point. I now attach the wipers, rear side mirrors, and rear brake intakes painted flat black.
 At this point I fabricated some antennae out of heated, stretched sprue and attached the antennae to the body in the locations specified. By this point, eight weeks or so later, (OK so it took me a while) Tamiya had re-issued their four group C LeMans kits. With their reissue came a plethora of aftermarket Photo-Etch detail parts. I couldn't help but use a set of exhaust body flanges to add a touch more detail to the kit. After all it was not longer a box stock build the moment I used some seat belt hardware. I used the photo etch from the Modelers set, basically because it was the cheapest and I had lost the opportunity to utilize a lot of the other items now offered with this set. All of these aftermarket set are really intended for the Tamiya offering as some of the PE items would never be seen on the Hasegawa version such as radiator grills, etc.
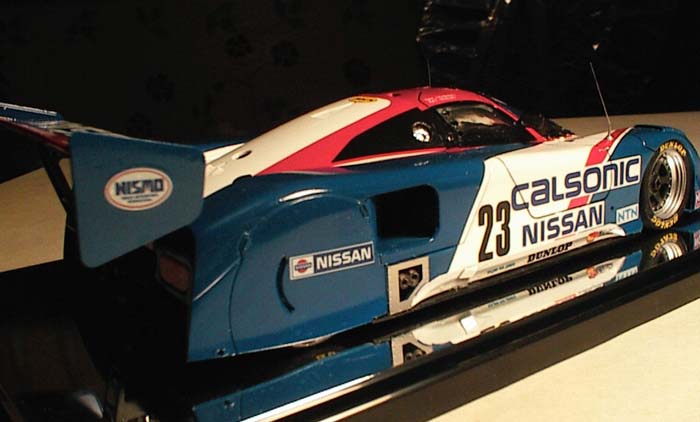 If you want to build several versions of this model with the different liveries you may not want to deal with the engine detail for every version. This kit then represents a curbside version that should be a good shelf companion to a full detail Tamiya build. Unfortunately, the kit is probably more difficult to obtain now than the reissue of the Tamiya version, which is now available just about everywhere. There is hope, however, Hasegawa has just announced the reissue of their Group C Mercedes Benz Sauber and Porsche 962 Advan kits. If these reissues sell well perhaps there is the chance of other reissues from Hasegawa such as this kit, and the Mercedes Benz AEG circuit liveried car.