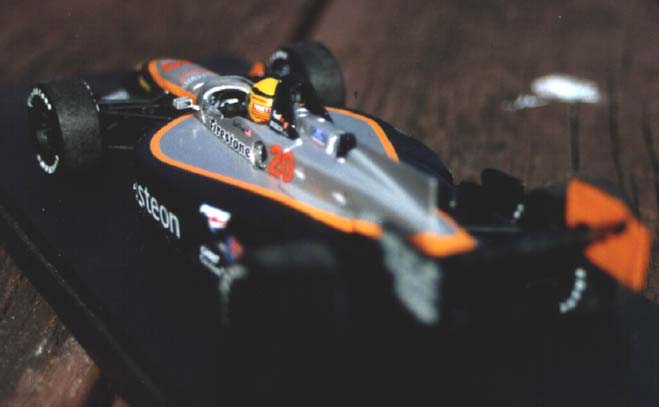
Revell 1/25 Patrick Racing's Visteon Reynard.
By Tony Paton

 As there is no engine detail, there were not many parts to this kit. The body was in three parts so I taped these together and sprayed that with Tamiya's gloss aluminium. As this was drying I started on the rear suspension. As this was basically all black, this was finished in minutes.
 While I waited for the body parts to dry over the next few days, I started on the driver's figure. It was the first time I had done one of these and it was very simple. The helmet decals were a bit tricky but with the use of Microsol, it went down ok. The body has the seatbelts molded in but you don't have to worry about painting these as they are provided in decal form. The end result is very impressive. The decals were then applied to the body. The orange outline decals also have black on them, so the masking does not have to be accurate. After a few days of drying, the body and wings were given a spray of Tester's glosscoat and left to dry. When dried, the body parts were separated with the decals between parts, cut with a knife beforehand. The rear suspension was connected to the lower chassis and work on the front could start. This didn't take very long.
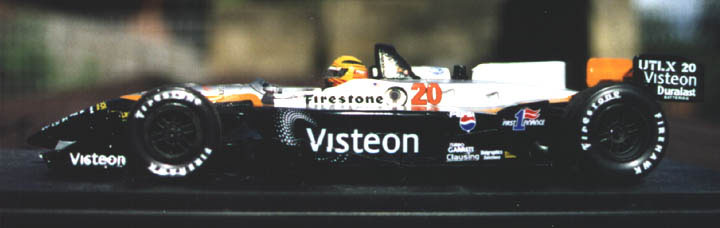 The inside of the vertical surfaces of both wings is finished in bright orange. I used Testor's bright orange but the paint was brighter than the decals. On the box it is bright but the decals are just normal orange. So I used Tamiya's orange and the match with the decals was perfect. Only problem was that the numbers were in bright orange where on the box all the orange on the car is the same.
 I enjoyed making this kit, especially after my horrid encounter with the Revell Porsche GT-1. It was easy and straightforward. The only trick is to attach the body parts beforehand and paint. This makes it easier as masking after completion would be a nightmare. The addition of a driver figure was also welcomed. More engine detail might have been better but as a stand-alone model, it looks great!