


 Classic
Airframes
Classic
Airframes
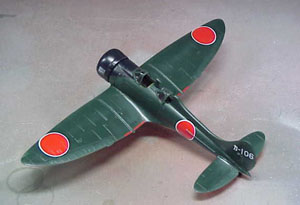
1/48 A5M4-K Claude
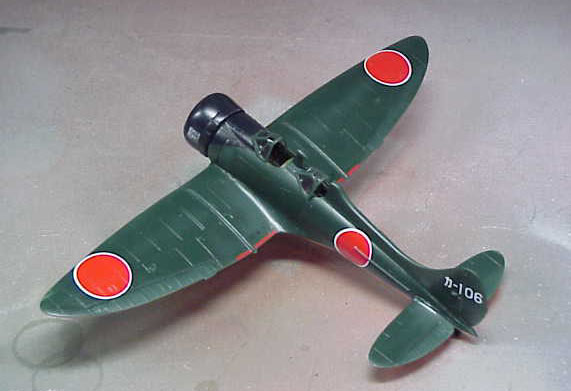
By Larry Horyna
History
Mitsubishi's A5M "Claude" was a significant development for Japanese
naval aviation being their first low wing monoplane fighter. The A5M-K
was the two seat trainer version of this aircraft which was designed by
the same team who later brought us the famed "Zero". Although esoteric
looking, the two seat Claude was produced in a somewhat significant number
(about 150 built). One probably does have to be a lover 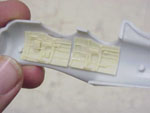 of
Japanese training aircraft in order to fully appreciate this airplane
but the training paint schemes are quite colorful.
of
Japanese training aircraft in order to fully appreciate this airplane
but the training paint schemes are quite colorful.
The Kit
This kit is what I would consider an average cottage industry injection
mould. Sometimes I call these glorified vacuforms because except for sanding
out the main components, they seem similar to build. There are no alignment
pins and you typically have to do some extra detailing or modifying to
get the result you want. The detail in this kit is very nice, as Classic
 Airframes
kits usually are. It's the fit and specific details that will require
a little extra attention in this kit.
Airframes
kits usually are. It's the fit and specific details that will require
a little extra attention in this kit.
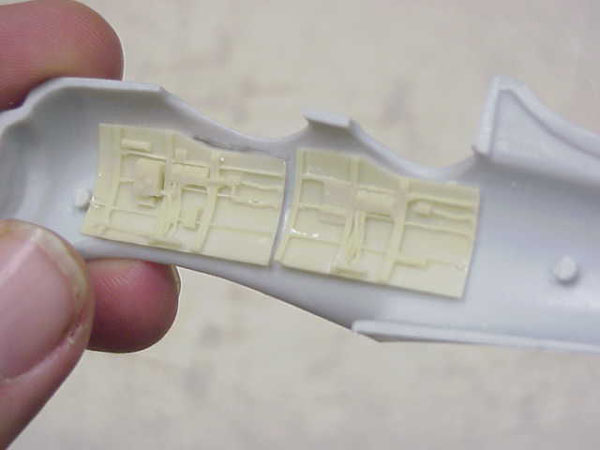
If I had any major problems with this kit it would have to be the cockpit interior. The resin detail is excellent, it just didn't even come close to fitting in the fuselage! Both seat bulkheads were the same size even though the fuselage tapers considerably. This means you will need to reshape the back seat bulkhead to fit, and I mean reshape! Even after much reshaping, my fuselage didn't want to fit together at all. Also, the kit seats are beautifully cast in resin with the holes for weight reduction in them. The problem is, if you look at them funny, they'll break!

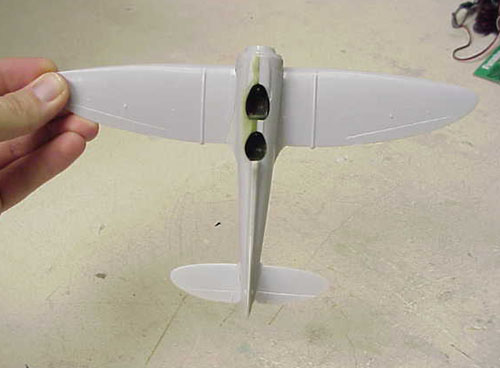
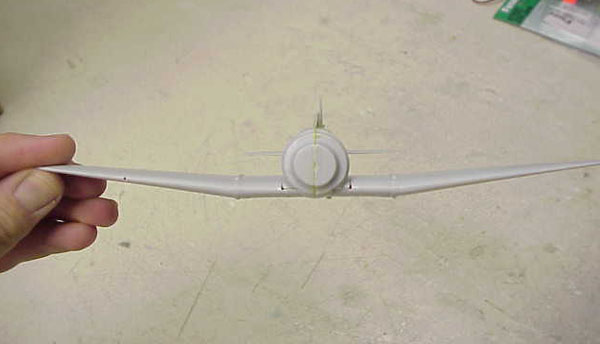
If you want a real trainer, you'll want to remove the machine gun butts from the front cockpit instrument panel. I wouldn't recommend following the kit instructions for assembly of the interior. If you follow the kit instructions, you will end up with a gap between the resin sidewalls and the fuselage interior walls. It would be easier to glue the resin sidewalls to the interior of the fuselage to ensure that they fit snug. The wings fit together reasonably well, they didn't fit to the fuselage as well, but it didn't require too much filling. Getting the wings, horizontal stabilizer, vertical stabilizer and fuselage all lined up with dihedral, and other angles correct, was a bit of a chore. You really need to take your time lining the kit up. Again, there are no alignment pins on this kit.
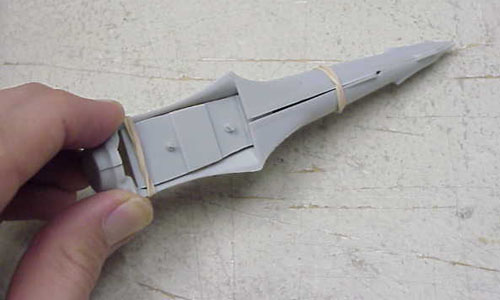
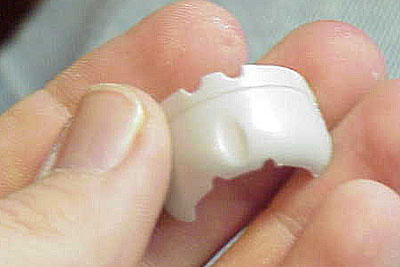
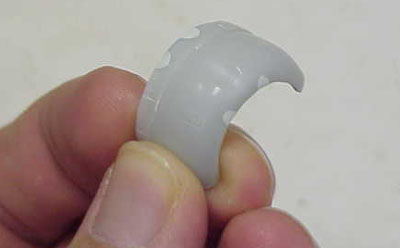
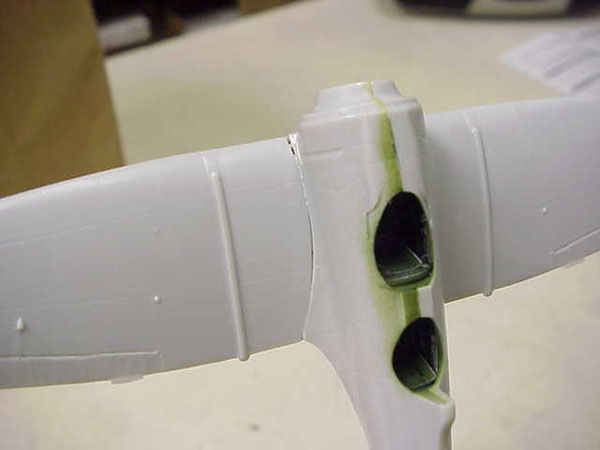
There are some other considerations if you are going to build a "true" trainer version of the Claude. Aside from giving you a fuselage with two holes in it and two seats and control sets, there are still things to modify to make this a trainer. As mentioned previously, you need to remove the gun butts from the cockpit. You also need to fill the shell ejector holes under the wings. The trainer version did not have an arrestor hook, so you need to remove the fairing for this under the fuselage. This will leave a good gap to fill. The biggest modification will be the cowling. It has cutouts in the front for the guns and cutouts in the cowl flaps for the same reason. These need to be filled and shaped to match the contours of the cowl. I used Tamiya epoxy putty, which made it pretty easy to do, especially the sanding part. The trainer also had some strakes on the rear fuselage and the instructions give you templates to make these.
One other thing to look for in this type of injection molding is panel lines and more often the scribed line where the flaps, elevators and ailerons are "hinged" there are "raised" line sections. I call them panel line goobers (one of my favorite technical terms) and they are a real pain to sand off and rescribe. My kit had about five good ones on it, the biggest ones being between the ailerons. If I make this kit sound bad, I'm really not trying to! As I said before, for limited run injection molding, this is a pretty good model. The quality can always be tempered by just how much you want the subject. I love Japanese WWII airplanes and am more than willing to deal with some of the kit's shortcomings.
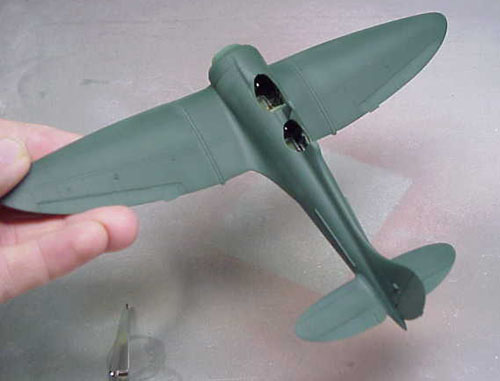
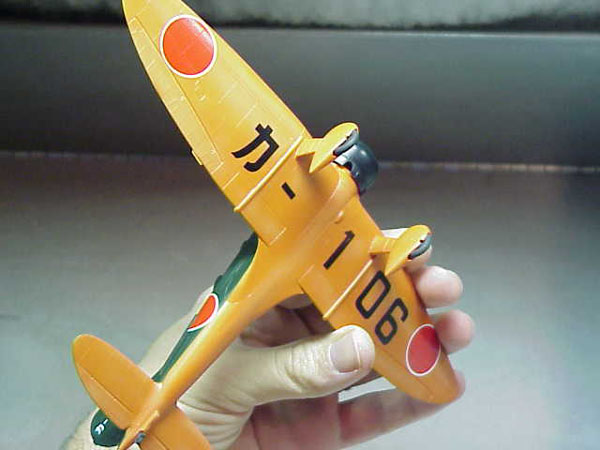
I painted the model with Polly Scale and Aeromaster acrylics. I found that Polly Scale Railroad Utility Orange makes a great match for the Japanese trainer orange. As per usual for me, I gloss coated the model with future floor wax, this after highlighting each color with a whitened down version of the base color. Then an oil wash followed by Polly Scale flat. The windscreens were a bit hairy, especially the rear one with a huge cutout to accommodate the "rollbar". One other slightly tricky note, the engine, which is beautifully detailed, takes a bit of work to fit in the cowling. Again, I wouldn't follow the kit instructions and put the engine in as you glue the cowl together. I put the cowl together first, painted it, and then mounted the engine to the firewall. I then slid the cowl over the engine. This will take a bit of adjusting on the cylinder heads but you will need to do this anyway, because the engine is a little too big to fit in the cowl.

All in all, this is a pretty good model. It does require some extra work but you should expect that from this type of molding. Even if you are not an affectionado of Japanese trainer aircraft, this kit makes a unique addition to any WWII era collection. My thanks to Classic Airframes for this review sample!


Previous: Contents

