 Silver
Banana:
Silver
Banana:
Building Italeri's 1/72 H-21
By Will Riepl
History
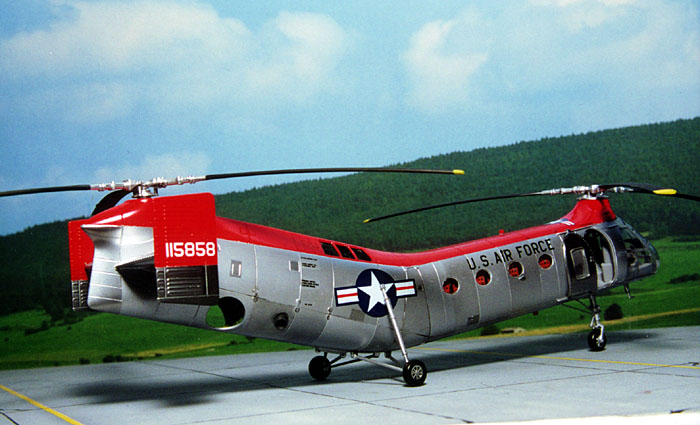
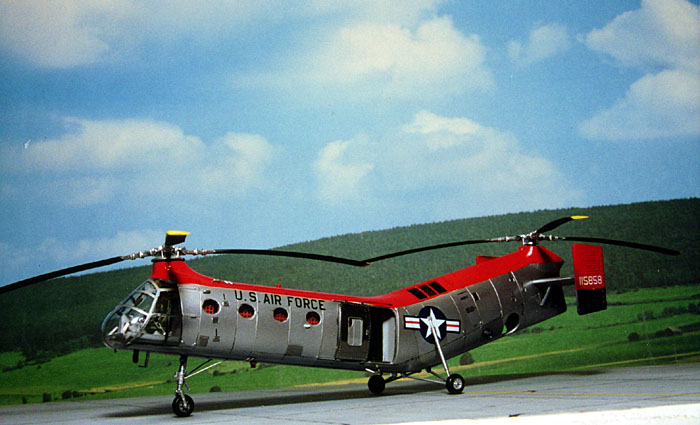
The Piasecki (now Boeing-Vertol) H-21 Shawnee was the fourth of a line of tandem rotor helicopters designed by Piasecki. The H-21, commonly called the "flying banana", was a multi-mission helicopter, utilizing wheels, skis, or floats, and an under-fuselage sling hook. It was used by the USAF for Arctic rescue because it performed so well at low temperatures.
The CH-21A/CH-21B also served with the French Navy, the Royal Canadian Air Force and the West German Air Force. The French used an armed version of the CH-21 in Algeria, mounting guns in the door ways and on the skids. The Army CH-21C assault helicopter could carry 20 fully-equipped troops, or 12 stretchers, plus space for two medical attendants, in the MedEvac role and was deployed to Vietnam in December 1961 in support of ARVN (Army Vietnam) troops.
The CH-21B/CH-21C Shawnee could be armed with 7.62mm or 12.7mm door guns. It's cables and fuel lines were so vulnerable to small arms fire it was even rumored that a CH-21C had been downed by a Viet Cong spear. The Shawnee was the "Workhorse" of Vietnam until 1964 when it was replaced with the fielding of the UH-1 Huey in 1963, and the fielding of the CH-47A Chinook in the early 1960s.
 The
Kit
The
Kit

Italeri has been putting out some beautiful helicopter kits and this one is no exception. The parts are beautifully molded and the detailing is superb, making it a nice kit to build up. The first step with this kit is to put the interior together, and this is very straightforward. I painted the insides of the fuselage halves gray along with the cockpit and cabin floor. I decided to just do this one out of the box so I didn't add anything to the interior, letting the kit parts stand. Seats and webbing were painted orange and I detailed the cockpit with black and dark gray.
Once the crew areas were done I focused on the rear part of the fuselage. Italeri includes a piece of mesh for the top of the helicopter and after painting the section zinc green I glued it in place. The engine received some metal treatment, with varying shades of burnt metal on the exhausts and dark metal on the fuselage interior.
 Putting
everything together once the interior's finished is very straightforward.
The fuselage halves went together well, although one thing I discovered
is that the panel lines didn't match up on the top and bottom. After gluing
the halves together I rescribed these. The only filler needed was for
a couple sinkholes and that was it, my H-21 was ready for some paint.
Putting
everything together once the interior's finished is very straightforward.
The fuselage halves went together well, although one thing I discovered
is that the panel lines didn't match up on the top and bottom. After gluing
the halves together I rescribed these. The only filler needed was for
a couple sinkholes and that was it, my H-21 was ready for some paint.
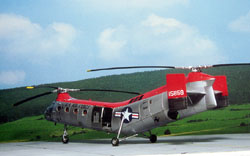
It took me a while to figure out how I wanted to paint my H-21. Initially I wanted to do a German one, but then I saw a color photo of an Arctic USAF one, with its natural metal and red. That was the one for me. The first step was to mask off all the clear parts, which are plenty on this thing. I laid thin strips of Tamiya masking tape along the edges of the frames, then filled in the middle with larger pieces. For the round cabin windows, I laid a piece of tape down and carefully cut around the window. Then I put down a coat of white paint overall. This served as my base coat for the red, which went on next. I masked the white off and painted the red top, then reversed that and masked off the red. I now had a nice white fuselage for the metal finish.

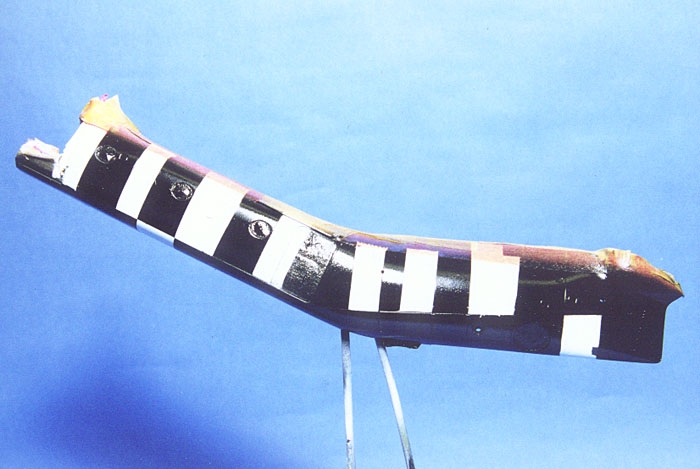
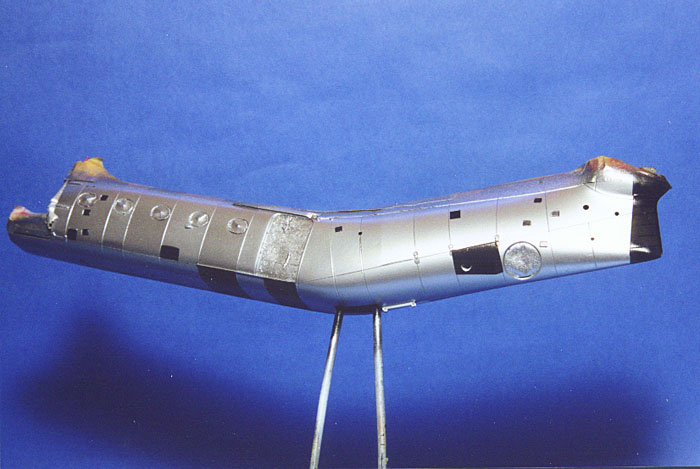
I wanted to have a subtle panel effect in the natural metal on this helicopter, so I masked off some of the panels along the fuselage sides and laid down some gloss black paint. Once that was dry I sprayed on some Floquil Old-Time Silver, using light coats until I had an even coverage. The differing undercoats resulted in a very realistic-looking metal finish, and the Old-Time Silver dried hard and could be handled easily.
Once I took the masking tape off of the red I knew I had a winner. I used the kit decals for the most part, although I had to scrounge up a star and bar for the under fuselage. The decals went on very nicely and quickly settled into the recessed panel lines. Once that was done, I stuck the gear on and built the rotors up. These were straightforward and Italeri does a great service in molding in the blade droop.
 Conclusion

This was a very fun project to do, both fast and colorful. With Italeri's line of helicopters growing I will probably pick up some others in the near future. While initially it may seem daunting to do a metal finish on this kit, by following my example the procedure actually becomes quite simple. I could have increased the amount of variation by using more than just black and white, so experiment around and see what works for you.
My thanks to Squadron for the review kit.


