 Academy
1/600 RMS Titanic
Academy
1/600 RMS Titanic
by Richard Eaton
Introduction
I recently got a chance to build the delightful Academy 1/600 release of the RMS Titanic reviewed in the July issue of Internet Modeler. The kit is very impressive both in its detail and method of assembly.
 |
 |
 |
 |
 |
 |
 |
 |
 |
 |
The kit is molded in white, black, tan, orange, clear, and brass-plated colors. The parts are molded in their representative colors from the actual ship. I was intrigued with the statement in the review "one could build a very attractive Titanic without any painting." I decided to paint details as directed but the major assemblies only got a coat of Dullcote. Sound crazy? Read on.
Building Titanic
The molding on this kit is extremely crisp, and there are a significant number of details provided in a kit of this scale. That means there are a huge number of parts to assemble. There is no flash, ejector pin marks, or any sink marks on visible surfaces. This is a great mold from Academy!
I went through the instructions and the very handy annotated topside color shot of the model and painted details while the parts were on the sprue. I used various grays for equipment and decking. Benches and railings were painted with the Testors Brown. I then masked the hull and sprayed the lower part Dark Red. The portholes were then drilled out in the white sidepieces using a pin vise and appropriately sized bits. That done I started assembly.
In step one I assembled the multitude of deck cranes and ships ladders. Here the directions have you string the rigging through pre-existing holes in the various decks. There are measurements given for each of the ships wires to be cut from the supplied black thread. I chose to skip this for now, as the threads would be in the way of further assembly. I also chose to rig the ship with invisible nylon thread for scale effect.
The next page of instructions calls for assembling the numerous parts on the fore-deck, after-deck, and mid-deck. I cut off parts as closely as possible with sprue cutters to cut down on clean up. There was still plenty of cleanup as this page alone assembles close to a hundred parts. The ship's walls and bulkheads are molded as separate pieces usually joined at the 90-degree angles. I usually assemble and detail ship models in separate assemblies. The engineering and directions build up assemblies beautifully. This is definitely my kind of kit.
At the third page of instructions I assembled the upper mid-deck walls and parts of the equipment. All ships ventilators are separate pieces that really add to the detail of the kit. The great domed skylights are molded in clear. I left those off at this point.
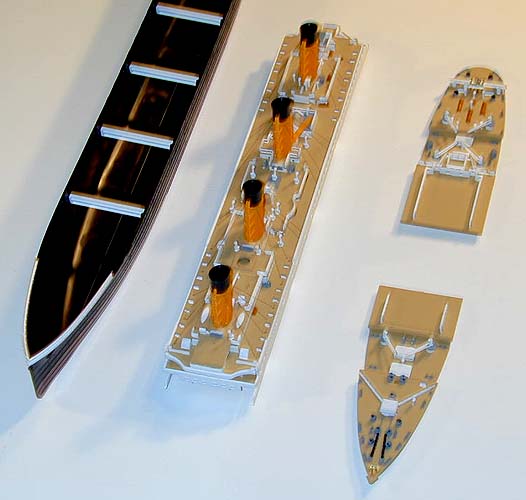
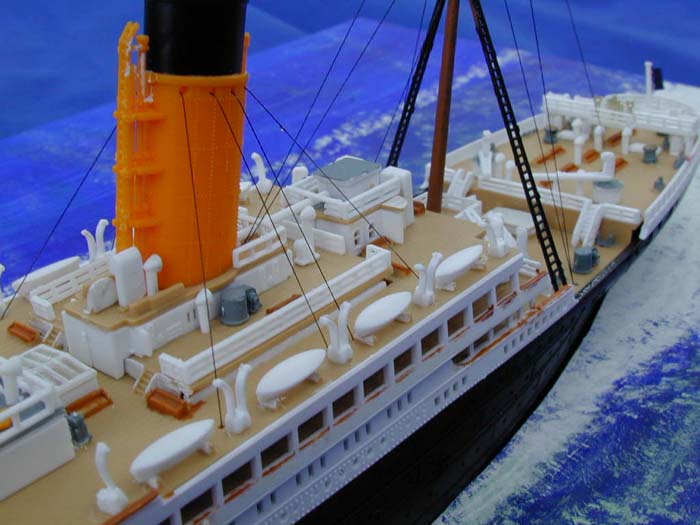
I assembled the four ship's stacks following directions on the fourth page. They are beautifully molded with rivet and steam pipe detail. There are subtle differences between the stacks so take care not to mix things up. All parts are molded in a nice light orange to peach colored styrene. I then assembled the rest of the top deck detail shown on pages five and six. Each block housing is assembled separately out of component walls decking and equipment. The window detail has to be seen to be appreciated.
And then I came to page seven and eight. Railings as far as the eye could see. The kit railings, while not as delicate as PE, were nicely molded with no flash. While some rails had molded in angles and curves the majority did not. Individual pieces of railings are assembled joined at the right angles and then applied to the decks. This is really not difficult but do take patience.
I then rigged the smoke stack support wiring following the page nine directions. Having all the rigging holes already there greatly eased this process. The stacks are designed so that you can easily sew in the rigging prior to placing on the stack crowns. Use care in choosing where the rigging goes in the deck as there are more holes than those that should be used.
Once rigged, I added the black stack crowns and joined the upper main deck to the lower on. These assemblies are nicely engineered so that fit is very good. Some lower deck walls fill in spaces left in the upper deck. Use clamps to secure a good close fit here. Finally I added the superstructure sides to the main deck assembly.
At page 10 I laid in the bow and stern railing pieces and assembled the major components onto the hull. I then secured the fore and aft decks in place. Four support pieces assure that the hull is properly positioned to accept the upper deck assembly. I dry fit the upper deck to the hull and it fit beautifully. I then cemented it in place taking care to join it both to the hull and the fore and after decking.
Final Assembly
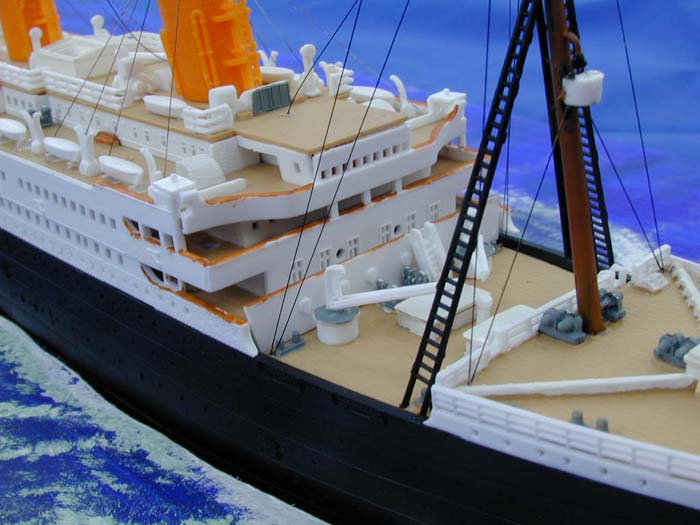
The last two pages of instructions have you lie in the masts, ships ladders, lifeboats and still more railings. Use care with the lifeboats because, not only are there not enough of them, all pieces are individual parts. I tweaked the alignment as they dried to make sure everything was straight and in line.
I then rigged the fore and aft masts following the ample directions. They call for extensive rigging but don't let that intimidate you. I just took it from the inside lines to the outside ones. The results are convincing. A bit more of a challenge was assembling the radio aerial. Be sure to tape down the lengths of wiring while assembling this - it gives you an extra set of hands. Use some care here to get the aerial symmetric. Once I was happy with the look I placed the aerial between the two mast tops. I then added the radio lines from the aerial down to the radio shack.
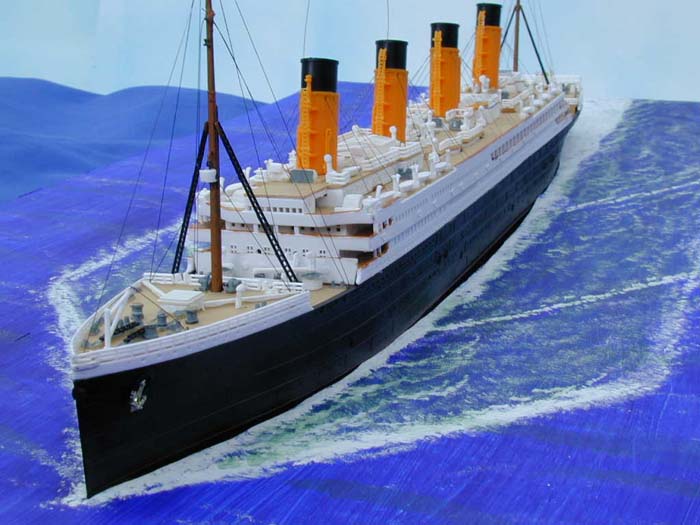
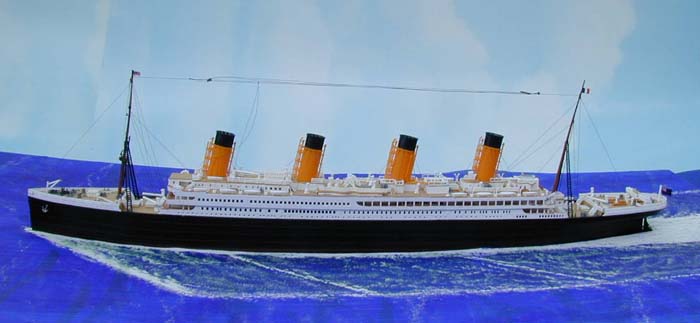
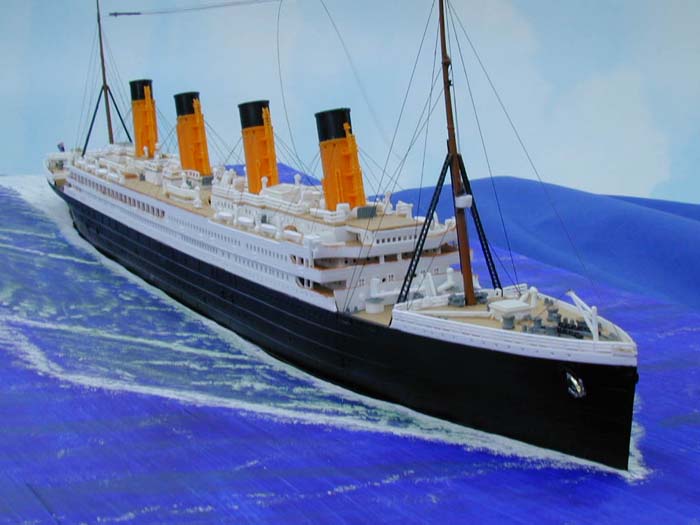
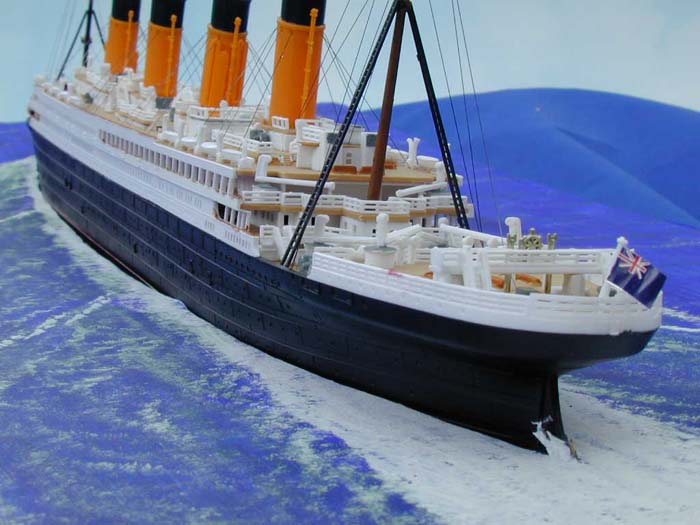
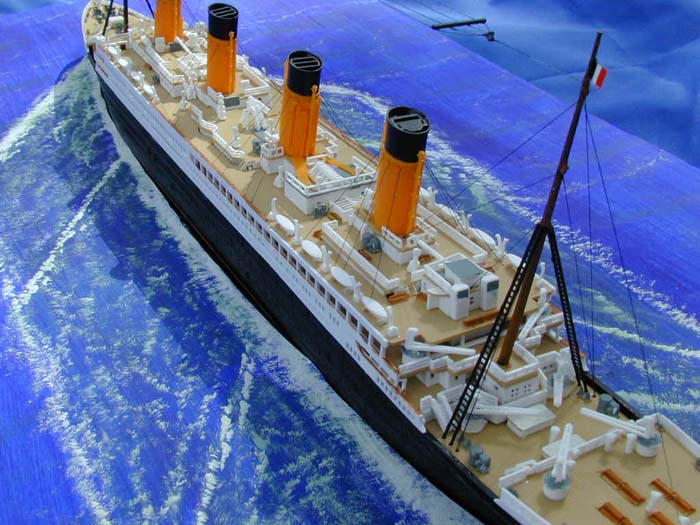
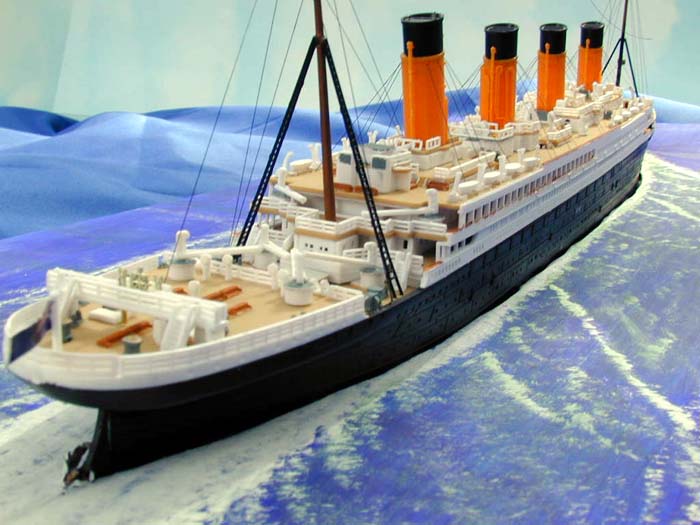
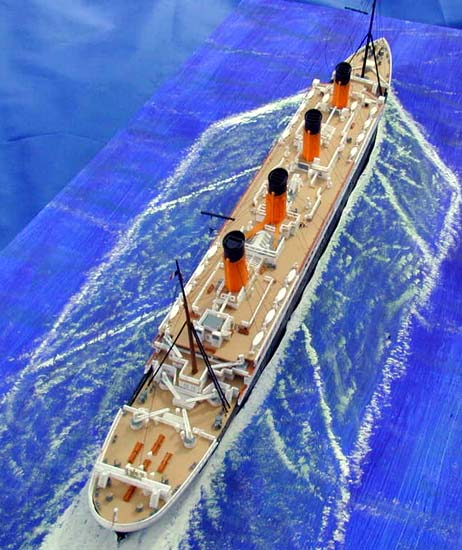
Putting Titanic at Sea
Despite the full hull kit I decided to take photos using an ocean scene. I painted a water scene using acrylic Navy Blue, White, and a touch of Green. I carefully traced and then cut out a space for the great ship. I placed the model into the "water" and took it outside for some photos.
Conclusion
This is a very impressive kit. There is a significant level of detail in such a small scale. The molding is engineered perfectly and it really shows during the build. I recommend this kit to anyone with intermediate or advanced ship modeling skills, and it might be a good training opportunity for a more experienced basic-level modeler capable of patience.
Our thanks to MRC for this review sample.


