A Chinese Hawk: Building Classic Airframes 1/48 Curtiss Hawk III
By Terry Miesle

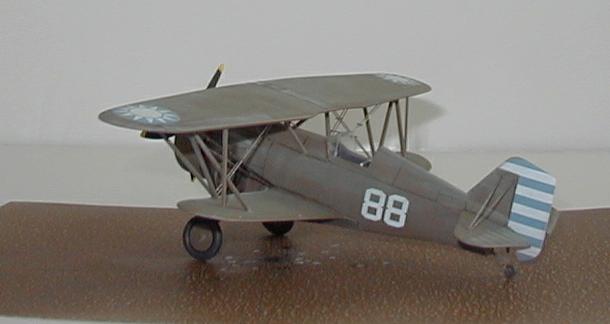 The Chinese purchased the most Hawk III aircraft, over one hundred units, while Siam fielded more than forty. While the Chinese Hawks acquitted themselves well early during the Japanese aggression, they were soon outclassed by the newer Claudes and were replaced by Polikarpov I-15 and I-16 series fighters. The Hawks were relegated to training duties, and must have been one of the most powerful advanced trainers in the theatre.
 The kit is a combination of injected plastic, resin, two vacuform canopies and white metal landing gear parts. Initially I had planned to build it gear-up to take advantage of the unusual configuration of a retractable-gear biplane, but when I saw the white metal gear struts I knew I couldn’t resist. The plastic parts are typical Classic Airframes, a bit thick but pliable and fairly clean. The wings exhibited no warp, which apparently can be a problem with this kit. The resin is clean and well-cast, and the white-metal gear struts look very nice, particularly the tail wheel which is very pretty indeed, too bad they didn’t cast the wheel separately! Overall, if you are familiar with Classic Airframes’ kits, then you will have no surprises here.
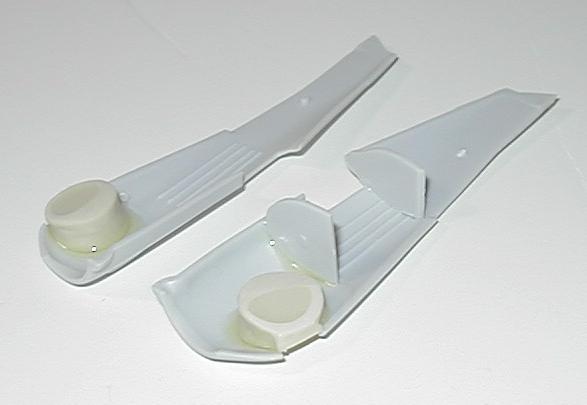 The fuselage is actually 4 parts. The left and right are joined by two ventral filets. This is a precarious fit. I sanded the sides flush with fine sandpaper on a glass plate, using the tailfin as a guide. I taped the sides together to check the fit and figure out the alignment of the dorsal fillets. I knew this would be very tricky.
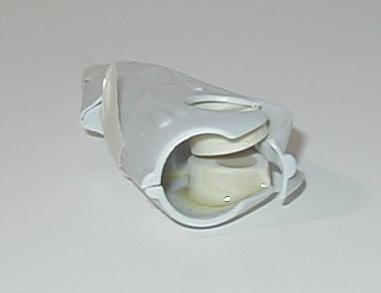 The interior of the fuselage contains the cockpit and wheel wells. The wheel wells are huge resin chunks more than three times the size they need to be to fit within the fuselage. A lot of sanding was needed to make them fit within the fuselage and allow the halves to fit properly. These wells also obstructed the dorsal filet, requiring a little knife work.
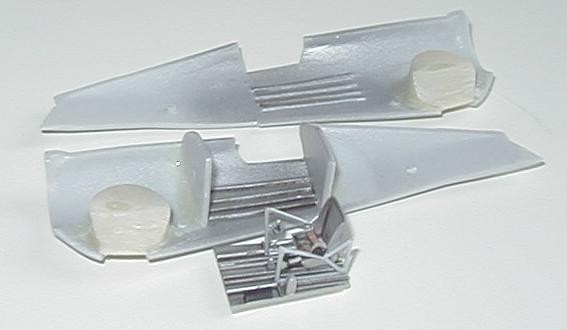 The cockpit is a resin floor, seat, panel and assorted details combined with plastic bulkheads and side ribs. It is important to note that the side ribs may be indicated upside-down. I don’t have pictures of the cockpit, and pictures are rare, but a friend told me after I had assembled the cockpit that the horizontal bar should be on top. Assembly is straightforward, and placement indications are adequate. The cockpit is silver colored, I presume aluminized paint. This was all painted with Tamiya Chrome Silver, and washed with Tamiya Smoke, highlighted then dullcoated with Gunze-Sangyo Flat Clear. A few instruments and bits of equipment were painted flat black as per the instructions.
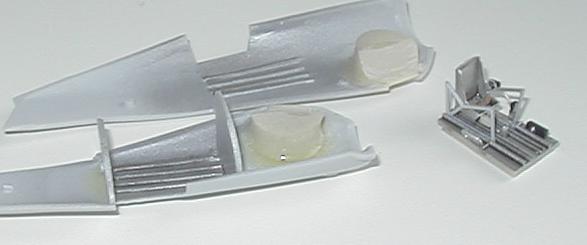 The engine is also a bit troublesome. The cylinders appear to be too long. I sanded the interior of the cowling a bit, sanded the cylinder heads a bit, removed some of the cylinder base (they stick out a little too much) and still found the engine too wide for the cowl. I inserted a bit of styrene rod to increase the cowl diameter, and found it looked a bit closer to circular. I think the cowl as molded in the kit is not quite right, and required an increase in diameter. I added wires to the cylinders to flesh out the engine.
 This is obvious in the photographs.
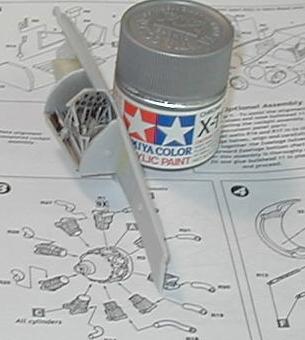 to make sure all gaps were filled and the parts absolutely would not fall out.
 Wings
Wings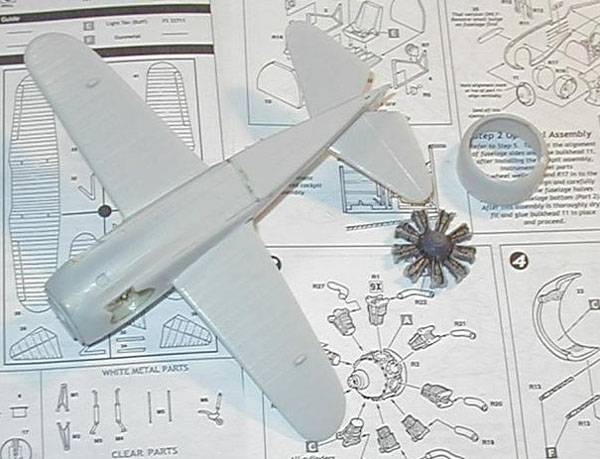 cabane struts were a bit too long, so they were trimmed with a knife until they fit from the attachment points to the panel line. This looks pretty good compared with photographs, so I’m pretty confident it’s correct.
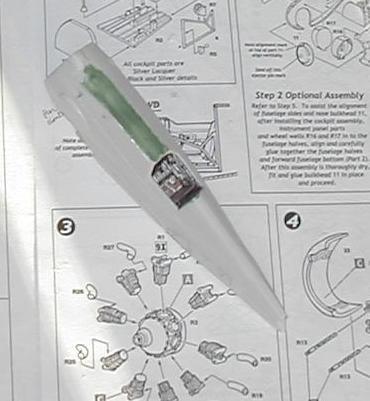 Landing Gear
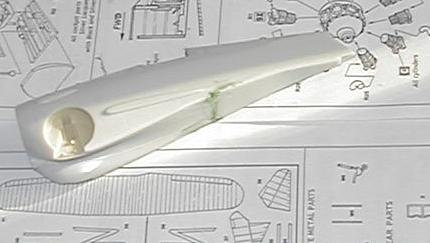 and thinning the plastic on the fuselage will help this installation and make the model look better. I left the landing gear doors off for now, to facilitate weathering later.
 Painting
 I coated the model with glosscoat, a mixture of 50% Future Acrylic Floor Polish, 25% water and 25% Isopropyl Alcohol, a mix which sprays very well and dries quickly. I have not had puddling problems with this mix as I did with straight Future.
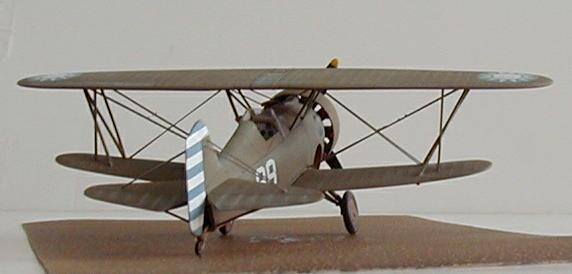 I trapped no bubbles, I brushed a bit of the diluted Future mix over the decal. I have found this the best method to make the decal film disappear. Be warned, however, that if the decal must conform to severe curves, this mixture doesn’t act as a decal set. After I sealed the decals, I applied GS Clear Flat to prepare for weathering.
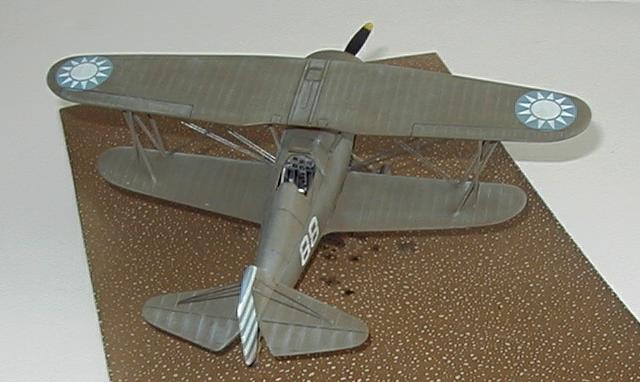 One quick note about the windscreen. Typical Hawk III fighters used a semi-enclosed cockpit with a small sliding windscreen to the rear. This was deleted for the Chinese trainers, leaving only the front windscreen. The kit windscreen was too narrow for the fuselage. I don’t know whether I had sanded too much material off the fuselage, or it is manufacturing mistake. Whichever the case, I found it easier to make a new windscreen using the dimension of the fuselage area. The height was taken from the kit-provided section, and I used the triangular side screens from the kit. These were attached with Elmer’s white glue.
 Rigging
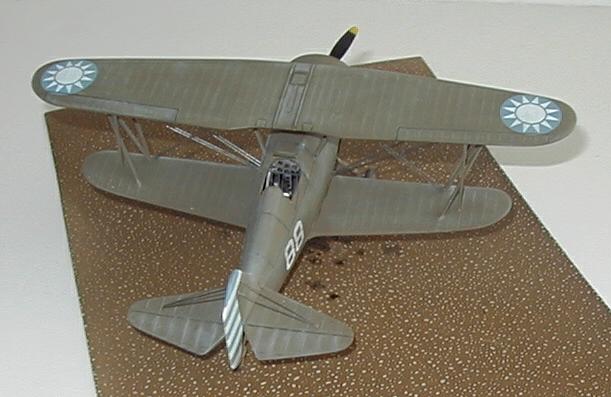 in place to help. The weight rods are also wire.
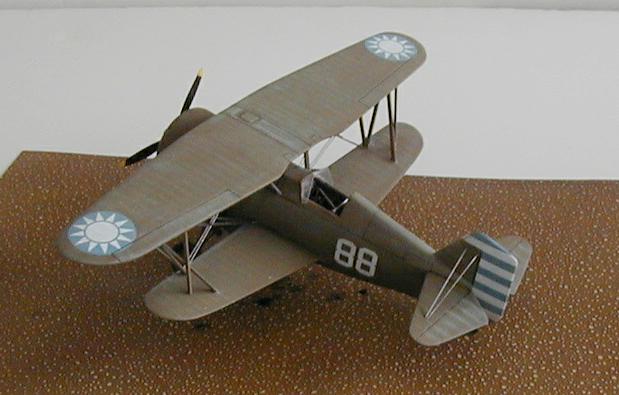 Finishing
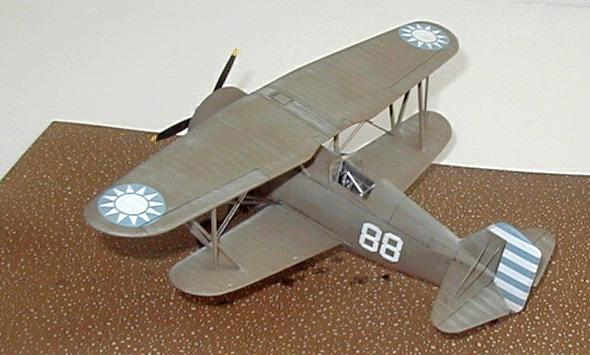 Conclusions
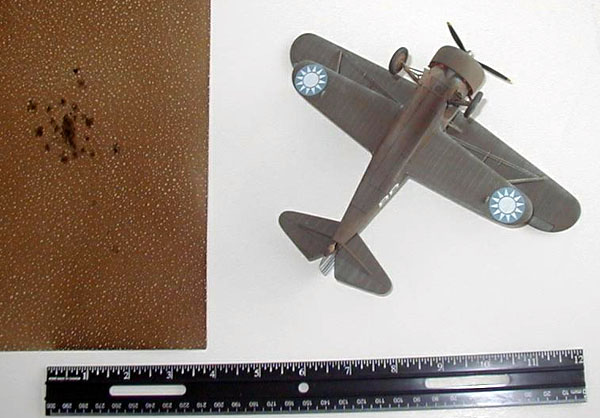 needs to provide better alignment information. Squadron’s book is a good reference, but doesn’t have any cockpit pictures of this particular aircraft, though there are pictures of earlier Hawk cockpits.