Building Monogram's 1/48 Dornier Do 217EBy Will Riepl | 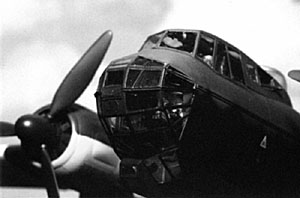 |
After wanting a nice Do 217 kit in 1/48, I finally have one, so I didnt waste any time getting started. In the in-box review in the November 2000 issue of the Internet Modeler I said that the wings would be the hardest part to do. The ailerons on the Do 17/217 family were see-through in that there is a large gap between the wing and the aileron. At first it looked like it would be easy to do, but it did take some thinking of just how it would be done. More on that when we get to the wing.
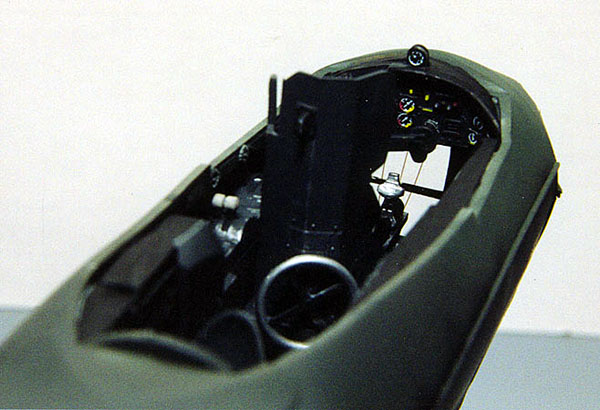
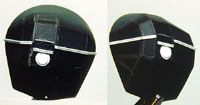
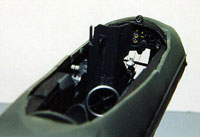 The first step is the cockpit. I first painted it all RLM 66, and then went back and added in all the details. I drybrushed it for the most part, the raised detail making this method very effective. While there is a lot of detail present, theres always more you could add, but when you put the canopy on you will not see any of your work. But it still looks nice until you put the canopy on. Also at this point you should figure out what model you want to do. You can leave out the bombsight if you have the cannon in the nose. The one I was going to do didnt have the cannon, so in went the bombsight.
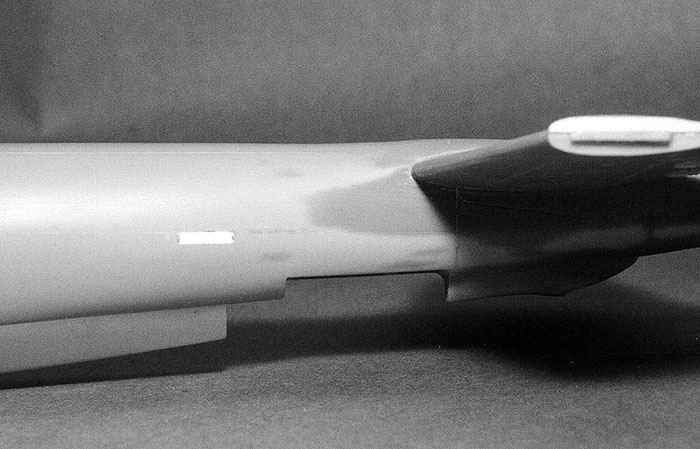
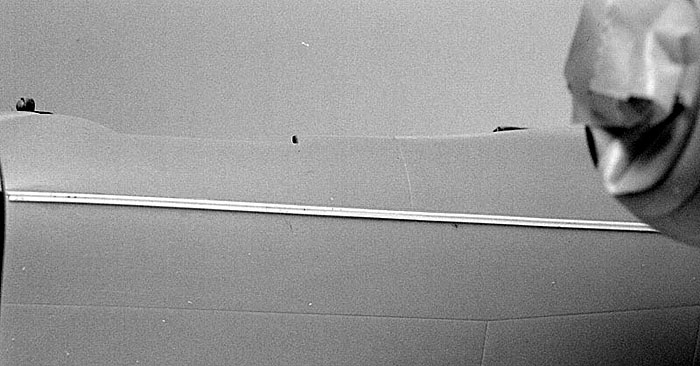
And now the fuselage. At first it looks like it would go together okay, but one thing that Monogram did causes a difficulty with the fuselage and the wing. The construction out of the box will most likely result in lots of filler work. I decided to try and get around this problem. The first thing that I did on the fuselage is to put some 10 thou plastic strips along the seam. By doing this you can get a good fit to the top  and bottom of the fuselage. One thing that you will have to do on the left side is put a piece of plastic on the inside of the fuselage where they cut into it for a tab to fit in. It is only on that side of the fuselage when you sand it down you will sand through it. When you get the fuselage all together you will have to get rid of the seam, and sand it round. It should not have a sharp edge. And when you have the strips of plastic on the inside of the fuselage this will give you some bracing, as well as lining up the two parts. I did not glue in the cockpit at this time. You can leave it out, if you do not glue the nose now. I was able to spread the nose out and slide in the cockpit when all the sanding and work on the back half of the fuselage was done.
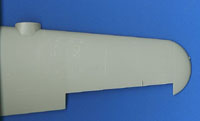
 On the wing, in looking at some of the other build-ups on the 217 they said that you would have a bump where you put them together. If you do it the way they tell you, you will have a problem. Just sand down the inside of the wing at the joint, and then take some 10 thou plastic and glue it to one side of the wing. This way you will have a full chord support of the wing when you glue it. And you will not have a high and low part on the top of the wing. I did not use any putty or filler on the top of the wing.

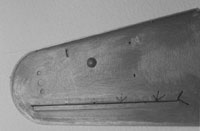
 Now to the hard part. Just how was I going to cut the ailerons and make them look right? When you look at pictures of this type of aileron, you will see that they will have an airflow shape to it. So you cannot just cut them and put them back. You can cut the one on the top of the wing at the marks that they have. That is what I did. As for the bottom, that is where it gets a little tricky. I cut it in about 3/16 more than the top, so when you glue them together the bottom will be wider then the top. Once that I had that done, I could see that you will have to make a spar for the wing. When you cut out the ailerons you will have no support for the wing when you glue it together. I made a spar that went from the outside of the engine to the wing tip. I made it out of some thick plastic so the wing will be straight. When you have that done you can cut some plastic to put in the back of the wing where the ailerons will go. At this time you will have to round off the bottom wing where the ailerons will go.

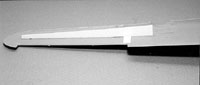 For the ailerons, just glue the top and bottom together, making sure they will be the right thickness for the wing. Now you can glue some plastic to the front of the ailerons and sand them down. I glued two pieces of plastic rod in the ailerons and drilled some matching holes in the wing, and they fit right in. This might seem like a lot of work, but it will make your Do 217 look right.

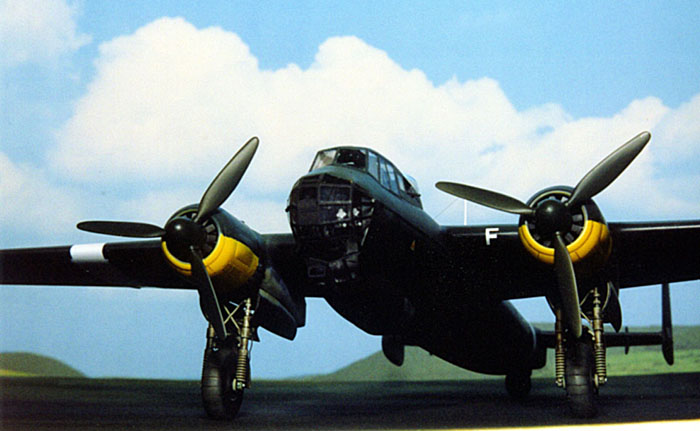
 With regard to the engines, not too much needs to be done here. The only thing that I did do is I cut down the blades on the cooling fan, as they are very thick. You can use the ones out of the DML 88 kit or some of the photo-etched ones if you have some. The other thing that I did is to make some new exhaust stubs. The ones that they give in the kit are too short. If you put the flame dampers on you will not see them. I used the exhaust from the DML 88 kit. You have 5 on the top and 4 on the side. I made the mold for 5 and then cut one off for the side. They sure look a lot better than the kit ones, thats for sure. If you use the kit ones now is the time to put them in. If you do not you might have some trouble putting them in when you have the nacelle done.

One more thing that I did regards the tail planes. When I dry fitted the tail I saw that you had a gap on the top of the horizontal tail where they came together. You could put some putty and sand it down, but what I did was put some 10 thou plastic just on the top half of the stabilizer filling the gap. You now can put the rest of the kit together, as theres not too much to add now.
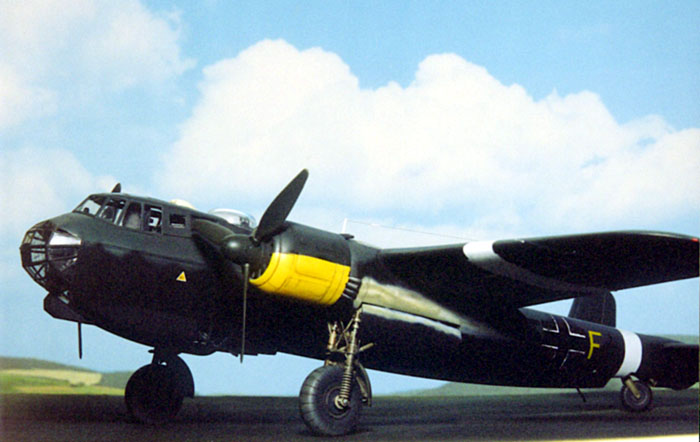
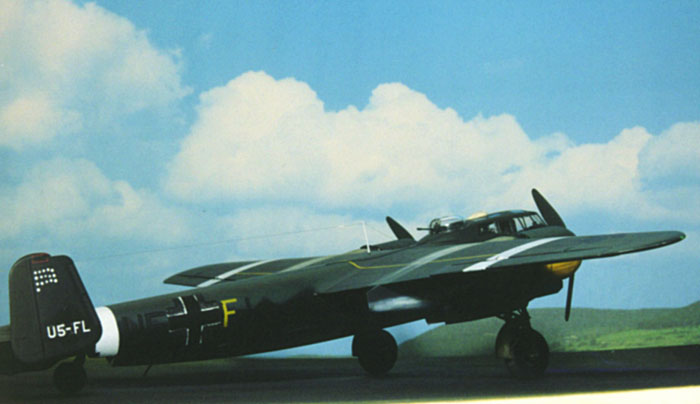
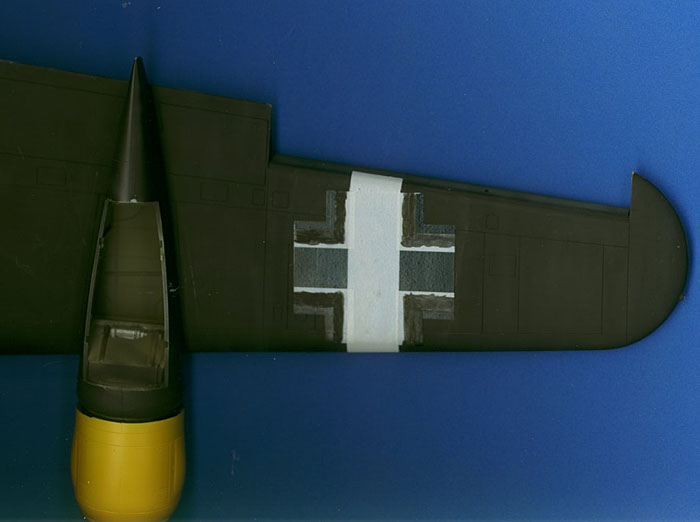
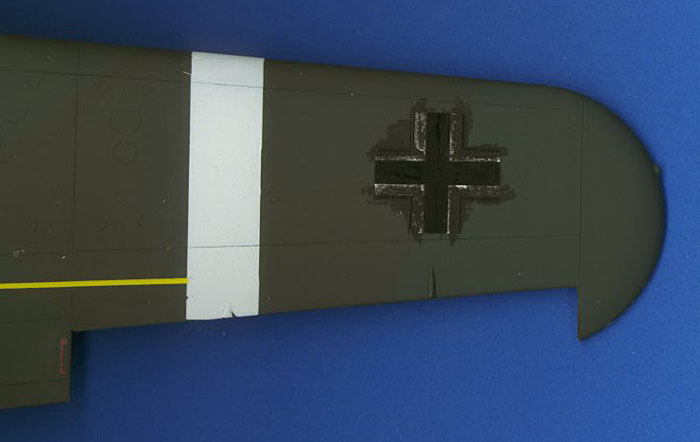
 On to the painting, I used Polyscale paints, RLM 72 and RLM 73 upper surface colors with a black under surface. The aircraft is out of KG 2 in France in 1942. I used the Warpaint book and the Do 217/317/417 book by Manfred Griel for the reference. In the Warpaint they have some good color drawings to help you out. I did black out the all the markings and with the pictures that are in the books you have some good idea of just how it was done. I put the decals down first and then used a brush, and hand painted black over the markings. In the pictures you can see that some of the markings show through. I used a white decal for the wing marking; I went over the cross on the bottom of the wing. I used some press-on yellow line for the top of the wing. I have seen pictures with three different types of lines, so I made mine the easy way with just a solid line.
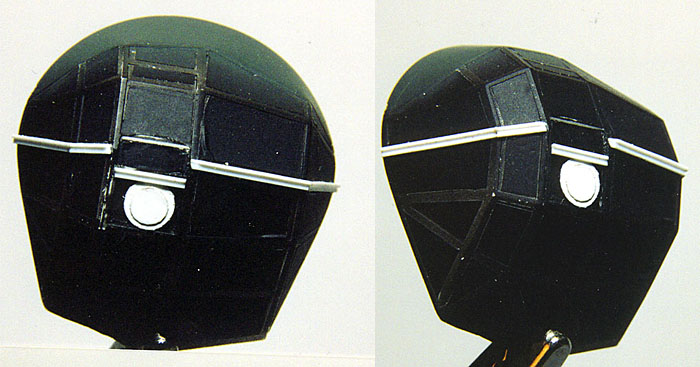
 The last part is to glue the canopy and nose on. One other thing that I did was to add the cable cutter that was on the side of the aircraft and on the front of the nose. I made this out of two pieces of 10 thou plastic strip. Glued together to make an L shape, I then glued it to the fuselage and nose. You will see that there are 3 wires that are on the front part of the nose. The only thing that I can figure out what they were for was some sort of rangefinder used to determine just how far you were from the target. You can find some pictures in the books that show them on the out side of the nose. So I drilled a hole at the top and the
  bottom of the nose part, and then make some slits in the cable cutter. You want to have one up the center and one on each side. I then took some line and started at the top, gluing the three lines in, starting with the center one. I then took the lines through the cable cutter and down to the bottom hold, making sure that I had spread them out at the center horizontally.
 With that done you can glue the nose on. I did have a fit problem on the top of the canopy. With a little putty and sanding I ended up with a good fit. I then put on the top canopy. The only thing that I can add is to dry fit the side windows, this will help them to fit. Add the top parts for the overhead console, and the bulkhead and the magazines; the top turret is put on last. Now you can glue it to the fuselage. I found some fit problems on the nose and side of the canopy, but with a little putty and sanding I got a good fit. Now some might want to do all this before they paint the model, so you would not have to re-paint around the canopy, but I prefer doing it
 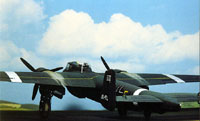 afterwards. The antenna mast is the last thing that I put on. One thing that I did add was the life raft rope, using some wire. This ran from the back of the canopy on the right side to the life raft compartment.

For a final step I did a wash to the in side of the wheel wells with burnt umber and black and some green. I did the same with the struts. I did not put the tail wheel doors on, as there are some pictures that the aircraft did not have them, so you can do what you want there.
 Well it is done. It was a fun kit, except for the wings and the fit of the fuselage, you could build it right out of the box and have a good-looking Do 217. The model did take 3rd in the spring IPMS Seattle show, which was nice. I made up a base of the marking of KG 2 for it to sit on. So what is next, well I would like to do an N, K, and the M that should take me into next year. My thanks to Monogram for the kit, and keep up the good work!