101st Spaceborn, 2010Ft Duquesne Military Miniatures #602, 150mm ScaleSculpted by Paul KeefeBy Terry D. Moore | 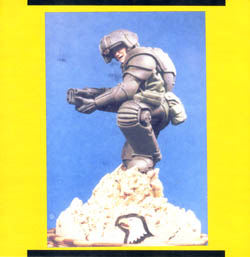 |
The Kit
I first saw this figure at the 2000 IPMS-USA national convention in Dallas. There were three in the contest and one in the vendors room. I could not leave without it.
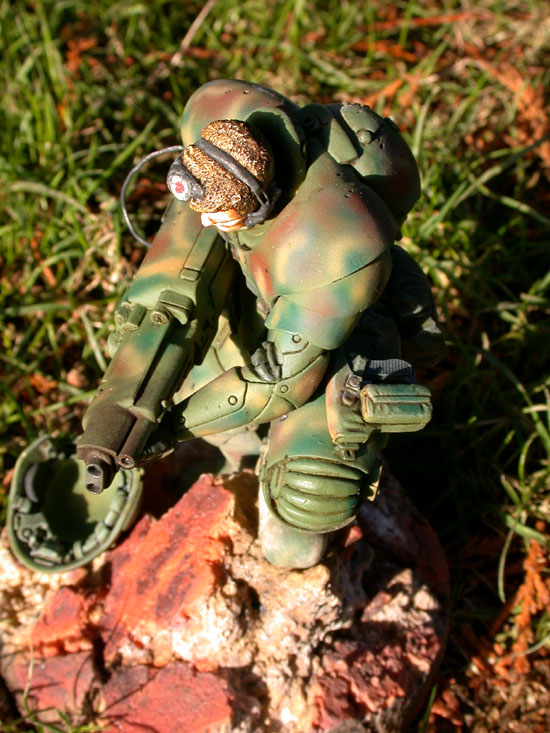
The model is a very nice sculpt with a very animated pose. It represents a fully outfitted 101st Spaceborn GI with the composite graphite/ceramic/boron semi-powered armor suit(SPAS) that is the highly 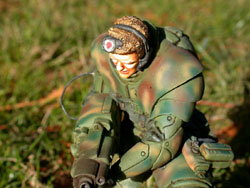 favored system for the unit. He is also equipped with the reticle sight equipped helmet with HUD, Colt M92A3 pulse laser with back mounted laser power pack, and Remington M38 17mm automatic.

Very minimal cleanup was required - I think I spent about an hour cleaning up the half dozen parts. One reason I like this figure so much is that it gave me an opportunity to use several painting techniques including airbrush, wash/dry brush, and oils.
Painting
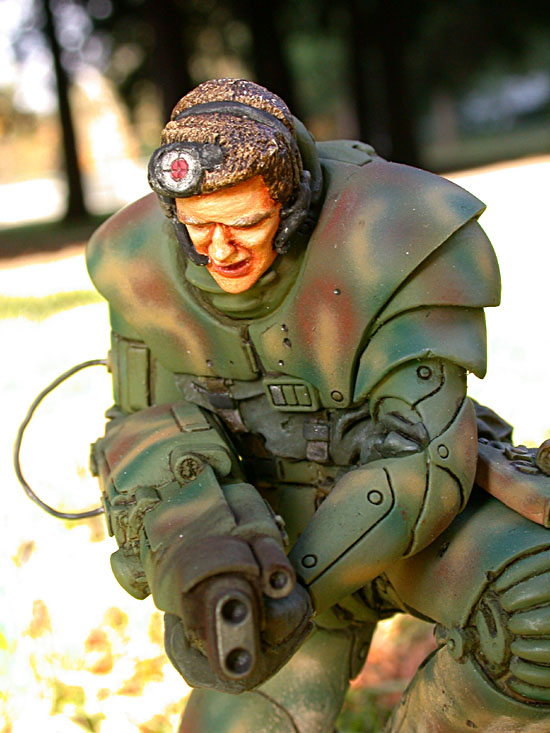
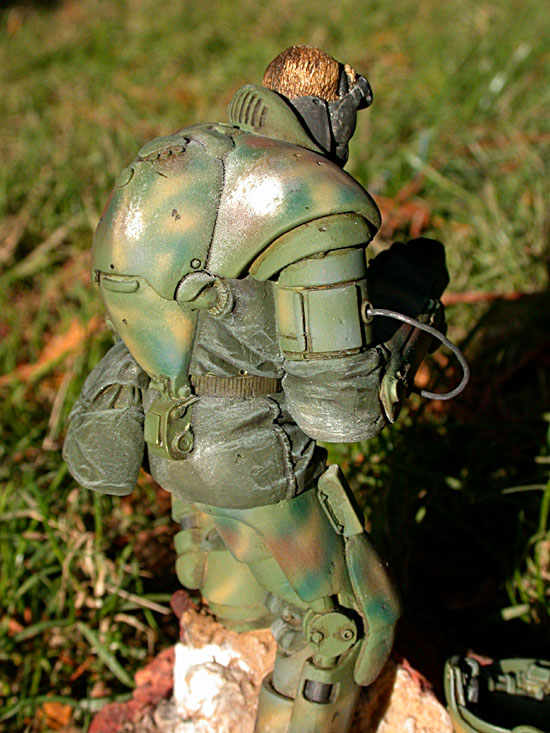
I started by airbrushing the SPAS suit in standard class R camouflage(R= whatever color of paint I could Reach). After the pattern was applied I sprayed the figure with multiple coats of Duracryl gloss automotive lacquer. I then applied an oil wash to bring out recesses, panel lines and shadow areas. After the wash had dried I sprayed the model with dullcoat, then, when dry, I drybrushed the figure with an off-white oil paint to bring out the highlights. When THAT was dry, I applied another coat of dullcoat.
I then painted the cloth portions of his uniform using enamel for a base coat and then painting highlights and shadows using oil paints. The trick with oils is to use as little paint as possible to cover the area you want to paint - my rule of thumb is that if you think you don't have enough paint on the brush, you probably have too much paint on the brush. Always keep a paint rag handy to wipe off the excess paint. I saved the head for last, as I could paint and attach it after it was finished.
 ........
 ........
I had primed the face with flat white primer. I use Grumbacher and Winsor & Newton oils. For flesh tones I use titanium white, burnt sienna and yellow ochre. I mix the paint on a hard pallet(ceramic tile) although I know some modelers that use card stock to leach out excess oil. Basically I mix 3 levels of color: one to represent highlight areas(using more white), one for basic skin tones and one for shadow areas(using more sienna). I usually apply the highlight color first to the forehead, bridge of the nose, top of the cheeks, above the upper lip and so on. I then apply the shadow colors under the chin, any folds in the skin, and above the eyes. After that I apply the base skin color to those areas not painted with highlight or shadow colors. I try not to make the base color touch the highlight or shadow areas. One important thing to remember is to not clean your brush with thinner between these colors, otherwise you will dilute the paint. I just clean the brush with a clean dry rag between colors.
 ...........
At this stage switch to a clean dry brush to blend the highlights, base color and shadows together, but that's not a necessity, you can use the original brush. If you missed the part about too much paint on the brush you will end up pushing a lot of paint around until you have a solid color on your figure. Remember, with oils a little bit of paint will go a very long way.
I finished the base by applying a thin oil wash over it, without primer. The brownish paint over the tan resin gave it a somewhat "otherworldly" look. The last thing I did was to achieve a snow blown look by applying microballoons which give a good snow effect.
Conclusion
A delightful model to assemble and paint. It took only 3 or 4 evenings to finish and I think what I enjoyed most was the fact that I was only limited by my imagination in the colors I used.


![]()


