Revell 1/25 Pro Finish Jeff Gordon #3 'Goodwrench'By Brent & Ray Theobald | 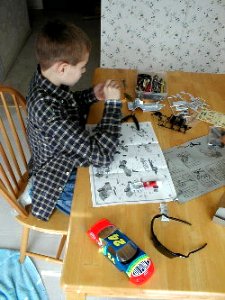 |
 First Impressions
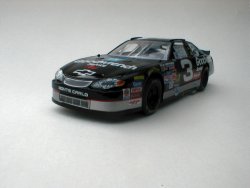
Dad: The kit comes in a very attractive box with eye-catching color. The pre-painted body is visible through a clear panel in the box. The stickers, not decals, look really good too. They appear to be in register and have good color. The pre-painted body looks good too. No paint runs and the color demarcations are nice and sharp. There aren't too many pieces so it looks like this model can be built in an afternoon.
Ray: I liked that they were already painted. The other NASCARS are fun to paint, but these look better than models I paint. This model is not as hard to build as other models because there are not too many pieces. It looks easy to build. There is a lot of  interior detail even though there are not that many pieces.
Construction
Dad: This project is going to be completed rapidly. Not too many tools are going to be required either. Just the plastic clippers and a screwdriver were needed. The box says no paint or glue, but I think the model could be improved by the application of both. For example the roll cage has nerf covers that could be painted black. Ray was able to build the model in about an hour and a half. He didn't need any help from me until it was time to apply the stickers.
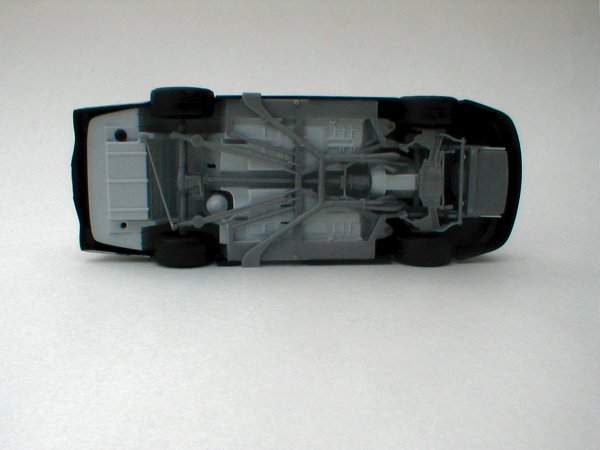
Ray: I really liked the way the parts fit. Some of them fit so well that they wanted to 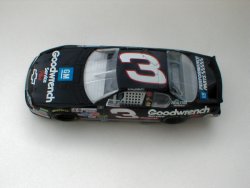 stay together when I test fit them. Something else I liked were the wheels. The wheels didn't need any glue and rolled. I liked the way no paint was needed for the interior. The sticker for the dashboard looks nice too. There is enough detail inside the car that I can almost display it with the body off. A little glue was needed between the roll cage and the dashboard. That made the model much stronger. After the interior was built only four screws were needed to attach the body to the model.

Finishing
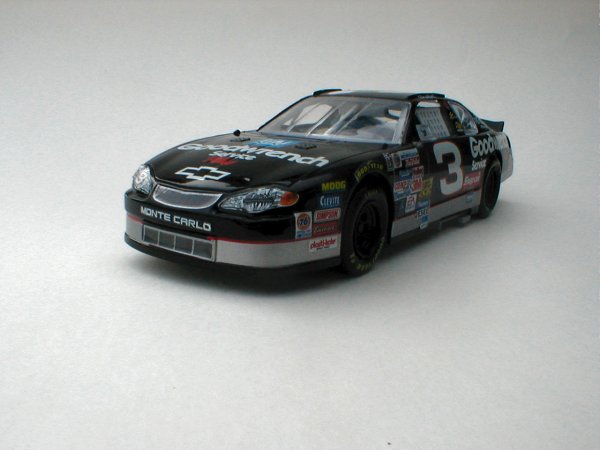
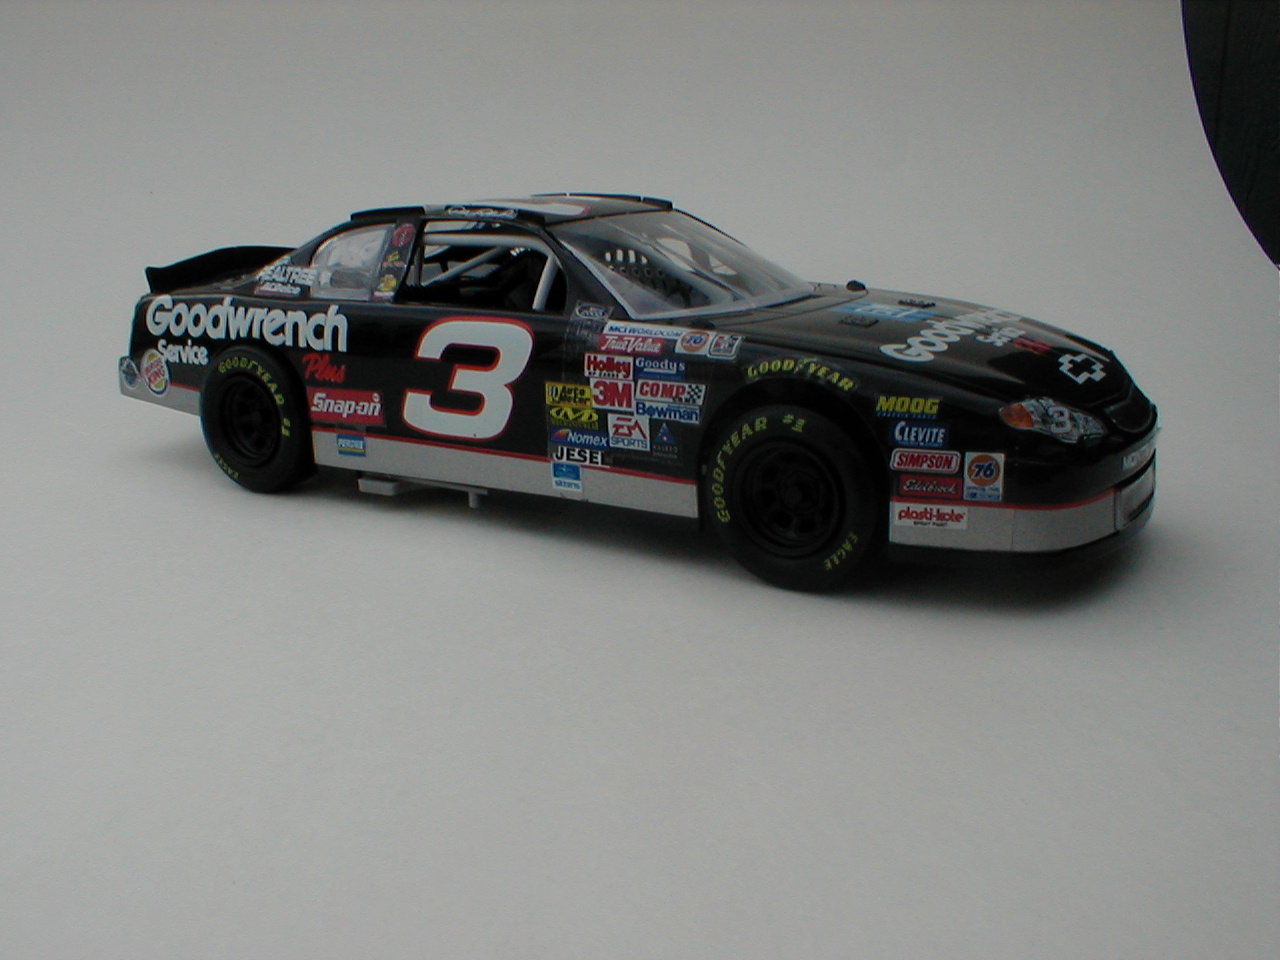
Dad: I was a little concerned about the stickers at first. Stickers I have used in the past were really thick. These are really thin. In fact, they are not much thicker than 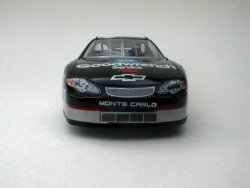 decals would be. The only difficulty we encountered was applying the decals to the rear taillights. The decals didn't fit around the compound curves. A trick we used was to put a little Windex where the sticker was going to go. The Windex allowed the sticker to float around until we had it properly located. The other problem I had with the model was the location of the painted markings. They were a little forward of where they were supposed to be. As a result some of the stickers covered up the painted markings.

Ray: I like applying stickers instead of decals because decals take too much time to apply. The stickers had as much detail and color as decals.
 Conclusions
Dad: As far as I am concerned any time spent away from the television and Nintendo is time well spent. The model took Ray about an hour and a half to complete. The pre-painted body worked out really well. Hopefully the pre-painted kits will attract more kids to the hobby. Hopefully after they build a few of the pre-painted kits they will want to graduate to more complicated models.
Ray: I like this model. It was easy and fun to build. It didn't have too many pieces. I didn't have to spend too much time on it either. It looks really good and I am very, very proud of it.


