Eduard's 1/72 Strip Down Fokker Dr. IBy Chris Banyai-Riepl | 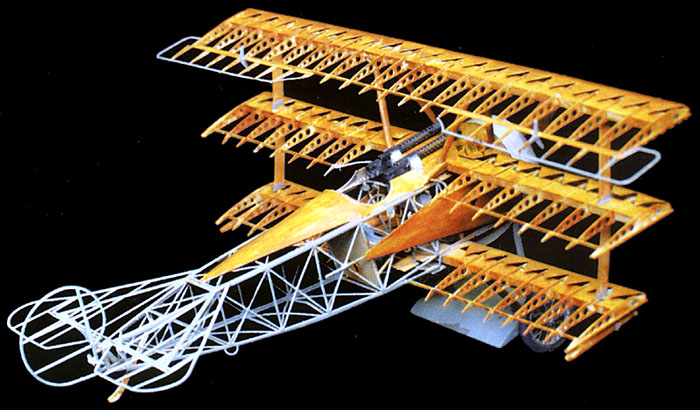 |
Overview
Eduard has come out with a select handful of kits in this "strip down" format, and the Fokker Dr.I is their latest example. Utilizing the parts from their recent 1/72 injection Fokker kit, they've added three photo-etched frets to show the underlying structure of this famous triplane. For a detailed review of the plastic kit, as well as a concise history of the type, check out Bob Pearson's inbox review in the October 2000 issue.
The Kit
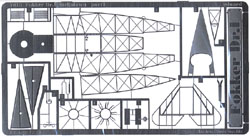 Like the other strip down kits I've seen, this one includes a full set of injection plastic parts, straight out of their regular release. There are a few of these parts that are used in the final strip down kit, most notably the cowling and the propeller. You'll also be using some of the kit parts to bend PE parts to the proper shape. The only addition to the injection plastic parts are a set of wing spars.

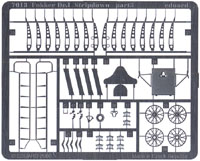
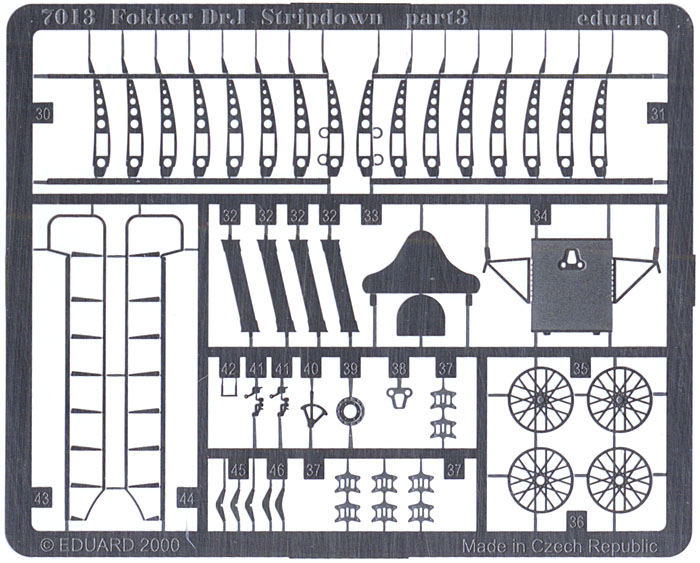
Surprisingly, the kit only has 68 photo-etched parts, but on closer examination I see why this is. The wings are etched as one piece, requiring you to bend up all the ribs. This makes a lot of sense, as I know I would soon go insane if I had to try to slide individual ribs onto the spar and keep them evenly spaced. The top wing is one piece, while the center and lower wings are split into left and right halves. There is a rear spar that is part of the etched parts, and there is going to be 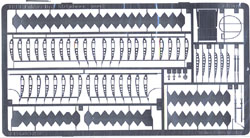 some interesting bending required here to get that looking right. Luckily the instructions are very clear on what needs to be bent when. While still talking about the wings, another part added to this skeleton is the leading edges. These have a saw-toothed arrangement and the instructions tell you to bend these around the plastic parts to get the correct shape, then fit onto the finished wing skeleton.
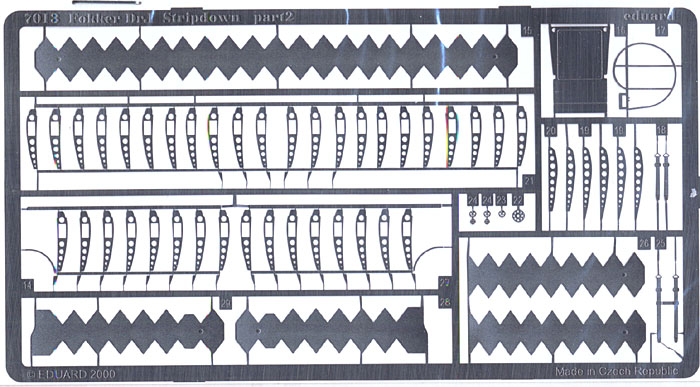
The fuselage is a similar jungle, being etched as one piece. You'll have to fold up all four sides, plus the front engine firewall. Getting this square is going to be more difficult than working with the wings, mainly because of the thin sections and minimal contact area. I'd be very tempted to glue down some plastic square stock at the joining edges, both to give it a more realistic appearance and to provide an area to attach things. The curved top decking and side panels are provided as separate pieces, and again it might help to bend those around the kit parts to get the right shape.
 Once you get the wings and fuselage done, the rest is going to be very straightforward. There's a detailed cockpit (but I'd probably replace some of the PE details with plastic parts, as PE doesn't show round surfaces at all). The plastic engine gets a nice bit of wiring and pushrod detail, and the plastic guns have most of themselves cut away and replaced by PE cooling jackets and sights. Being a stripdown kit, there are no painting instructions or decals.
Conclusion
This kit has a lot of potential. If you want to have one all stripped down sitting next to a collection of regular kits, it'll look great. Or, if you want to do a diorama, you could use parts from this kit (like the wings) and have them sitting in the corner of a workshop, while the fuselage is being covered by fabric and a finished Dr.I is sitting outside, ready to fly off. Whatever you choose to do with this kit, it's bound to get attention wherever you take it.


