 |
 |
 |
 |
 |
 |
 |
 |
 |
 |
ICM 1/72 ZiL-157 Soviet Command Vehicle
by Michael Kendix
Introduction
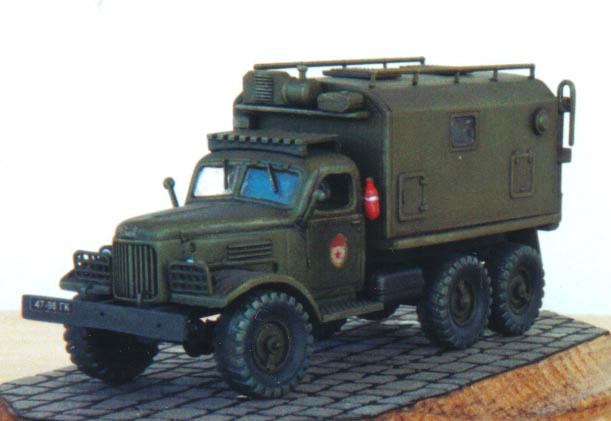
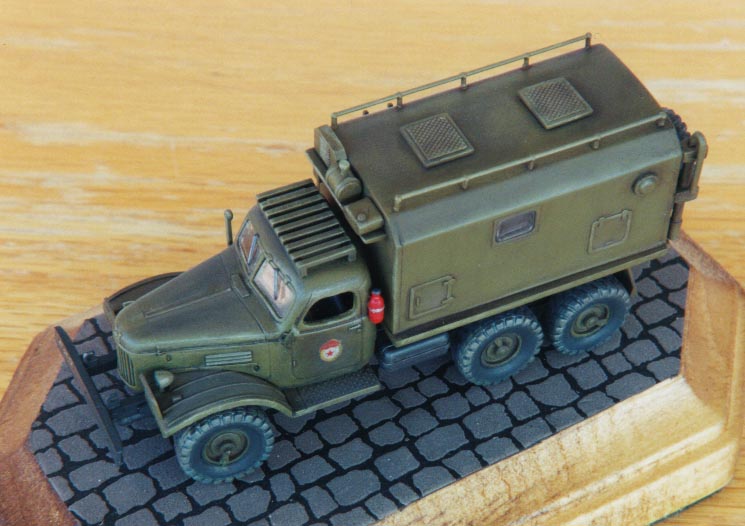
The Soviet Command Vehicle is one of a series released by ICM. The kit uses the ZiL-157 chassis and cab, and has the Command Vehicle van on the back. As mentioned in the BM-13-16 piece published in an earlier issue of Internet Modeler, the ZiL-157 was developed in 1958 at the Likhachov factor in Moscow. According to the kit sheet, the ZiL-157 won a 'Grand Prix' at the World Auto show in Brussels in 1958. The ZiL-157 was a basis for a wide of range of army vehicles. These vehicles included radar vehicles, transporters, rocket launchers, field ambulances, refueling trucks and, of course, command vehicles.
The kit contains six sprues of material, seven separately molded wheels, three brass axles, a sprue of clear parts and a number of separately molded larger pieces. The pieces are nicely done with little flash; minimal cleanup is required. The kit has a number of identical components to the other ZiL-157 kits released by ICM/Omega-K. This being the case, I decided to build this kit simultaneously with the BM-13-16 because they shared almost identical chassis parts and cab. This facilitated painting and even assembly.
The Chassis
The chassis parts are all black, which facilitates painting. I first glued the axle components together and adhered them to the main chassis frame (part #1) without gluing the brass axles or the wheels. I did, however, thread the brass axles through the axle parts to ensure all the pieces were aligned correctly. I used super-glue to set these into position then I brushed small amounts of Pro Weld to give the bond permanent strength. The transverse under parts and drive axle were next. These require careful fitting and placement. I made sure everything fit then I glued the parts into place using Pro Weld.
The Cab
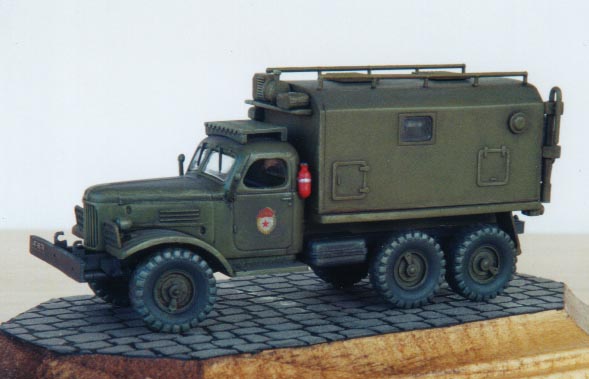
The cab interior is quite sparse comprising only a consol/seat, steering wheel and a couple of gear sticks. The instructions say not to use the instrument panels (parts 19 and 20) but the interior was so bare that I used them regardless. I painted them brown and the instrument dials black with some bits of white to represent a display. Once the consol sub-assembly was ready I sprayed the interior of the cab 'British Brown Drab' or 'PC-10', the colour I decided to use for the kit. I then glued on the cab's clear parts, omitting the side windows (they are assumed to be rolled down). I assembled the remaining cab components and glued the consol parts inside the cab.
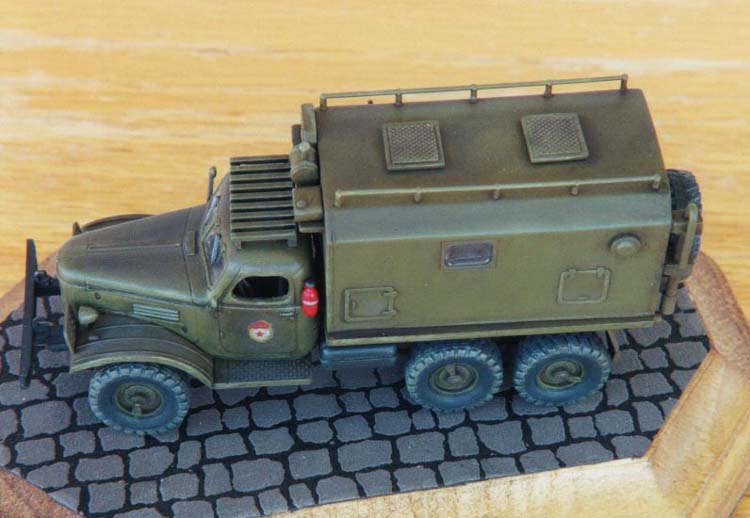
The Van
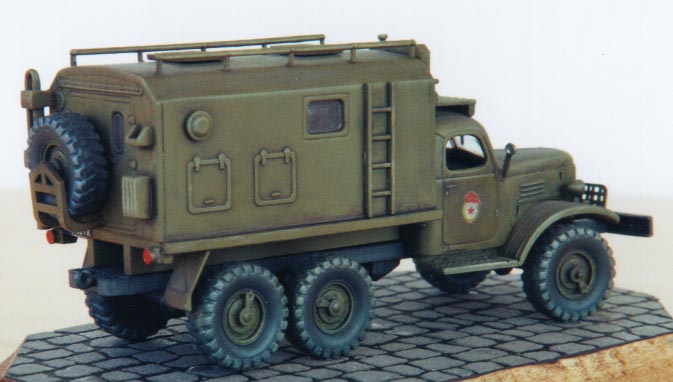
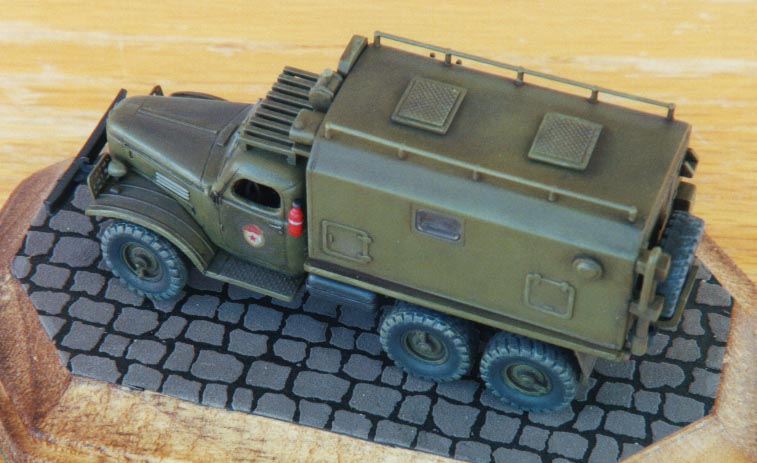
The rear part of the Command Vehicle comprises a simple closed truck. Assembling this was extremely straightforward. The command centre itself is a single piece, which is glued to a base, although you have to remember to glue the clear parts on first from the interior! The clear parts for this kit fit well but are extremely thick. This is an advantage to some extent because there is nothing inside the truck; on the other hand, they do not look that great. Next time, I will consider cutting my own clear parts from transparent plastic. Once this was assembled I glued on the various items that are on and around the truck; disks, barrels, sundry equipment, a ladder (that had to be trimmed) and the rails that go on top of the truck; everything except the spare wheel. Once this was all dry, it and the cab were sprayed PC-10 and left to dry for a day, ready for the weathering process. I used part #57 for the mudguards rather than part #56 shown suggested in the instructions.
Weathering
First, I brushed the set of sub-assemblies (cab, chassis, van and wheels) with Turpenoid and let it dry. I mixed a thin black wash made from black oil paint and Turpenoid that I brushed liberally over the surfaces, making sure it went down into the cracks and panels. I also added a similar wash of burnt umber, blending in the two colours for effect. Then mixed the PC-10 with a dash of white and dry brushed the edges and any 'sticking-out' parts, to give the model some depth. Where I had overdone the oil wash, I used 'Upstage Eye Tips' foam applicators to remove the excess.
I painted the tyres Scale Black and their centres PC-10 then gave them a black wash. Once that was dry, I dry brushed light grey and sand colour on the outer parts of the tyres.
Final Assembly
There is no precise indication as to the positioning of the cab and van onto the chassis so I took care fitting the sub-assemblies together. I replaced the front brass axle with a piece of plastic rod that I bent so I could offset the wheels into a turned position. They all fit quite well and I had little trouble. I painted Future floor polish onto the surfaces where the decals were to go. The decals are a little thick but they went on eventually. After a coat of Testors acrylic flat, I gave the model a dusting with burnt umber and lamp black pastel chalks. When that was complete, I painted the headlights aluminium and the side mirrors silver. I then glued on the grille headlight protectors.
Conclusion
This is an excellent kit that takes little effort to build into an attractive model. It can be improved by replacing the thick clear parts with thin clear plastic sheet, and by possibly using the Extra Tech photoetch sheet, however, this aftermarket item is hardly necessary. I recommend this kit.


