 Modelkrak 1/700 Resin Japanese Battleship Hatsuse

by John Higgins
Introduction
The battleship Hatsuse had a very short career, as battleships go. She was built in 1898 in Great Britain as part of a two-ship project with her sister ship Shikishima. After striking a Russian mine in 1904 she was in tow when she struck a second mine. This mine ignited her magazine causing her to sink in minutes with most of her crew still aboard.
This resin kit from Modelkrak of Poland has 94 resin parts and one fret of photo-etch railings. I was immediately impressed with the quality and cleanness of the casting, For a 1/700 scale kit this has a lot of external detail and its all well done. The instruction sheet is disappointing since it gives only very rough drawings for parts locations. The masts, yards and davits need to be scratch built, so accurate dimensions would be helpful here. I don¹t have a great deal of reference material on Japanese warships so I went to the local Public Library where I found a copy of Conways Fighting ships of the World 1865-1905. There wasn¹t much info but there was one pretty good photo, which proved a big help.
|
|
|
|
|
|
|
|
|
|
|
|
 |


I started by washing all the resin parts in dishwashing liquid and warm water. After drying I removed the casting plug from the hull, which was easy, and attached the hull to a small piece of wood with double back tape. This makes it easier to handle the model during the assembly.
Resin kits generally require less subassembly then plastic kits so I paint and assemble together. I painted the hull, superstructure and decks, then installed the funnels and vents and painted them. Small depressions in the deck help to locate these parts.
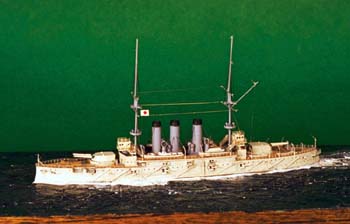
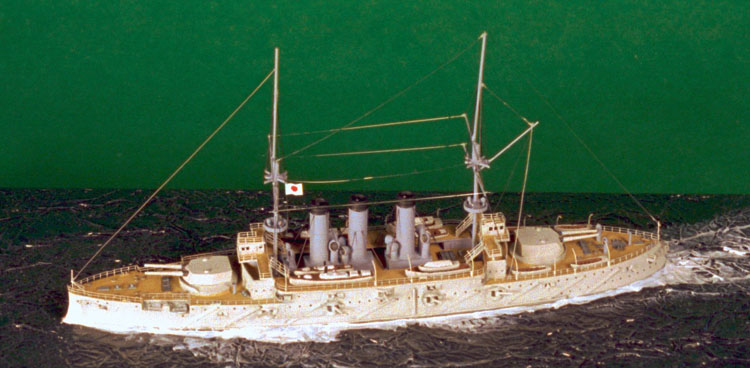
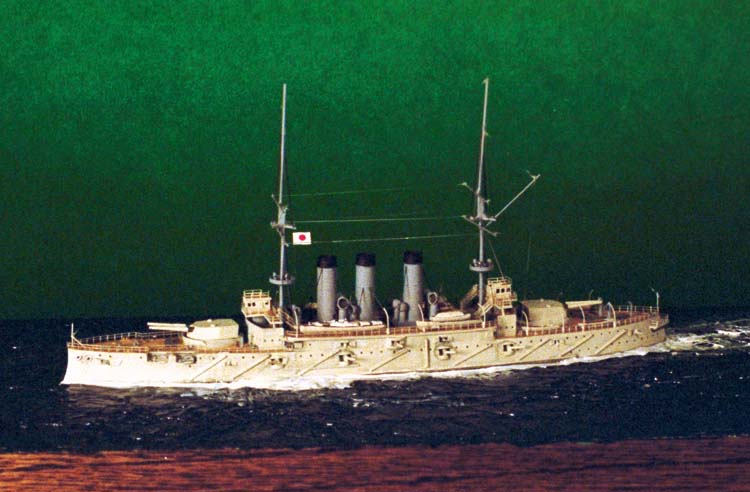
The text of the instruction sheet is in Polish which; unfortunately, I don¹t speak or read so I couldn¹t read the recommended colors. Ships from the turn of the century had their hulls painted white in many cases, with a darker color such as ochre or gray on funnels and masts. The photos from Conways and the model box give the impression the hull was white or very light gray with medium gray on the funnels and masts. I used camouflage gray on the hull since it appears white in scale and haze gray on the funnels and masts. I painted the decks Pollyscale deck tan.
Part of the resin ship 'gig' is removing the large casting plugs from small parts. On this kit the makers engineered the location of these plugs very well because they can be removed easily without altering the part accidentally. I removed the casting plugs from the small vents and installed them on the deck with CA. I found that I needed three more so I formed them from small brass rod. I next installed the deck pieces that run fore and aft along both sides of the ship. These cleaned up very nicely as expected.
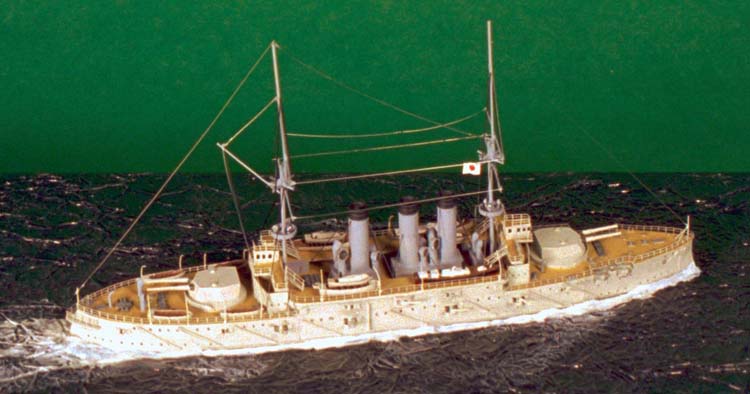
Using the photo from Conways, I approximated the height of the masts and assembled them from brass rod. The yards were also cut from brass rod and assembled, along with the searchlight platforms, using 5 min. epoxy. I find using 5 min. epoxy better then CA when assembling metal and /or metal to resin. After painting, the masts were installed with epoxy.
There are a great number of guns with this kit and they all looked about the same size to me. So I picked out four which looked the biggest and glued them into the turrets with CA. The turrets are crisply cast and look good with almost no cleanup.
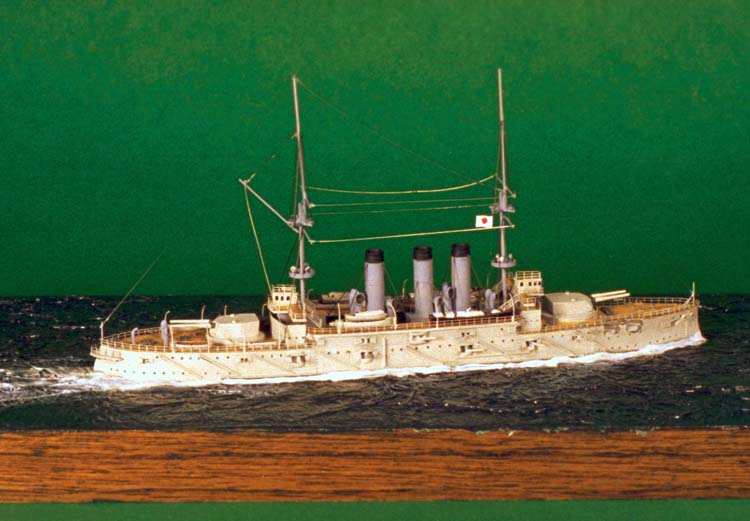
The amount of photo etched railing is adequate for the perimeter of the ship. These are very delicate but they look great after they are installed. I chose to install railings around the bridge wings and handrails on the stairs so I had to raid my spares box.
There are a lot of boats included with the kit and it took a little time to figure which ones go where since the instruction sheet isn¹t very clear. The good news is the boats have virtually no molding flash to clean up and the detail on the gigs and barges is remarkable for this scale. I painted them to match the hull color, which is normal, but I painted one black to represent the Admirals¹ barge. Davits were formed from thin brass wire and attached with CA.
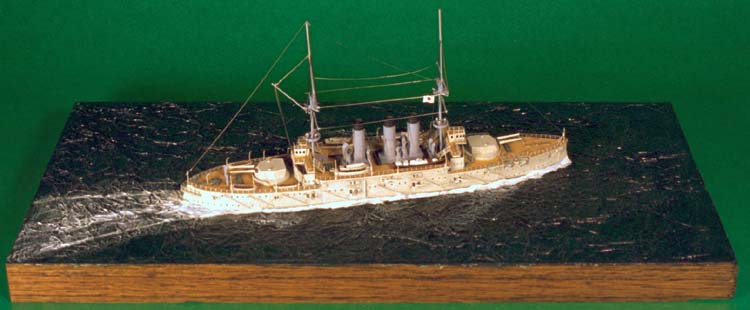
At this time, before mounting the guns in the hull, I mounted the ship on its permanent stand. I used a piece of wood about a foot long by 5 in. wide and simulated water with aluminum foil painted glossy dark sea blue. Use contact cement to glue the foil to the wood and epoxy to attach the ship to it. I painted the wake using glossy white. A coat of Future floor wax will add extra gloss, if you want.
Now that it was safe to install the guns in the sides of the ship I began cutting the ends from the cast guns and trimming them to size. Thin brass wire was used again for the smaller guns. All were attached with CA.
For the rigging I like to use clear stretched sprue for ships of this scale. The clear sprue appears thinner and can be colored, if necessary, by pulling it under a felt tip marker. As with photo etch and other delicate detail, begin from the inside and work outboard. White glue diluted about 25% with water works the best for me to attach the rigging and it is much more forgiving of error then CA. I colored the backstays black to make them look heavier. A flag was fashioned from paper wrapped around a length of sprue and glued in place for the finishing touch.
Conclusion
The finished model looks great and scales exactly with the dimensions in Conways. I spent 25 hours building this little gem, which is about as much time as I usually spend on a ship this size. The current catalogue price of $22 makes this a pretty good buy, although I¹d recommend it for modelers with a little bit of experience since some research and light scratch building is required.
Thanks to Roll Models for the review sample.


