CMK 1/35 VOLKSWAGEN TYP. 87 "BEETLE"By Ray Mehlberger | 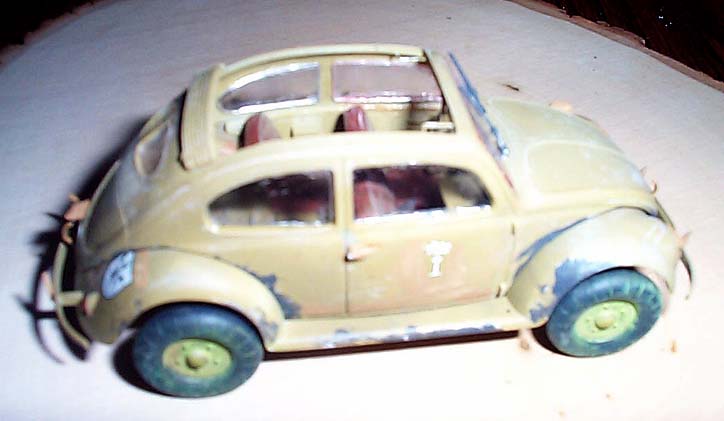 |
HISTORY
Under the type 97 designation, various versions of Volkswagen vehicles were produced with four-wheel drive. One variant which was manufactured during WWII for the Wehrmacht (German Army) were cars with the civilian body, known as the "Kommandeurwagen" (command car) VW 877. This was an off-road vehicle which represented a combination of the body of a civilian car, type VW 60, and the "Kubelwagen" chassis. It was powered by a normal air-cooled, four-cylinder boxer engine, having a output of 25 h.p. The four-speed gears were in order to improve the traction, which was complemented by an off-road speed.
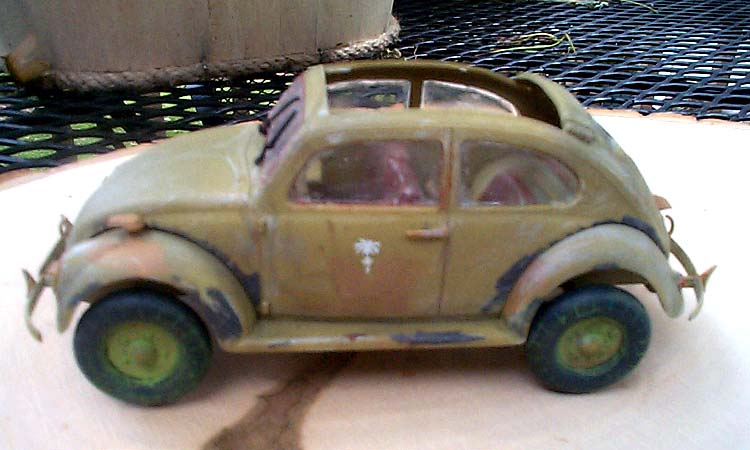
 Vehicles manufactured to this design were built from 1941 in limited numbers. They were delivered to both the Afrika Korps and the Wehrmacht. For service in Africa the car was fitted with huge balloon tires for operation in sand. This required a modification of the front axles and widening of the fenders.

The engine and electrical system were protected against dust and moisture. Most of the command cars were fitted with a roll-up cloth roof.
The advantage of this car was its capability to move off-road and to protect the crew against rain, wind, dust, and cold. Its disadvantages were its limited room to let the crew bail out under combat conditions and its insufficient luggage space.
BUILDING THE MODEL:
 I started assembly by attaching the axles to the bottom body pan. I left the hubs and the tires off, for now, for easier painting later.
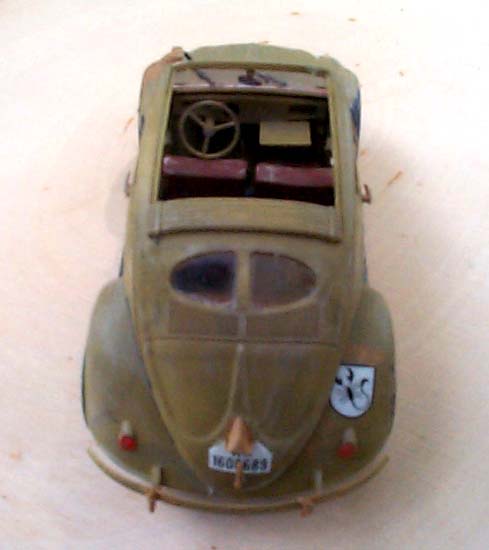
I then assembled the dashboard, steering wheel, steering column, and map table together and set this sub-assembly aside.
The front axle retainer was glued on next, along with the rear bumper. I left the clear tail-light lenses (parts 33) off until later.
Next came the rear interior shelf, front bumper, front and rear bumper verticle parts, siren, notek lamp, foot pedals, and the slit type headlights – you also get the un-slitted type headlights as an alternate...should you chose not black out your headlights.
 At this point, the instructions want you to mount the machine pistol underneath the map table. I opted not to do this, as it would be totally hidden under there and would be impossible to see.
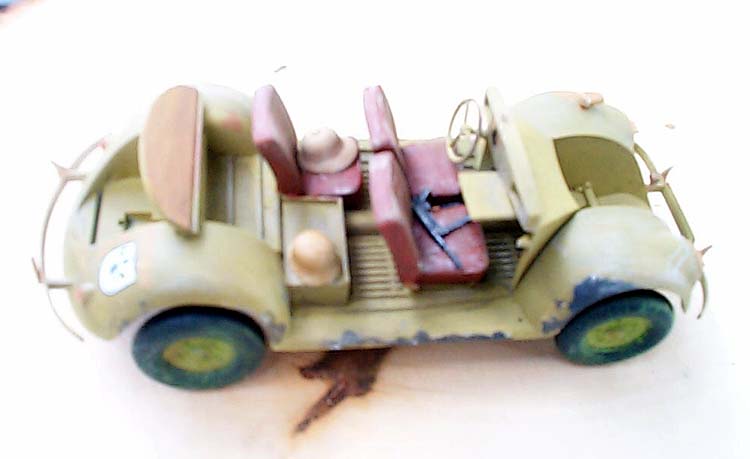
I now glued the transmission channel, brake handle and gear shift, seat supports, three seats, and a rear seat box to the interior.
Painting
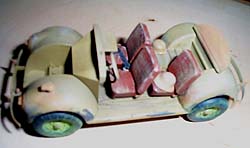
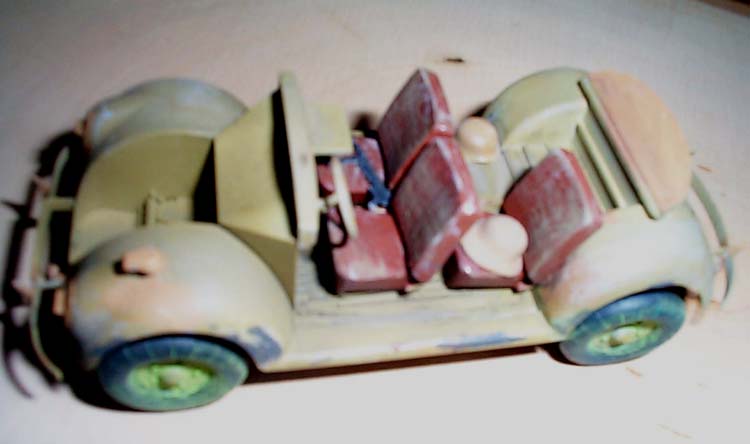
Now was the time to do some painting. I sprayed the interior and the bottom Polly S acrylic sand gelb. This was also applied to the hubs of the wheel parts, using a draftsman's circle template to mask off the tires. Once dry, the seat cushions were painted Polly S acrylic panzer red-brown. The knobs on the gear shift and brake handle were painted black. A dark wash of oil paint was spread over the interior and the seats were dry brushed with a little acrylic Khaki.
 A steel helmet and a pith helmet were painted in a slighty lightened shade of the sand gelb and glued with Elmer's white glue to the rear seat and storage box. The machine pistol was painted Tamiya acrylic grimey black and dry-bushed with silver to pick out the detail. When dry, it was glued with Elmer's to the passenger seat. This is a much better spot for it than hidden under the map table, as suggested in the instructions.
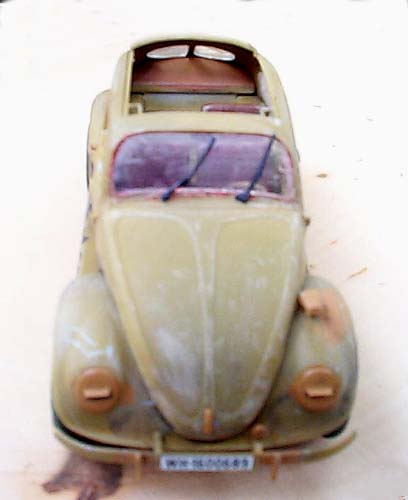
Next the upper body shell was painted sand gelb after gluing in the inner door panels, the rear-view mirror, trunk and engine handles, door handles, and the rear license plate light housing. When dry the mirror's lens was picked out with Testor's silver. The inside of the upper body shell was given a wash of burnt umber oil paint. The dash board assembly, after a wash and dry brushing was now glued into the interior with superglue. I glued the clear windows in with Elmer's white glue and then glued the upper shell to the bottom part. It was a nice drop fit.
Weathering
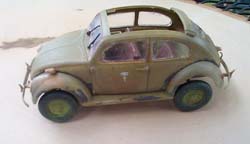
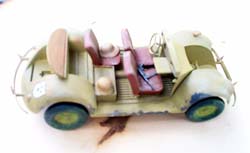
I did a random job of making patches, here and there, of acrylic Model Master panzer gray to the car. This was because these vehicles left the factory painted overall panzer gray and were painted sand gelb once they got to Africa. The sand gelb wore off rapidly, due to the constant sand blasting they got from the desert wind, revealing the base coat of panzer gray. I tried to indicate this. I gave the whole model a wash of burnt umber oil paint and dry brushed it bit with some lightened sand gelb.
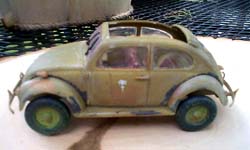 Now the tires were painted with Tamiya acrylic grimey black and dry brushed with a dark gray. I also gave them a dusting...once they were glued to the axles....of gray pastel chalk, so they would not look so factory fresh. By the way, I used the big balloon tires. You get two other complete tire sets of normal sized tires. The difference being that one set has small hubcaps molded in and the other set does not. These will wind up in your spares box for later use on some other project. There is also a spare bench type rear seat that is excess in the kit.
I back-painted the clear headlight parts with silver..so they would reflect through the slit. After drying I painted over the silver with sand gelb.
The last things to be added were the windshield wipers and the tail-light lenses. The wiper blades were found to be too short. I am not sure but it appeared that maybe the blades had been broken off these wipers at the factory. In any case I made new blades out of stretched sprue, painted them black and glued them in place with Elmer's.
The tail-light lenses are super tiny! Beware handling them, that the shag rug monster does not eat them on you !!! I back painted them red and gingerly glued them in position with a spot of Elmer's,
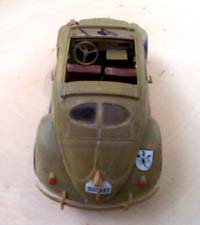 The decals in this kit were a disaster for me. They shattered so badly as to be totally unusable!! I stole some alternate ones out of my Tamiya 1/35th scale Steyr command car. Areas on the doors were sprayed with Future polish, to prepare them for the palm tree and swastika insignia of the Afrika Korps. Likewise, the right rear fender was Future coated to accept the scorpion insignia of the 90th light division, "Kampfgruppe Von der Heydte", North Africa 1942.
Conclusion
I enjoyed building this car and want to add some DML Africa figures, later, for a desert diorama scene with it.
CMK makes three other versions of this WWII V.W. Beetle. There is a European theatre one, with a hard roof; a gas generator one...that has a odd looking structure built into the hood; and an ambulance version. I have all of them, plus the CMK resin kits to do the opened doors, and engine compartment. Except for the bad decals, I highly recommend this series of Beetle cars.


