Tamiya 1/24 Mitsubishi Lancer Evo VI San Remo Rally 2001 w/Studio27 TranskitBy Tony Paton |
 |
Introduction
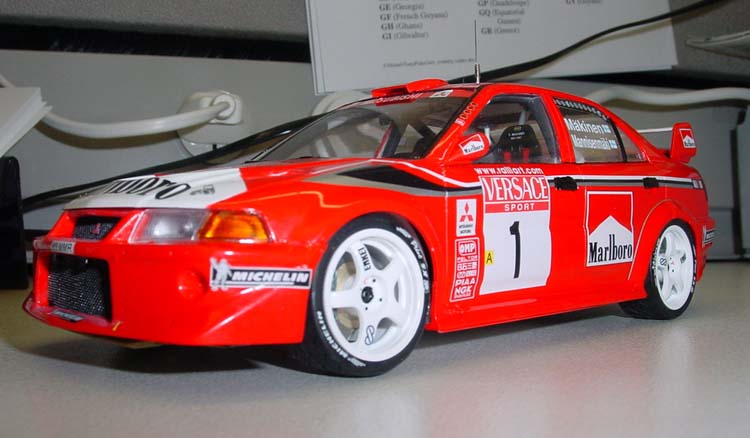
The San Remo rally of 2001 marked the fourth appearance for the updated Mitsubishi Evo VI. The major external differences being a revised front spoiler, doing away with the circular spot light locations. This car driven by Tommi Makinen finished 3rd overall in the rally behind the two factory Peugeots.
The Kit(s)
 |
 |
 |
 |
 |
 |
 |
 |
 |
 |
Studio 27, an aftermarket company from Japan, have released a new transkit to produce the Lancer as it appeared in the San Remo rally or the Australian rally (ST27-TK2414). Parts included are a new resin front spoiler, a white metal navigator's console and decals. The resin bumper has no flaws apart from a large piece of flash on the size that was easily removed.
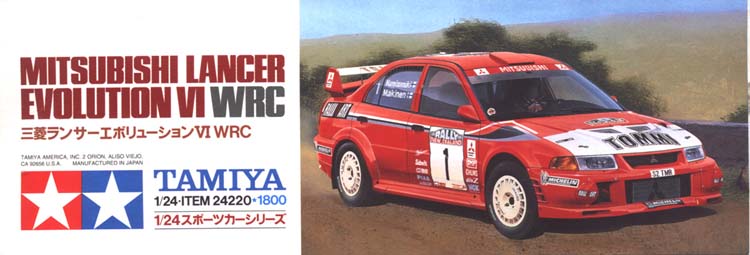
The donor kit required is the Lancer Evo VI kit from Tamiya (24220). Be warned that the San Remo rally car is a tarmac racer and not a gravel car. For the San Remo, you need to use the lower suspension and wheels. Also using the instruction sheet so that you do not get confused. Luckily the VI is a re-boxed Evo V and all the tarmac parts are still included. Only thing you will need to find is a set of tarmac wheels. I stole mine from my Evo V kit. The kit is perfect for the Australian version.
Construction
At first I thought that there would need to be some surgery to attach the new spoiler. It is actually a replacement part and no converting is necessary. The lights are also molded into the bumper, which removed having to attach the Tamiya separate light parts. The only surgery required is for installing the new navigator's console on the dash. No real problem just cut out the old one and glue in the new. The decals are perfect and are a complete replacement for the kit decals.
The body, resin bumper and other small parts were prepared for painting. Due to the bumper being red and the top of the hood being white, I decided to paint this and the body separate to avoid having to mask. The body was first primed with Tamiya Flat white and later was given a few coats of gloss white. While drying, the bumper, wings and mirrors were painted with Tamiya Bright Red.
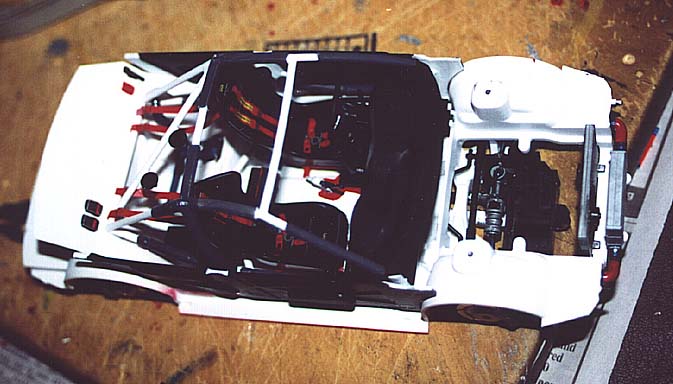
While they were drying, work on the chassis commenced. Using the Evo V instructions as a guide, the lower suspension parts were painted and attached. Everything went according to plan and no problems were encountered. I used a spare set of photo-etched brake discs to add a bit more realism to that area. To save time, I used the seat belt decals then used some old seat material to continue the belts through the seat and onto the rear roll cage assembly.
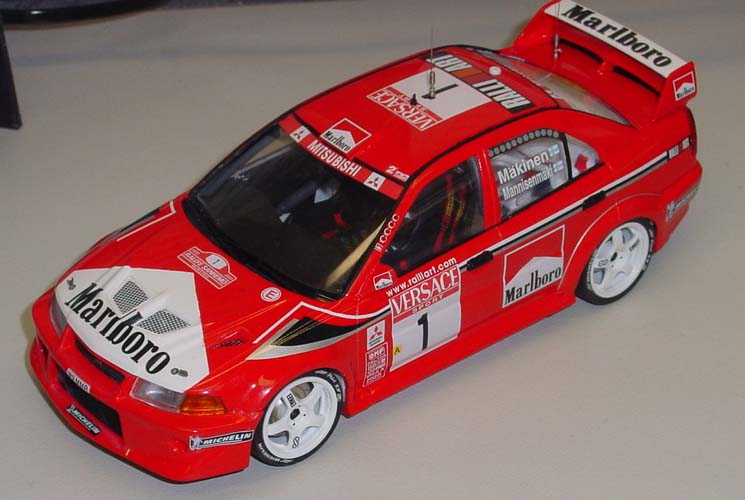
When the main body has dried, I masked off the white areas and sprayed the whole body with Bright Red. When dry, the new resin bumper was attached with CA glue. I didn't use a lot to avoid fogging. Though looking back, I should have really used a fair bit of glue. Then the decals were attached. There were no problems and luckily the long black stripes were spilt into a few sections which avoided breakage. Where these lines spread out and finish on the hood, this needed to be softened to fit onto it. When these had dried, a few light coats of Testors gloss coat were given. When this had dried, fine detailing of the body commenced. This included attaching Photo-etched grills from an old PE set. The windows were attached to the body with white glue. The wings and mirrors were attached.
Then the body was mated to the chassis. The new bumper has locating holes for the chassis pins. Due to me not gluing this enough, it moved forward. I didn't notice this until the glue had dried. So I suggest that you should use a fair amount of glue and to cut off the locating pins.
Finally, PE pins, Sakatsu Aerials and GPS antenna were attached with small amounts of CA glue. The window decals were put on and finally the wheels were attached. The Marlboro scheme of this rally is very striking and is one of the best looking Lancer's I have seen. No major problems were encountered with the Tamiya kit or S27's Transkit. Just remember if you want to make the San Remo rally version, use the smaller suspension parts and the 5 spoke wheels.
Some big thanks:
To Arnaud Taibi at Studio 27 for the review sample of the transkit and Tamiya donor kit. Please check out the S27 website. it is Japanese at the moment with English coming soon. You can use a translation service like the one at Altavista and just enter the URL into that.
Thanks to Stephen Loft and Philip Curtis for their background information and various picks.
Finally, if you are interested in Rally cars, the modeling thereof and would like to talk to like minded people, there is a yahoo group just for you. It is open to anyone and the members (like myself) are friendly and are always willing to help. Nenad Mitrovic created it and his personal rally site is where more of my rally work can be found.


