Armored Car #4: | 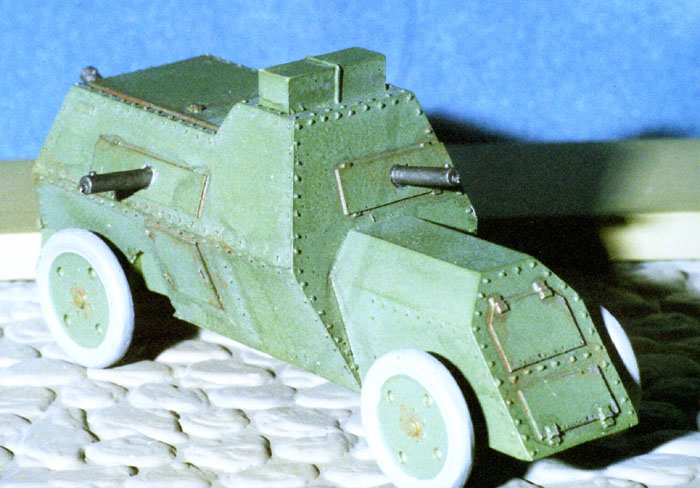 |
History
Heck, I dont know! Its Russian, its from WWI, and its an armored car.
The Kit
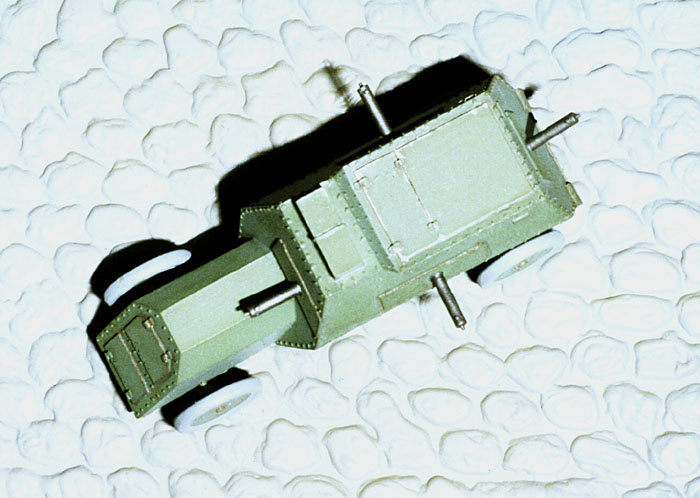
 Modelkraks 1/72 armored cars are an interesting collection of obscure Russian vehicles and definitely provide a weekend project that will be different from anything else. This particular car, the fourth in the series, is probably also the simplest. The other three (Putilov-Garford, Austin Series 1, and Russian Austin) all had turrets of some sort, while this one was nothing more than an angular box on wheels. The kit reflects this by consisting of only nine parts. You get one body, four wheels and four machine guns. To make things even easier, the pour gate on the body is small and easy to cut off. I think it took me more time to open the box than it did to prep the parts. And that is really the best part about these kits. They are extremely simple to build, so you can spend all your time trying out new painting and weathering techniques.

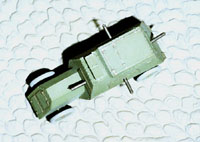
Before I started throwing paint around, though, I took a look at the parts and tried to figure out the best way to attach the wheels. After removing the pour gates from the wheels with a pair of sprue cutters and cleaning them  up, I looked at the attachment points on the body and noticed a peculiarity. If I attached the wheels to the axles as presented in the kit, the car would have a decidedly nose-high attitude. While there isnt much out there on these cars, I was able to turn up a couple of photos and in all of them it appears that this isnt the case. A quick test showed that a simple fix could take care of the problem, so I grabbed my pin vise and drilled a hole right above the existing front axle. Once this was drilled all the way through I ran a piece of styrene rod for a new front axle and now the car sat level. I drilled matching holes in the two front wheels, while for the rear I used smaller pins to secure those into the rear axle.

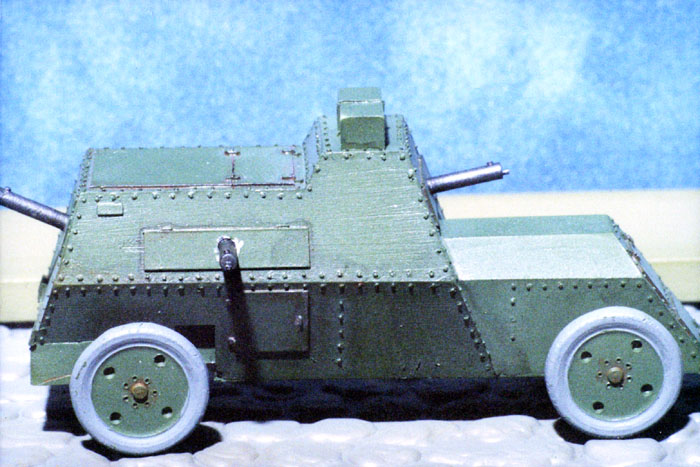
Now that I had the wheels solid and secure, I removed them and taped them to a card for painting. I left one side of the front axle longer than the other to give me a handle to hold onto while painting the body. For the base color I grabbed my bottle of WWI Russian Armored Car Green (also known as French Khaki) and liberally coated everything in sight. This shade is a nice medium green that can be neither confirmed nor denied as the correct color. Once this had dried nice and hard I took some medium gray paint, added some brown and a touch of black, and airbrushed the exhaust stains on  my Sword Bearcat. Since I had a bit of paint left over, I did some light airbrushing along the rivet lines on the Russo-Balt at the same time, giving a very subtle effect that looked pretty good. Next up, I pulled out a bottle of Lifecolor Acrylic Clear Coat and gave everything a liberal airbrushing. This provided a nice, hard, shiny finish for all my weathering purposes. It also evened out the green finish, almost hiding completely the airbrushing along the rivet lines. Well, maybe the flat coat will bring it out again.

The first armored vehicle I finished in recent years was the Modelkrak Putilov-Garford, and that kit also happened to be the first one that I tried out the Rustall product. While I was pleased with my initial attempts with this product, in looking back I think I was a bit heavy-handed. This time around I decided to go a bit lighter on the weathering. I started with some light paint chipping around the doors and where the guns go. I used Testors Metalizer paints for this, alternating between titanium and magnesium, as I didnt want bright metal showing through. I also used gunmetal on parts of the undercarriage. After that had gone on I went over the areas I had chipped with the Rustall rust, making sure to cover as much of the chipped metal as possible. I also ran some along the edges of the metal plates and around a few of the rivets, trying hard to keep the effect light.
 After letting this dry for a couple days, I took a look at it and was very pleased with how everything was looking. So of course I reached for the rust bottle again, to just add a bit more. As I opened the bottle, I looked up and noticed the sign I have on the wall in front of my bench: If it looks right, it is! PUT DOWN THAT BRUSH / KNIFE / FILE / SANDPAPER! So I put the cap back on and grabbed the bottle of black wash instead. A quick wash and I was glad I had read that sign. Subtle weathering, not too heavy, and everything was perfect. I called it good, and sprayed on a good coat of Lifecolors acrylic flat. I varied it a bit, though; so there are spots where it isnt completely dead flat, adding another level of weathering. Oh, and that rivet line airbrushing that I did? Doesnt look like it came back at all. Oh, well, it was a nice try. Next time Ill do that after I put the gloss coat on.
 Now that its all painted up, all thats left is to stick it all together and shove it on the shelf. The wheels fit nicely onto their pins and after a bit of careful bending its sitting on all four evenly. The guns got a coat of gunmetal, followed by a bit of drybrushing to pick out the little bit of detail present on them, and were stuck in place. And thats it. Another armored car done and on the shelf.
Conclusion
For those of you who have been reading Internet Modeler from day one, you know what my building speed is. The Modelkrak armored car series has greatly increased my finished model count, and in fact they have caused me to get back into the hobby room and finish up a couple others. Often times it takes something like this to get excited about building models again, and in that respect these are excellent little kits. This kit is the first that I kept good records of the time spent on building it, and Im at a whopping 3 hours. Granted, this was over a weeks time, as I had to wait for paint to dry, but its still a very fast build. If youve found yourself stuck in a rut and just need to finish a model, run, dont walk, to Roll Models and get yourself any one of these four armored cars. Youll be back to building in no time at all!


