Building Aviation Usk's | 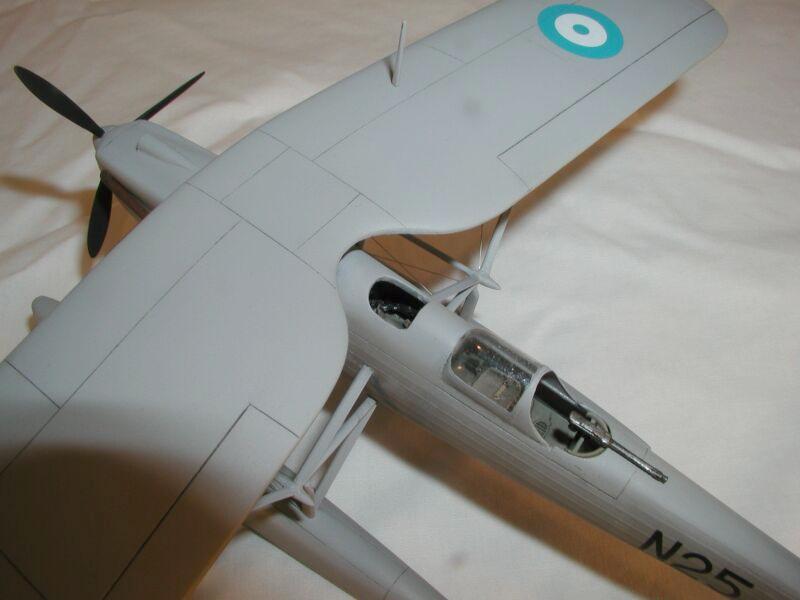 |
History
The Dornier Do-22 was designed and built to appeal to the needs of small air forces for a strong, multi-use aircraft. This aircraft was a three-seater and powered by a Hispano-Suiza twelve-cylinder engine. It could be equipped with floats, wheels or skis. In addition, the Do-22 could be armed with machine guns in any of three locations: forward, fuselage mounted gun firing through the propeller; a rearward one on the top of the fuselage for the rear observer/gunner; and/or a rearward gun firing from underneath the fuselage to the rear of the plane.
 The Kit
The Av Usk kit of the Do-22 consists of 61 injected plastic pieces, 18 resin pieces, and a vacuformed canopy. There are decals for six versions; two Finnish - one on floats, the other on wheels; two Yugoslavian - both on floats; and two Greek machines; one on floats, the other on wheels. There are no decals for German machines. The injected pieces are very well done. No flash and the exterior detail are very well done. The resin parts take care of all cockpit pieces and all of the aileron actuators.
Construction
 Naturally construction starts with the cockpit. All cockpit parts are resin so need to be removed from their pour blocks. Once that is accomplished then all parts need to be painted and added. There was no indication of what color the cockpit was to be painted, so I decided to go with RLM 02 overall, with other parts picked out in different colors. Regardless of the instructions, I decided not to add the guns at this point, waiting until the final assembly.

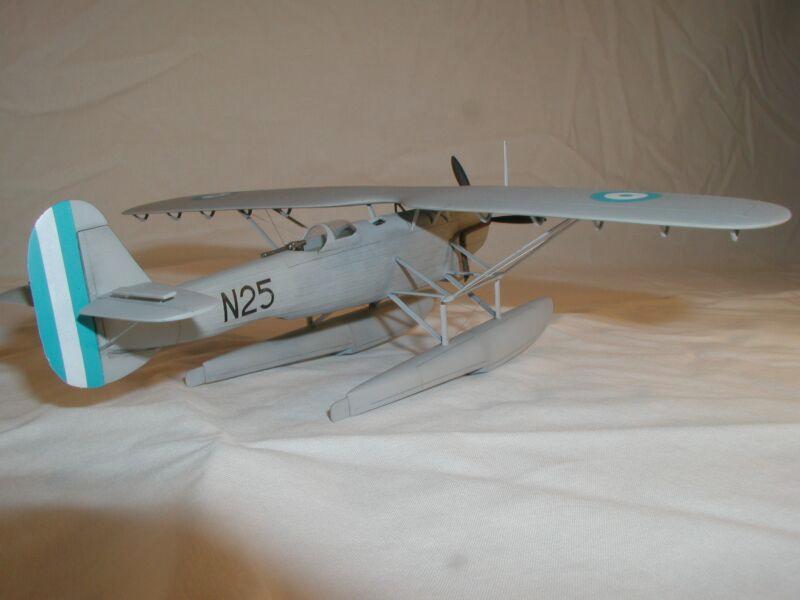
After the cockpit pieces were added including the lower front radiator then the fuselage was glued together and any seams dealt with. Since I was building the float version, and since the fit was less than stellar, I cut off the bottom fin of the rudder for the float version (part A11) and attached it separately. This not only allowed a better fit with the fin, but also allowed the rudder to be canted to one side.
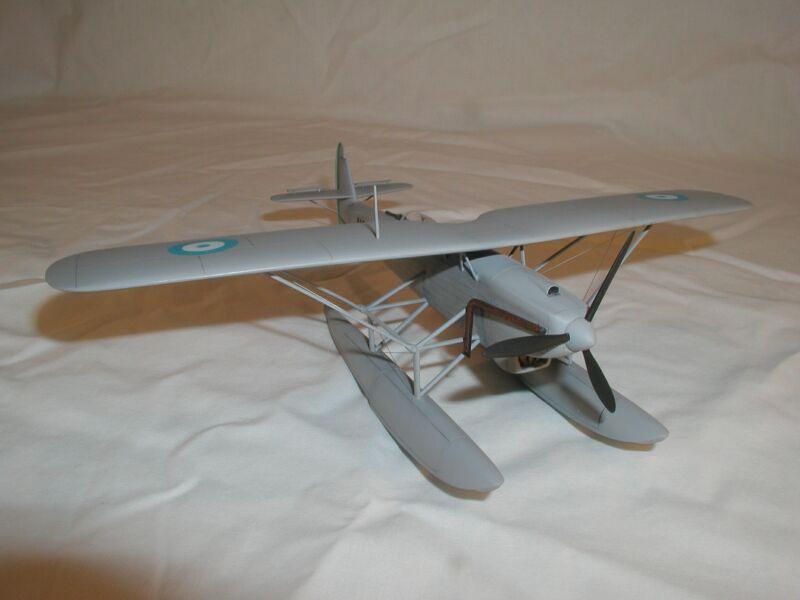
 Now, it was time to deviate quite a bit from the instructions. Instead of using the small struts that were attached to the fuselage, I decided to cut holes all the way through the fuselage for all four struts, and instead used brass Strutz! for these struts. I felt that there wouldnt have been enough strength with the struts as they were out of the box. This was just my feeling, which is why I went with the brass alternative. Once the two brass Strutz! were fit all the way through the fuselage, seams dealt with and they were trimmed to the correct size, then construction could continue.
Final Assembly and Painting
I decided to paint the fuselage under the wing as well as the underside of the wing  before I continued. Since the wing interplane struts were not that sturdy, I constructed a jig and mounted the wing to the fuselage via the center struts. Once those were dried after a few days just to be sure then I removed the model from the jig and continued. Next were the wing interplane struts followed by the last of the fuselage struts.
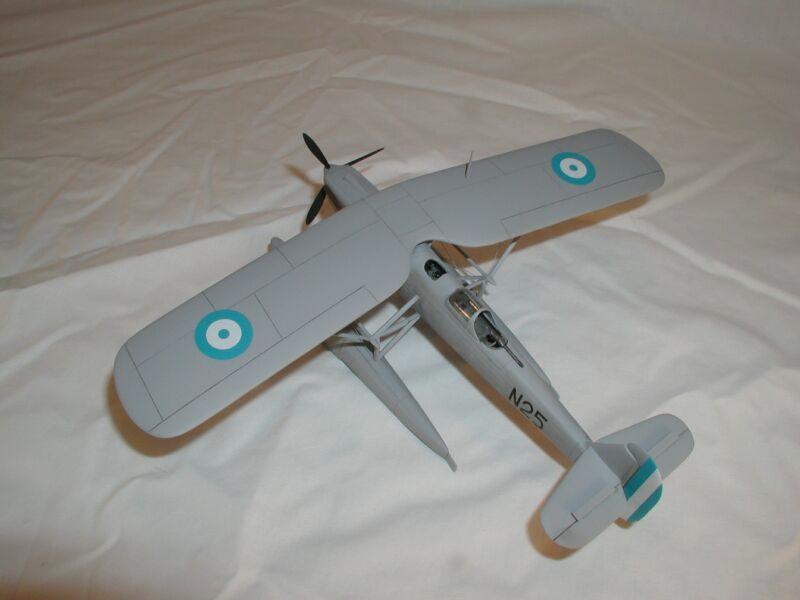
This was another way I deviated from the instructions. Normally you paint the model in separate parts and then join the wing and struts together. However, since the fit was less than stellar mainly of my own doing I decided to paint after I had most of the wing struts on so I could fix any seams that resulted in the fixing of the struts. I  painted the model overall Polly Scale Israel Gray since the instructions dont really state what colors are used for any of the schemes leaving one to derive their own colors from the box art. (It has since come to light that theres a good possibility the Greek machines were actually finished in an aluminum dope/color. I found this out too late to change anything.)

After painting I then fixed some of the smaller parts the extra parts on the horizontal tail, the struts on the underside of the horizontal tail, etc. After these were on I then tackled the floats. Nothing too spectacular here, I just took my time and made sure everything lined up using the Mk.I Eyeball . Since strength was an issue, I used tube glue when I could followed by a bead of CA. Where the plastic met the brass struts I could only use CA. It seems strong, but I dont tempt fate and pick it up by the fuselage.
 Now the gloss coat was applied, followed by an oil wash followed by the decals. I then added the exhausts after painting and glue the prop blades to the spinner and glued that on. The last item was to spray it with a dull coat.

Conclusion
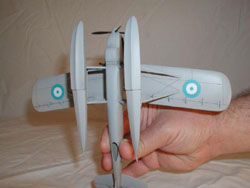
This is an interesting subject to put into model form. While its not a shake and bake kit, it is definitely buildable. The biggest problem one will have is mounting the wing and floats or wheels to the fuselage. There are a lot of struts that carry the weight so strong joints are a necessity. I would recommend following Aviation Usks recommendation of using a jig to add the wing to the fuselage/struts. Also be aware I have the center struts not entirely in the right places the rear struts need to be splayed out toward the wing tips more. It was an error I didnt catch soon enough.
My thanks to Aviation Usk for the review model.


