Classic Airframes 1/48 Regianne RE2001 - Part OneBy Michael Benolkin | 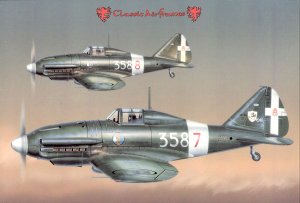 |
Background
Last month I gave a brief overview of the RE 2001 and a look at Classic Airframes' new 1/48 scale kit. Click here to take a look. This kit begins a series of releases from Classic Airframes that explore many much-overlooked Italian AF aircraft in 1/48 scale. You can expect to see the RE2000, RE2001N (night fighter), RE2002 and even an SM.79 in your relatively near future!
Cockpit
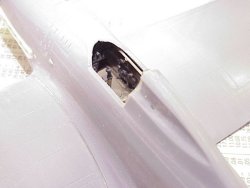
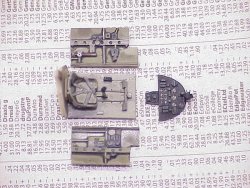 The front office of the RE 2001 is represented by eight resin parts - cockpit floor, rear bulkhead, seat, control yoke, left and right sidewalls, instrument panel and gunsight. I used a variation of RLM02 as the base color for the cockpit, painted key details and then used a combination of wash and drybrushing to bring out the details.
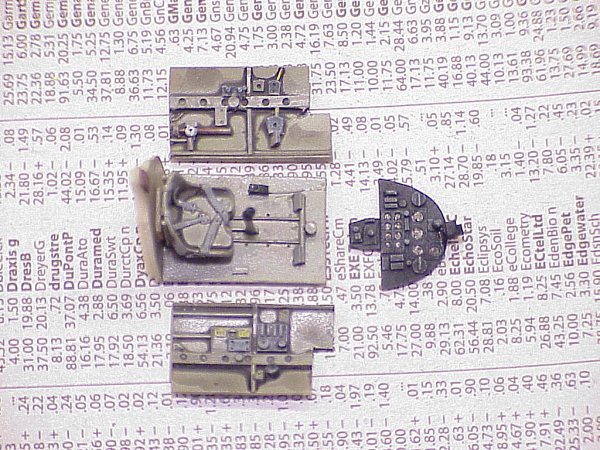
The instrument panel was airbrushed with Tamiya NATO Black, which is a slightly lightened flat black acrylic equivalent to Testors Model Master Aircraft Interior Black. Instrument faces were brought out with India Ink and then the panel was lightly drybrushed with a neutral gray. The cockpit was assembled using cyano.
Fuselage
 The fuselage halves were sanded smooth along the mating surfaces. The DB601 exhaust stacks (parts R1) were dry fitted and the fuselage openings and resin parts were filed/adjusted as needed to get a good fit. The fuselage halves were joined using Tenax 7R and set aside to dry.
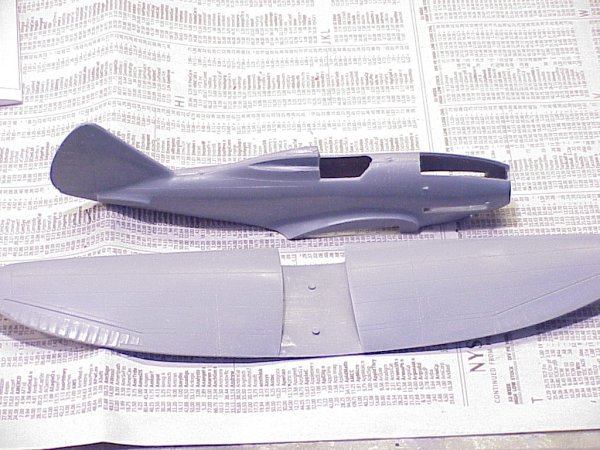
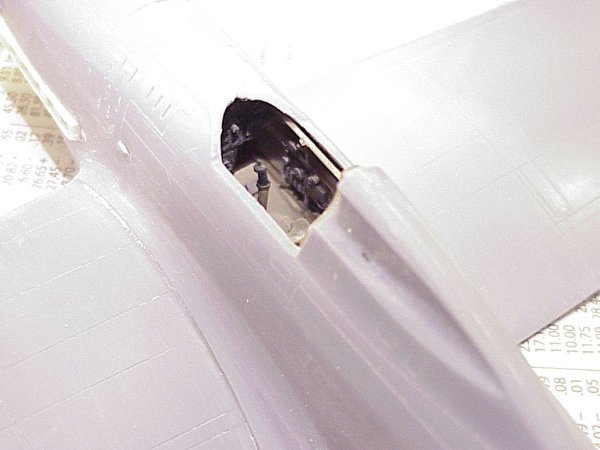
The air scoop under the nose was carefully filed into profile, including thinning the edge of the scoop. When I was satisfied with the results, I installed the interior resin blanking part (R15) to keep judges and other nosey folks from peering down the inside of the fuselage.
It was time to install the resin interior. This slid up inside the fuselage almost perfectly the first time. I had to slightly trim the width of the instrument panel to achieve a good fit.
The top of the nose was installed last (part 12). This part needs careful trimming and dryfitting to achieve a good fit and the effort was worth the effort - no filler was required on the nose! I applied a bead of cyano on the fuselage half seam lines and set the fuselage aside to dry.
Wings
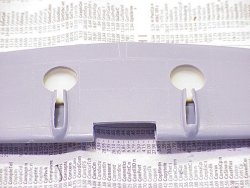 Assembly of the wings is very straightforward. I sanded the wing tops and the one-piece wing bottom to achieve a smooth fit and to reduce the thickness of the trailing edges of the wing. The resin wheel wells were installed into the lower wing half using cyano. When the glue had set up, the upper wing halves were dry-fit to the lower wing and the rear areas of each resin wheel well were sanded until the wings could be joined without obstruction. The wings were assembled with Tenax 7R and set aside to dry.

Integration
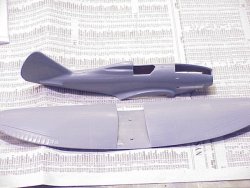
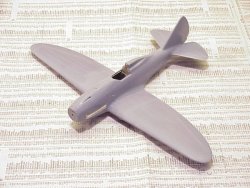 The wings were dry-fit onto the fuselage and some minor adjustments were required to achieve a solid fit. Even so, there was a slight step in the left wing/fuselage that was removed with a little sanding.

The wings were glued into place with Tenax and the seams were treated to a bead of cyano and set aside to dry. All of the seams were sanded smooth with my favorite weapon - a four-grit wet/dry sanding stick under a stream of water. The final product was looking good!
Production Halt
 As with virtually everyone on the planet, all my attention was turned to the news after the events of September 11th. This was particularly frustrating for me as I began calling my friends and contacts to see if I could somehow get back into the service. It seems that not only am I too old now, but even my friends and contacts have either retired or are on their way there. I hate that...
We'll finish up the RE 2001 next month. So far, this kit has been very simple to build and would be a very good first multimedia kit for modelers that haven't yet attempted mixed media project yet.


![]()


