Tamiyas Toyota GT-1By Patrick Carroll |  |
When I first saw this kit sitting on the shelf I knew I had to have it. The box even looks fast. I shelled out my 30 bucks for the kit and took it home. When I first opened the box my first impression was Where is the rest of it! My fears were soon set aside as I began taking out the parts trees and examining them. The trees are all individually bagged and so is the body. No flash on any of the parts and the plating on the metallic parts are superb. The decals are also first rate. I dont know if Tamiya does them in house but I was very pleased with them.
 ..
.. ..
..
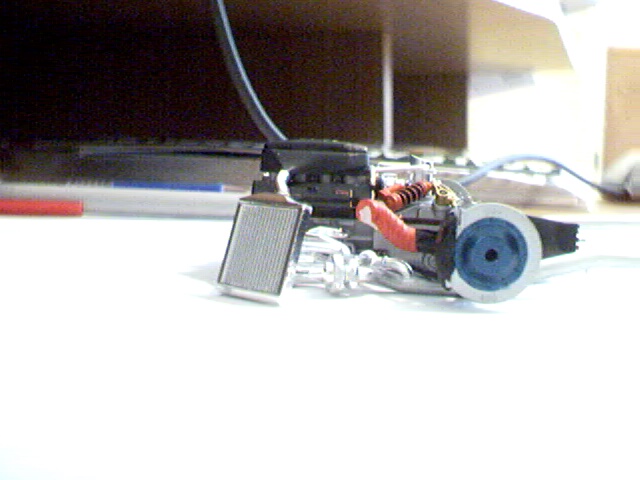
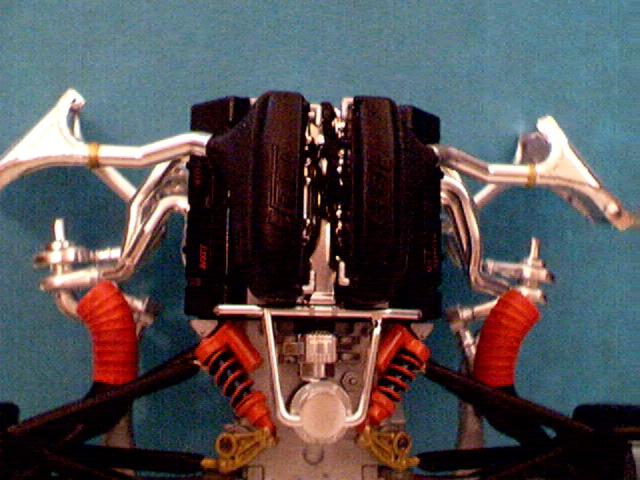
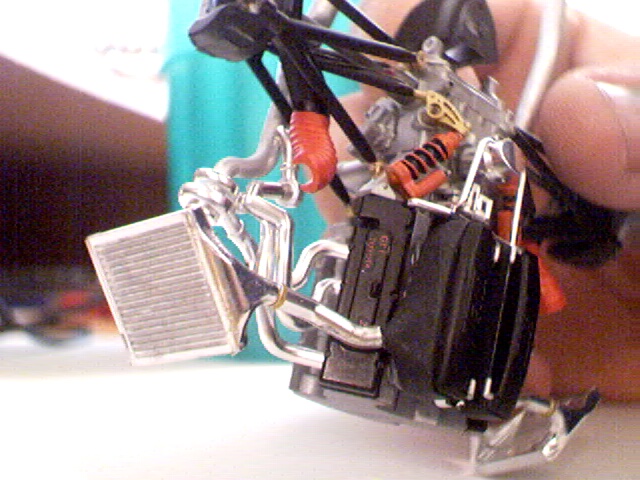
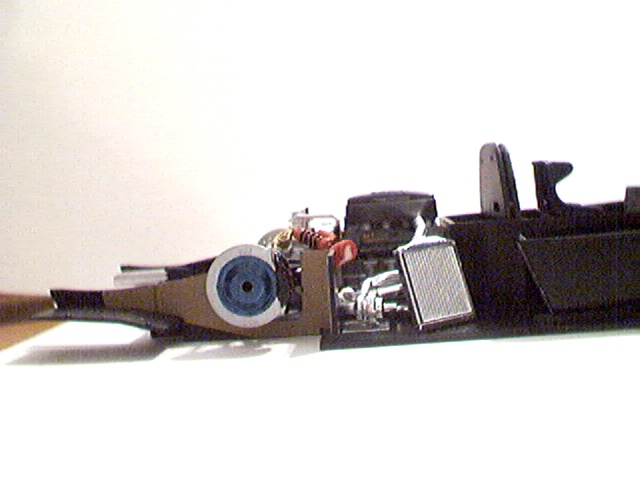
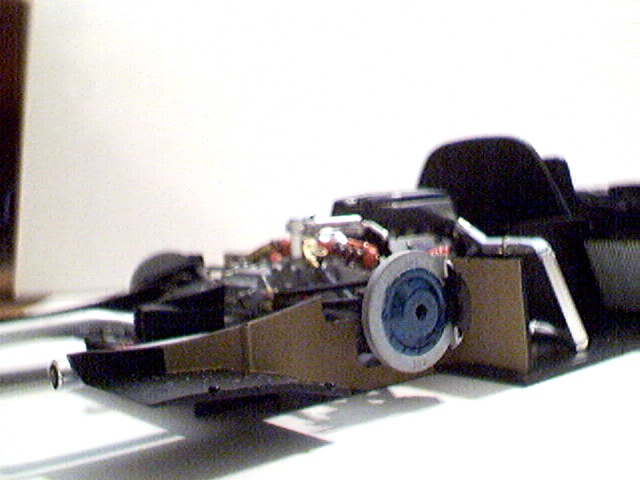
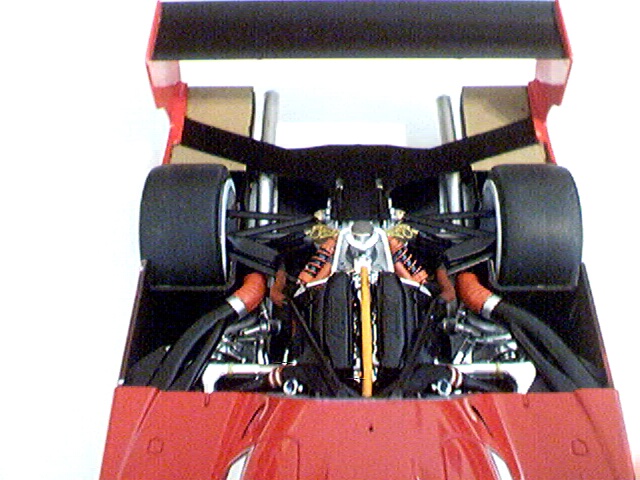
You start by assembling the engine and drive train, which is usually the case with most car models. There is some detail here that is not seen on the finished model (the alternator pulley and drive belt) and you can leave it out if you like but I did not. When you install the brake discs remember to put the little round insert into the holder before you apply the glue and the disc. I did not and after realizing my mistake I was frantically trying to remove the disc before the cement finished bonding it to hub. The air box on the engine is plated very well but I took some bare metal foil and applied it to the top of the intercooler duct to give it a different shade of metal and it turned out wonderfully. You can put the air box on backwards so be careful or you will be like me trying to figure out why the intercoolers and exhaust manifolds won't line up.
 ..
.. ..
..
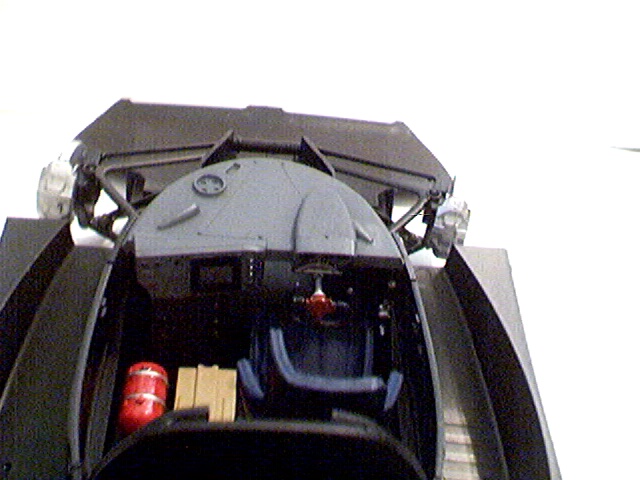
The cockpit is sparse but what do you expect from a racecar. When you paint the seat you have to mix flat base with royal blue. Dont get crazy with the flat base or you will wind up with a white hue and have to repaint it. A little goes a long way. The seat belt is a decal, which you have to apply and can be hard to work with. After several tries at unsuccessfully applying it to the seat I had to fill the seat with water and float the decal in the seat and slowly drain off the water as I was positioning the decal at the same time. Expect this to be a little time consuming. The results are well worth the time invested in it though. The cockpit goes together rather quickly after the seat belt is applied and youre off to the next step, which is mounting the cockpit and drive train to the chassis.
 ..
.. ..
..
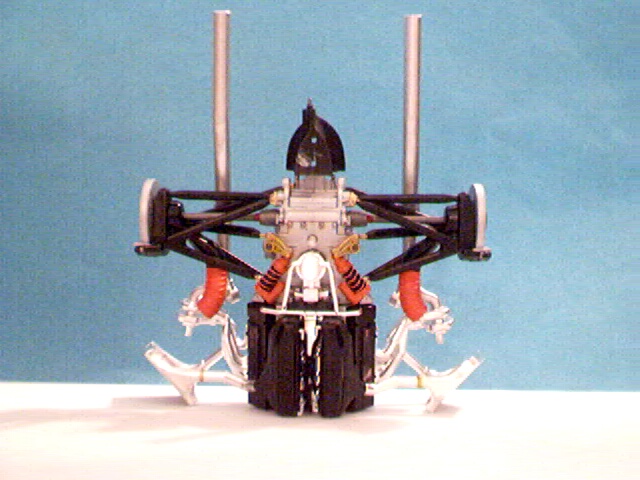
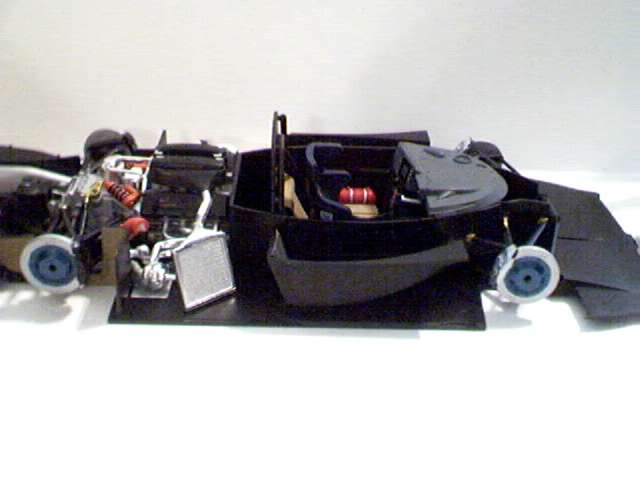
The chassis is all semi-gloss black except for a few areas around the drive train which are masked and painted easily. This is where it begins to actually resemble a car.
 ..
.. ..
..
 ..
.. ..
..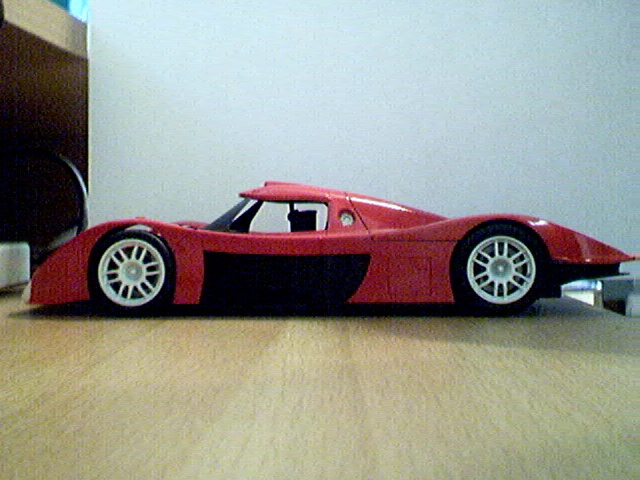
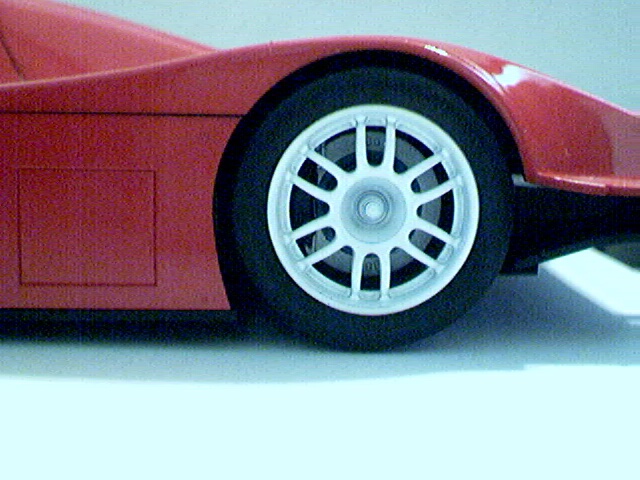
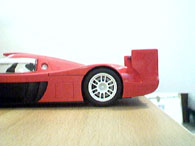
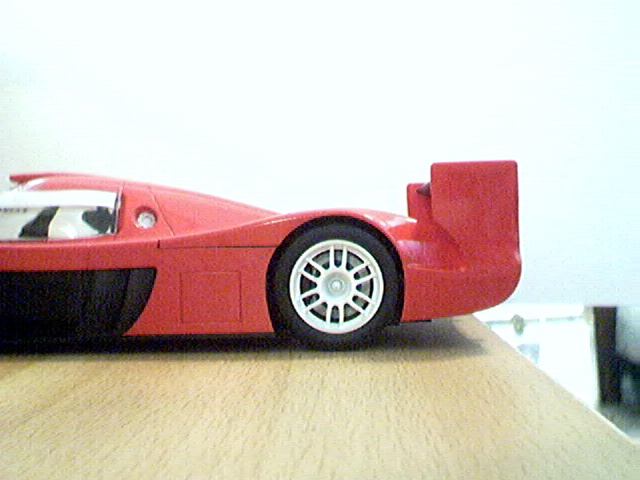
The body is next and this is where Tamiya could improve their instructions a little bit. There is an air duct that goes on top of the cockpit on the outside, which is the intake for the engine and brake cooling ducts, and they tell you to install it after you have painted the body. If you do this you will get a nice little seam where it joins the roof of the cockpit. The best thing to do is to glue the duct (part A-14) to the roof of the car and fill in the seam before you paint it. Dont worry about the white stripe on the edge of it. I used some left over white decals which you will have as well and cut a stripe about 1/16th of an inch wide and applied it to the intake after I had painted it. It looks wonderful. Install the mirrors before you paint it as well. This way you won't have any "accidents" with the cement eating the wonderful paint job you applied. Once you install the windshield and the lights in the forward body assembly it is mounted to the chassis. The remaining cooling ducts are installed and the wheels are assembled.
 ..
.. ..
..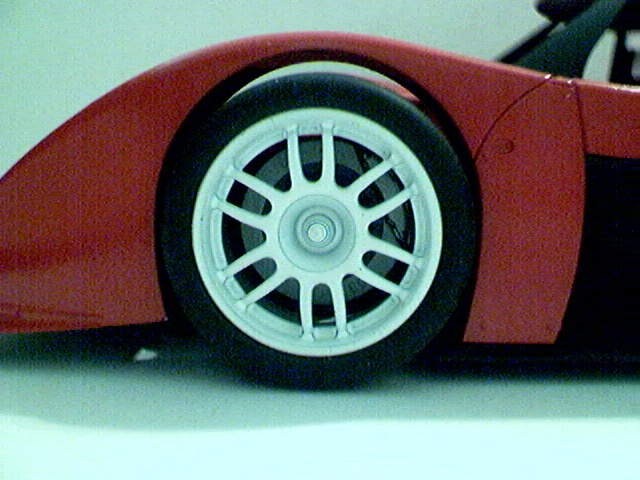
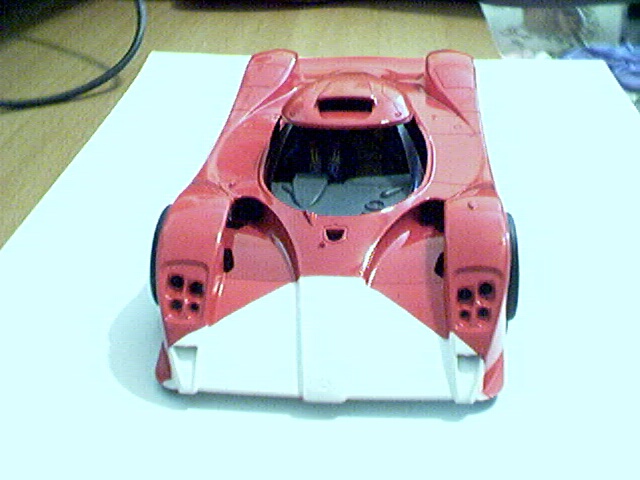
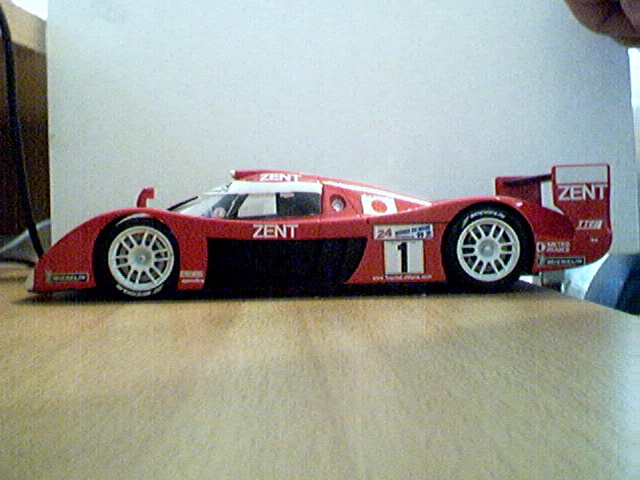
I varied from the instructions here. The instructions call out for you to paint them semi- gloss black which is true to the real thing but was just so boring. I painted my wheels white to match the white on the car and to contrast the mostly red paint scheme. The results are fantastic and maybe Toyota will take a hint and change the scheme on the real car. One can only hope. The tires are a plus for this kit with a small seam you need to remove with fine sand paper. To make the wheels complete the tire decals go on easily and add just the right detail to them.
 ..
.. ..
..
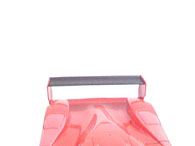
Take time to attach the rear wing and take care to pay attention to the alignment of the vertical wing mounts. A mistake here will upset the symmetry of the model.
I painted the model in all Tamiya colors and clear coated it with Future floor wax to make it really shine. One of the nice points of this kit is they give you mixing instructions to make some of the custom colors through out the construction of the kit.
 ..
.. ..
..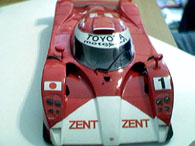

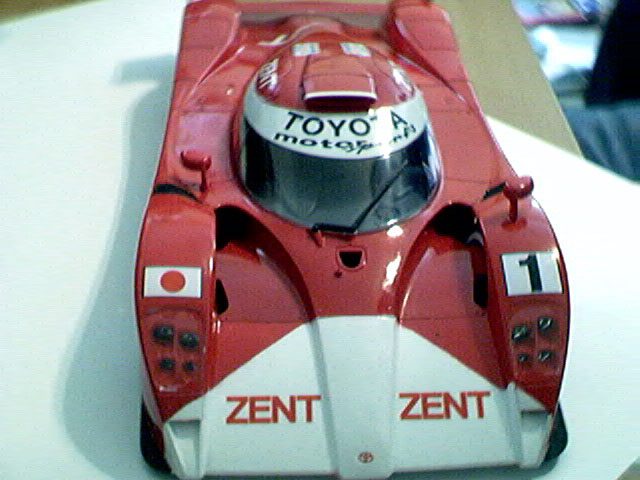
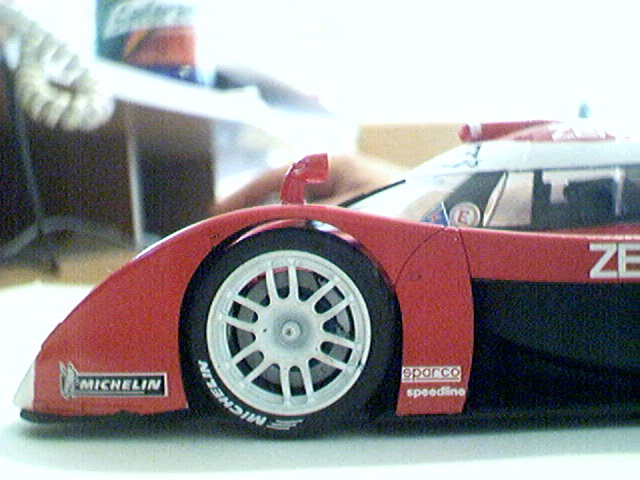
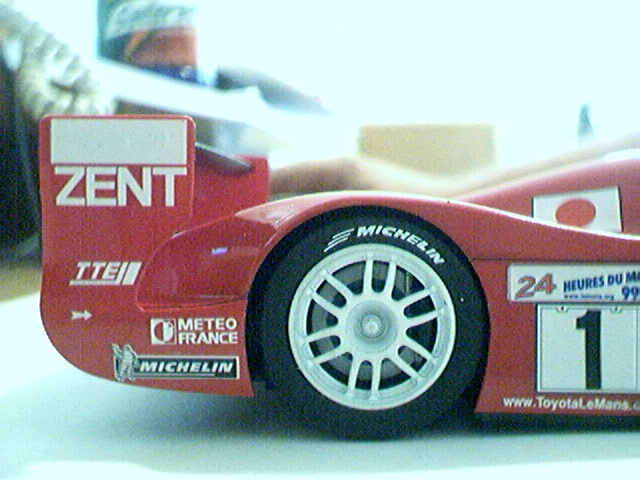
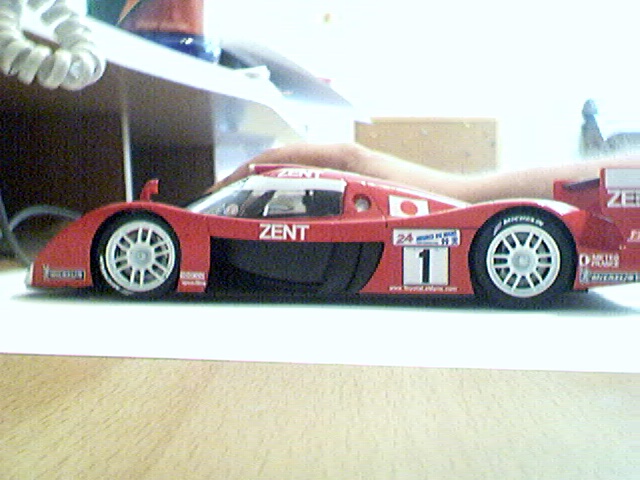
I built mine as the ZENT sponsored car, which is car number 1. These decals are very thin but withstand the application process very well. I used a couple of wet brushes to aid in the application and smoothing of the decals once they were applied, this way I wouldnt risk tearing them. Once all the decals are applied the car looks fantastic. You will have a very well built model, which you would be proud to display. I understand that Tamiya is also coming out with a see-through body version of this model as well maybe I'll get that one as well to compliment this one.
 .......
A quick word about model adhesives. I used Amberoid proweld cement that actually welds the plastic together. It is an excellent adhesive for plastic models BUT it can be very aggressive. The best thing I found to apply this type of cement is the Touch and Flow applicator, which is a glass tube with a very small needle at the end of it. The parts are joined together and you touch the needle to the joint and the cement is drawn into the joint by capillary action. This produces a sturdy assembly, which will withstand handling.
I was very pleased with this kit and building it was an enjoyable experience. Tamiya researches their subjects well and this kit is well worth the money you are going to spend on it.


![]()


