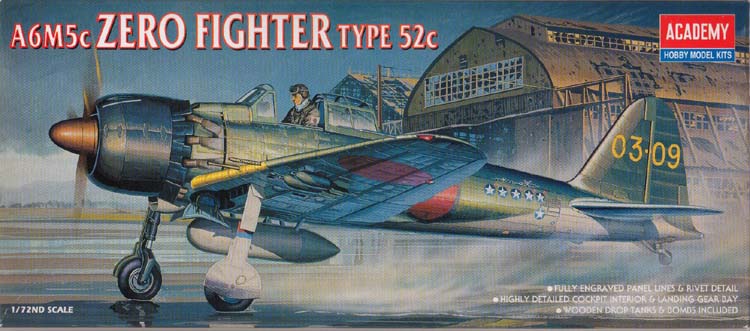
Building Academy's 1/72nd Scale A6M5c Zero Fighter Type 52cBy Michael Kendix |  |
Background
The A6M5 Zero, as its designation suggests, was a carrier fighter built by Mitsubishi and arrived fairly late in World War II. The first Zero in the series, the A6M1, was first flown by test pilot Katsuzo Shima on April1, 1939. The Japanese designated it a Type 'O' carrier fighter (hence, the 'A'), it was the sixth carrier fighter in the series (the '6'), it was built by Mitsubishi (the 'M') and it was the first in the A6M series (the '1').
 In early 1940, the Rei-sen, as it was known to the Japanese, was given an upgraded engine and the new machine was designated as A6M2. The A6M2 Type 21 was to feature in the raid on Pearl Harbor and at that time it was superior to its American built counterparts. American technology eventually caught and surpassed the early Zeroes and the Japanese were forced to develop successive improvements. This continual technological leap-frogging was a common feature of the air war in World War II; for example; the alternate improvements to the Spitfire to counteract those of the Bf-109 or Focke-Wulf 190 series, and vice-versa.
According to Dave Pluth the specific changes for the Type 52 were, "The wings were shortened 19.69 inches. The most distinctive difference however was the addition of individual exhaust stacks on the Sakae 21 engine and the openings that were cut in the cowl for the stacks to protrude through. The model 52 also brought the first self-sealing fuel tanks, and armor that would be seen on the Zero." In particular, he adds that the Type 52c "added two type 3 13mm machine guns outboard of the two 20mm wing cannons, as well as removing the remaining 7.7mm fuselage mounted gun (leaving the fuselage with only a single gun port opening). The model 52c was also equipped to carry air-to-air rockets."
The kit
A comprehensive in-box review of this kit by Mike Quan can be seen at www.j-aircraft.com
 |
 |
 |
 |
 |
 |
 |
 |
 |
The kit contains a decal sheet that gives two choices of markings, three sprues of smooth grey plastic and one clear sprue that contains a three-part canopy and a gun sight. The parts have fine engraved panel lines, there is no flash and there is only a minimal amount of molding seam that can be removed with a sanding stick. The parts on my kit fit well with a single exception (see below). The bottom line on this kit is that it is excellent though not faultless, but then what is?
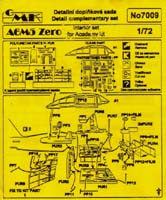
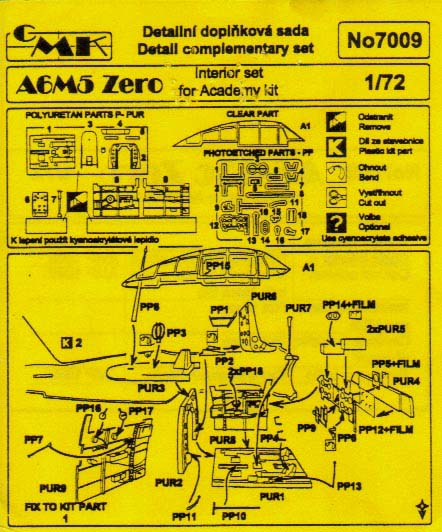
I also used a CMK resin and photoetch cockpit interior made especially for this kit. I have used a couple of other after market resin cockpit interiors and this was the best.
The cockpit, fuselage and engine
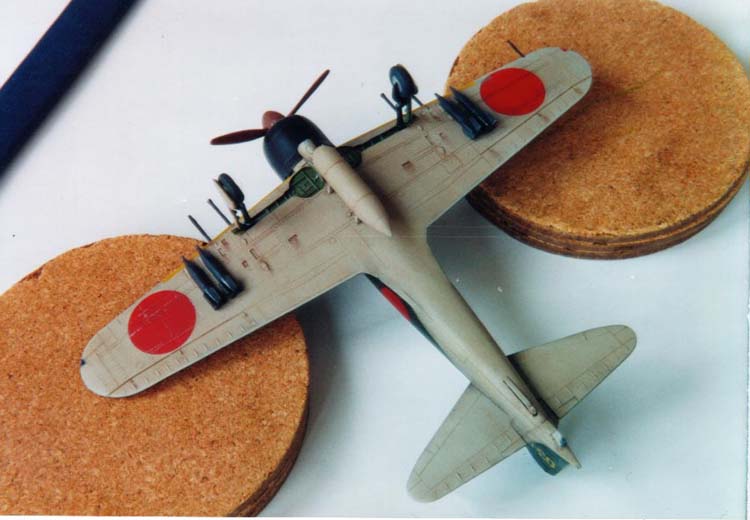
The diagram provided in the CMK set shows the level of detail employed. I confess that I did not use every single piece. I did not use the photoetch antenna because it is flat and the kitís antenna looked fine. Nor did I use a few of the very tiny knobs and levers, some of whose exact location I could not fathom and others that warped off into the eighth dimension as I cut them off the photoetch sheet. I also chose not to use the CMK vacuform canopy because the kit's canopy was clear and fairly thin. I have squirreled away the CMK canopy for another Zero kit.
Building the CMK interior was a great experience. Most of the stuff is easy to assemble provided you are patient. I was fortunate in that a diagram of an A6M5 interior appears on page 36 of the Squadron 'A6M Zero In Action' publication. I assembled the floor, seat and side walls, and sprayed the entire interior 'Mitsubishi Interior Green'. I learned later that this colour was probably incorrect and should have been a lighter shade. I also cut out the kit's antenna platform aft of the cockpit and replaced it with the resin CMK piece. I gave the interior an oil wash with a mixture of burnt umber and black, and then painted the various knobs and levers in their appropriate colours – who knows whether the colours were correct, because as a guide I used pictures of other folks' models that I found on the web. After that, I drybrushed the subassembly with aluminium to bring out the details. Once this was done, I glued the fuselage halves together and then inserted the instrument panel through the underside of the fuselage assembly – an excellent job by CMK on the instrument panel by the way. The floor and seat were then glued in place, also inserted fuselage through the underside of the fuselage.
The kit's engine is adequate in detail for a component that will be hidden for the most part. I painted it Engine Grey and then dry brushed it with aluminium and Burnt Aluminium. I glued together the two-part cowl, sanded it and puttied it, then painted it Scale Black. I then glued the engine subassembly into the cowl and set it to one side.
The wings and tail parts
I had dry-fitted the fuselage and wing parts prior to assembly. At that point I noticed the wing subassembly did not fit well at the rear underside join with the fuselage. Part B1 has a tab at the rear, which should fit onto the underside of the fuselage, but it sticks up to form a step. Before gluing the wing assembly to the fuselage, I drilled holes for the drop tank mounting pins. When I glued the wing subassembly to the fuselage I had to push the tab up into the fuselage, and then apply some super glue and super glue accelerant – 'Kicker'. Even then there was an imperfect join that required puttying and sanding. Though this was a problem, it was, in my view, the only significant problem with this otherwise excellent kit. The tail partsí fit was excellent. Once this was complete, the fuselage and flying surface seams were puttied and sanded, ready for painting.
Painting and weathering
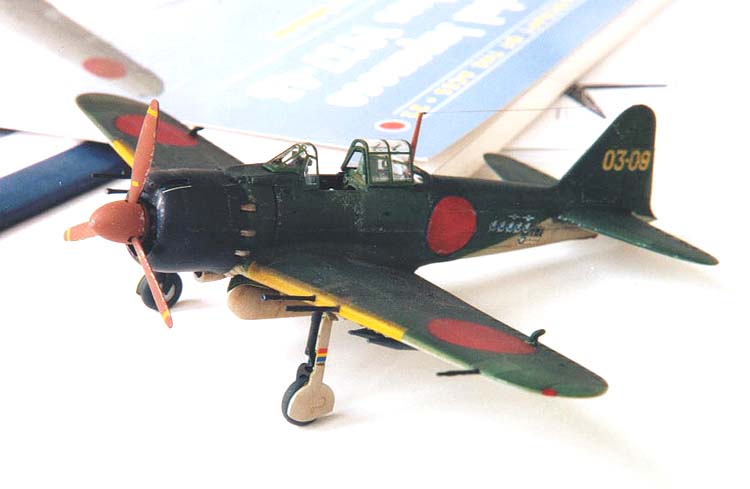
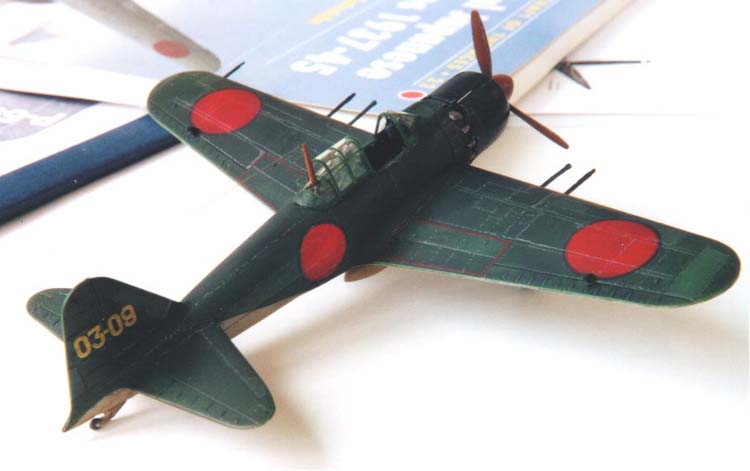
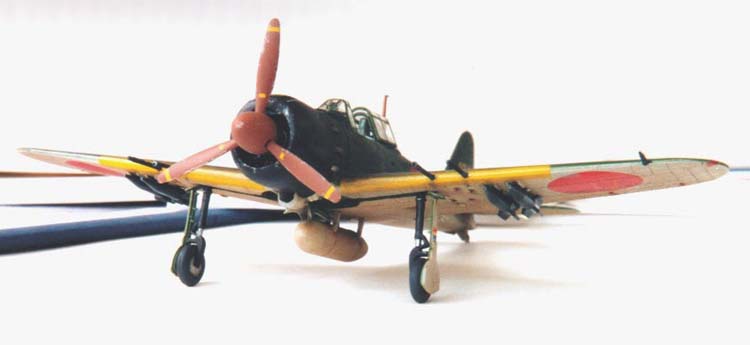
First, I sprayed the wheel wells and the inside of the wheel covers Lichtgrun then pushed Parafilm into the wheel wells and sprayed the underside Light Gull Grey. After 24 hours I coated the paint job with Future to protect it and to prepare for the decal application. Next, I sprayed the upper surfaces a mixture of Mitsubishi Navy Green and Dark Green. Once this was completed, I mixed a small amount of the topside colour with a few drops of white paint. I then used this mixture to brush a few panels on the flying surfaces and fuselage. I used a silver Prismacolor pencil to represent the metal revealed when the paint wore off. I tried not to overdo this effect as I was not certain just how much weathering actually occurred. I then gave the kit an oil wash of black and burnt umber, rubbing in copious quantities of the wash to give a dirty appearance. After a suitable interval, I covered the entire surface with Future.
Decals
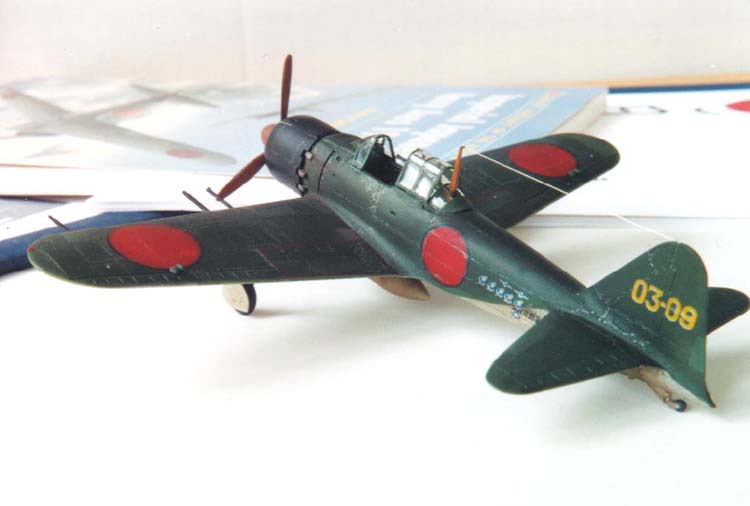
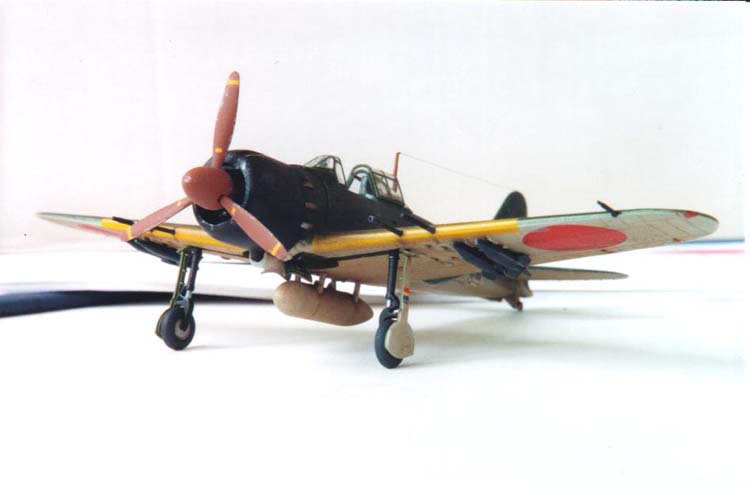
I used a combination of Aeromaster and the kit decals to make one of the versions from the kit - Naval Air Pilot Takeo Tanimizu 203rd FG, Kagoshima, June 1945. The decals went on quite well but I should have used a bit more Future to help with the silvering. The kitís red trapezoids decals for the wings are a single solid decal for each wing and I preferred to cobble together the single red lines from the Aeromaster sheet. Rather than spray the yellow leading edges of the wings, I opted for the decal route. The main reason for this is that I find yellow a difficult colour to spray on plastic ( I use acrylics). I attempted to use an old decal set of yellow leading edges but these disintegrated. I then sprayed decal paper with Japanese Yellow and cut out my own decals.
Peripherals
Once the decals were in place, I added the drop tank, rockets and the landing gear. All of these went on without any problem. I then gave entire model a coat of Polyscale Flat clear coat. I decided to use the kit's canopy, which comes in three separate pieces. Surprisingly, the kit canopy can be displayed in the open position, an important factor after spending all that time building the cockpit interior. Conclusion
 This is a first rate kit with a single surmountable problem; namely, the fuselage underside- to-wing join. The rest of the kit and the CMK cockpit interior are excellent and I recommend it highly.
References
-
Shigeru Nohara. 'A6M Zero In Action' Squadron/Signal Publications, 1983.
-
Dave Pluth. Dave's Japanese Aircraft Primer Part I - The Zero
-
Mike Quan. Box Review: Academy 1/72nd scale Mitsubishi A6M5c Zero Fighter Type 52c


![]()


