Matchbox/Revell Flower Class: Pt.6 RCN Minesweeping Winch
By Bob Pearson
 |

|
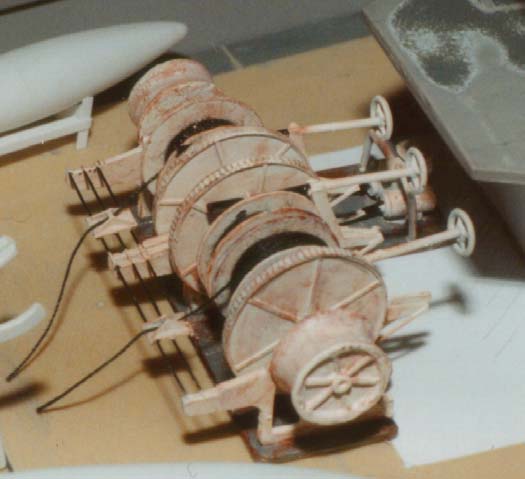
 I began by scanning and rescaling the drawings of the winch in AOTS: AGASSIZ, this gave me 1/72 templates to work from. The first actual construction was to construct the wooden platform upon which the winch was mounted. Once this was done I noticed that the entire thing would be covered by the metal baseplate, so wasn't really needed. An 'L' shaped base was then cut from .040 styrene. The four uprights were cut out, with the various openings roughed out. One of these was then completed, and used as a template to shape the other three. All of these were glued to the base.
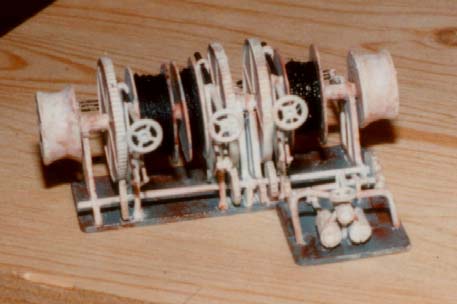 The three reels were done in basically similar fashion, but using .020 styrene for the main shape. Spacers were placed between them - two wide and one narrow. All six wheels and reels were then placed on an axle made from a section of sprue. It would be advisable to paint these items before attaching to the axle .. and definitely recommended that the wire be added to the reels at this point as well - you guessed it, I did both a lot later in the operation.
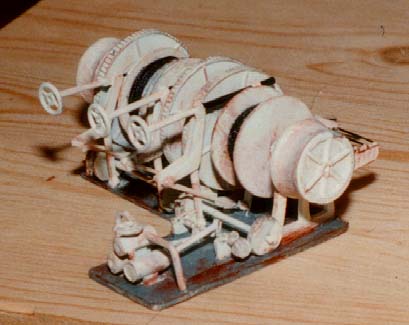 The small axle then engages a final axle which is driven by two pistons. This axle was from yet more rod, with the pistons being represented by lengths of the stanchions. The piston cylinders were sprue with .010 wrapped around to increase their diameter. The pistons and cylinders were glued to the base and piping added to it as well as a handwheel from somewhere or other.
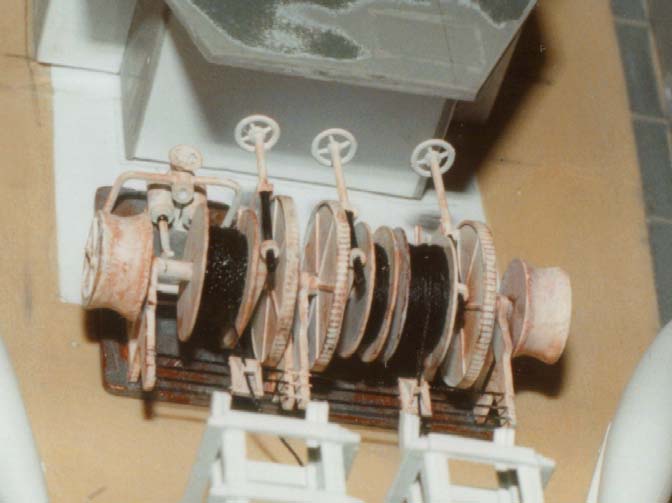 The smaller set of gears was then placed between the pistons and larger gears, with care being taken to insure that all three were in contact where required.
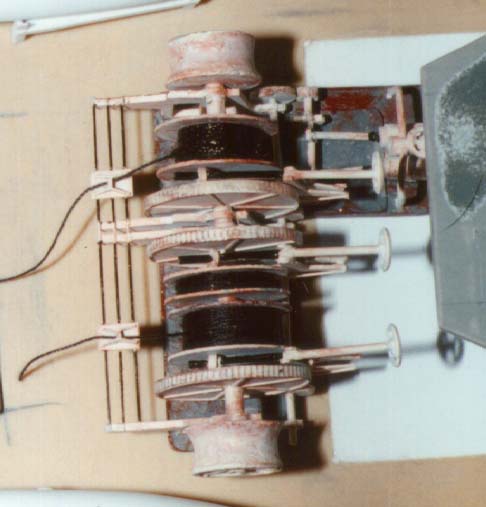 The item that gave me a lot of trouble deciding on what it looked like are the brakes for each wheel. None of the drawings clearly show exactly what it looked like, so I first just added an upright column with two 'L' shaped levers connecting to a rod at the top. This rod would tighten a band against what I now assume to be another set of drums. However I just added a vertical strip to connect the rod and the baseplate of the entire mount.
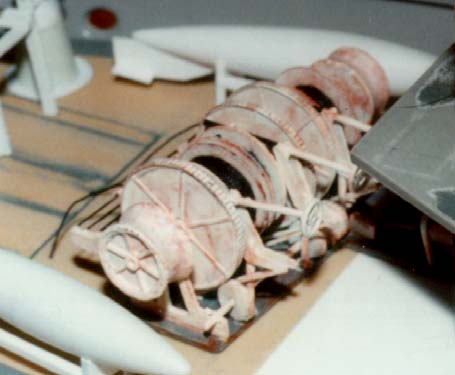 To go along with the winch I also made new davits, floats and racks for the floats. I made my own drawings based on the AOTS ones and got to work.
 The davits were pretty straightforward, with the bases being provided by the kit Oerlikon mounts. These were extended by adding a 7mm spacer to the top and gluing styrene around it. The works then being sanded smooth. The hand gears were guitar strings. I also added small pins in the bottom of the davit to allow me to move them until I decide how I want them mounted.