Building Sword's 1/72 Fairchild F91
By Bill Osborn
 |

|
 I was asked to write this article about two months after I completed the model, and as I tend to build four or five kits at a time things are a little hazy now. Now that I've made my excuses here's what I remember about the kit.
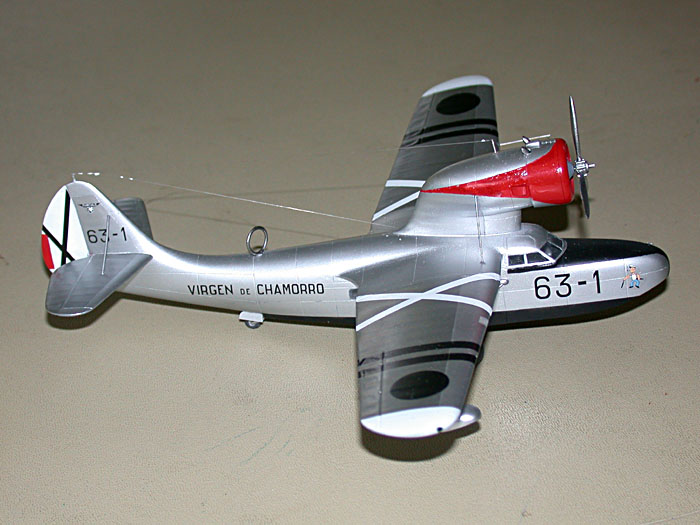 Construction is typical but with a five-part wing, complete top with a two parts per side lower panel. The engine nacelle is mounted on top of the wing after the wing has been mounted to the body. Care needs to be taken due to the fact that there are no locating pins anywhere on the model. Don't you just hate that? With the nacelle pylon glued in place it was time to get the horizontals stuck on. Each one needed to be fit to the vertical to get a good mating surface. To get a repeat fit I drilled two holes on each side of the vertical and matching ones in the horizontals to match a small chunk of brass rod that was then glued into the verticals to keep the horizontals in place during fitting.
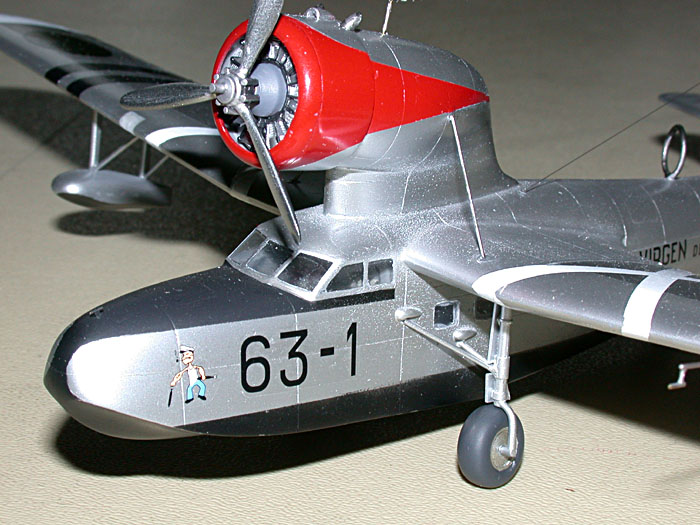
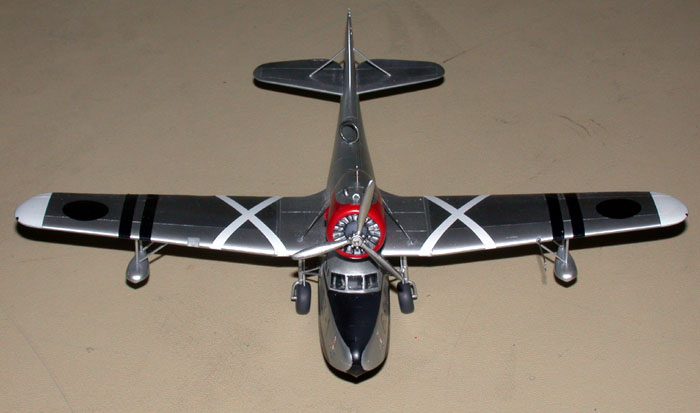 Somewhere in this period I painted the engine and fit into the cowling. Care had to be taken to get the engine straight and forward enough so the prop was in the proper position. Speaking of the prop, the photos show the bolts that hold the hub together so being an adventurous type I cut itty-bitty pieces of itty-bitty rod and glued them to the hub. Nobody else will notice them but I know they are there.
 I forgot to mention earlier when the wing was still in many pieces. As stated before, there are no locating pins or holes so I needed some good references to figure where every-thing went. Fortunately I just happened to have a couple of very good reference books in my collection. These are Fairchild Aircraft 1926-1987 by Kent A. Mitchell and Aviones Mundial en Espana (Guerra civil) 1936~1939 Aviones Americanos Y Rusos. Which is a mouth full for saying American and Russian in the Spanish civil war. Anyway, the Fairchild book has a four page spread a short history and photos of a couple of civil birds but no color. In contrast, the Spanish book has a complete set of 1/72nd drawings with scrap views, and color schemes for the kit provided decals. All of the info above is just to let
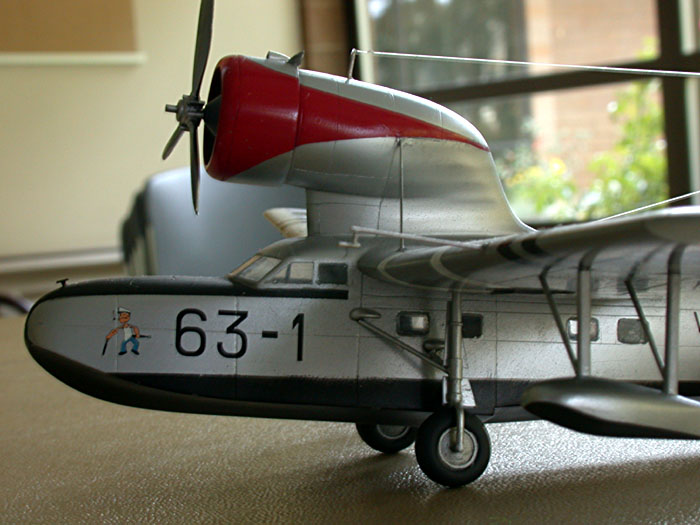 you know how I got the landing gear located.
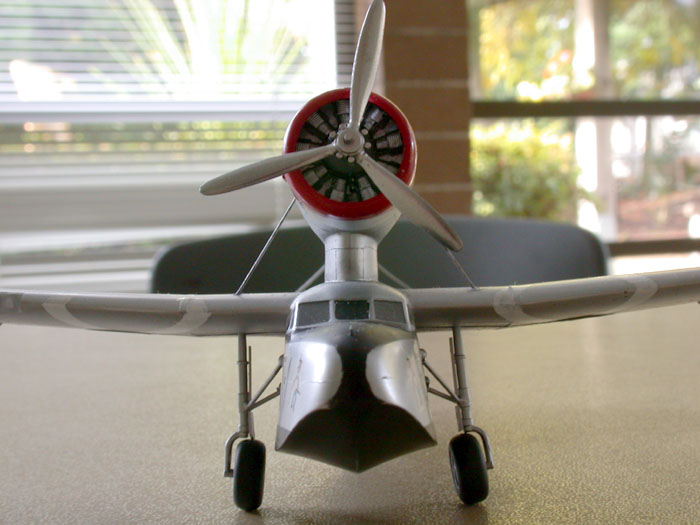 Final Prep and Painting
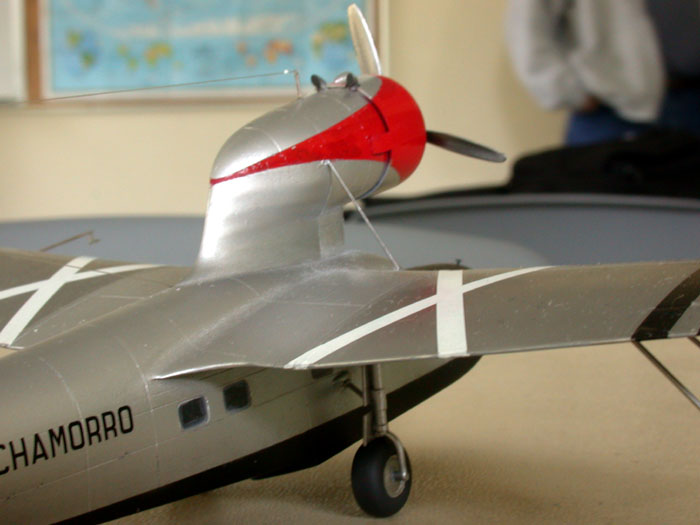 seams and joints. Before that, Metal Foil was used to mask the windows. OK now that all the background has been covered, I sprayed a couple of light coats of acrylic primer over the model to check for flaws in my work (there isn't that much primer on the market). As soon as the paint had dried, a few days, I sprayed on a few light coats of Alclad Duraluminum. Next came a coat of White Aluminum for the fabric areas. Now all I've heard, you can mask over Alcoa without a problem. Maybe you can, but if there is any way to have trouble I'll find it. As I pulled off the masking tape small areas of the paint came up too. Luckily I was able to respray without trouble. Next came the red on the engine cowl and strut, same thing happened again. So, I masked off the red and resprayed the aluminum again, off came the tape and the red too. Ever have one of those days? I got smart and touched up the red with a brush . Strange thing was that the paint didn't come up when I masked for the hull and antiglare panel.
 After setting the model aside for a few days to regain my composure, it was time to put the decals on. The decals are produced by Propagteam and are very thin and go down quite well if you are careful. However, if you let one fold over on you it is a major undertaking to get it straightened out. Almost all the decals went on without a hitch.. Only the white crosses did not fit the wing, but a little white paint and it's fine.