Nagato: Building Aoshima's New 1:700 Release
By Dr. Kerry L. Jang
 |
Introduction
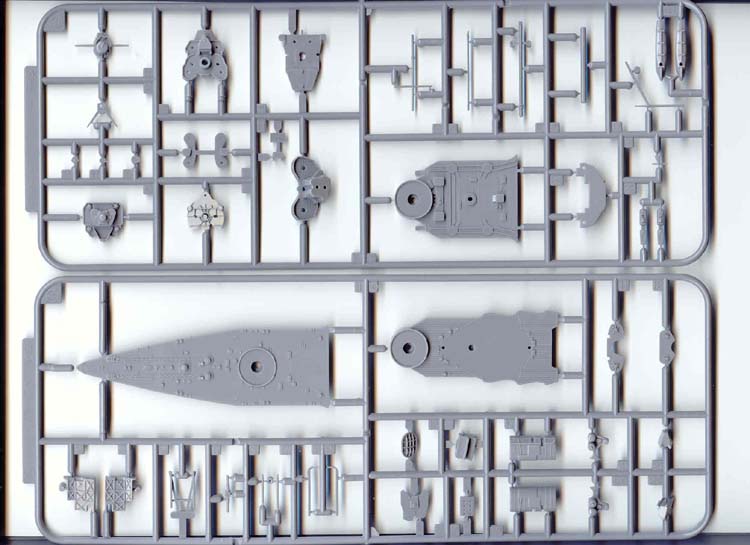
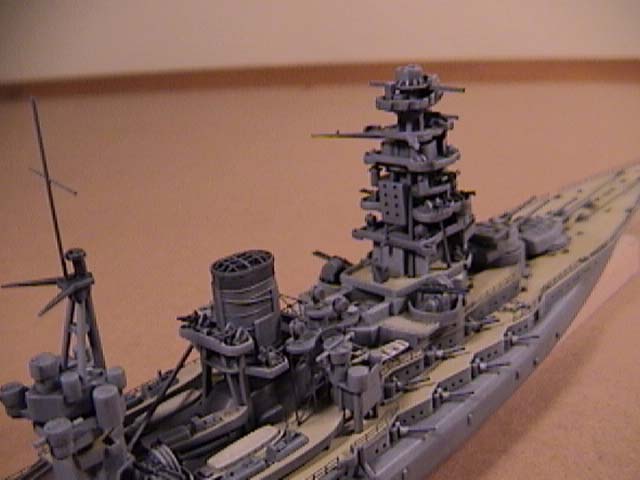
What gives?! Is this kit really an Aoshima kit?! The first mass produced plastic model of the Nagato was released by Aoshima in the 1970s as part of the massive Waterline series of kits in which Tamiya, Aoshima, Fujimi and Hasegawa set out to produce kits of virtually every ship in the Imperial Japanese Navy. Aoshima's kits were among the most basic in the series, with crude detail and molding. This was a shame, as the most interesting looking Japanese units, Nagato, Mutsu, Fuso and Yamashiro were part of Aoshima's allotment.
|
|