Omega Models 1/72 Resin Morane-Saulnier AC
By Chris Bucholtz
 |

|
 Also unlike the F4F-3, when the -4 reached the Navy, there was already a set of tactics to use it to its greatest advantage, although they were not yet widespread. John S. "Jimmy" Thach, the commanding officer of VF-42, had developed a tactic in which four planes could work in concert with one another to minimize the benefits of the A6M Zero¹s maneuverability. The "Thach Weave" required each section of two fighters to split-S toward and then away from each other, covering each other in turn. If a Zero affixed itself to the tail of one plane, it would present a good deflection or head-on shot to the Wildcats in the other section.
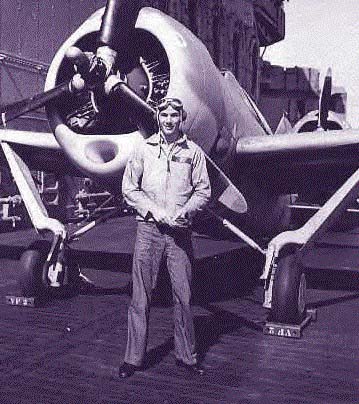 One of the men to continue as a member of Thach's squadron was Tom Cheek. Cheek joined the Navy in 1935 and went to flight school in 1938. By the time of the Battle of the Coral Sea, Cheek had served with Torpedo 2, Scouting 2 and Fighting 2, and in April 1942 had been advanced to Warrant Machinist.
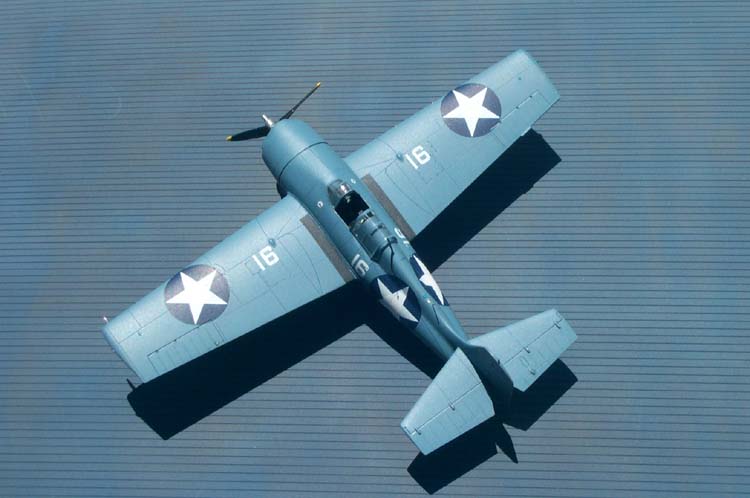 My Wildcat came from the Hasegawa kit, which, despite some imperfections, is a great starting spot for an F4F-4. In some boxings, most notably the F4F-3, the kit¹s wings are scribed with wildly incorrect panel detail; the kits have different lower wings, with different numbers of shell casing ejection ports, but all issues have three gun blast ports per wing and the F4F-3-style pitot boom on the left wing. Consulting a reference book on the subject, like the "In Action" or "Detail & Scale" volumes on the Wildcat, will help alleviate any confusion you might have.
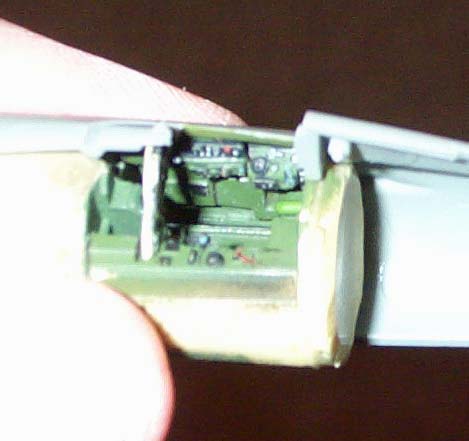 The True Details instrument panel was painted and installed, and the wheel wells were airbrushed gull gray (FS36440). The bicycle chain actuator on the rear wheel well bulkhead was made using very fine copper wire, the first of several additions to this area.
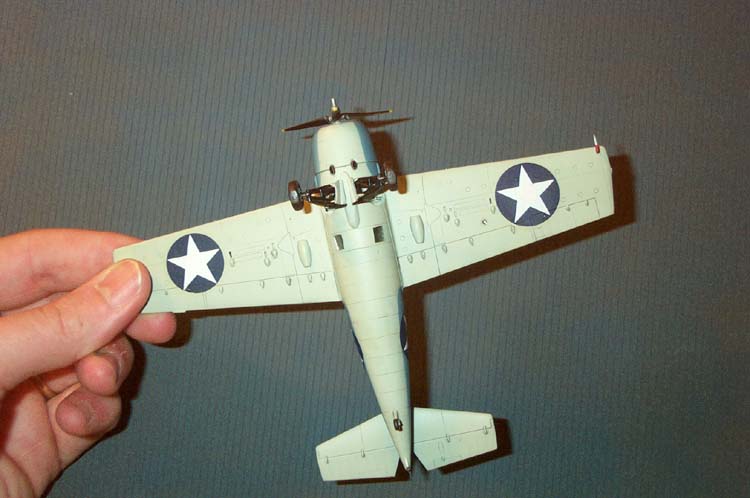 At this stage, I discovered that, in my haste to join the fuselage halves, I had neglected to add the windows at the bottom of the fuselage! This presented a bit of a problem, since the windows were designed with a large flange that would enable them to be seated from the inside easily, but sticking them in from the outside was impossible. I carefully removed this flange, then sanded the windows until they were a near-perfect fit with the openings in the fuselage. To fit the windows in place, I put them outside-down on a piece of tape, then used the tape to position them in their holes. Nevertheless, the windows frequently popped out of their holes and bounced out of the open cockpit before they were seated properly. Once they were in place, I ran thin superglue around their perimeters, then sanded and polished them back to clarity. This was a lot of work to fix a problem that was entirely my own creation, but the result was quite good and I would do things the same way were I to build another Wildcat.
 The wings came next; the F4F-3-style pitot boom was removed and a hole for the short pitot was drilled in the lower left wing tip. Next, I added bits of painted tissue paper to the under-wing intakes to get avoid a case of "see-through-it itis". The upper wings were joined to the lower wings with no problem, and the completed wings were joined to the fuselage in an equally easy manner. The horizontal tail went on next and involved only the slightest bit of sanding and filling. The windscreen was superglued into place and was blended in carefully, then was masked with Bare Metal Foil.
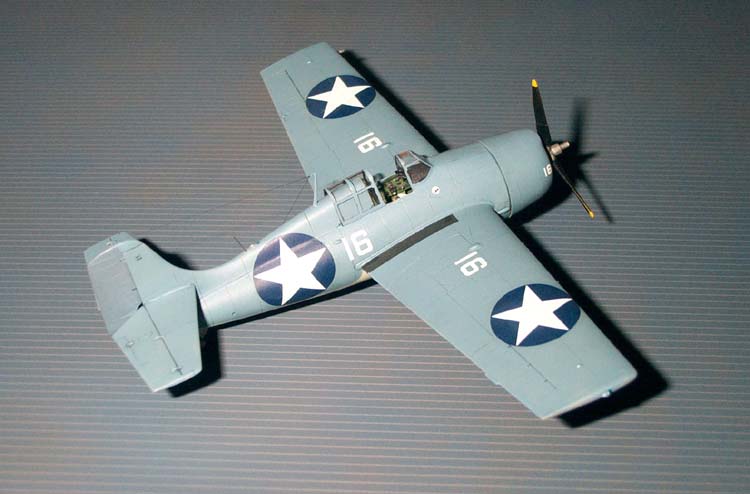
 At this point, I was sneaking up on the markings that make this a Midway model. The F4F-4s of VF-3 were delivered in the colorful markings of early 1941, with red-centered stars in blue disks (in this case, large 58-inch disks in all six positions) and red-and-white striped rudders. En route to the battle, the order came to remove the stripes and the red centers, as any trace of red on an aircraft was found to be enough to draw the fire of allied aircraft and ships. The rudder was painted over and the red centers were returned to white, but the crews had the same issues with red paint that modelers have: it tended to show through the white. Painting the rudder was easy. I brush-painted a coat of U.S. Navy intermediate blue over it for some contrast with the Blue-Gray finish. For the stars, I'd have to be a bit trickier.
 I finally stumbled across the idea of punching out disks of white decal trim film with an ordinary single hole punch; by pure coincidence, the disks were just about the same size as the red centers of the stars. When the white disks were in place, a faint trace of the red beneath them was visible. (Next time, I plan on using disks and stars with separate centers; I'll put the red centers down first, then add the stars over them.)
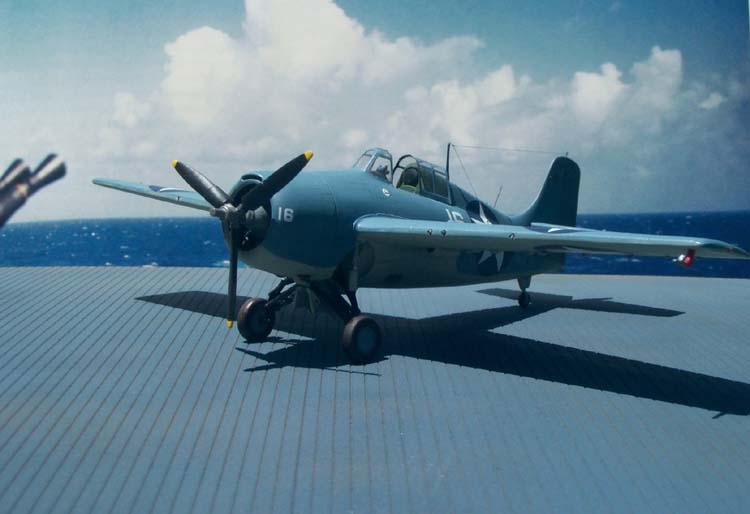 The tailwheel comes molded to the fuselage. As is usually the case, it broke off somewhere along the line, so I drilled the wheel strut and the fairing with a number 80 drill bit and inserted a small length of fine wire. When these three elements were all superglued together, the tailwheel had enough strength to withstand the rigors of holding up the F4F-4's tail. Short lengths of stainless steel tubing were added to the wing blast ports to represent the machine gun barrels.