Roden 1/72 PKZ-2: WWI Austro-Hungarian Helicopter
By Pedro Nuno Soares
 |

|
 The kit comprises a single sprue of 50 well moulded, delicate and flash free parts and I decided I would prepare all the tiny bits and pieces that make up the model before starting the assembly process. I was very worried about this at first, due to past experiences with Roden kits, and I was expecting to have more than a few parts breaking when cutting them off from the sprue. Fortunately this proved not to be so, and in only one occasion did a part snap, what was readily taken care of with a touch of CA into the fracture. All this notwithstanding, be prepared to spend a good deal of time removing the traces of the sprue attachment points, what is best done by carefully scraping the surface of the part with a cutter blade and then finishing it off with high grade wet and dry paper.
 Another feature that I chose to address before starting the assembly process were the many structural wires that were present on the PKZ-2 and that would, of course, have to be replicated on the model. So, I made holes with a .3mm drill bit at the places where the wires were to anchor on the booms, which would be later used to thread invisible wire through them, making the complex rigging scheme quite easy to achieve.
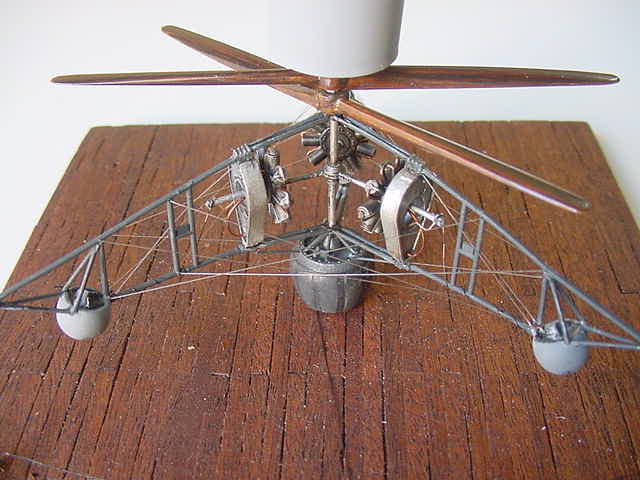
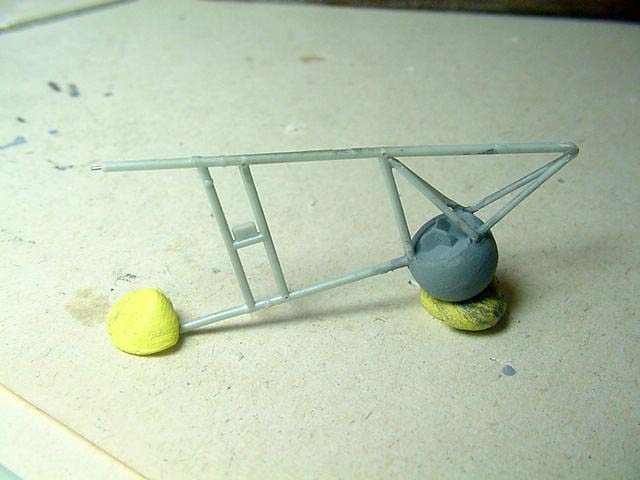 The assembly of the extremity of each boom, comprising a buffer and two inverted Vs, needs the buffers to be set at an angle, and this would be extremely difficult to achieve without the help of a third hand, due to their almost spherical form. Blobs of UHU tack were used to get the booms and the buffers at their correct angles and then the inverted Vs were glued in place. The other problem I had to deal with was the fact that Roden has the boom to "engine core" joint relying on one of their infamous butt joins, what I guess would be pretty hard to achieve given the almost non-existent contact area. On top of that the end of the booms are round and so they should be sanded flat first.
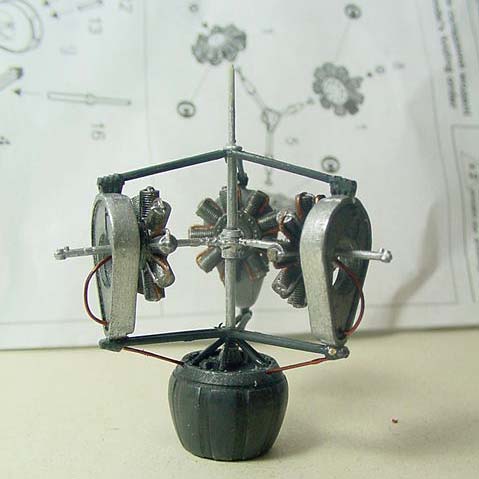 I also chose to use copper wire for some parts, notably the fuel pipes and the rods connecting the base "tripod" to the main buffer, since it was easier to cut the wire and mould it into shape than to clean the supplied parts.
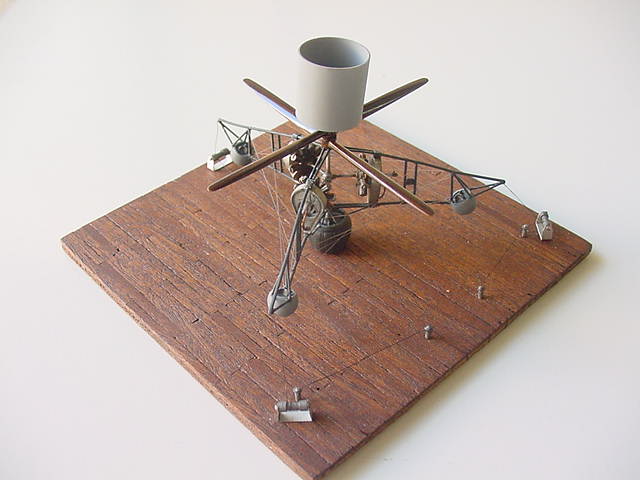
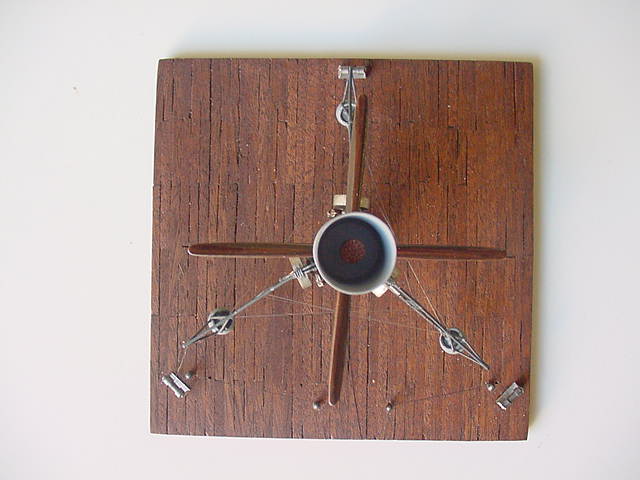 In my humble opinion the completed model looks quite a good rendition of the original, what is of course due to the merits of the kit itself, but I found it would benefit from being displayed in some sort of base, so I decided my model would rest on a wooden platform since the photos had showed it being tested on one such platform. For this I cut 3mm wide strips of wood veneer that I glued onto a plywood base. Once all the strips were glued, a wash of mahogany wood stain was given to the whole base, onto which I glued scratchbuilt rollers, made with pieces of straight pin, sheet aluminium, rod and stretched sprue, representing the devices used to feed the stabilising cables that were used on the original, which would connect to a winch trough which attitude control of the Helicopter was achieved. The cables were again represented by using fine copper wire (from the coil of an old transformer) painted black.