Revell 1/144 Su-47 (S-37) Berkut
By Matt Bittner
 |

|
 Building the Kit
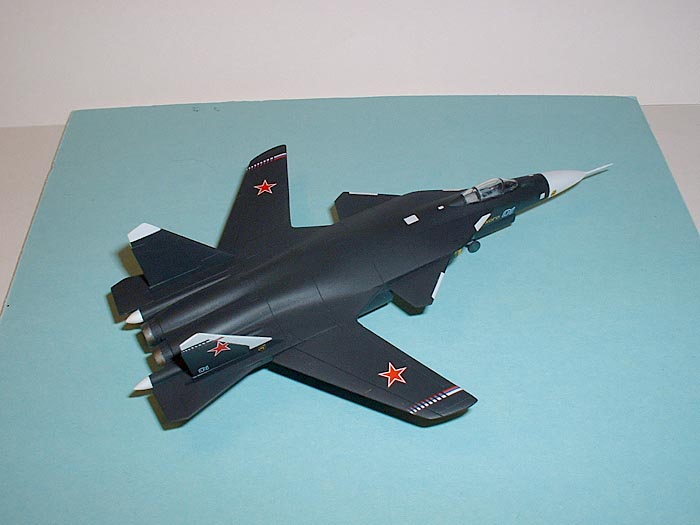 It was now time to mount the cockpit to the top fuselage half, according to the instructions. However, I found it was easier to mount it to the bottom half of the fuselage using the provided mounting holes. I could then add the front "stabilators" (not sure exactly what they're called) and then glued the two fuselage halves together. Fit was extremely nice except in one area, that being where the inlets would mate with the fuselage. I didn't have to putty the whole area, instead concentrating on where the inlets didn't cover.
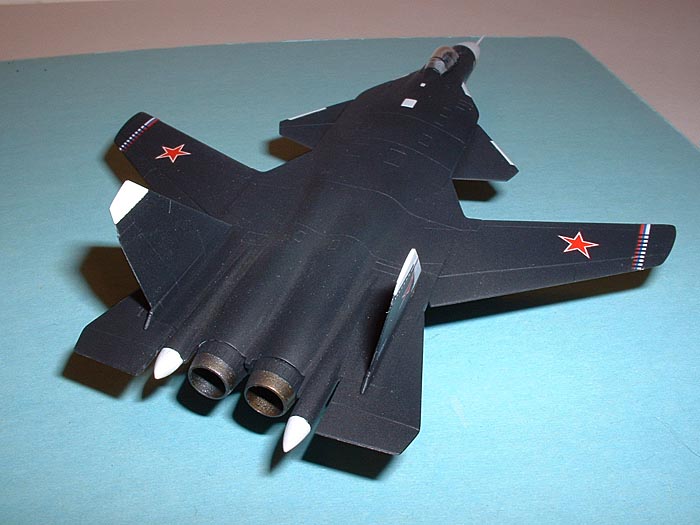
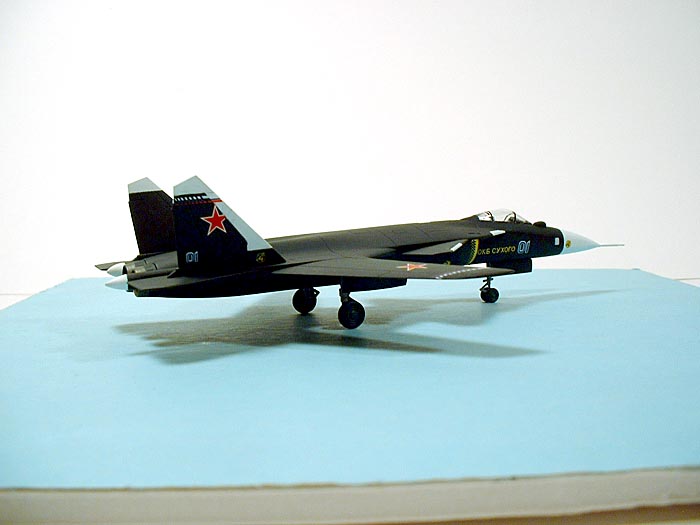 Reading Caz's article it appears that the exhaust cans are very well fitting pieces and can be painted off the model. He was right. This is good because there are two different colors to the cans - the forward area being the color of the rest of the airplane, and the rear parts being the standard exhaust color. I now added the wings and the rear stabilators and if you're careful, you can get away with no putty. Assuming you're not as ham-fisted as I am. Checking the available photos the kit has been designed around natural seems. The vertical tailpieces are also added but be careful - it appears that the gaps here are more than should be. Something I didn't check carefully enough and looking at the photos I can see that the gaps are too much. Ah well.
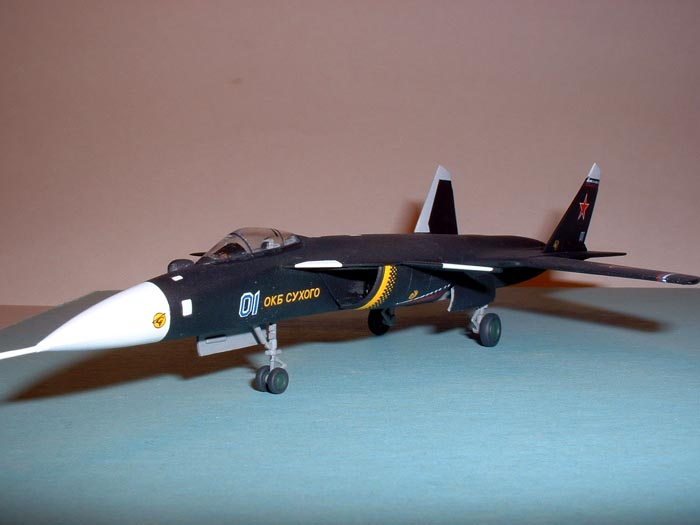 Now the painting can start. The aircraft is not overall black; instead it's an overall very deep and dark blue. So I used Polly Scale's Model Railroad color "B&O Blue" mixed with black for what I thought was the correct shade. Before spraying the blue/black, though, there are white areas that need to be painted. These items include the nose, the tips of the horizontal tails and the tips of the "cones" at the back of the plane, right near the exhausts. I decided since I was going to have to mask anyway, I would spray the larger area on the leading edge of the starboard vertical tail. In hindsight I should have sprayed all the white areas. In the end I wasn't very happy with how the decals covered.
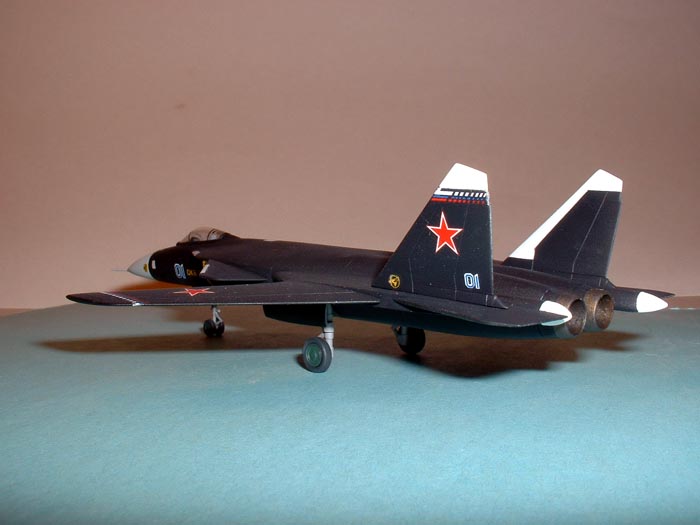 Final Assembly
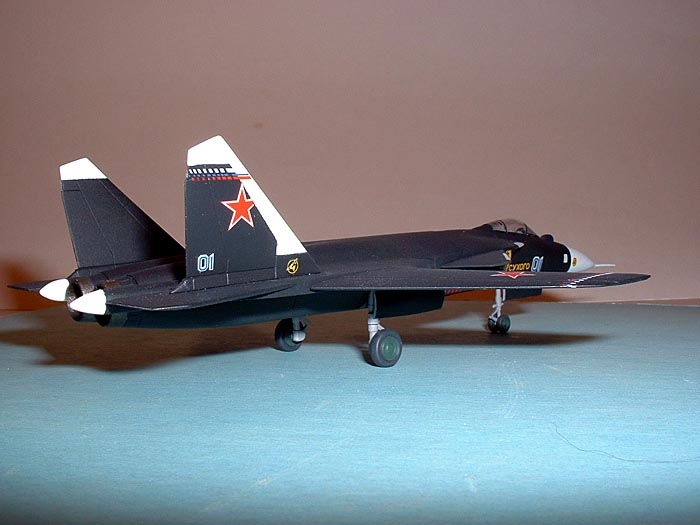 Conclusion