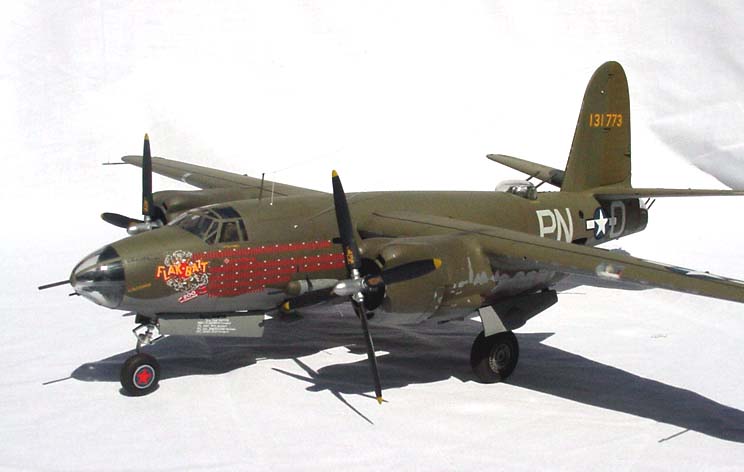
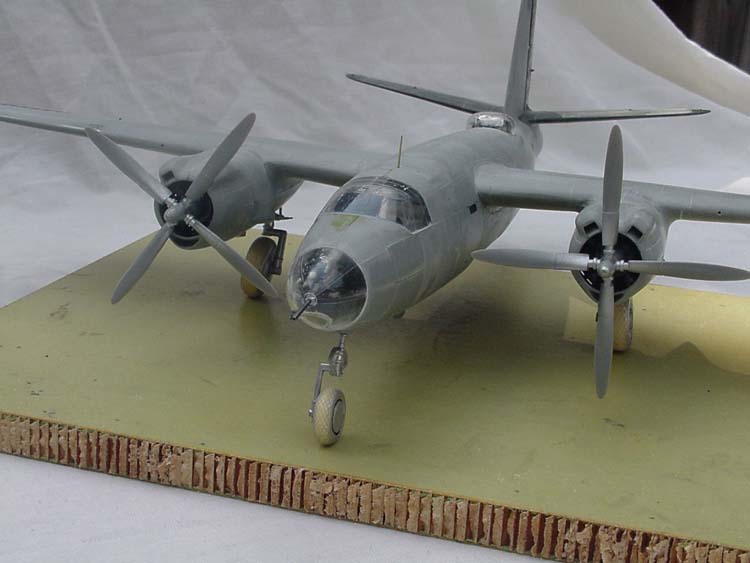
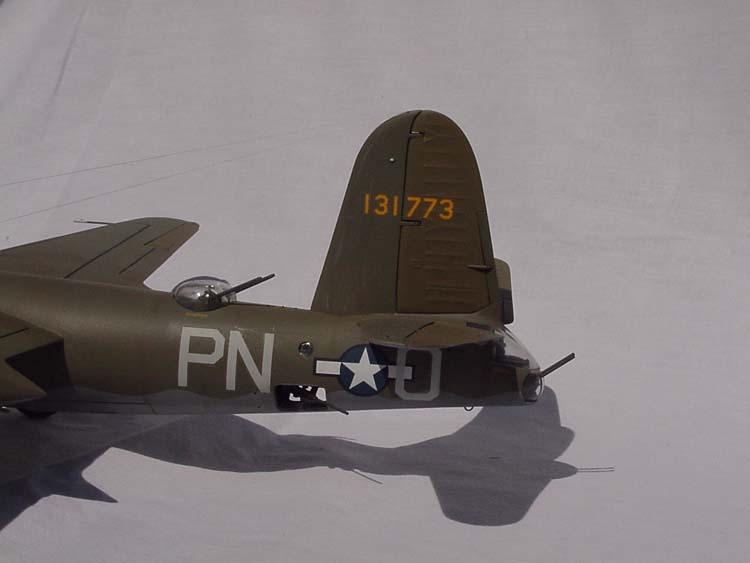
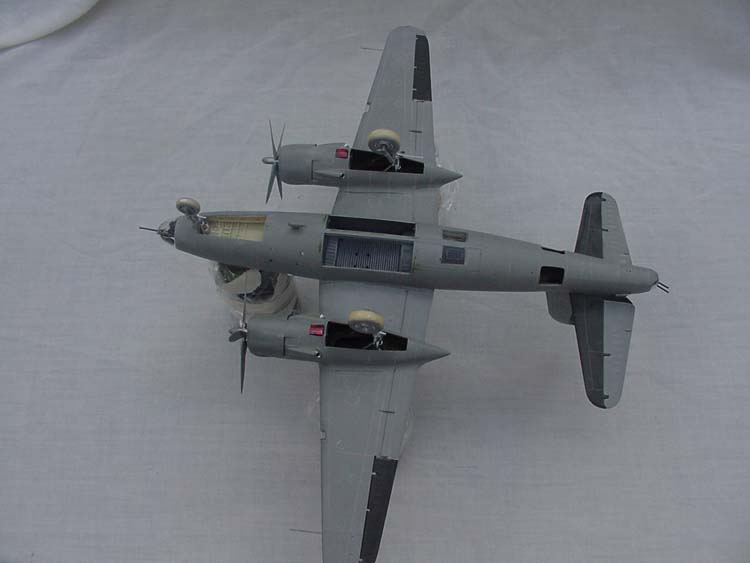
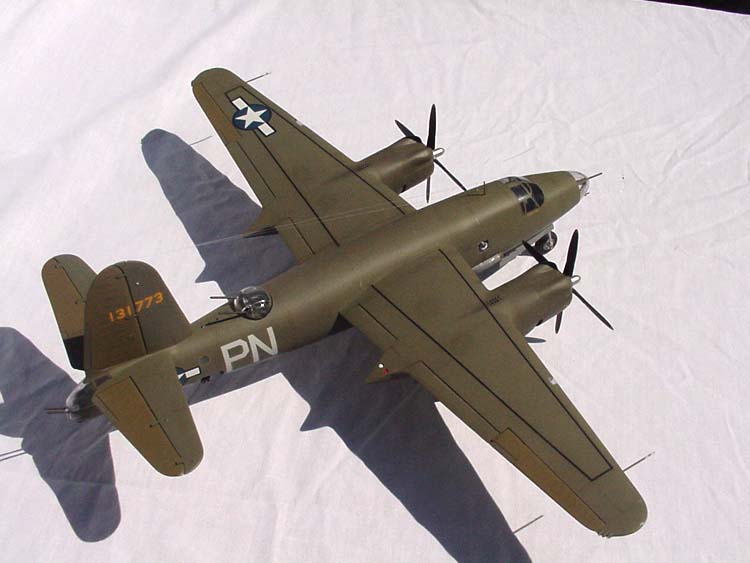
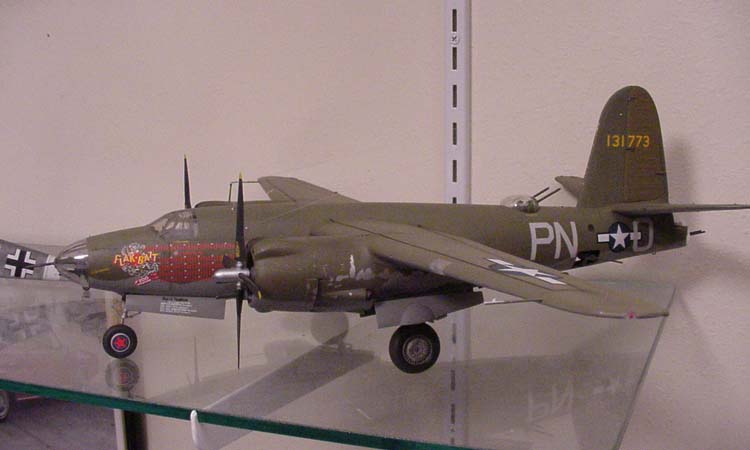
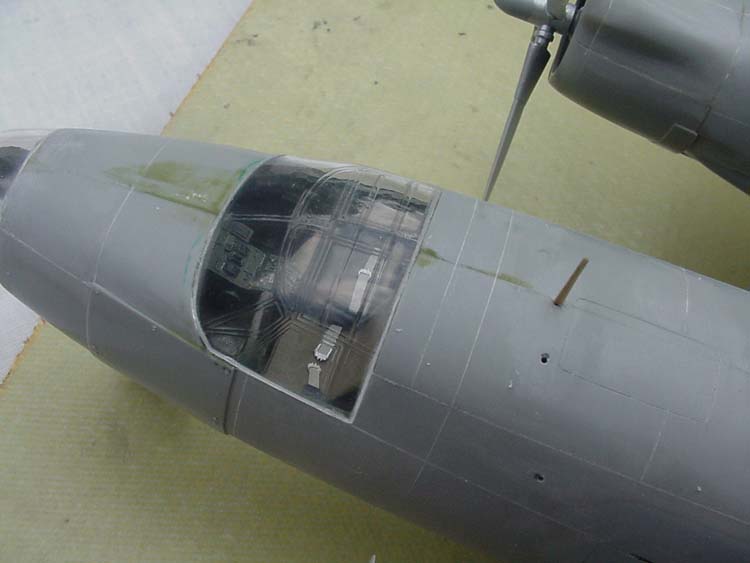
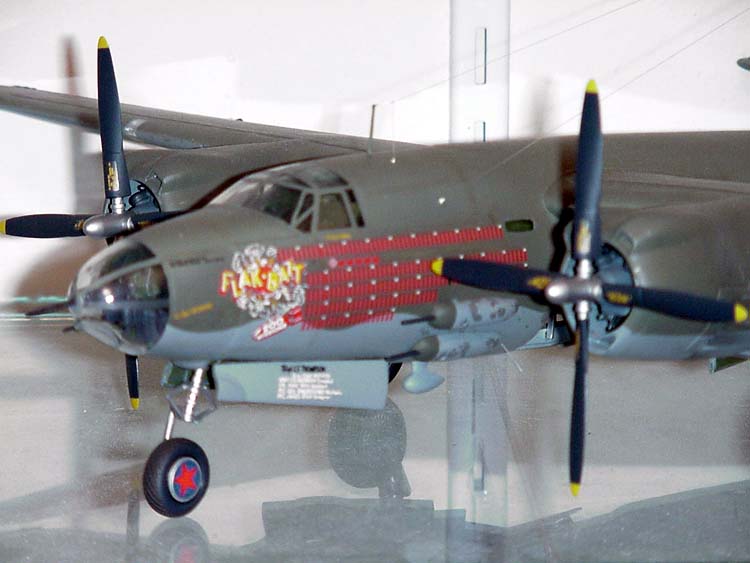
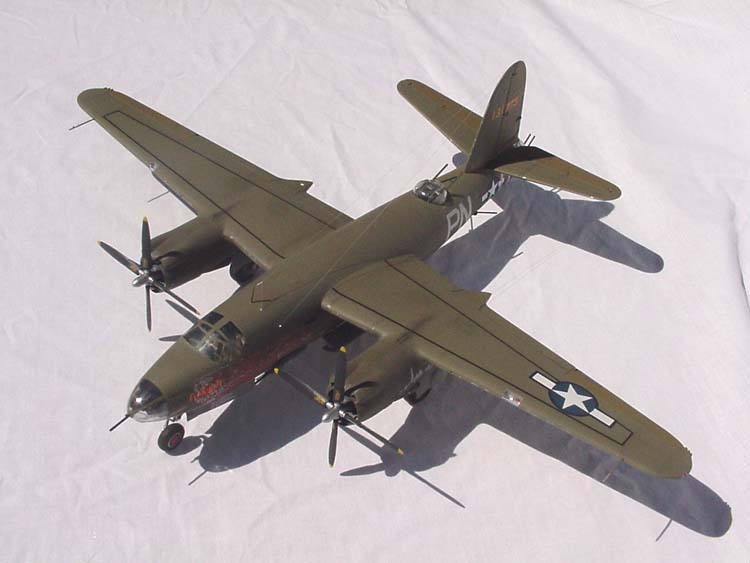
| Revell Monogram B-26 Marauder Limited Edition By Dave Carter | 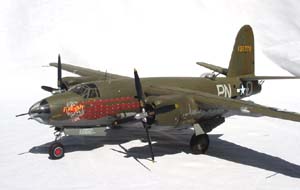 | Introduction The 1/48 Revell B-26 Marauder is one of those kits most of us have lying around - started but for some reason never finished. In my case, work stopped when I moved to take a job in another town. The B26 Marauder has always been one of my favorites and once in a while I would take it out and test fit the parts. Four years, and two moves later I decided to finish it. The model is the Limited Edition release that includes extra resin parts for the cockpit, wheel wheels, and the dorsal turret. The resin parts don't add enough to the whole kit to give a super detailed model. Instead they bring the level of detail up closer to average. On the other hand this kit gives you, for little more money than the standard kit, an after market detail set. The resin nose gear well and the resin cockpit look good but are hard to fit. The problem is that the floor of the cockpit is the roof of the wheel well. But the cockpit floor and the nose well are made as separate pieces. So, to fit both together and into the fuselage means that the inside of each must be sanded as much as possible. I sanded past the point where you can see light through each piece, until I was just beginning to break through into the roof and floor of each piece. Then both would just fit into the fuselage. Resin cockpit sidewalls replace the molded on detail, which must be sanded away. The final cockpit uses a resin instrument panel and throttle console along with plastic seats and control columns. I removed the seat belts that were molded on the seats and replace them with Eduard photo etch. The resin turret is an easy replacement for the kit turret and fits well. Included are two resin gun barrels that look much better than the other gun barrels in the kit. I wish Revell had included enough resin barrels to replace all of the plain plastic ones. I left the gun barrels off until final assembly to prevent breakage. The resin parts for the wing wheel wells don't add a lot of detail, but are bulkheads and panels not included in the original kit. They fit well and eliminate the 'not boxed in' look. I used two of the complete engines from the Monogram P61 to replace the kit relief engines. Other mods included separating all the control surfaces, True Detail resin wheels, MV lenses for landing lights, and True Details 1000 Lb. bombs. I sanded the cowl flaps to scale thickness, made wing tip lights from clear acrylic, made new exhaust from aluminum tubing, and new oil cooler doors from soda can aluminum. The fit of the fuselage halves was good, but the engine cowls and nacelles were terrible. The air intakes on the top of the cowls are molded as separate pieces and unavoidably leave large seams. In addition, Monogram chose to represent the panel line around the front of the cowls by molding a recessed step at this point. The nacelle to wing joint also had large seams that begged for Bondo. I've seen one of these built up without having the seams filled, and this area looked awful. After filling and sanding most of this area was devoid of the original panel lines and rivets. Test fitting revealed that this kit is a committed tail sitter. Before gluing the fuselage together I had glued enough weight to the bulkhead behind the cockpit so that the model would sit on the nose. By one of those mysteries that reveal life's unanticipated greater depth, test fitting after gluing the fuselage together revealed the model was still a tail sitter. What to do? I made a hole in the fuselage to add yet more weight, and some extra until I was sure it would sit on the nose. Of course the superglue fogged the inside of the clear parts of the radio compartment. At this point I had to move so the model was boxed up. Four years later I decided it was time to finish this old project. Looking over the model there are some things I would do differently if I was starting all over. I would replace the engines with after market ones, and wire them. All the gun barrels should be replaced to match the ones on the turret. More detail could be added to areas such as the tail turret and the ventral guns. Nonetheless I felt it was time to get the kit out of the box and on the shelf. I fixed the problem of the fogged over windows by cutting out around them, cleaning them up, gluing back in place and them sanding and filling the new seams. I also replaced the poor distorted windows in the 2nd bomb bay doors with clear acrylic. Other than that I finished the model as originally intended. The wing to fuselage gap required a lot of filling and sanding. With all the filling and sanding done to date I realized that it would be best to rescribe the entire model. I used Black Magic masks, which worked well on the canopy, but so poorly on the nose and the tail turret that I tossed them and used Tamiya masking tape. | | I wanted to do "Flack Bait" Photos show that this AC had a lot of chipped paint. So I painted the whole model with Alclad II aluminum. Some areas were masked with liquid mask so that I could remove it to reveal natural metal. After painting the camouflage the liquid masks were removed, but the model looked like it need more chipping. I tried masking tape to chip more paint. Well, let me tell you, paint sticks very well to Alclad II and very little paint came off. I tried duct tape to no avail. Finally I soaked the model in water, dried off the surface and then the paint would chip off with masking tape. Aeromaster decals that were printed in Italy were used. They are beautifully printed but prone to silvering. Conclusion The model was a tough build, and it's just as well I didn't do it all at once because I might have gotten frustrated. Still I'm happy to see it on my shelf. | 


|