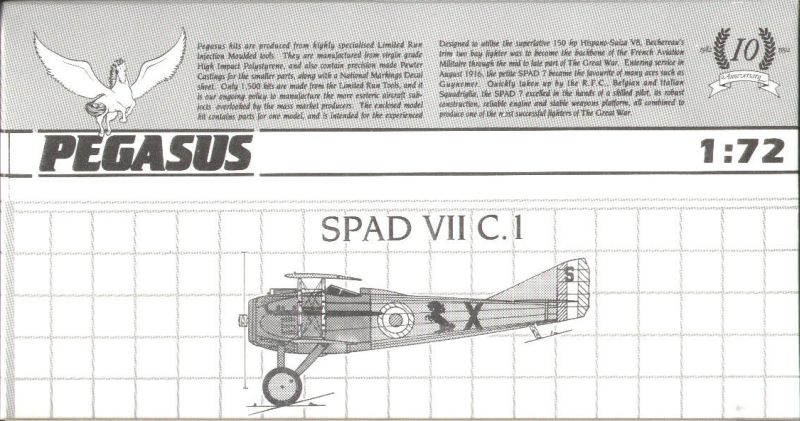
Pegasus 1/72nd SPAD VII |  | History The SPAD (Société anonyme pour l'Aviation et ses Dérivés) VII was the first French front-line fighter designed with using the new 150-hp Hispano-Suiza 8A, a water-cooled V-8 designed by the Swiss engineer Marc Birkigt that became recognized as a milestone in engine design. Since it was well liked by the French it was put into production with the official designation Spa.7 C 1. It was a strong, well liked machine, even being used by some flyers even after the newer SPAD XIII was released. 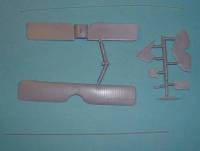 Not only was it used by France, but Britian, Italy, Russia and the United States also used it during the war. In addition, it served long past the end of WW1 with other countries such as Argentina, Brazil, Czechoslovakia, Poland, etc. Not only was it used by France, but Britian, Italy, Russia and the United States also used it during the war. In addition, it served long past the end of WW1 with other countries such as Argentina, Brazil, Czechoslovakia, Poland, etc.
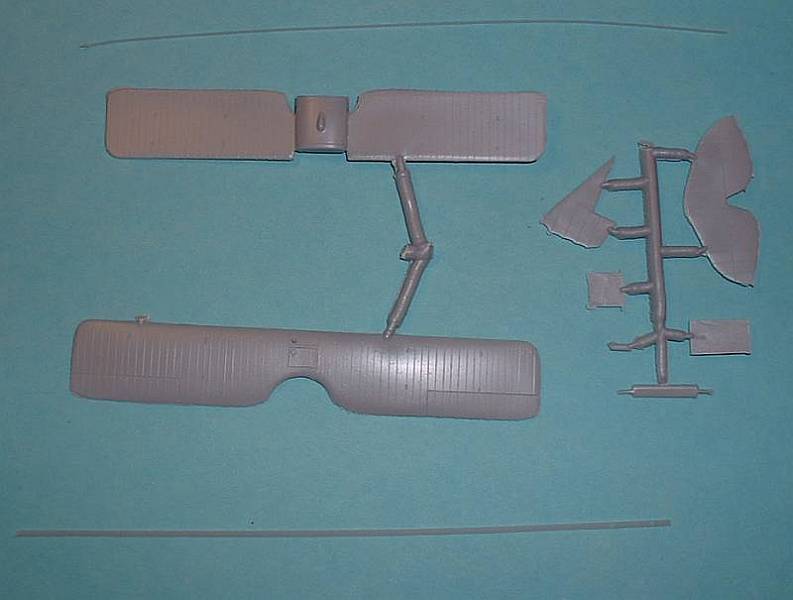
One thing a lot of people don't realise. The SPADs weren't twin-bay machines, which means having two sets of struts on each side of the wing to support the wings (for example, two sets of struts on the starboard wings and two sets of struts on the port wings). The extra "struts" closer to the fuselage on the SPAD VII are actually spacers for the landing wires. The thinking for these struts is that they were used as a means to simplifying the interplane structure to reduce drag and to facilitate rigging: part of its drag-reducing quality lay in its reduction of vibration in the cables. The Kit The Pegasus SPAD VII consists of 12 short-run, injected plastic pieces and 18 pieces of white metal. The white metal covers such modeling aspects as the seat, radiator (which ensures a very clean and crisp radiator face), interplane and landing gear struts, etc. There is also two pieces of streamlined strut-stock included to make up such items as the center and tailplane struts. Only one scheme is provided for by the markings, and that is for Italian Ace Francesco Baracca's machine during the summer of 1918. Decals are up to Pegasus' usual very high standards and are very crisp and in register. 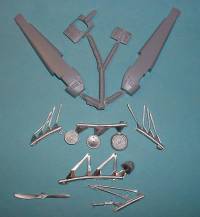 Since Pegasus kits are considered "short-run" technology there is a little more work to be done than a typical "shake-and-bake" Tamigawa kit. There is a little flash present (nothing to be worried about) but all the parts are attached to the sprue with large cuts. This means you'll want to cut the parts from the sprue using a razor saw of some sort then clean it all up with files and sandpaper. Since Pegasus kits are considered "short-run" technology there is a little more work to be done than a typical "shake-and-bake" Tamigawa kit. There is a little flash present (nothing to be worried about) but all the parts are attached to the sprue with large cuts. This means you'll want to cut the parts from the sprue using a razor saw of some sort then clean it all up with files and sandpaper.
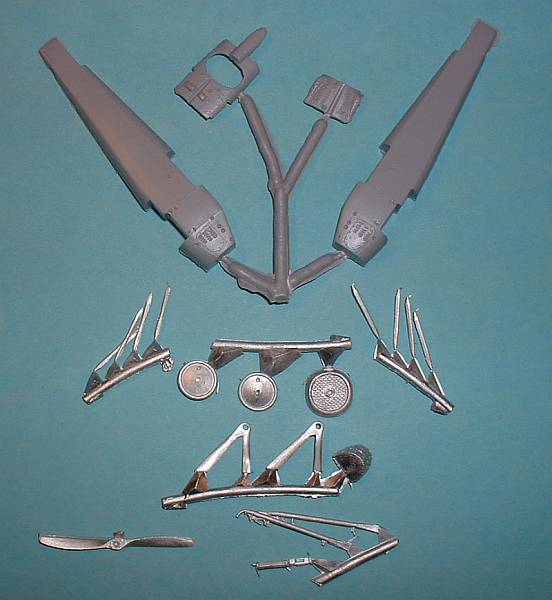
Once the parts are cut out and cleaned up, construction can commence. Naturally you'll want to start in the cockpit, and unfortunately Pegasus provides you with only three parts - an inaccurate floor, a seat in white-metal and a piece of plastic to be used as the canvas that sits directly behind the seat. That's all, the rest being required from the model builder. I mentioned the floor is inaccurate - if you don't mind not having all the "bells and whistles" in a SPAD cockpit then the kit floor will do. However, the floor is a very unique piece to the SPAD series of aircraft that it would probably take photoetch (or deft scratchbuilding) to provide something more accurate. The truly disappointing part of the Pegasus SPAD cockpit is the lack of any type of cockpit "shelf". The SPAD VII and XIII had a small "shelf" surrounding the pilot that contained most of the dials and other "stuff". Very distinct and very easy to notice it's missing. Again, this will need to be provided by the modeler if cockpit accuracy is an issue. Once whatever is done to the cockpit is accomplished then the fuselage halves can be joined. In order to mold the louvers and other small details on the nose successfully, Pegasus has provided parts of the upper fuselage and nose as separate parts. Care will be needed to ensure these parts fit without removing any of the excellently molded in detail. Also included in this is the white-metal radiator for the front of the fuselage. After fitting all the fuselage pieces then it's time to add the lower wing (which includes the center of the fuselage) followed by the tail pieces. 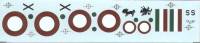 Now that the majority of the major construction is finished it's time to move onto the painting and final details. It's important to note that while all of the interplane struts are catered for in white metal, the smaller supports that fit between the landing wire spacers have to be added by the modeler. The main landing gear - and tires - are provided for in white metal while the axle is injected plastic. Construction is finished by adding the painted white-metal exhausts to the sides of the fuselage. Now that the majority of the major construction is finished it's time to move onto the painting and final details. It's important to note that while all of the interplane struts are catered for in white metal, the smaller supports that fit between the landing wire spacers have to be added by the modeler. The main landing gear - and tires - are provided for in white metal while the axle is injected plastic. Construction is finished by adding the painted white-metal exhausts to the sides of the fuselage.
One area I personally have a problem with and most will probably call this nitpicking. The turtledeck (the area of the fuselage behind the cockpit) contained stringers on the real thing. In other words, you'll see "ridges" in this area that is to represent the stringers the fabric is pulled over. When a model fuselage is split horizontally you run the risk of losing this stringered detail if you have to eliminate the fuselage seam. It would have been nice to provide the turtledeck as a single piece (yes, top and bottom) so you don't run into this problem. I have been told in the past that it's a limitation to the injected molding process. I no longer agree. If Roden can do this with their Fokker Dr.I Triplane (which does not have a "stringered turtledeck"); plus, since Pegasus has done something like this with their separate nose pieces, I see the injected limitation reason as a baseless excuse. Maybe it would have pushed the price up a little on the kit, but I would rather pay a little more up front then "sweat blood" trying to re-add whatever stringered detail is lost. Trust me on this, I know of the pain that's involved. Conclusion Overall this is an extremely nice kit and will look wonderful when built. Pegasus has done a nice job and is to be commended on someone finally giving us an accurate SPAD VII, so we can throw all those ancient Airfix kits away. Even with the more involved process this short-run kit commands, I can definitely recommend this kit to people who have built short-run kits in the past. | 


|