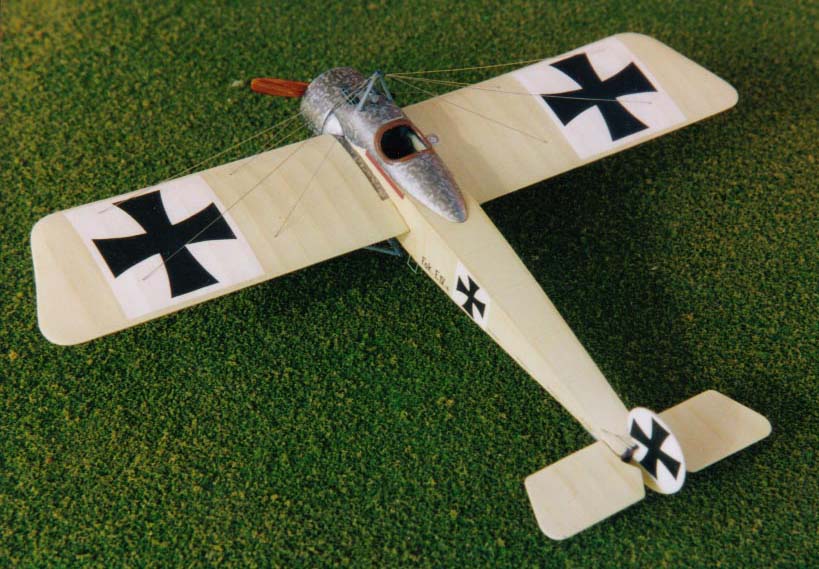
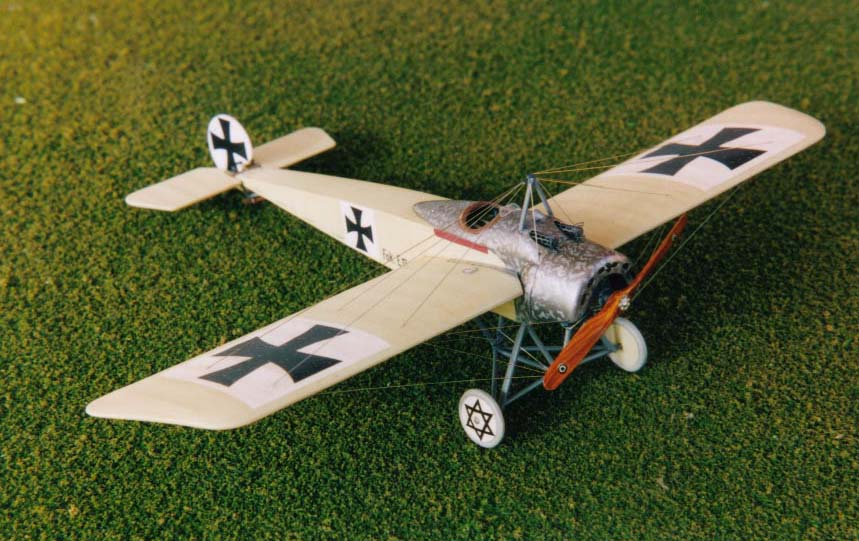
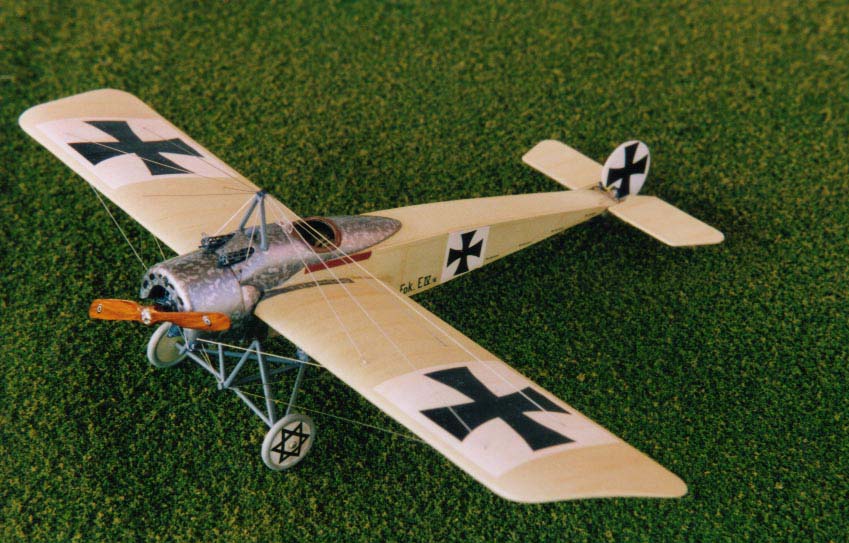
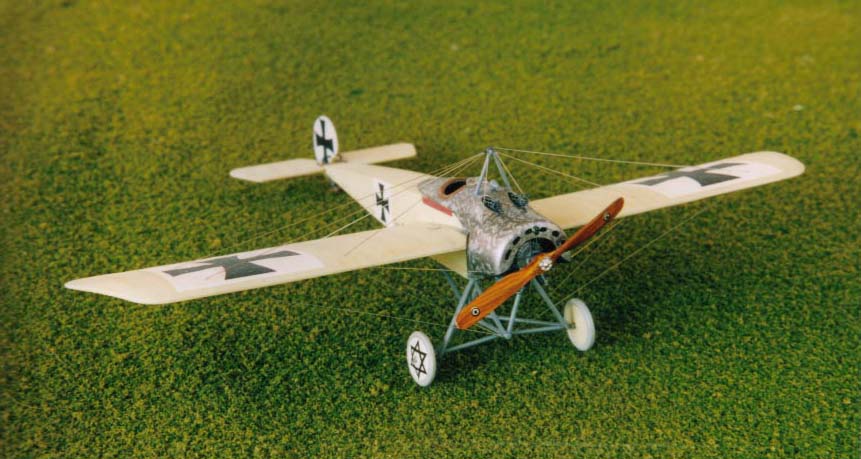
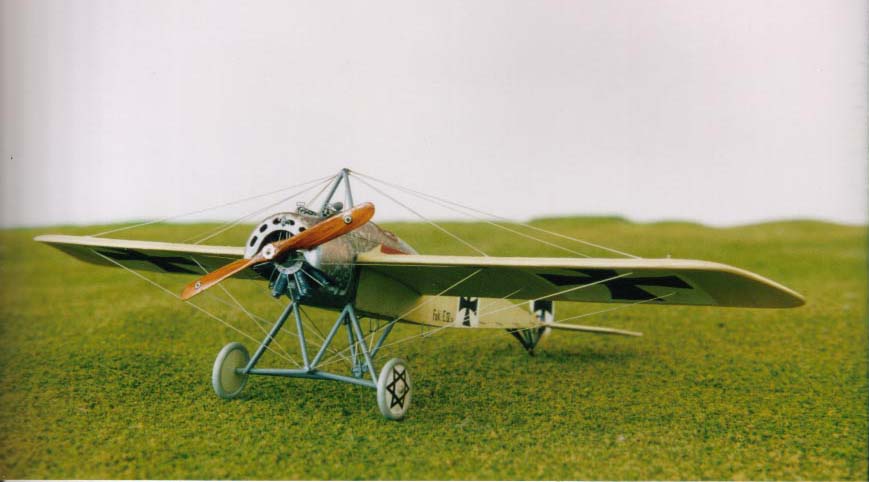
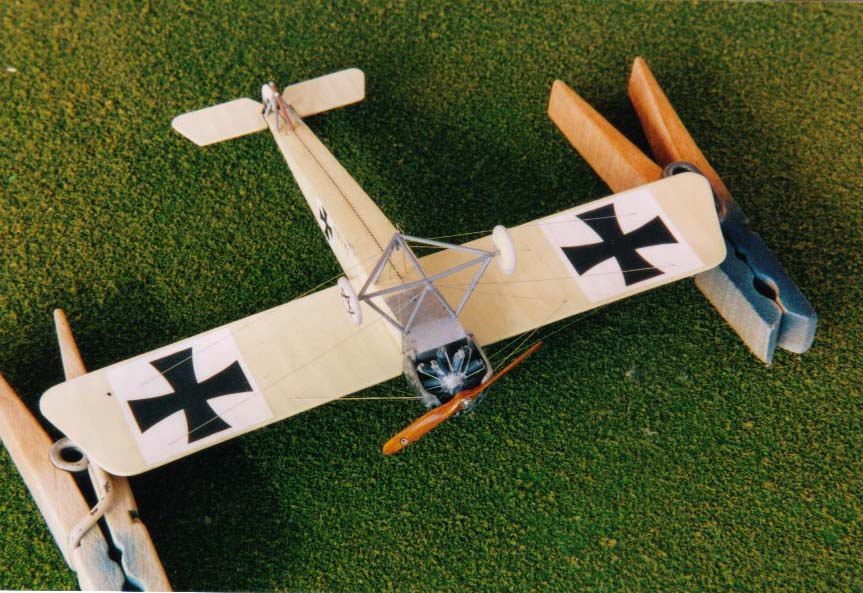
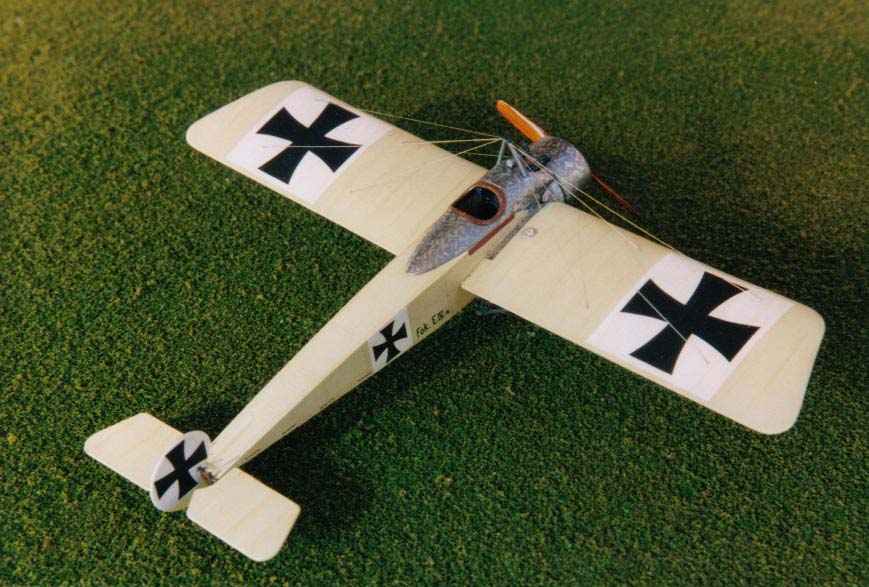
Eduard 1/72 Fokker Eindecker IV - Profipack Kit | 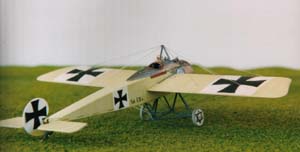 | History The Fokker E.IV, whose prototype appeared in November 1915, was one of the later of the Eindecker series. The E.IV improved upon its E.III predecessors with a double set of rotary engine cylinders - 14 cylinders in all - that gave the Oberusel engine 160hp compared to the 100hp engine in the E.III. The fuselage dimensions were changed to accommodate the extra weight of this new engine configuration. The E.IV's armament comprised two Spandau machine guns mounted in front of the windshield. Unfortunately, despite its heavier armament, the E.IV had some disadvantages: namely, reduced reliability, less maneuverability, and less speed than the E.III. After June 1916, the remaining E.IVs were relegated to a training function or used on the Eastern Front. In the Box  The Profipack kit of the E.IV contains a flash-free sprue of beige plastic parts, a sheet of photoetch parts, a set of masks and a decal sheet that allows you to choose from four schemes. The instruction sheet is clear and well laid out. The Profipack kit of the E.IV contains a flash-free sprue of beige plastic parts, a sheet of photoetch parts, a set of masks and a decal sheet that allows you to choose from four schemes. The instruction sheet is clear and well laid out. Assembly As usual, I began with the fuselage interior. I sprayed the front of interior with Alclad II. I did not use any primer but simply sprayed a light initial coat and built the paint up slowly with thin layers. Alclad II takes masking tape after about an hour, without pulling up. After I masked off the front interior, I sprayed the remainder of the interior with Polyscale's Aged White acrylic. I did not use the photoetch interior framework (PE1 and PE2) because I find it difficult to remove the plastic interior framework and glue the photoetch without making a mess. Besides, the plastic framing on the interior fuselage is excellent. After painting the interior framework with a grey pencil, I added the various instruments onto the interior walls. I glued the seat, control stick and foot rudder to the cockpit floor, again preferring not to use the photoetch seat: too difficult for me to shape correctly. However, I did use the photoetch seatbelts, which are excellent. 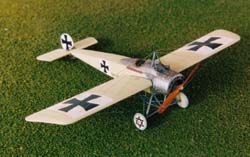 Before closing the fuselage I wanted to try out the swirled beaten effect on the metal parts that characterizes the Eindeckers. I tried a number of techniques to produce this effect and the one I settled on was a method from Caz Dalton in his excellent E.III build. First, I covered the Alclad with a coat of Future. Then, I used a brush with about three hairs and Model Master's Silver Chrome enamel paint to brush on each little squiggle. It took a while but I find that sort of thing relaxing just as well since it's meant to be a relaxing hobby! Once I had completed this, I gave the surface another coat of brushed Future and I closed the fuselage. The fuselage halves fit well but I often have difficulties making the seam disappear. The underside is supposed to have a seam and lacing so my effort was partially wasted eliminating that seam. Before closing the fuselage I wanted to try out the swirled beaten effect on the metal parts that characterizes the Eindeckers. I tried a number of techniques to produce this effect and the one I settled on was a method from Caz Dalton in his excellent E.III build. First, I covered the Alclad with a coat of Future. Then, I used a brush with about three hairs and Model Master's Silver Chrome enamel paint to brush on each little squiggle. It took a while but I find that sort of thing relaxing just as well since it's meant to be a relaxing hobby! Once I had completed this, I gave the surface another coat of brushed Future and I closed the fuselage. The fuselage halves fit well but I often have difficulties making the seam disappear. The underside is supposed to have a seam and lacing so my effort was partially wasted eliminating that seam. 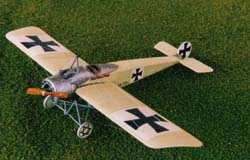 My next task was the fuselage decking. Mercifully Eduard made the decking separately and this really helps with both the assembly and painting. I sprayed the decking with Alclad II and repeated the metal swirling exercise. The photoetch cooling jackets are excellent. I found a drill bit of the correct size and gently rolled the cooling jacket pieces around it into shape. I then took some 0.010-inch rode painted dark grey and inserted them into the cooling jackets to represent the gun barrels. I attached the Spandau guns to the instrument panel and glued on the decking. My next task was the fuselage decking. Mercifully Eduard made the decking separately and this really helps with both the assembly and painting. I sprayed the decking with Alclad II and repeated the metal swirling exercise. The photoetch cooling jackets are excellent. I found a drill bit of the correct size and gently rolled the cooling jacket pieces around it into shape. I then took some 0.010-inch rode painted dark grey and inserted them into the cooling jackets to represent the gun barrels. I attached the Spandau guns to the instrument panel and glued on the decking. 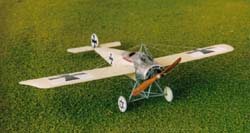 Before gluing on the wings, I painted the fuselage. The kit comes with special little masks for the front of the fuselage and the footplates on the wings. However, I prefer to spray the Alclad II aluminium first because I can mask it off, whereas I find acrylic paints sometimes pull up when masked. Once I sprayed the cowl, the fuselage, the fuselage ìcheeksî, and the footplates, I masked off the fuselage and sprayed it with Aged White. After a coat of Future, I added the metal swirl effect with enamel silver chrome and the three-hair brush. Before gluing on the wings, I painted the fuselage. The kit comes with special little masks for the front of the fuselage and the footplates on the wings. However, I prefer to spray the Alclad II aluminium first because I can mask it off, whereas I find acrylic paints sometimes pull up when masked. Once I sprayed the cowl, the fuselage, the fuselage ìcheeksî, and the footplates, I masked off the fuselage and sprayed it with Aged White. After a coat of Future, I added the metal swirl effect with enamel silver chrome and the three-hair brush.  The engine on this kit is a work of art. The double rotary is well molded and the two photoetch pieces give a real boost to the appearance. Gluing on the double set of pushrods required some care but the effect is excellent. The engine on this kit is a work of art. The double rotary is well molded and the two photoetch pieces give a real boost to the appearance. Gluing on the double set of pushrods required some care but the effect is excellent. I sprayed the wings with Aged White, first masking off the footplates and glued them onto the fuselage. Trying to mask off the front fuselage sides before adding the wing would have been too difficult. Fortunately the wing-to-fuselage join is excellent and I ran the Touch ëní Flow filled with Pro Weld down the join to seal matters. Any slight ìissuesî were covered up by the oil wash (see below).  The undercarriage looks complex but is fairly straightforward to assemble. In contrast, the tail parts required a fair amount of patience and care, and kept coming off during the building of the model. The extra tiny photoetch pieces for the rigging attachments are really useful too. However, I used the kit plastic part for the inverted-V rigging mounting on the fuselage decking, and I added a little slice of plastic rod for the rigging attachment piece. Similarly, I did not use the photoetch parts for the tailskid struts: I found it far too flimsy. The undercarriage looks complex but is fairly straightforward to assemble. In contrast, the tail parts required a fair amount of patience and care, and kept coming off during the building of the model. The extra tiny photoetch pieces for the rigging attachments are really useful too. However, I used the kit plastic part for the inverted-V rigging mounting on the fuselage decking, and I added a little slice of plastic rod for the rigging attachment piece. Similarly, I did not use the photoetch parts for the tailskid struts: I found it far too flimsy. First, I gave the entire model a burnt umber oil wash. During the filling and sanding process I had lost some of the fuselage detail so I replaced this using coloured pencils and I also used coloured pencils to highlight the ribs on the flying surfaces.  I selected the Hauptmann von Essen scheme. The kits decals are superb - thin but robust. I wanted to reproduce the lacing effect on the underside of the fuselage so I made some lacing decals using my LaserJet HP IIIp printer and blank decal paper. I selected the Hauptmann von Essen scheme. The kits decals are superb - thin but robust. I wanted to reproduce the lacing effect on the underside of the fuselage so I made some lacing decals using my LaserJet HP IIIp printer and blank decal paper. Once the decals were dry I gave the model another coat of Future and then added the rigging using 0.005-inch diameter straight wire from Small Parts Inc. In conclusion, this kit is excellent. It fit well, the molding is high quality, it builds into a first rate model and I recommend it highly. References -
Edgar Brannon, Don Greer, Joe Sewell and Randall Toepfer. Fokker Eindecker in Action. Aircraft Number 158. Squadron/Signal Publications, Inc., Carrollton, Texas. 1996. -
| 


|