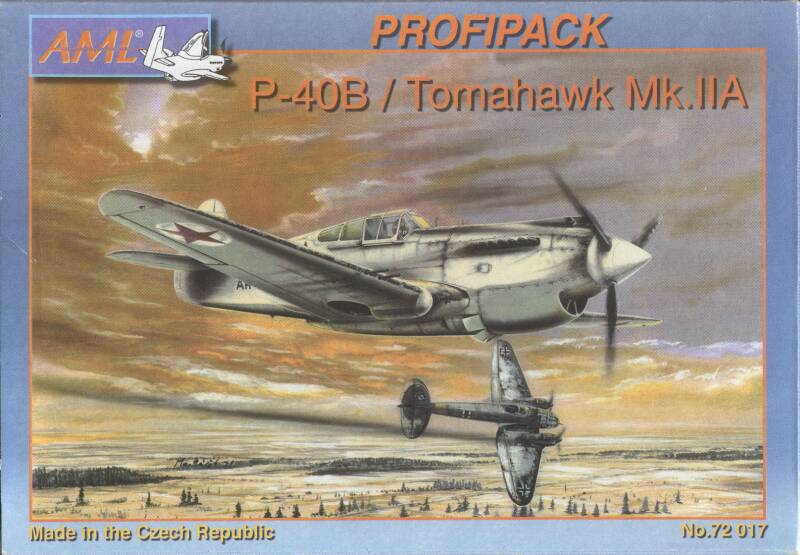
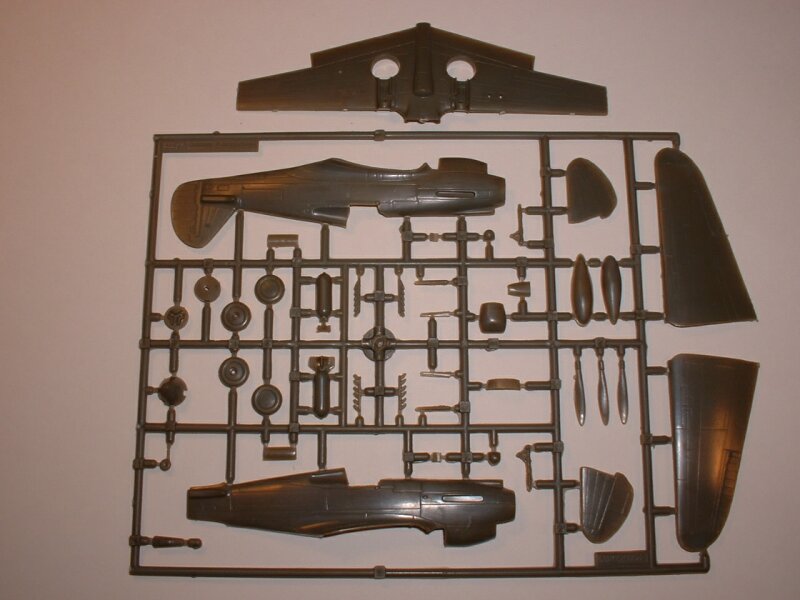
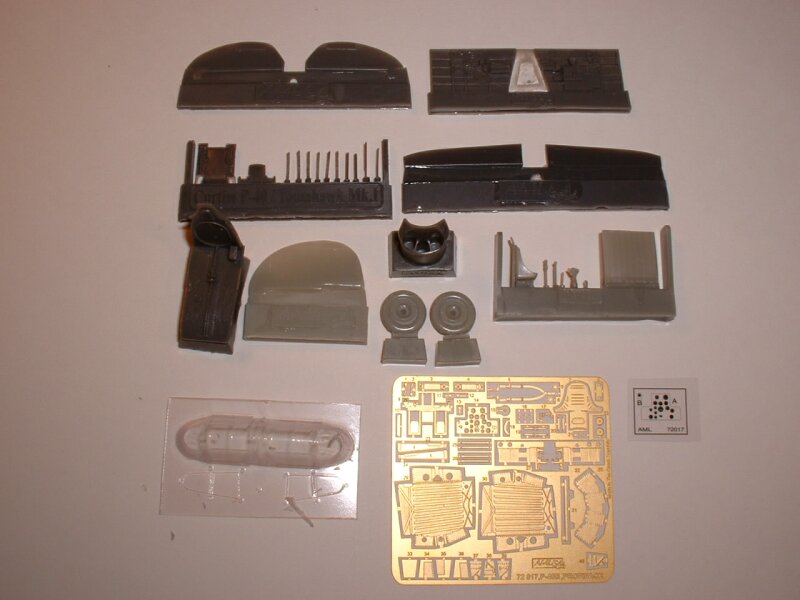
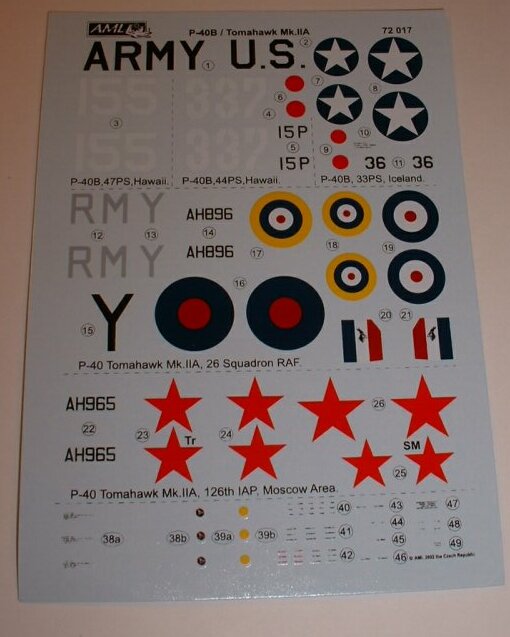
AML 1/72nd P-40B/Tomahawk Mk.IIA |  | History The history of the Curtiss P-40 is vast. So vast that I won't go into any of it in this type of setting. A few decent modeling-oriented books on the types would be the two-set Detail & Scale series, as well as the offering on the P-40 by MBI. Unfortunately a definitive study on VVS use of the P-40 doesn't exist. The MBI contains a nice section devoted to VVS P-40s (the Detail & Scale text hardly mentions VVS use at all) but it is far from the definitive study. One of these days, hopefully. The Kit 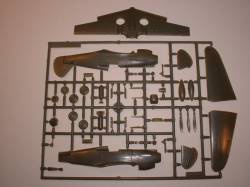 The AML P-40B consists of 42 injected plastic pieces, 28 resin pieces and an extensive set of photoetch. There are decal options for four aircraft, with more being shown on the excellent instruction sheet. The AML P-40B consists of 42 injected plastic pieces, 28 resin pieces and an extensive set of photoetch. There are decal options for four aircraft, with more being shown on the excellent instruction sheet.
The injected pieces are very well done. I have started the AML Hawk 75, and the plastic isn't that great, and the panel lines are "trenches" that tend not to be very straight. However, that's not the case with the P-40. Everything is extremely well molded and the level of detail is high. In addition, the panel lines are nicely done, straight and match up from part to part. The true beauty of this kit lies in the resin, though. Each resin piece is a work of art. I was asked what the difference is between the release of the first AML P-40 variant and this one, and it appears the largest difference is the inclusion of resin control surfaces. A very nice touch! (Unfortunately it does mean you'll have to cut away the plastic control surfaces, but with patience and elbow grease it should be easy work.) Also excellent in this release is the photoetch. Many times I have seen photoetch that includes pieces that you ask "why" about. Large pieces you're expected to fold, or pieces that have a unique 3-D look to them that's difficult to replicate in flat brass. Luckily the P-40 comes with "logical" photoetch brass - items that are suited for the medium. While there is some folding and the like, it's only to make a part that is logical in its rendition. 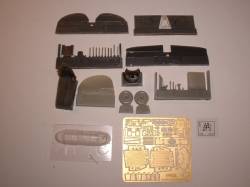 Construction does start with the cockpit, but the first few steps involve putting the instrument panel (and surrounding pieces) together. There are nine pieces to assemble into the instrument panel. After completing the instrument panel attention is now drawn toward the rest of the cockpit. Stunning is such an overused word, but stunning this cockpit is. Everything you think is there is included, mostly in resin. A couple of plastic pieces and a few photoetch, and you have a cockpit where you must install the sliding canopy open to show it off. With the right about of washes and dry brushing the cockpit will "come alive". Construction does start with the cockpit, but the first few steps involve putting the instrument panel (and surrounding pieces) together. There are nine pieces to assemble into the instrument panel. After completing the instrument panel attention is now drawn toward the rest of the cockpit. Stunning is such an overused word, but stunning this cockpit is. Everything you think is there is included, mostly in resin. A couple of plastic pieces and a few photoetch, and you have a cockpit where you must install the sliding canopy open to show it off. With the right about of washes and dry brushing the cockpit will "come alive".
Next come the construction of the photoetch engine slats under the fuselage as well as the photoetch wheel wells (another addition to the profipack kit). From here main construction can start. After installing the built-up cockpit to the starboard fuselage half, and after adding a couple of other interior pieces, the fuselage halves can now be closed. The instructions would have you glue in the exhaust stacks in this step, but I would leave them off until final construction. In fact, I hope that Moskit make replacement exhausts to which I will add them to this kit.  Now more of the overall construction can commence. It is here that you need to decide what - if any - control surfaces you plan on replacing with the resin replacements cut the plastic and add the resin. Construction continues until all parts are added that need to be added prior to painting. Now more of the overall construction can commence. It is here that you need to decide what - if any - control surfaces you plan on replacing with the resin replacements cut the plastic and add the resin. Construction continues until all parts are added that need to be added prior to painting.
It's a pet peeve of mine with the current run of kits that separate the propeller blades separate from the hub/spinner. It's more of a pain when those items are made of different materials. While the AML P-40 does have the separated blades, luckily everything is made of plastic, so tube glue/liquid cement can be used to cobble these parts together. Still a pet peeve to not have the blades attached to some sort of hub, but at least all parts are plastic. Conclusion I'm extremely impressed with this model. I hesitated for a long time deciding to purchase this kit. With the amount of work (grief, cussing, etc.) I've accomplished with the AML Hawk 75 (and it's still not finished going on three years), I'm glad I finally acquired this model. Don't let AML's past efforts cloud your judgment with the P-40. There may still be fit issues, but you don't have to worry about correcting surface flaws, such as poorly executed panel lines. Definitely recommended. | 


|