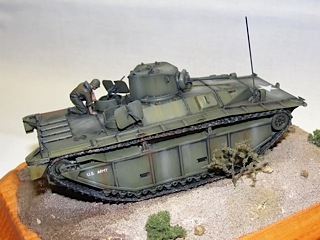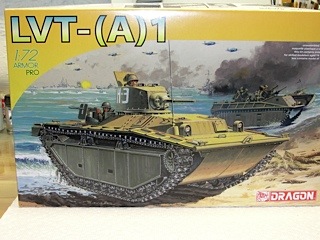
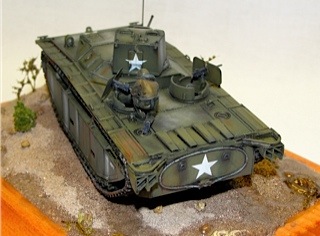
Dragon's 1/72 LVT (A)-1
By Bruce Simard
Introduction
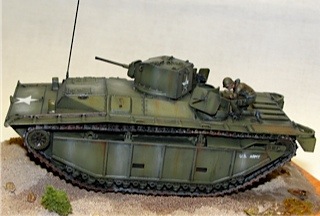
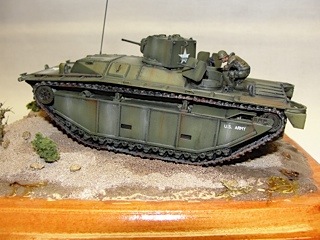
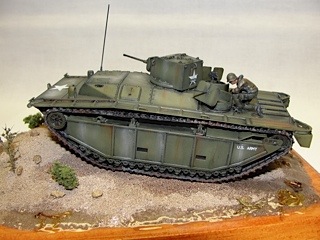
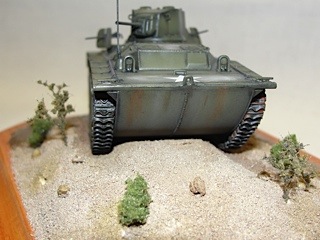
Normally I am a 1/144 scale modeler, but.... like most of us, every so often I grab something else just for something "Different". This particular time I noticed Dragon's new LVT-(A)1. As an avid reader of WWII history, these tracs came into their own during the Pacific campaigns. Now obviously I'm no armor expert, so I advise any of you really interested in the history of these vehicles to do what I do...suffice it to say..."Google" is your friend. But there were several most interesting facts I learned during the build of this kit and my research for the build. The early Amtracs (Amphibious Tractors) were extremely prone to break down. For example, Tarawa was the initial deployment of the personnel tracs, 135 were alloted for the operation. At the end of the operation, approximately 3 days, only 35 were still operational. Granted these were not all breakdowns, the Japanese 47mm antitank guns and mortars took an extremely heavy toll, but even so, that's some heavy odds folks. The Amtank as it was better known, came after Tarawa. The Marine Corps wanted the landing troops to have some heavy weapon support as they arrived on the beach-head, and not to have to wait for the normal Shermans to be off loaded. So essentially an armored cover was installed over the crew compartment with the turret from an M5A1 installed. The main gun was the 37mm, with a coaxial .30 Cal also mounted. Behind the turret were 2 open-topped turrets with .30 cal machine guns. Although this may not have been "heavy" arms, it sure helped when you had nothing else. The mechanical reliability of all these early LVT's left a lot to be desired. But for the time it was to be expected. For instance, the motors installed were rated for 200 hours of operation prior to overhaul. Well, we all know how that goes in a combat zone - if they ran, they went. Another extremely interesting fact to me was the usage. I had assumed the Marine Corps would have had the lion's share of the production...not so! There were actually 510 Amtanks (-1) completed, of these the Army took 328 while the Marine Corps took 182 copies. The actual combat debut for the Amtank was in February 1944 at Kwajalein for both the Army and the Marine Corps. The -1 Amtank was replaced in service by the -4 - but that will be another time.
The Kit
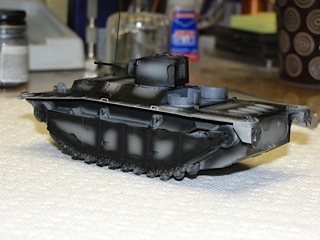
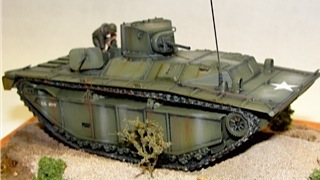
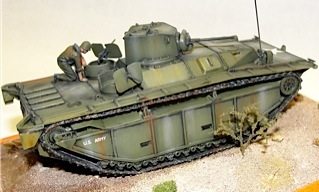
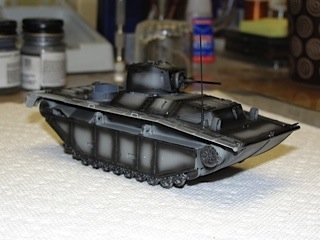
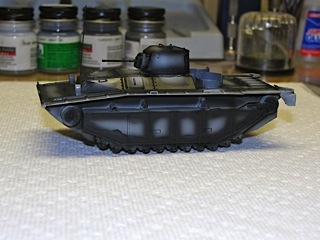
 But Dragon has come up with a new formula for these. They appear to be the same type as before, but definitely are not. These will glue together and hold! (I use Tenax 7R as my brain damage of choice!) Which is a good thing, because Dragon split the tracks on each side into 2 pieces. I have absolutely no idea why. But I have to admit, they work and look pretty decent to me. Several photo etch pieces are included in the kit. The main parts are gun shields for the aft mounted .30 caliber machine guns. A very nice addition which enhances the look and sit of the guns quite a bit. I also added a radio rod antenna from brass stock, and now we are ready to get into the meat and potatoes of an armor kit...the finishing paint job with highlights and various washes.
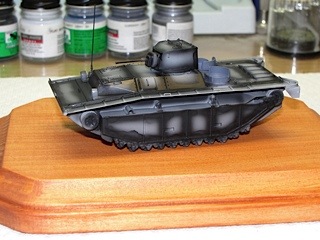
Painting and finishing
Summary