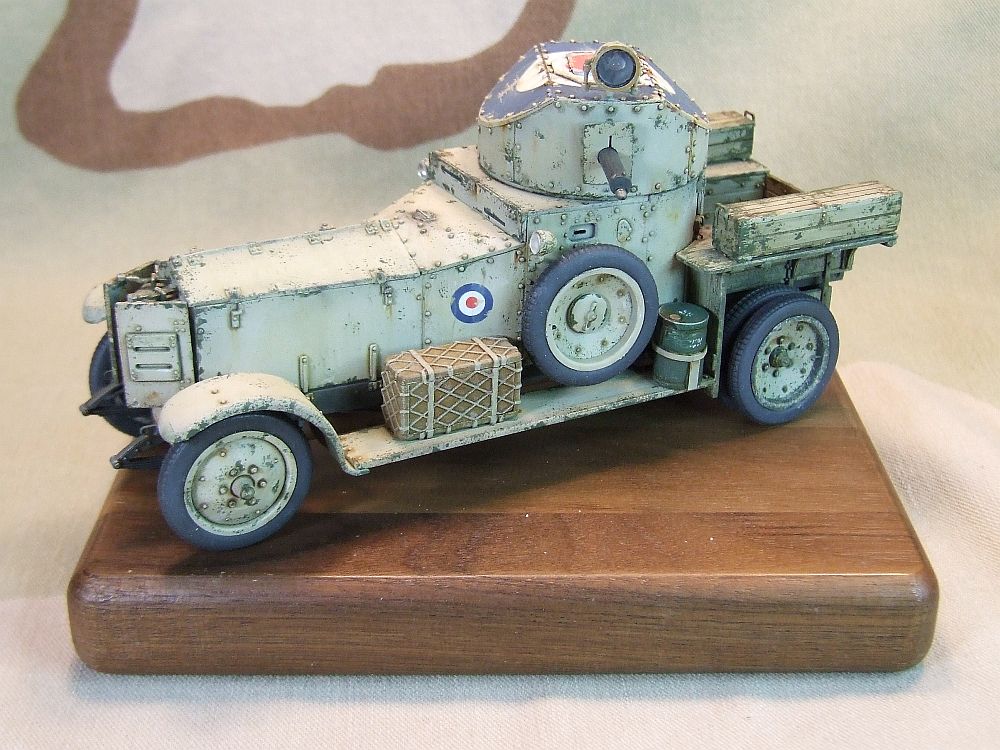
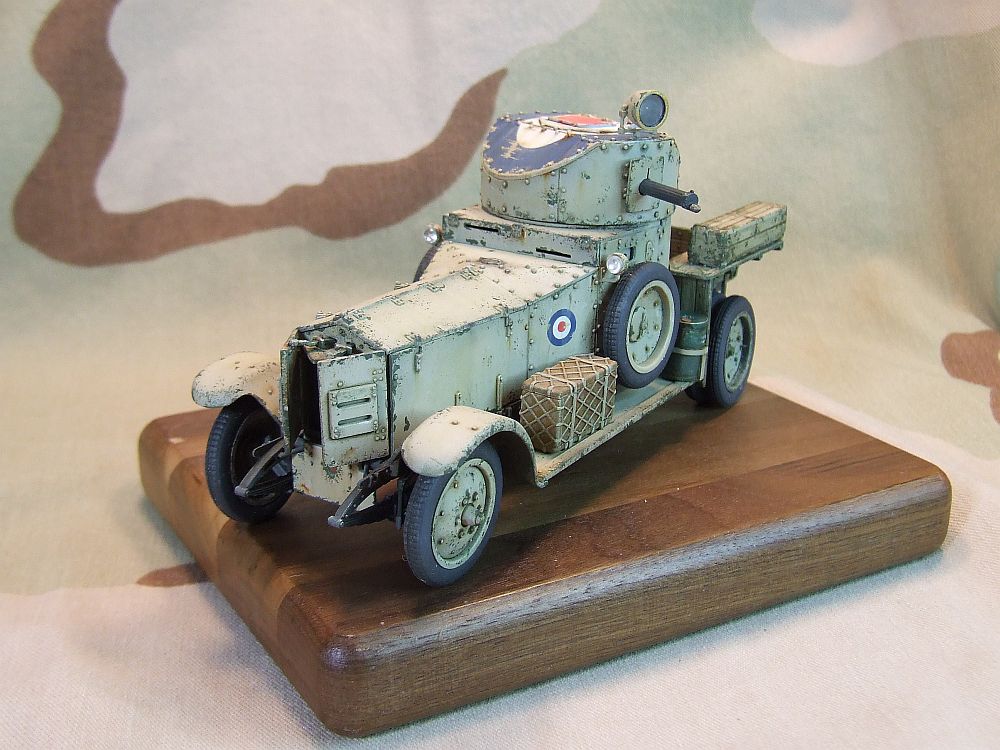
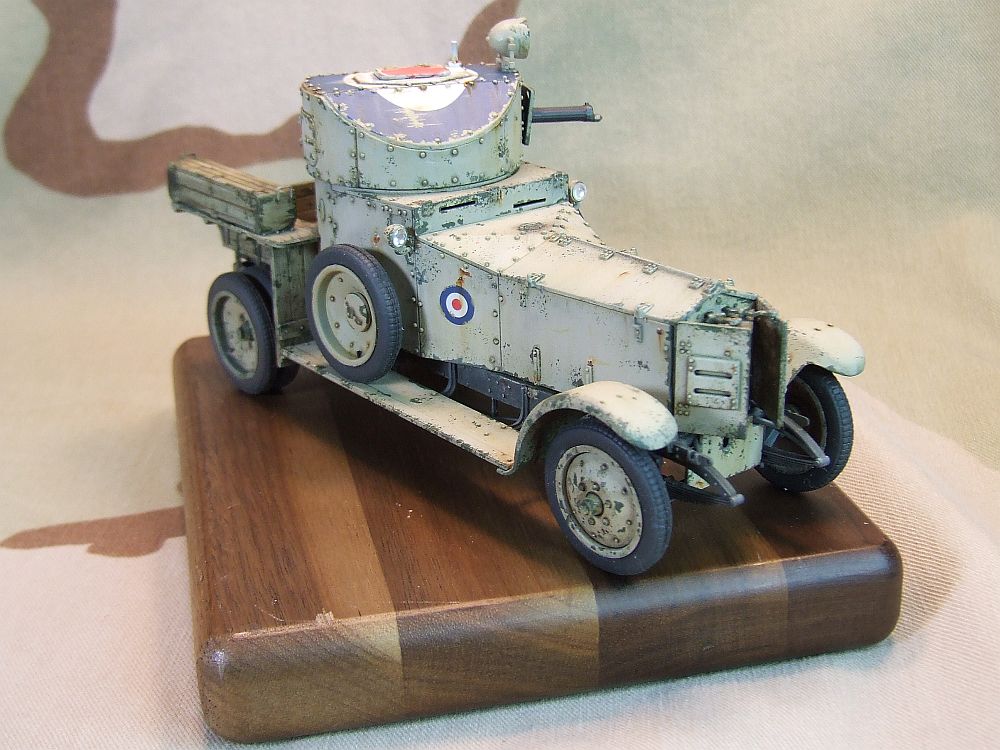
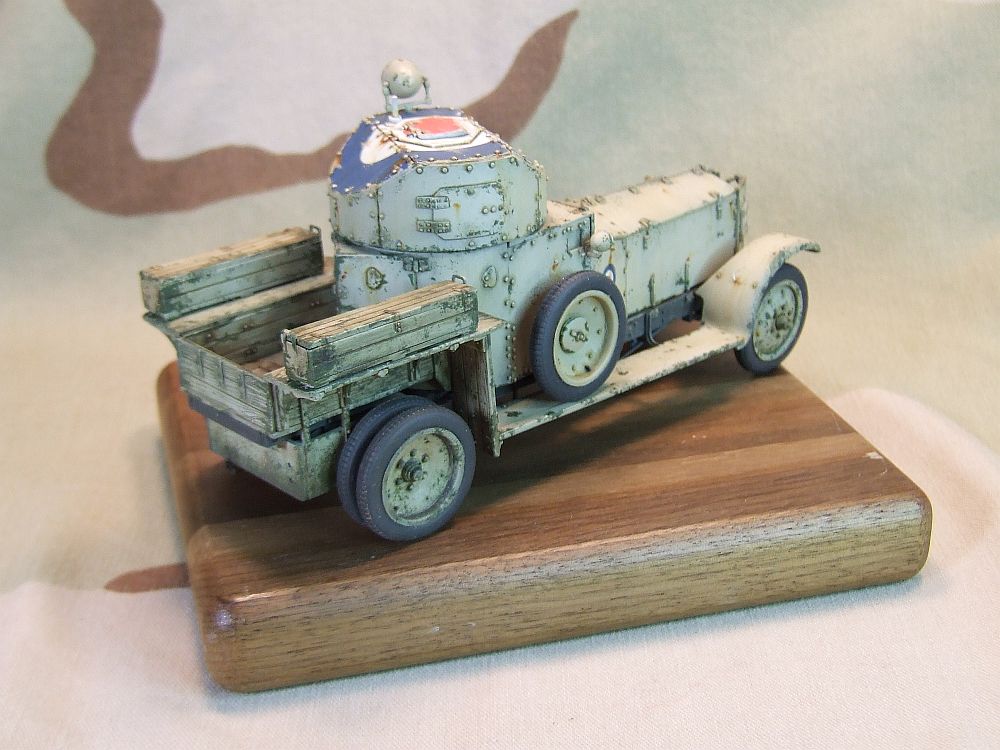
Roden 1/35 WWII British Armoured Car Pattern 1920 Mk.I
By Roger Sams
Construction
It seems to me that most automotive subjects start their assembly with the engine/transmission and the Roden Armored Car is no acceptation. The good folks at Roden have really out done themselves on the detail and fit of engine. I’ll have to admin some of the parts are small and somewhat fragile, which makes cleanup a little tedious but the result is stunning. There’s solid detail throughout and I had no difficulty assembling the motor. It’s a real shame that this entire assembly gets buried and sealed within the body of the car.
 Assembly of the wheels and tires comes next. The vinyl tires are sandwiched between the two part wheel. There’s good detail on the tires themselves but I found no easy way to remove them from the sprue without damaging a portion of the tread pattern. And with three attachment points per wheel the damaged to the treads is difficult to hide when assembly is complete. The fit of the two part rim is snug and the delicate valve stem adds to the overall look. The front axle has good detail and the control rod is finely molded, use care when removing the seams.
I assembled the interior per the instructions; again the detail is pretty nice. I’d imagine that the interior on the real vehicle was pretty Spartan and the same is true with the kit. The hand controls are particularly nice but you have to look pretty hard to see them when the assembly is complete.
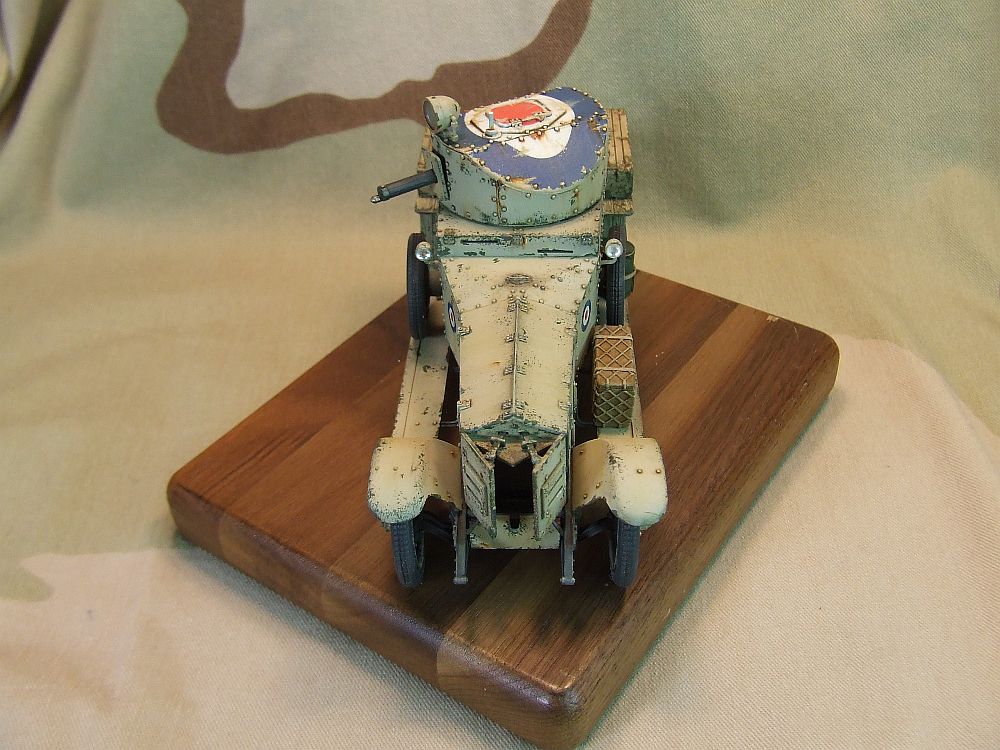
In Step 14 the armored radiator doors are assemble. I found the doors have good detail but to be a little thick to scale. Here’s an opportunity for an aftermarket company to produce a PE set of doors with a detail set . Another slight problem was encounters when attaching the triangular part 17A to the frame (part 23A). The attachment pins on 17A are square but the holes on 23A are round and too small. It’s not a big deal but I thought I’d include it in the review.
The chassis is the next big assembly and it includes nearly all of the previous sub-assemblies. Clean up of the chassis rails is pretty quick but take care when removing them from the sprue so not to damage the brush guards on the bottom side of the rail. The seam lines are very small and are easily removed with a couple swipes of a sanding stick. I suggest working slow and making certain you have things square and true, it’ll save some heartache later.
The rear axle/final drive assembly comes next. For some reason I found this to be a little tricky. There’s not that many parts involved but I kept having problems getting the leaf springs and the drive shaft to sit in the correct alignment to mate up with the chassis. In the end I assembled them on to the chassis instead of separately as the instructions shows. I think this might have been a better idea as I was then able to ensure the final drive was square to the rest of the chassis I left the wheels off until later.
 I deviated a little from Step 19 where the instructions show the interior tub, radiator and its guard, firewall and a small armored plate below the radiator are all attached to the completed chassis. I left off the radiator guard and the lower armored plate until later. Also at this point I test fitted the wheels and made sure the chassis was square. There is some flexibility in the chassis and despite my best efforts the right front wheel was off. I made a couple of adjustments (twisted the chassis a little) and got it so set level.
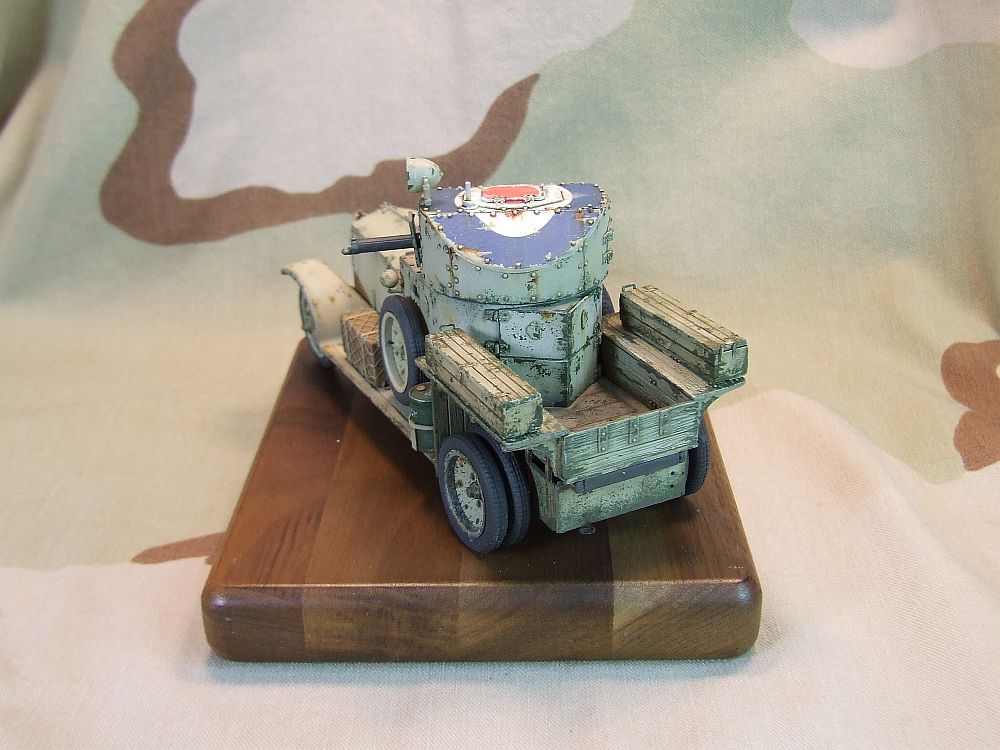
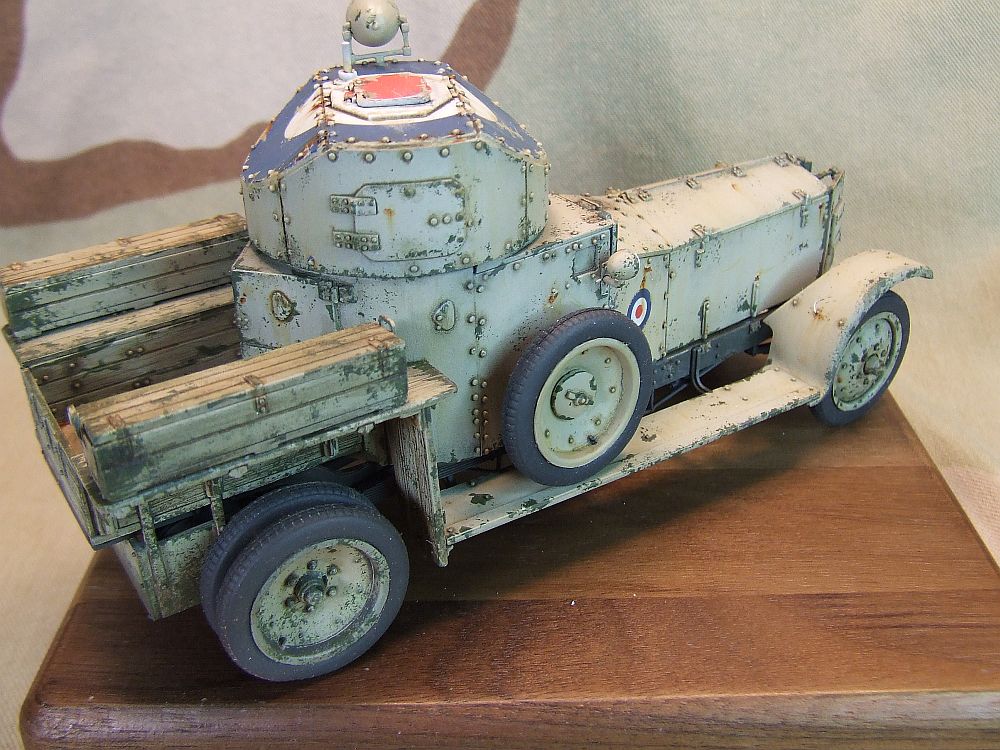
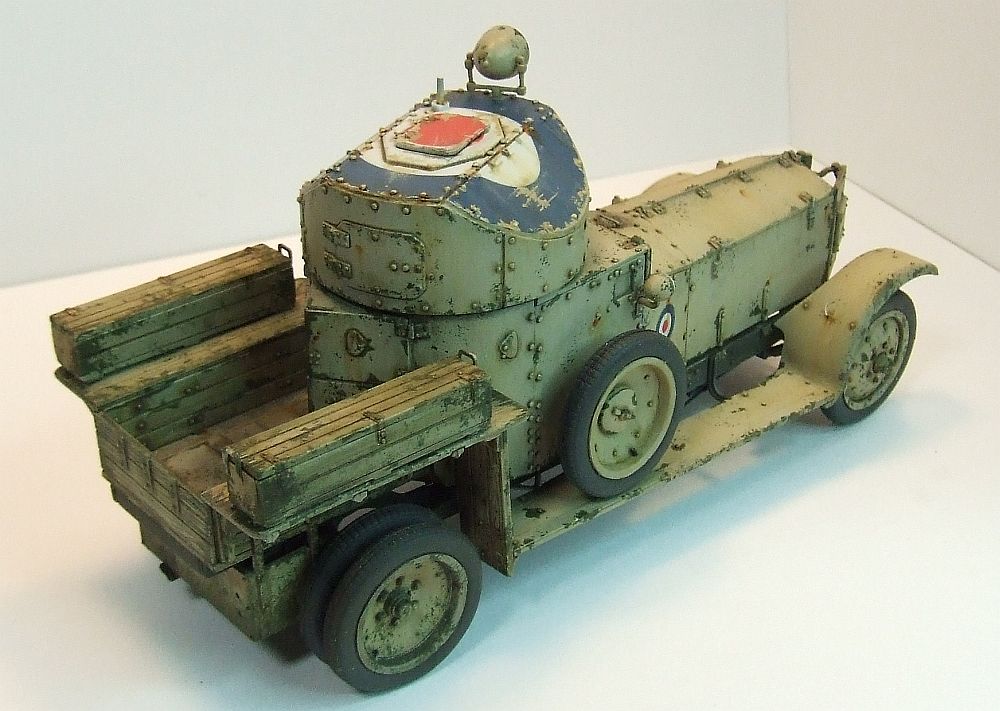
The wooden bed is assembled next. It’s pretty sweet too. There’s only a few injector pins marks to deal with and clean up is quick and easy. I used the tip of a sharp hobby blade to scribe a basic wood grain pattern into the sides of the bed. The fit of the rectangular storage boxes is a little loose, there’s some gaps that you’ll want to deal with. I contemplated leaving them off altogether but in the end I attached them and liked the way it looked when I did.
The armored upper body is assembled next. Its’ a multi-piece affair and you’ll want to work slow to make sure your alignment is good. The rear doors are a little tricky. There are indentations for the hinges to fit into but they’re not quite deep enough to allow the doors to fit correctly. I used my dremel and ground out the indentations a little and the doors fit perfectly.
At this point I skipped ahead and assembled the turret which also has multiple pieces. It’s a little daunting, I think the focal point of most armored vehicles is the weapon and turret so was a little leery going into this portion of the build. There a little play in the alignment tab (part 8A and part 18A) so take care, work slow and test fit your parts. In the end and much to my relief, my turret pieces went together well and top fit perfect.
I completed to remaining sub assembly with only one noticeable difficulty. The clear acetate for the headlight lenses are a little difficult to remove and then shape into a useable piece. After losing one and dorking up the next I was forced to come up with an option. I ended up using a circular drafting template and scribing replacement lenses out of clear styrene. It took a little time but I like the results. Probably the easiest way would be going with MV Lenses (#L-248) for the two headlights and the turret search light. After all the subs were completed I moved on to painting.
Painting
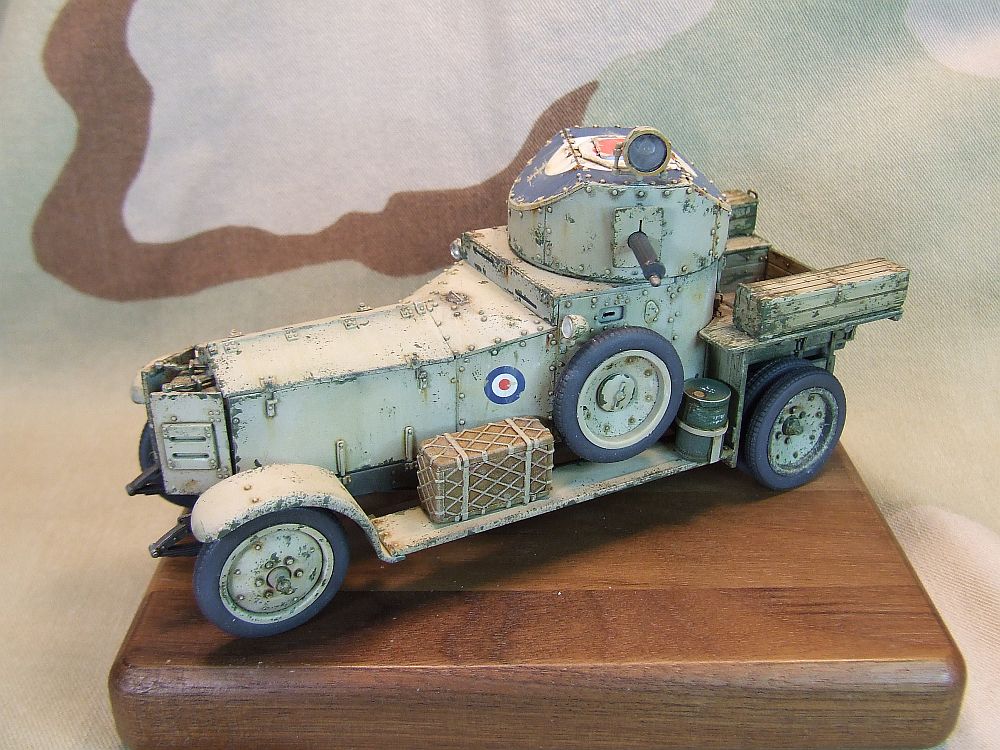
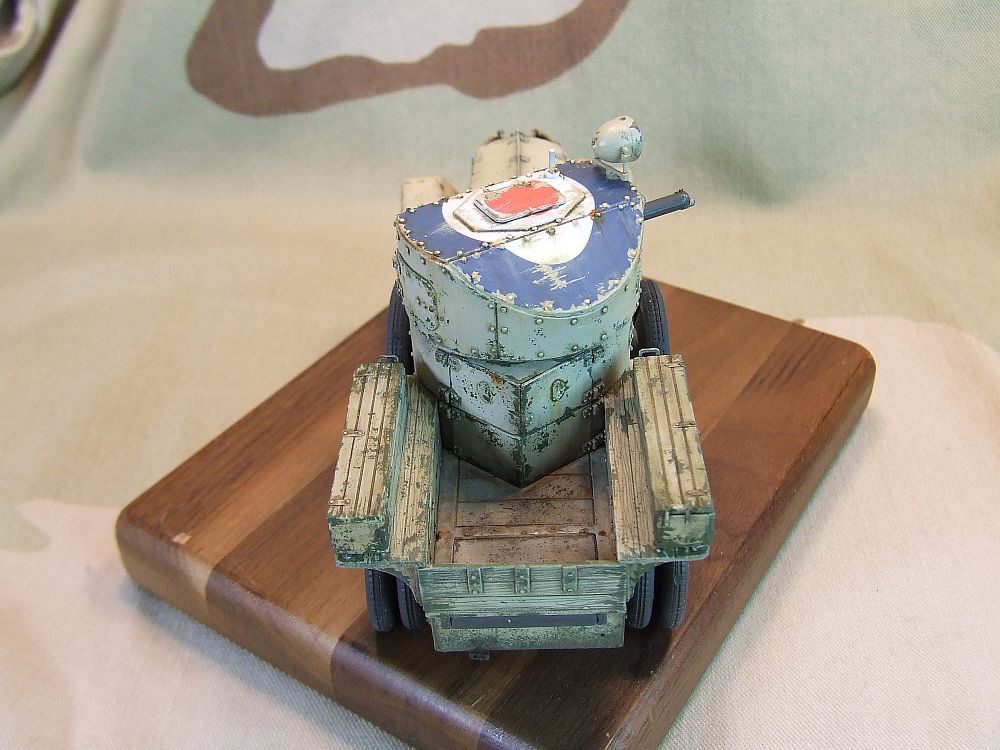
My initial desire was to build the gloss green Royal Tank Corp, Derbyshire version according to the painting guide in the instruction. I figured this would be the easiest scheme and quickest way to finish, however the desert version with the large British roundel on the turret was different and unusual. So after doing a little research I decided to go with the desert version. With that in mind I decided that I wanted to do a vehicle that looked like it had been subjected to the severe conditions of the western desert.
 I use Vallejo acrylics for the base and final coats and Winsor & Newton oils for washes and weathering. I started by spraying everything with a base coat of Dark German Grey and allowed it to dry overnight. After that I started on the chassis and applied a wash of Winsor & Newton, Burnt Umber That gave it some depth and dry brushed the raised details with a lighten hue of the base coat to bring out the highlights. I added some rust spots and chips to give it a little character and then moved on to the upper body.
Having already sprayed a base coat I next misted on a light coat of Vallejo Desert Sand. I tried to concentrate the color in the center of each panel leaving a little of the darker base coat to show through. Next I lightened the Desert Sand with a little white and misted each panel again. The result is a uneven, sun faded look that I was aiming for.
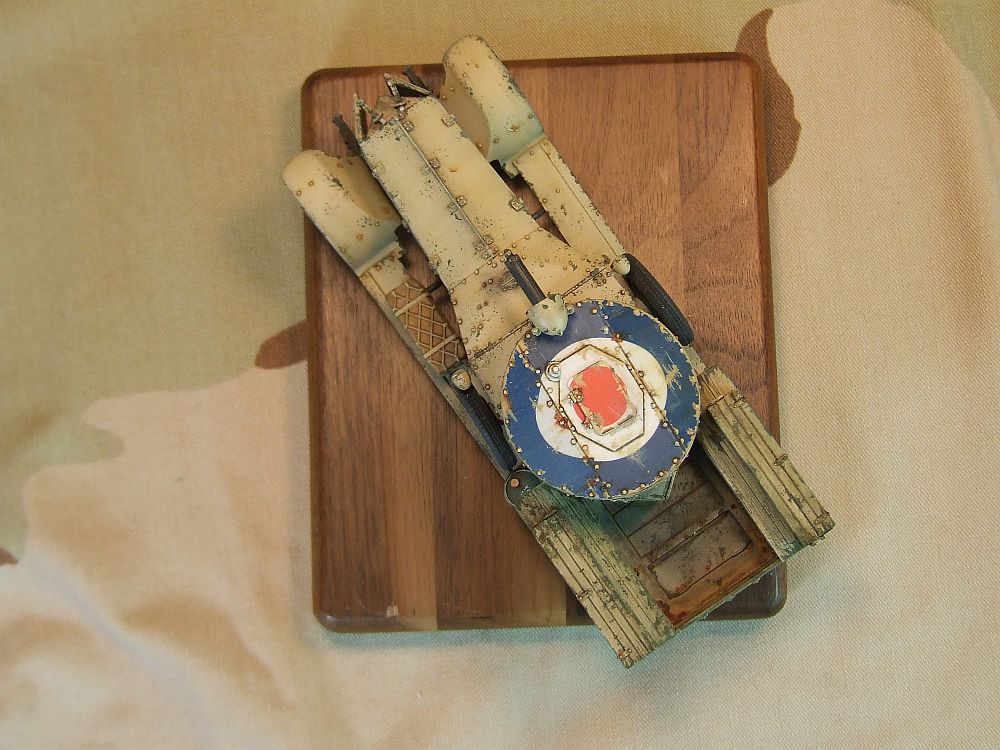
I masked off the top of the turret and sprayed it a flat white. After it dried over night I shot a clear gloss down in prep for the 5 part decal application.
Decals
Overall the decal are great, they’re thin, in register and have very little carrier film. I started with the side roundels which went on with no difficulties. The red center dot of each roundel is a separate decal and is a little tricky to center but looks great when you’re done. I decided not to use the “Ajax” decal for not reason in particular. The turret decal is five pieces and is a little daunting. I usually use dry transfers and was a little worried about how they’d work out. Surprisingly they went down pretty easily with just a little Solva-set. I only had one setback, one of the larger side piece tore and was impossible to get back into position. I had to paint a “sctach” over that portion of the decals to hide it
Weathering
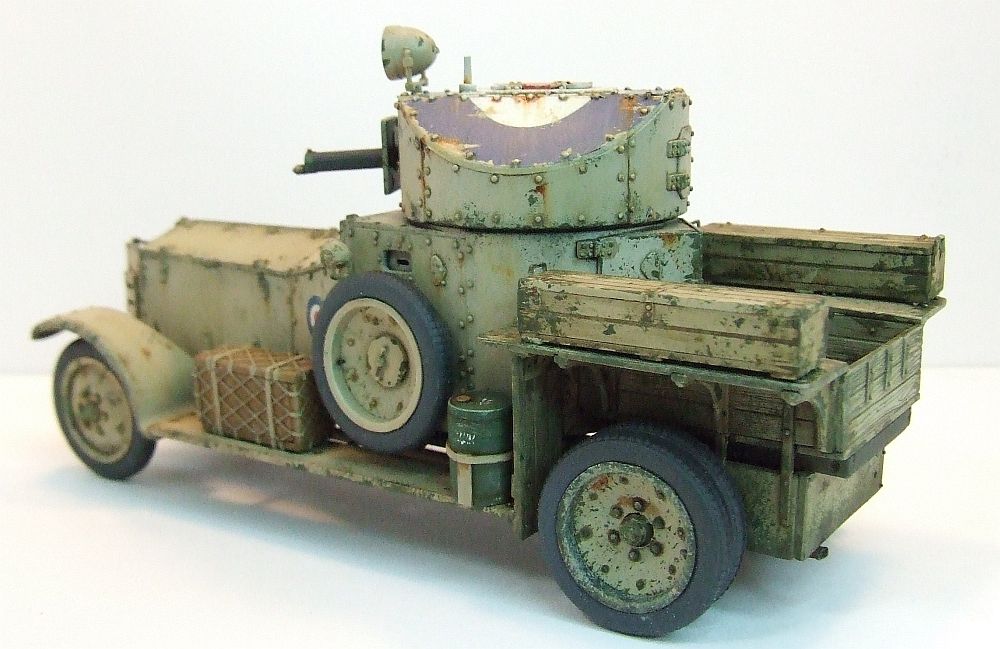
Sticking to my plan to model a weather beaten old warhorse I next added some paint chipping and scratches. I wanted to show the original green base coat and some of the primer under the worn sand color so I replicated the chipping and scratches with a small tipped brush and a piece of sponge dipped green the lightly dabbed onto the surface. I think it turned out pretty good and believe that trick is a light touch that ends with a subtle finish. I simulated the rust spots with oil paints and applied a light wash around the rivet heads and recesses. I finished with a dry brushing of oils in progressively lighter shade of the base sand color.
Final Assembly
I attached the machine gun to the interior of the turret and the search light to the top to finish off the turret. I attached the smaller lights to the side of the body. Painted and attached the storage box to the left side running board and attached the spare wheels to the body sides. I then attached the wheel, checked to make sure it sat level and called it god enough. This kit was a real joy to build. The fit was wonderful and the detail was awesome. I’m pleased with the result and look forward to picking up another one at the first opportunity. My thanks to Matt Bittner and Roden for giving me the opportunity to build the great kit.