- Al Superczynski (1947 - 2007)
This build is dedicated to our late friend Al Superczynski; it is truly built the way I wanted to because I wanted to, and I just wanted to have fun doing it. And because I think this kit almost belongs in one of his columns. Thanks Al for always keeping a hobby in perspective.
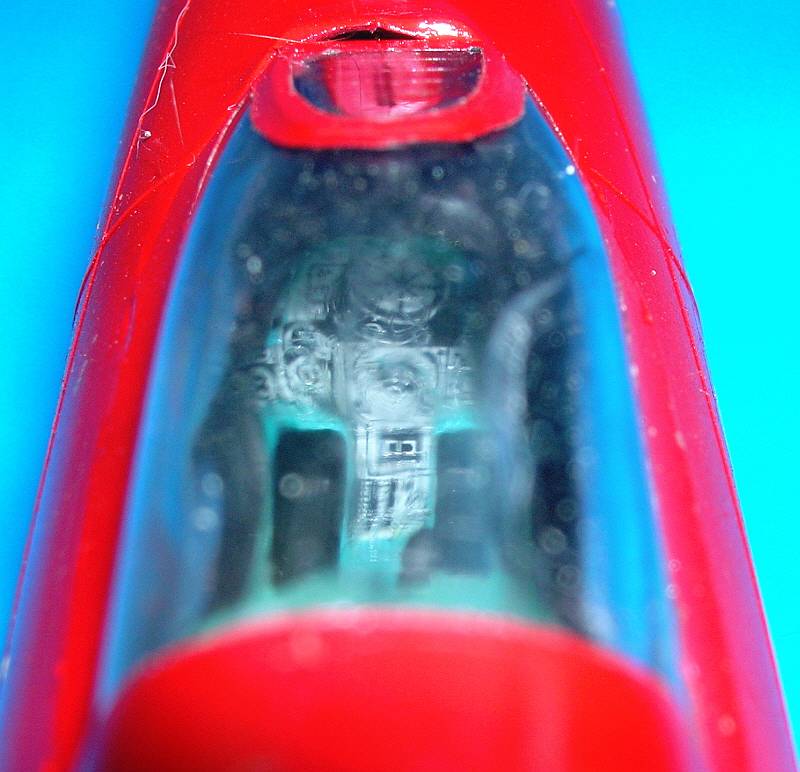
 I’ve been away from plastic modeling for a while (much to frustration of the editors of this online magazine, to whom I owe several reviews) so I thought I’d take one of those oldies on the shelf and polish some skills and maybe learn something new. The other reason to practice on this kit is because it comes with a clear instrument panel to which you are supposed to apply a full color decal to the back side. I wanted to practice with this process because it is used on one of the aforementioned needed-to-be-reviewed kits I have on the stash. Sadly with the canopy closed you can just barely make out this feature.
 The MiG-21
The most widely built, over 12,000 world wide and almost most widely used, 56 countries (only topped by the C-130) modern jet fighter aircraft. The simple single seat day interceptor from the minds of Artem Mikoyan and Mikhail Gurevich is one of the most easily recognized aircraft in the world. Please note that the designator for all MiG aircraft is an abbreviation for these two names Mikoyan-and-Gurevich or Mikoyan-i-Gurevich or MiG. With an upper case M, lower case i Upper case G.
The Kit
 I think this kit came first came out during or just after the Vietnam War. It has be around so long that it, like the real plane is just a constant part of my memory. I picked this particular kit up at a swap table in Grapevine TX in 2006; the box says it’s a 1977 copy write, which puts it at the right timeframe for my memories. It is molded in a medium gray with a reasonable amount of raised details. Options included; landing gear up or down, speed brakes open or closed, two representative AA-2 (R-13) Atoll missiles, a center line fuel tank and a choice of early narrow chord or late wide chord vertical fin. The cockpit canopy was designed to be an operating feature, being hinged at the leading edge to be positioned
 opened or closed. Markings came in this issue for a silver and white Soviet Air Force aerobatic team, and a camouflaged Syrian aircraft. Instructions are on 8 pages and 44 construction steps. These instructions date from Revell’s first venture into the international market, and as such there isn’t a single word typed out on the sheet except for what the four assembly symbols stand for. In another oddity, the colors to be used on the paint schemes are also not included. I guess it was up to us to match the pictures on the box top.
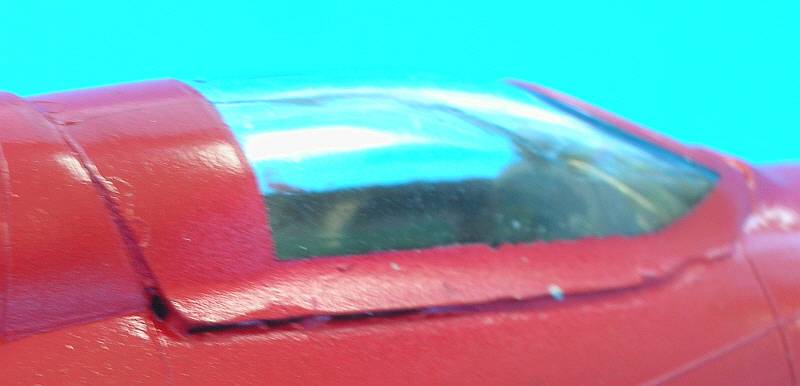
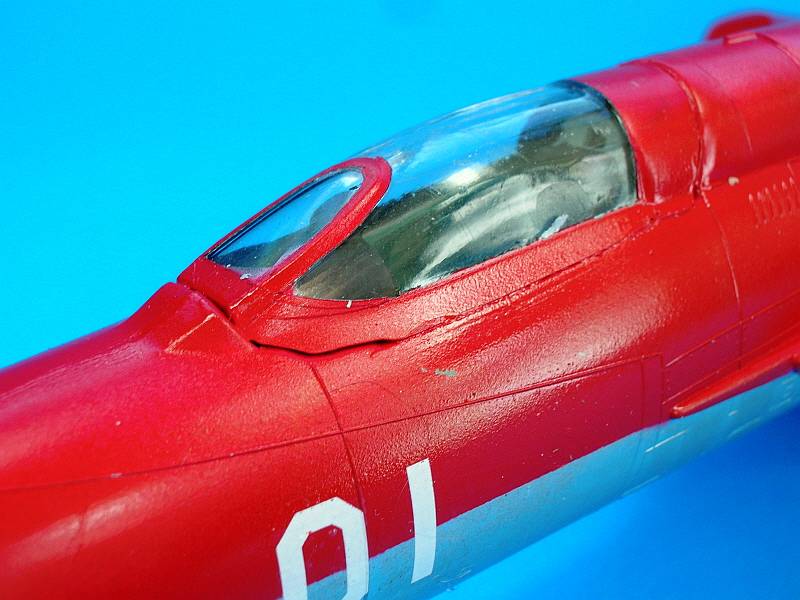 Construction was quick easy and simple. The canopy worked out to being the fiddliest bit. I gave up on letting it open, followed by giving up continuing on sanding and filing to get it to fit. I ended up with a gap on one side.
I also opted to load the radar nose with lead shot to avoid a tail sitting model. Revell knew this would happen and included a rather robust tail support, which I no longer needed.
I found a ladies four surface finger file at the local Dollar General Store for what else, a Buck.
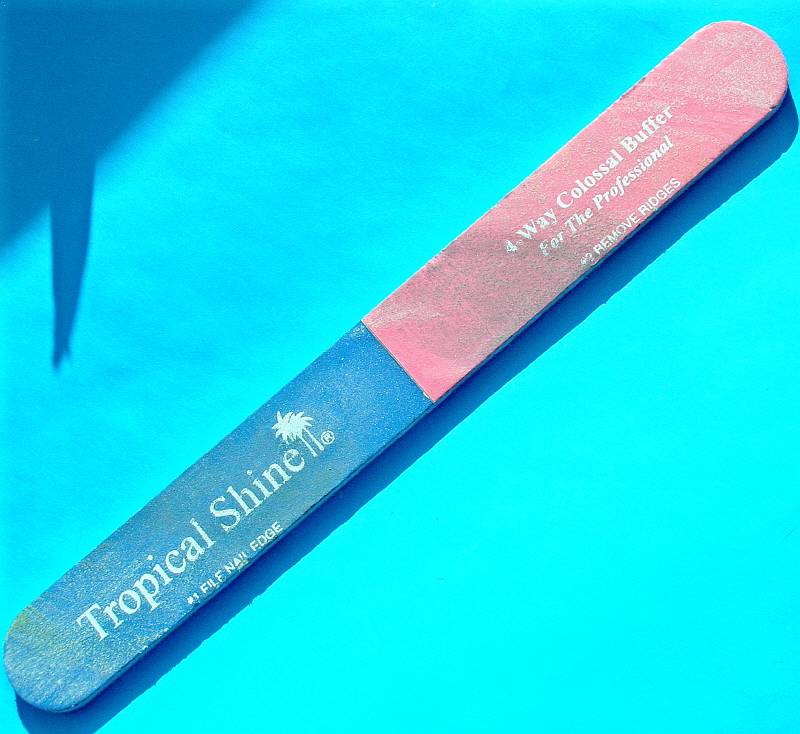
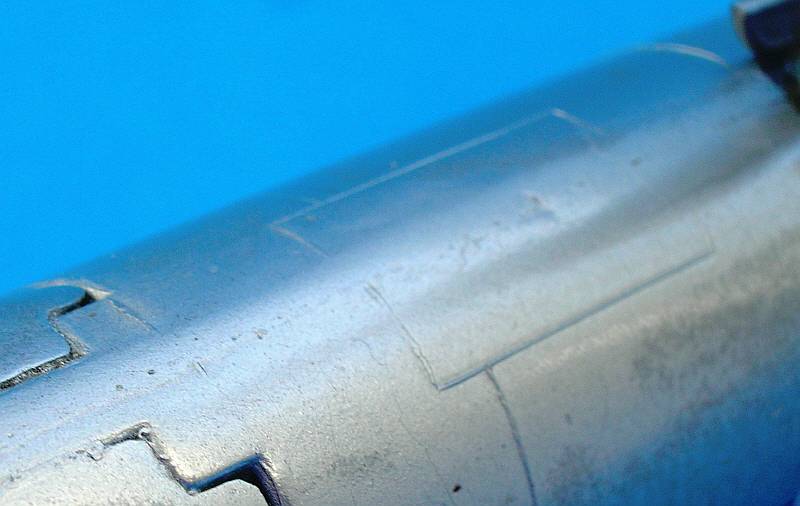
I normally add enough liquid cement to the joints of a kit and allow the plastic to ooze out of the joint under pressure. I then scrap off the excess with out any other form of filler. I found that the two finer grits on this finger file could restore the plastic in these reworked areas to a shine that was as good as or better than the original molding.
So I did learn sumptin on this.
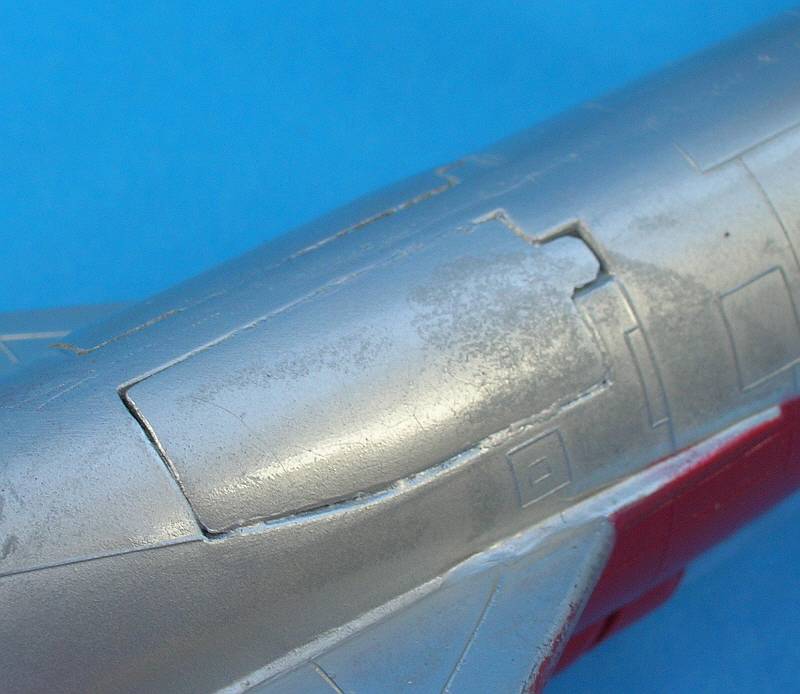
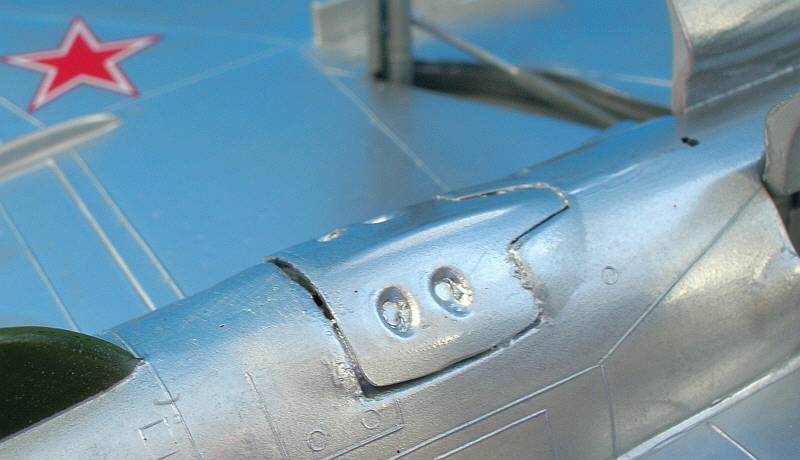
Other areas exposed themselves on the speed brakes. Revell really intended for these to be deployed, because if you attempt to close them, even a lot of fitting and sanding will not get a decent result.
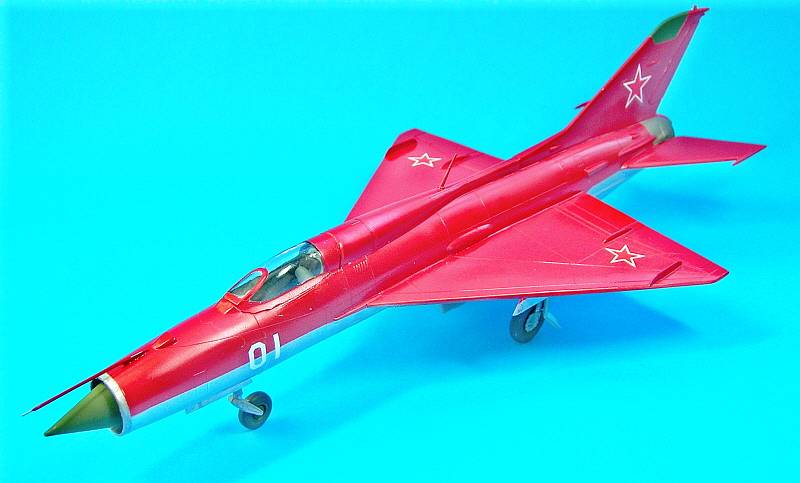
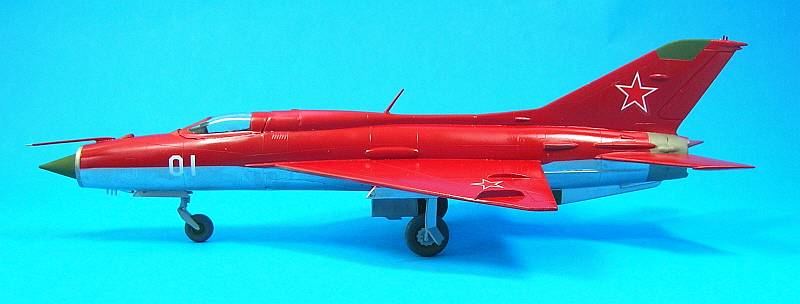
The model was painted by starting with a shade of green for the antennae, once these were masked off a nice coat of Testors Model Master Chrome Silver enamel applied and allowed to dry for 2 days. The silver and exhaust
 areas were then masked with low stick tape. The upper surfaces were shot with a thin coat of Model Master Chrysler Engine red. In some places it was a little too thin and I got a candy apple like finish in the red. Even the low stick 3M tape had an effect on the chrome in its bare state. The plane was given a brush coat of Future floor finish then decaled. The decals, despite there age went down quite well.
All and all a fun and relaxing build to get back into the swing. It’s a nice model that looks like a MiG-21, even though much of the detail is a little rough or completely lacking.