
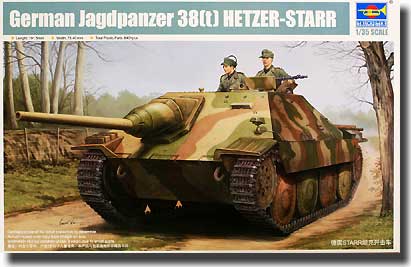
Trumpeter 1/35 German Jagdpanzer 38(t) Hetzer Starr
By Eric Christianson
Background
The Jagdpanzer 38(t) Hetzer-Starr is the further modification of the Hetzer. The main differences were the recoilless gun PaK 39/1 L/48 with a new sight WZF 2/2 and a Tatra 928 diesel engine. From September 1944 through January 1945, 14 vehicles were built. Only the prototype received the diesel engine, the other 13 sported standard engines. At least eight Hetzer-Starr vehicles participated in suppressing the uprising in Prague, early in 1945.
The Kit
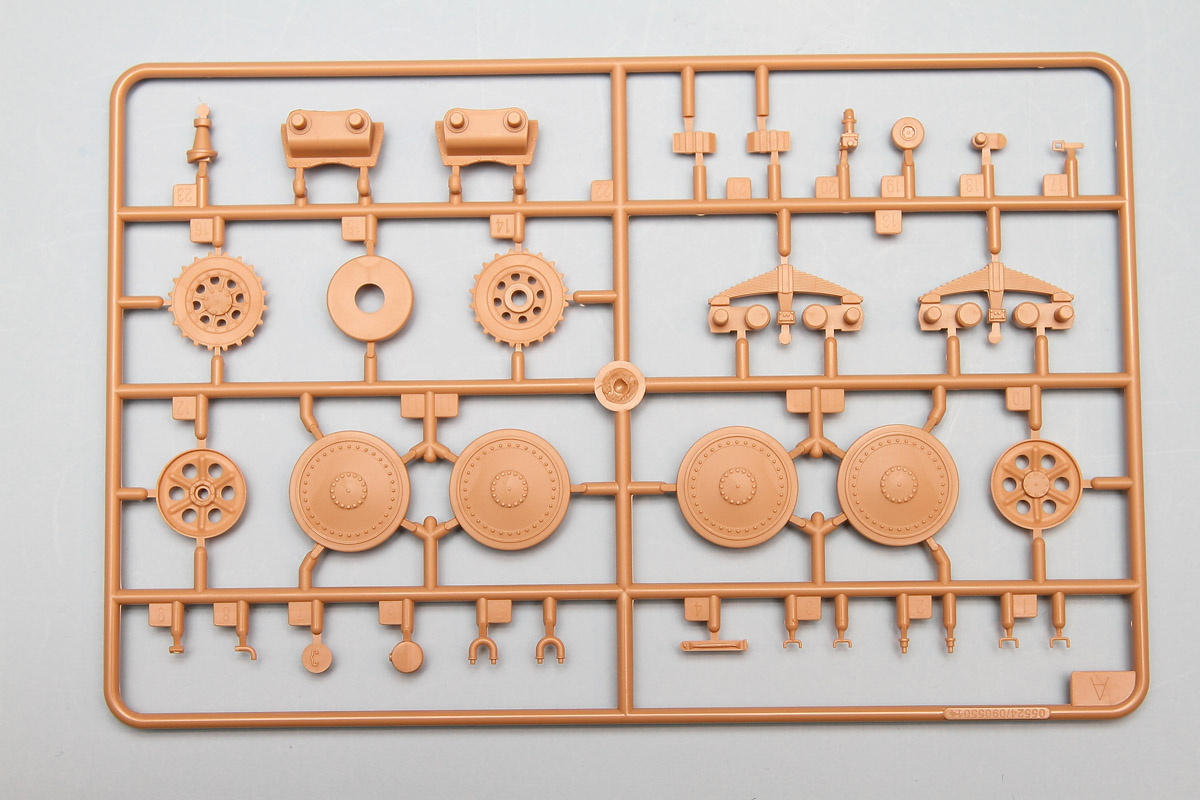
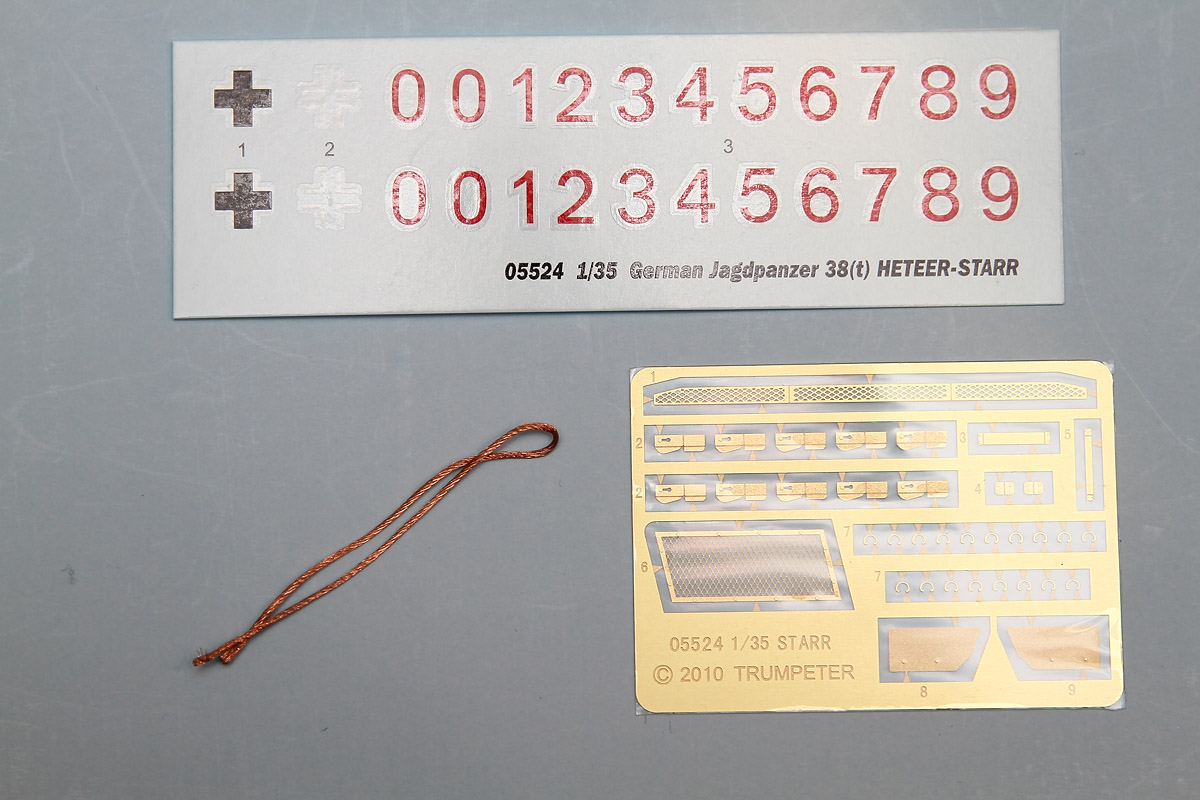
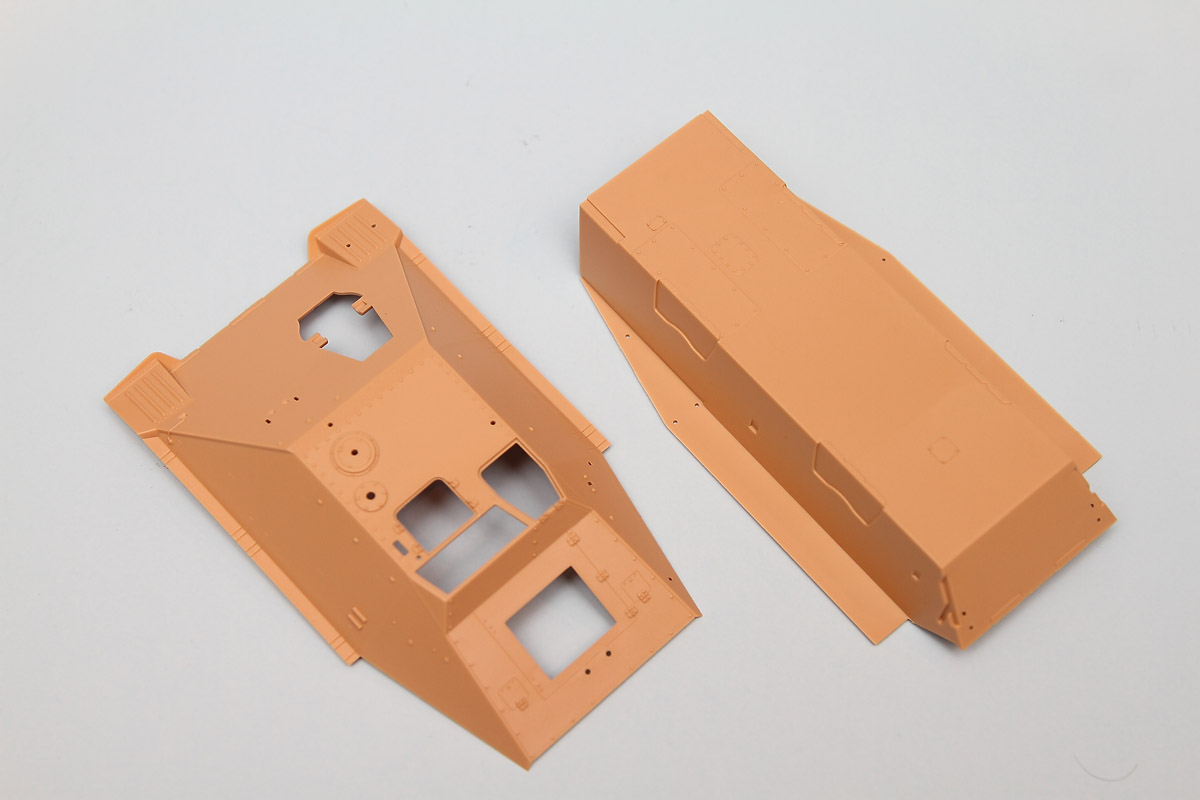 The Jagdpanzer Hetzer comes in one of Trumpeter's ubiquitous small sturdy boxes, containing four separately bagged sprues of yellow-tan plastic parts and a separate boxed-in section holding the main tank hull and chassis. In addition, there is a bag of individual track links on tiny sprues and six (additional) bags of 24 sprues each. These last sprues contain what look at first to be ammunition rounds, but, upon closer inspection, are actually very small pins molded onto posts. These pins are for the track. There is also a small fret of photo-etch as well as markings for one vehicle. A 12-page instruction booklet and a 5-view color sheet round out the contents of the box.
Construction
Construction starts with the hull and main running gear. The Hetzer chassis is a simple affair, with four wheels, a drive sprocket and an idler wheel on each side. Assembly looks pretty straightforward, with two bogies receiving two wheels each.
The instructions say to carefully shave off every other molded rivet from each wheel. Checking photographs and images from two sources (MBI’s excellent PRAGA LT vz.38 Pz.Kpfw. 38(t) book and their equally impressive Hetzer JagdPanzer 38 book), the rivet counts are indeed different. The early variant sported 32 rivets and the later models (starting in 1944) reduced this count by half. Whether this was an attempt to simplify production and cut costs, or was due to some other requirement would require more research. Regardless, since this is the later model, the rivets should come off.
Interior
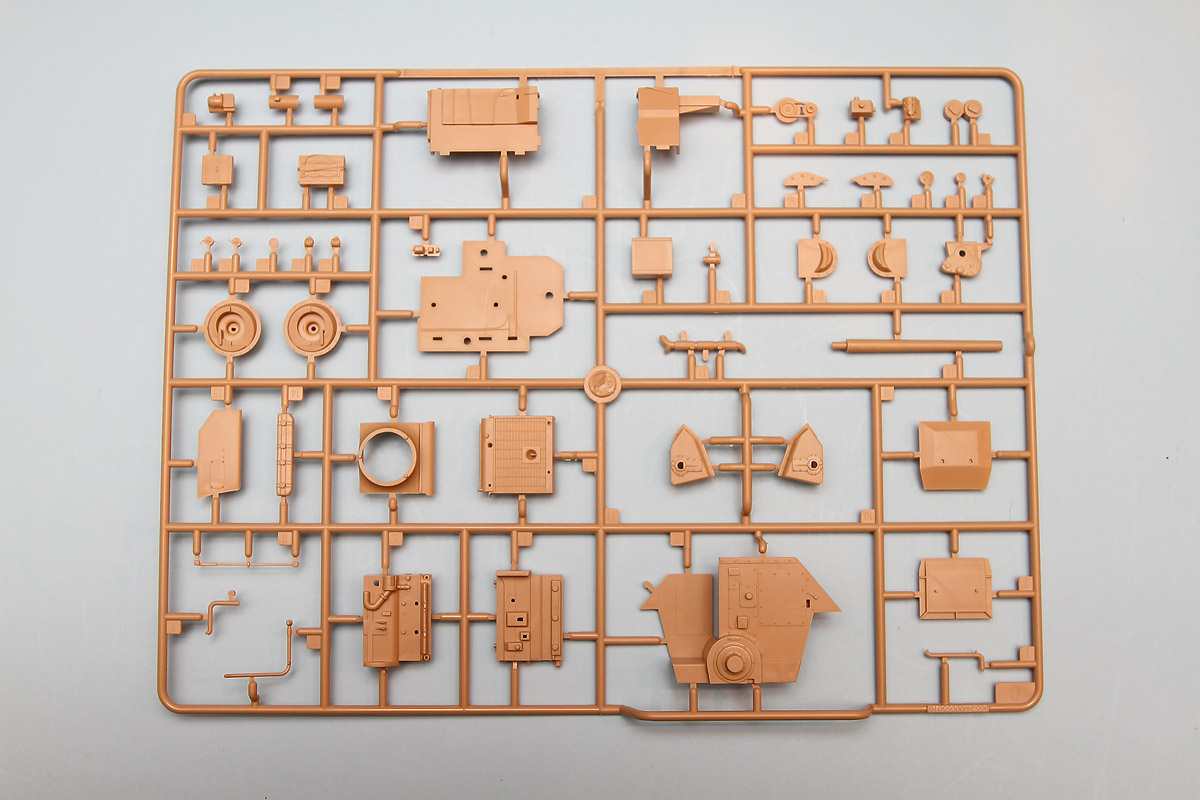 Steps four and five bring the engine and engine compartment together. Trumpeter has a reputation for including beautifully rendered engines and transmissions in many of their kits. The work they include here is not as detailed as other efforts, but it doesn’t require a whole lot of fiddly parts either. The assemblies should look very nice when fitted in the vehicle with the single access panel left open. A welcome addition!
Step seven covers the Rear panel and cooling system. There is a decent fan housing and radiator setup on the interior and a run of track that you must assemble for the exterior (see Track, below). I would wait until you have assembled the main tracks before you to create this small run. In case you run out of track links, any 38(t) track can be substituted here.
The flat, rear surfaces of the upper hull that receive all the external detail, such as the pioneer tools and boxes, etc, go on next. Interestingly, the 7-piece jack is assembled following a completely new design, even from the earlier 38(t) kit. Just about every German AFV carries this jack, yet I can’t remember two of them using the same modeling design.
Track
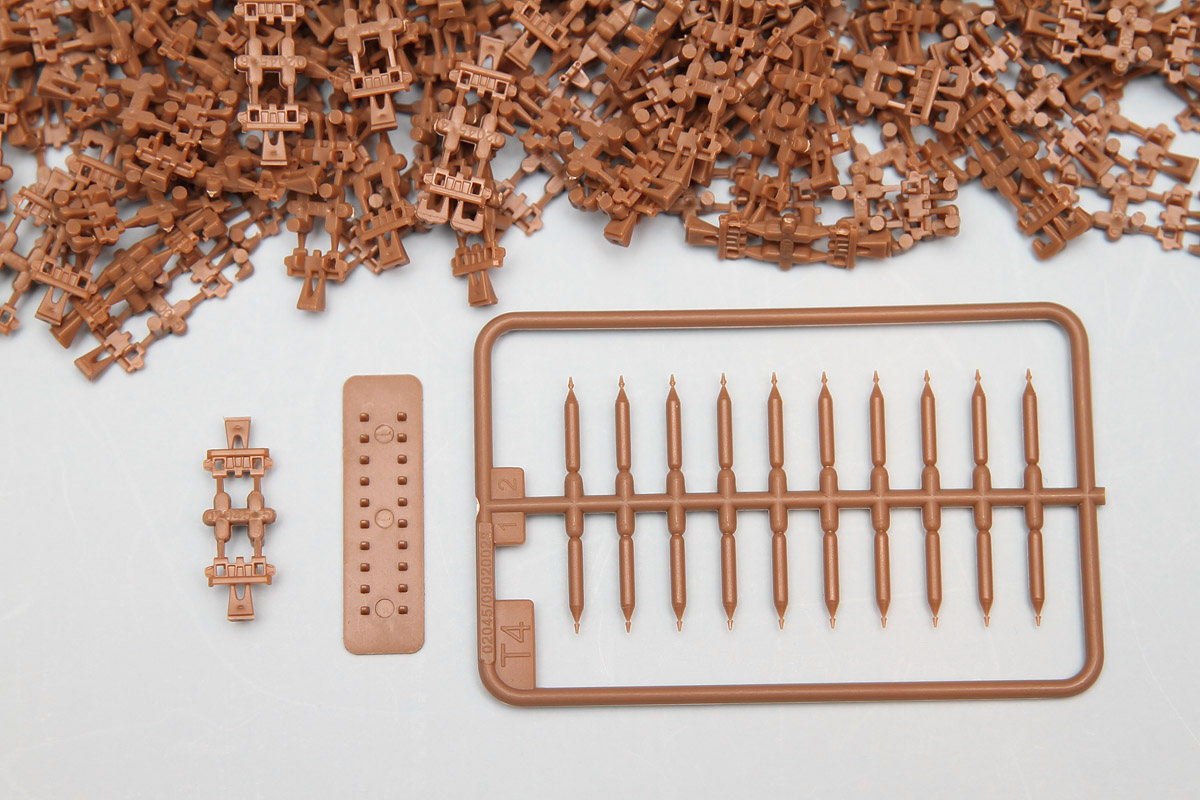 In step nine, the track is assembled and attached. Trumpeter chose to use ‘ModelKasten’ type of track. Instead of glue, the track is held together by tiny plastic pins, and, if all goes well, is articulated. The 680 parts consist of a bag of 200 individual links, s small, flat assembly jig, and 480 posts, each with the aforementioned tiny pin at one end.
Each link has a ‘handle’ on one side, and two sprue connections on the other. After cleaning the two sprue connections, you use the handle on the link to position it up against a second link set on the jig. Once in place, you push in four pins (two to a side) to connect the two links. Once this is done you carefully snip off the handle and start over with the next link. The jig is moved down the line as your track run comes together. At least that’s the plan. The track of the 38(t) in comparison, is very similar to Dragon’s Magic Track, and came together with just a little clean up. I cannot fathom why two vehicles released by the same company within months of each other would sport two completely different approaches to assembling the track.
The instructions say to use 97 links per run and as far as I can tell, they are not ‘sided’, meaning that the links can be assembled for either side of the tank.
Step ten is the first of several steps that address the upper hull detail. The gun housing is a simple one-piece affair that traps a single piece (movable) gun base against the hull surface. Later you will attach a beautiful single-piece, slide-molded hollowed-out barrel to this base. Five photo-etch brackets requiring three folds each are attached per side here. Thankfully, these brackets are for show only, and will not serve as the attachment points for the side skirts (schűrtzen).
 The next step continues with the upper hull detail. The machine gunner’s hatch is made up of two halves and can be assembled in the open or closed position, as can a secondary hatch, although the opening is very small for the latter. The antenna mast is attached in this step – you are expected to create an antenna out of stretched sprue or wire. The mount is very small – I would drill a hole in it and in the hull so the antenna can be removed for transportation. There are some photo-etch brackets that have compound curves included in this step, but side-view drawings are provided as a go-by. The next step shows you where 15 tiny PE handles are placed. That should be interesting.
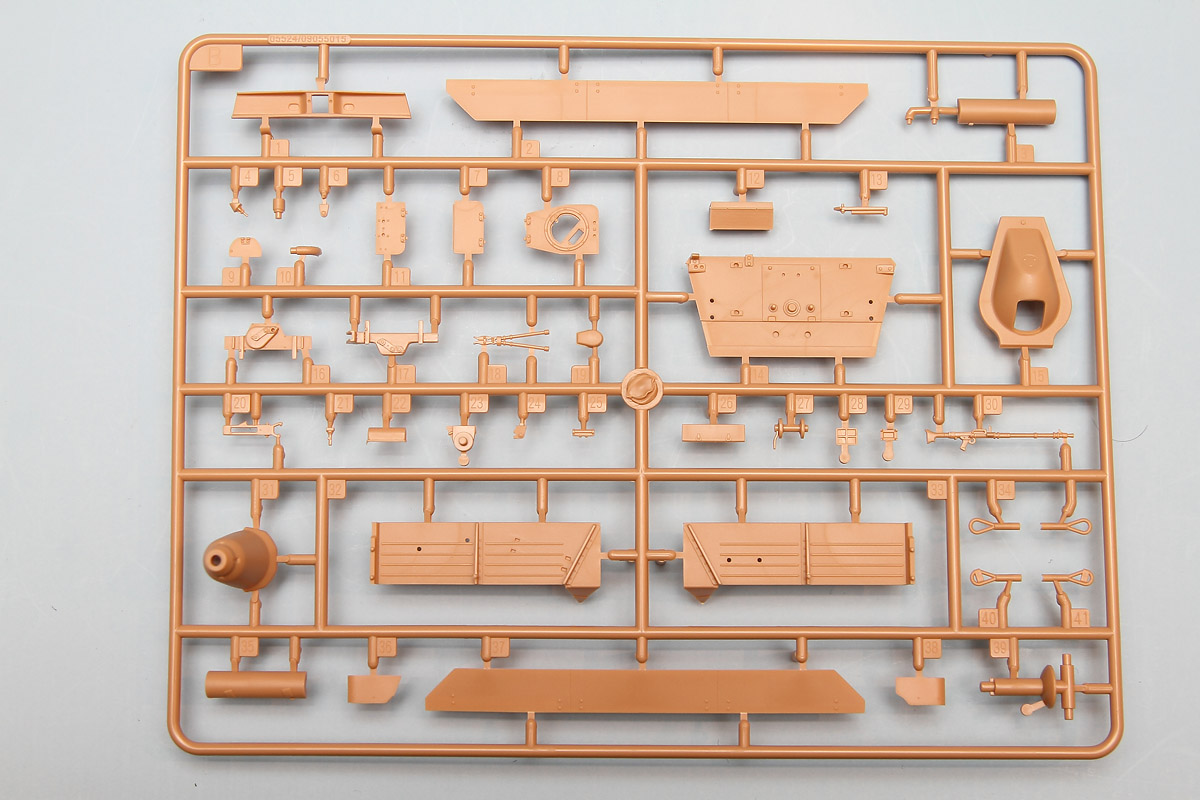 Step 13 covers the exhaust manifold, machine gun and rear hatch. Each of these assemblies is straight forward. The machine gun on a Hetzer sports a unique front shield that will draw the eyes when the vehicle is displayed. Trumpeter thankfully provides you with an optional PE version to the plastic one. Either one looks pretty good; although I think I would go with the PE version.
It is hard to tell if the rear hatch can be positioned open or if it must be left off to the side to expose the beautiful engine compartment. Either way, I think the detail back there will look great and should be exposed in some way.
Construction ends with attaching the side schűrtzen and lowering the upper hull down onto the lower hull.
Conclusion
 Every collection of German World War II armor will have to have a Hetzer in it, and this kit builds into a very nice candidate for that, simply because it represents the final production version. The beautifully detailed engine compartment is mostly hidden but a glimpse can be had by leaving the rear hatch open or off. The track detail (once you get it assembled!) also appears to be excellent. With a good finish this kit should build up into a nice and unique representation of the real vehicle.
I recommend this kit to anyone who likes to build and finish late war German AFV’s. The simplicity of the original vehicle’s design and function translates well into Trumpeter’s release.
I would like to thank Stevens International for providing this kit for review, and to Internet Modeler for giving me the opportunity to review it – stay tuned for the full-build article to follow.