
Airbrushing 101: The Airbrush
By Chris Banyai-Riepl
The requirements for proper airbrushing are the same regardless of what type you choose. You need an airbrush (obviously), a source of clean, dry air, and you need paint. The first few articles in this series will cover each of these in some detail, and we'll start with the airbrush.
Just what IS an airbrush?
Quite simply, an airbrush is a tool that atomizes paint with air to produce a continuous and consistent coat of paint onto a surface. While humans have been painting with crude airbrushes for thousands of years (a simple form being a straw filled with a colored liquid, which is then blown onto the canvas, which could be anything from a pot to a rock wall), the first modern airbrush came into existence in the late 1800s. Francis Stanley and Freelan Stanley (of Stanley Steamer motor carriage fame) patented a design for coating photographic plates.
The first time the name airbrush was applied to the concept came with Abner Peeler's patent for a painting tool that utilized a hand-operated compressor. Peeler created his airbrush out of bits and pieces, starting in 1879. It took several years of refinement before it was a viable commercial tool, and even then it required the help of a second person, Liberty Walkup, who promoted the new Air Brush extensively. At this point, interest began to grow in airbrushes, and further refinements led to Thayer and Chandler presenting what is considered to be the first true atomizing airbrush in 1893 at the Chicago World Columbian Exposition. All modern airbrushes can trace their roots back to this original pen-type airbrush.
How does it all work?
The basic concept of an airbrush involves moving air rapidly through a narrow tube, which creates a lower pressure in that tube. This establishes suction on an attached paint reservoir, drawing the paint up into the airstream where it is then atomized and exits as a mist from the airbrush tip. The result from the atomization creates smooth finishes and gentle blends between colors.
That is a very simple explanation, but let's dig deeper into the functions and innards of the airbrush. There are three elements that all airbrushes have: a trigger, a feed system, and a mix point. All airbrushes can be categorized based on these three items.
The Trigger
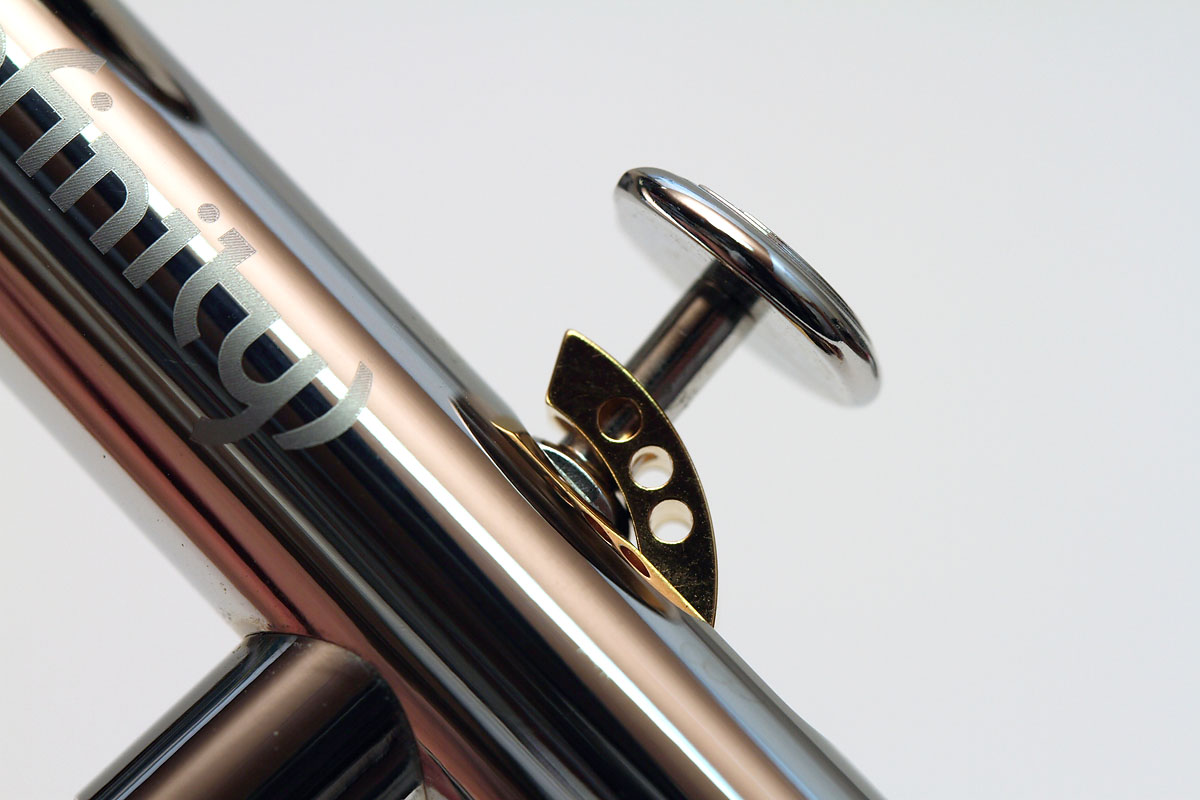
Double action airbrushes utilize a two-step trigger, which provides the artist with considerably more control over the airbrush output. Like a single-action airbrush, the downward trigger movement starts the air flow. Paint flow starts with the movement of the trigger backwards, with more backward movement resulting in an increase in paint flow. This two-stage trigger action results in a more complex airbrush assembly, with most using a separate needle.
The Feed System
The second feed system is a siphon feed system. This can be done via bottom or side, with each having their own merits. Both have greater visibility over the top of the brush, although that might not be much of a consideration for the modeler. The bottom feed system can generally take larger capacity paint containers, allowing the artist to airbrush large areas before refilling. Side feed systems place the paint container on either the right or left side, which can work well for those who do not like the balance of a bottom feed brush.
The other main advantage to side and bottom feed airbrushes is that the paint container is generally removable, while that of a top feed brush is generally integral to the brush itself. This allows the artist to mix the paint separately from the airbrush, and in some cases even have pre-mixed bottles of paint ready for attaching and spraying. A top feed brush requires paint to be transferred to the airbrush from one container to another, which can be messy at times.
The Mix Point
Airbrush Components
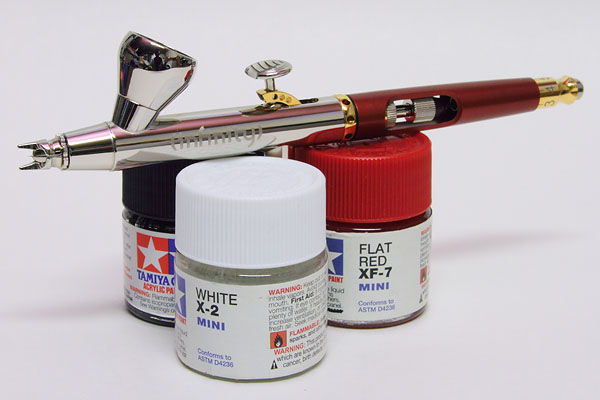
With the definitions and types out of the way, let's look at the inner workings of a modern airbrush. The airbrush we'll be using throughout this series is the Harder & Steenbeck Infinity airbrush. This is a double action gravity feed internal mix airbrush. As we can see from this exploded photograph, there are quite a few parts to this airbrush, which can look daunting to the uninitiated. Let's break it down, though, and remove some of the mystique.
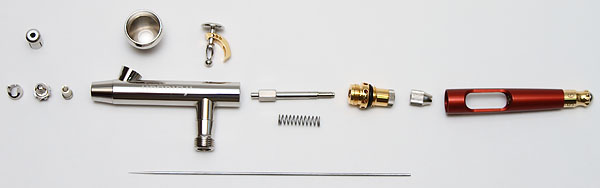
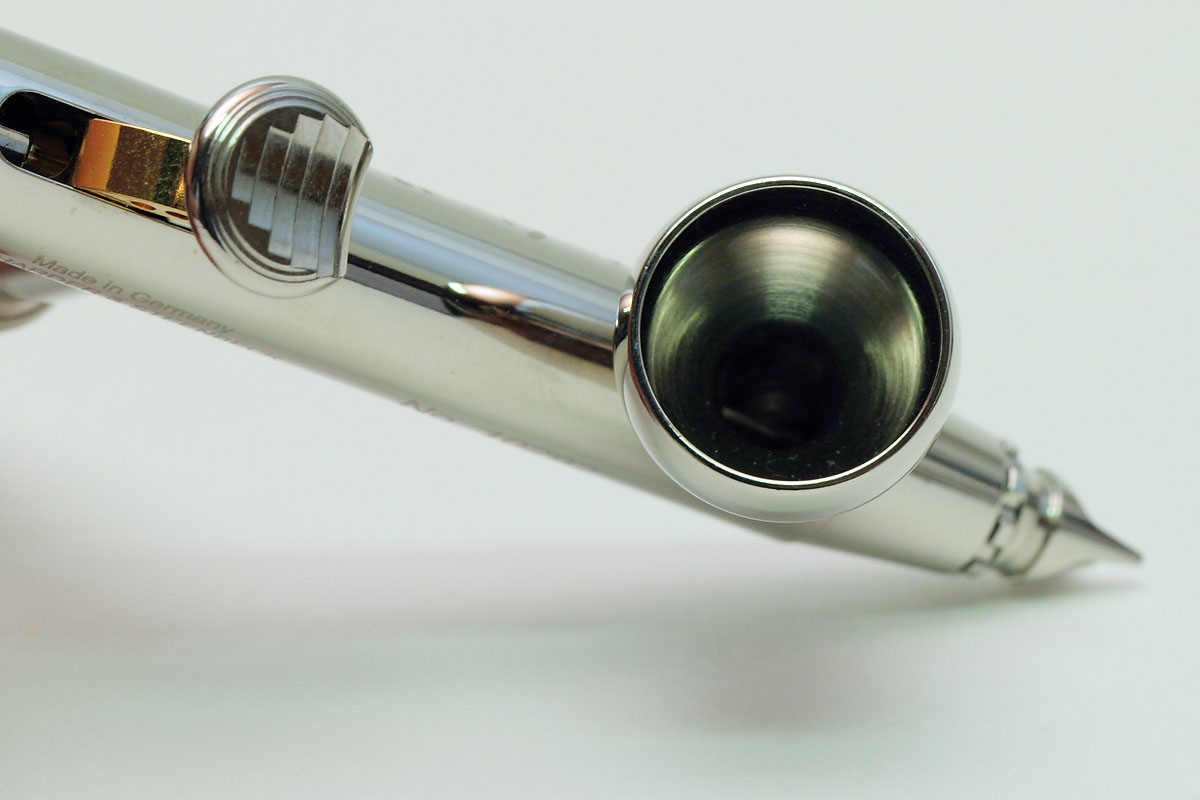
The Main Body/Handle
The main body incorporates the mixing chamber, the air supply connection, and all the connecting plumbing. Attached to this is the handle, which extends out the back and provides balance to the brush. It also allows for a comfortable fit in the hand, which is a very important factor, as you want an airbrush that is comfortable to hold.
As this is a gravity feed airbrush, the paint cup is integral with the main airbrush body. On this specific brush, the upper half of the paint cup is removable, which improves cleaning. Although not clearly seen in the photo, at the bottom of the cup is the needle, which runs through the body to the tip.
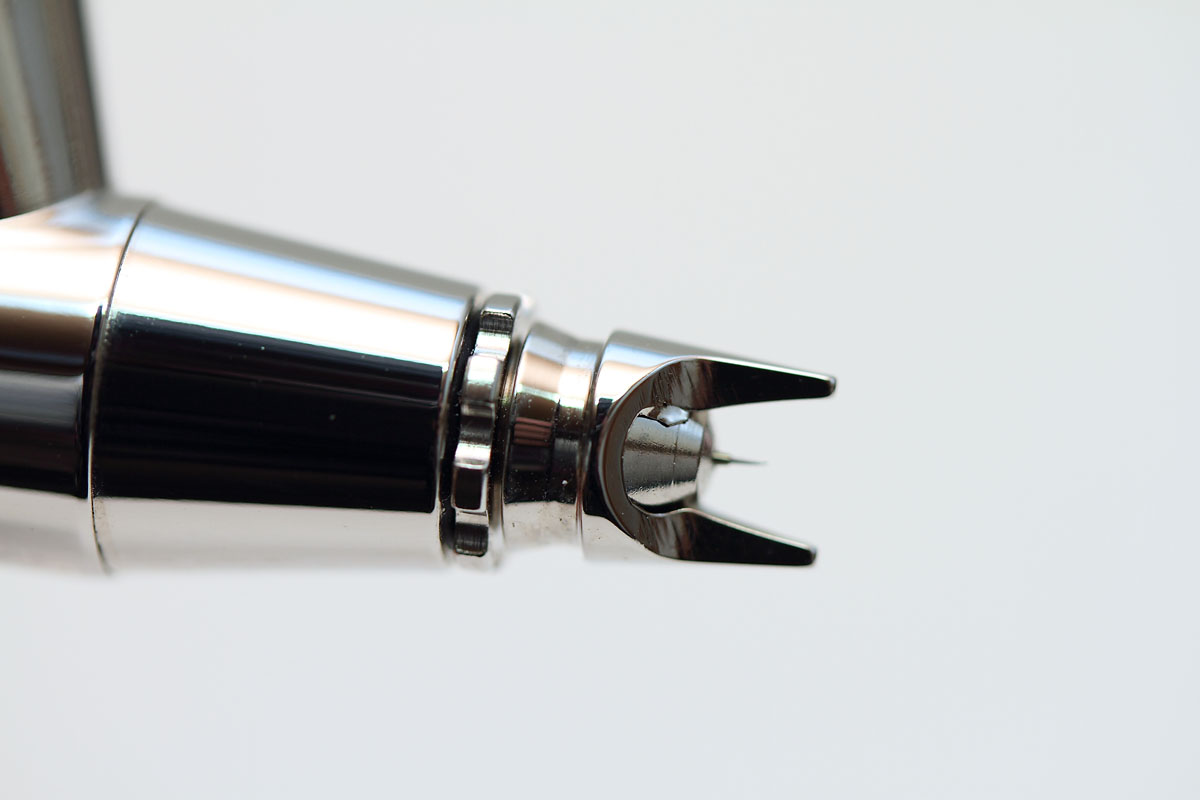
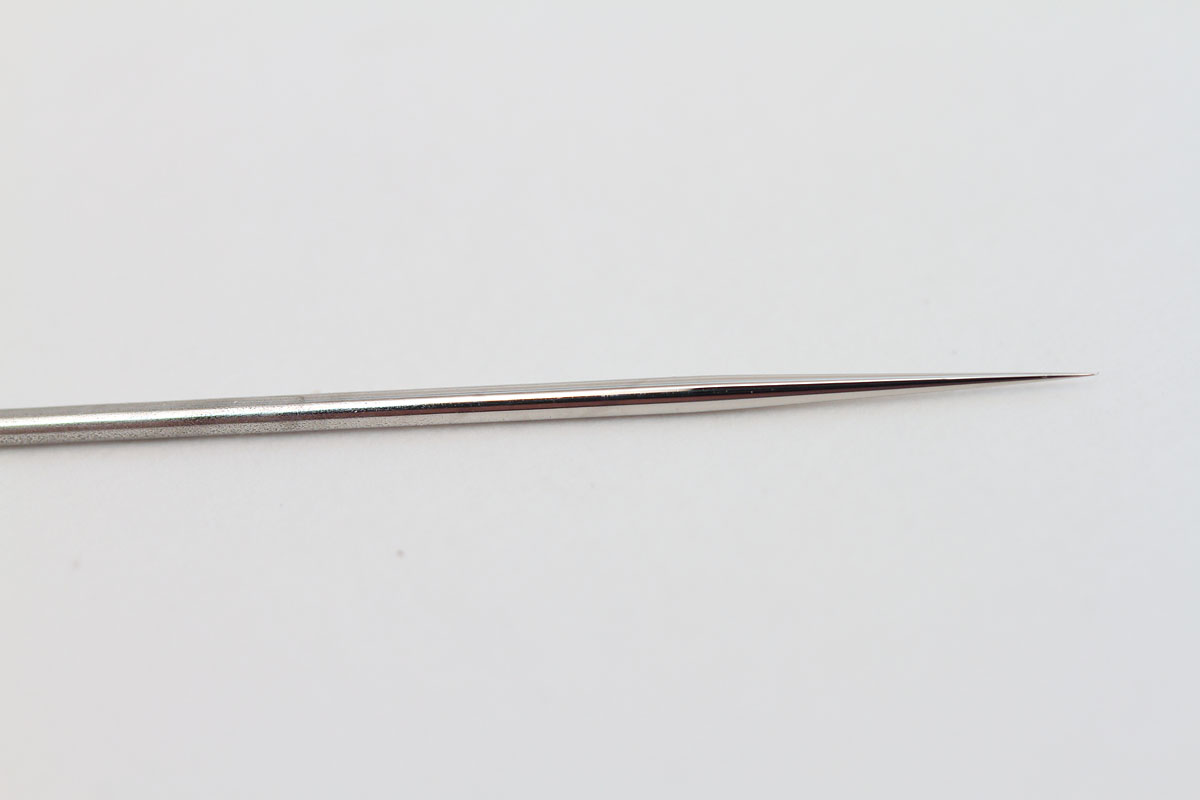
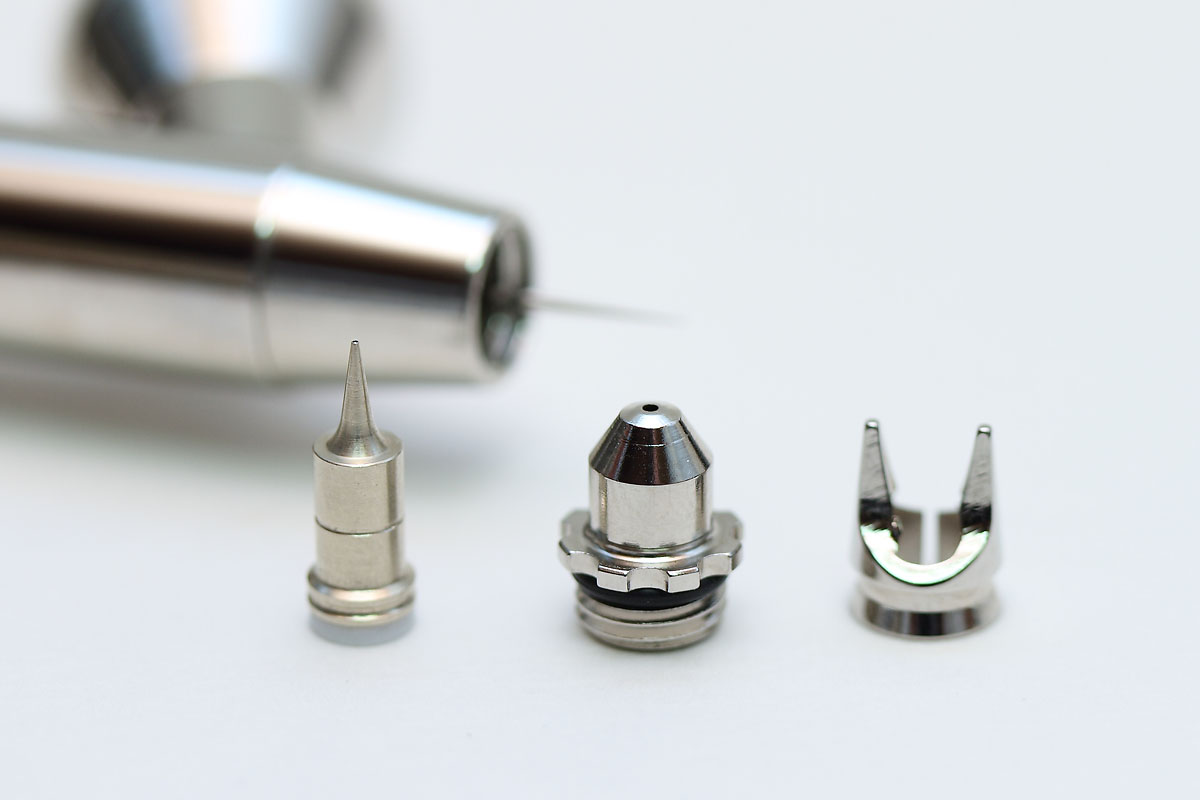
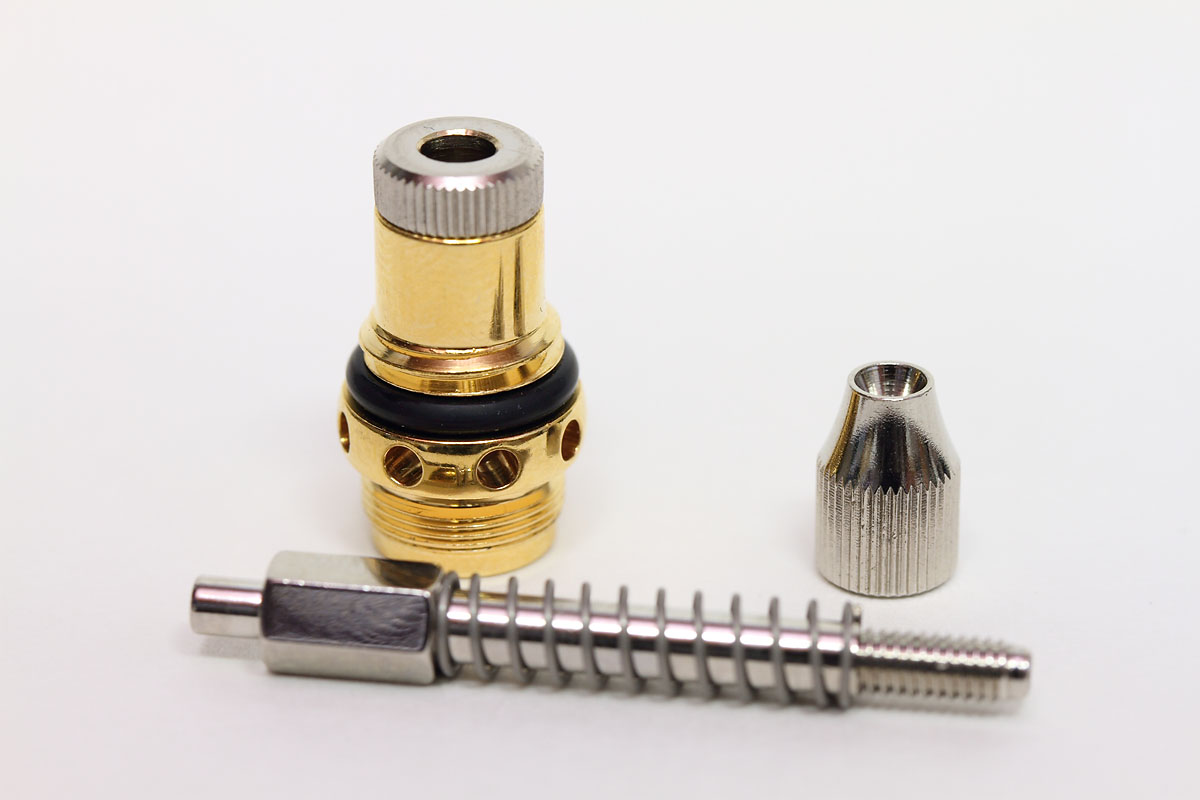
The Tip & Needle
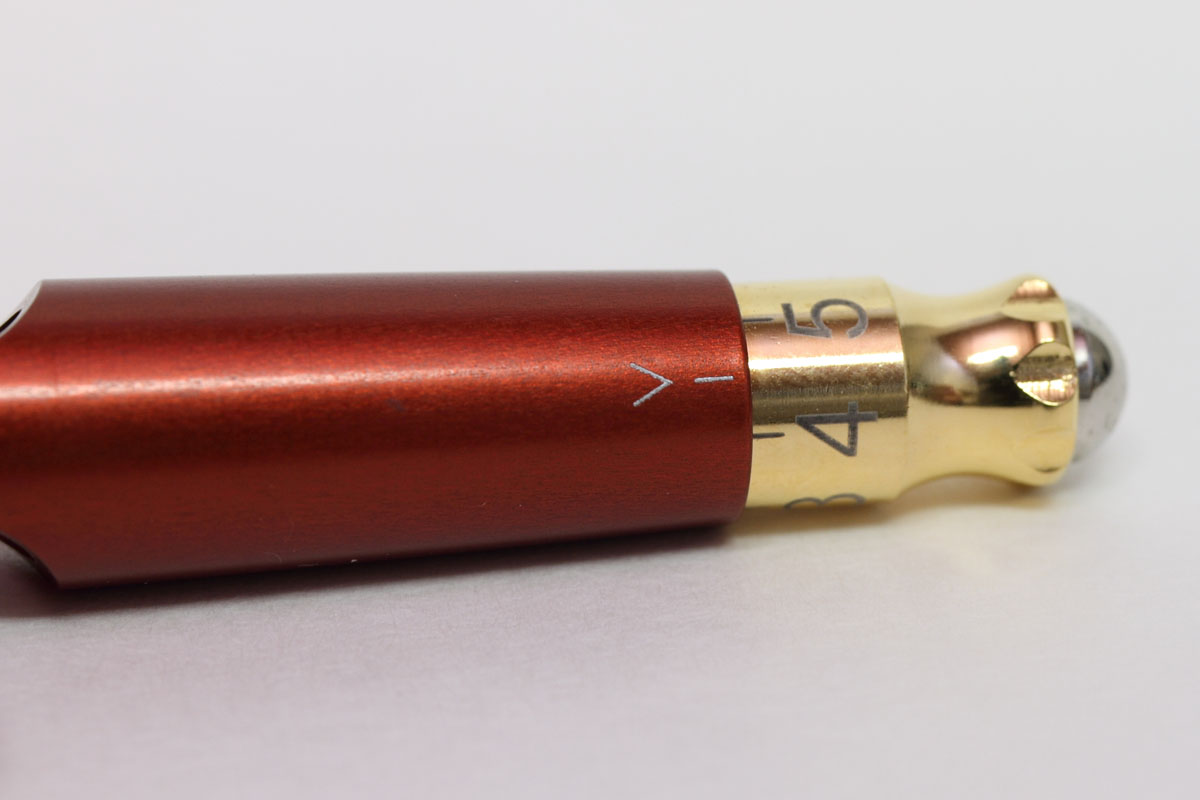
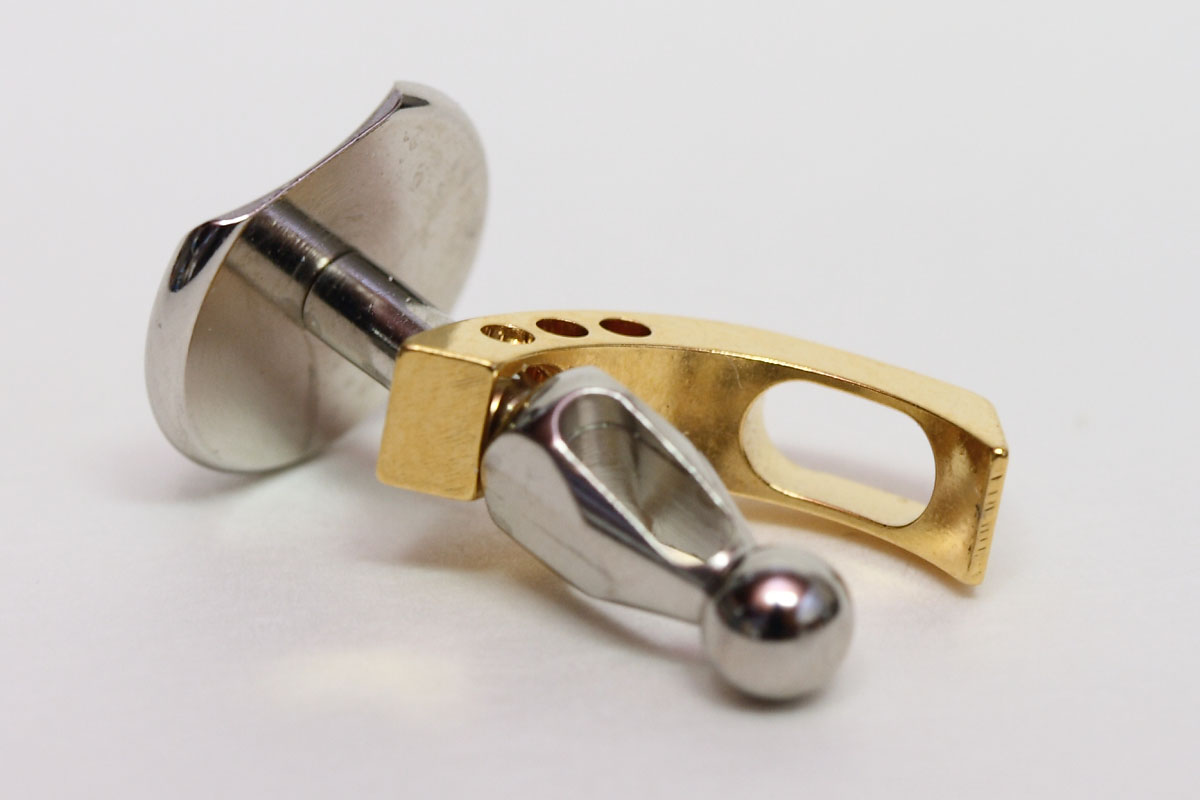
The Trigger Assembly
Summary
This should provide a solid base of what an airbrush is and how it works. Whether single or double action, gravity or siphon feed, internal or external mix, with proper operation and maintenance, great results can be achieved with virtually any airbrush. Next we will examine the second item needed for proper airbrushing, an air source.