
Airbrushing 201: Painting Solid Colors
By Chris Banyai-Riepl
Now that we have gone over the technical components of an airbrushing system, it's time to put some color on a model. We'll start out with a list of materials and equipment, then dive into the process.
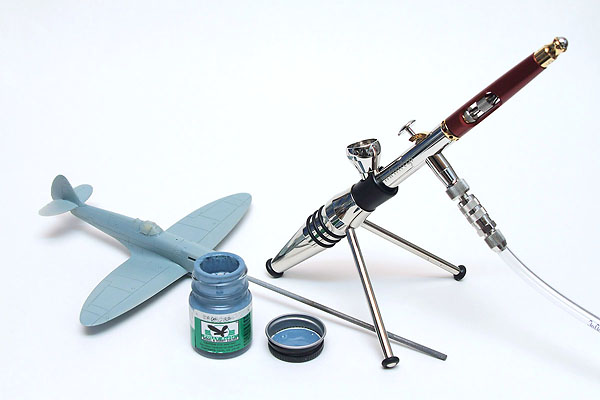
Materials & Equipment
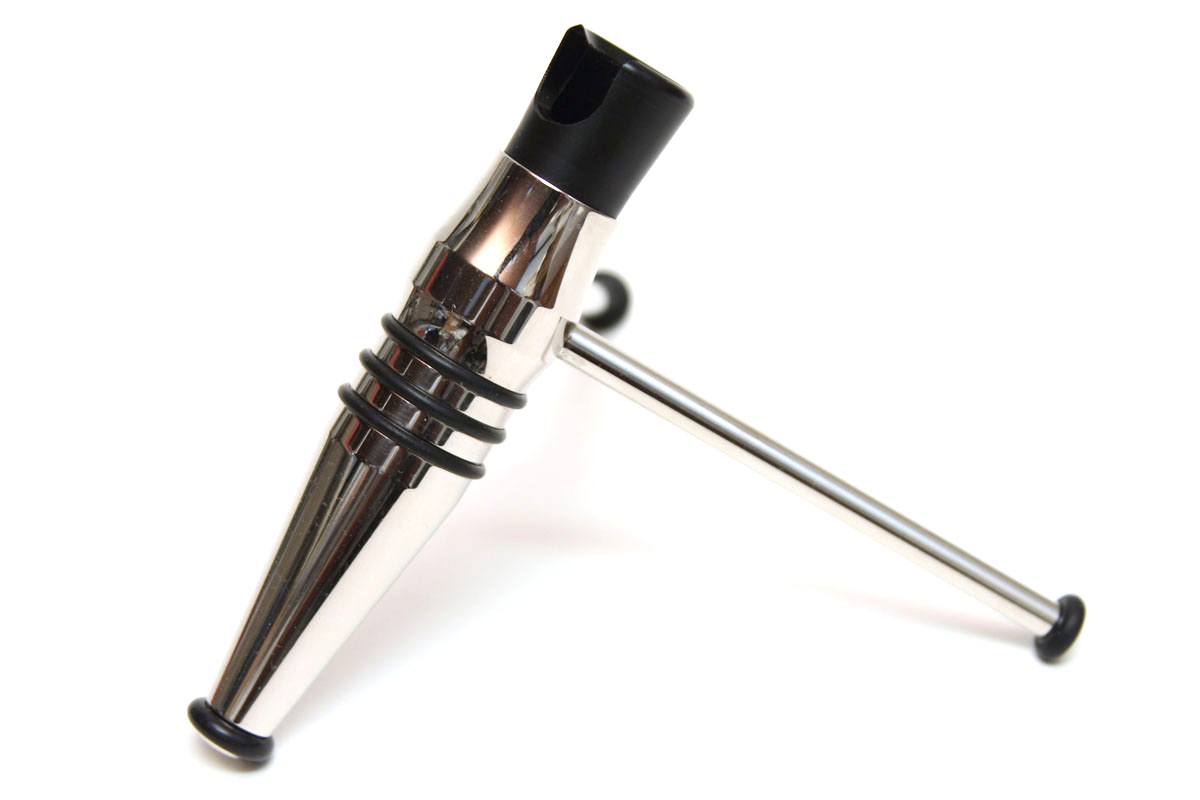
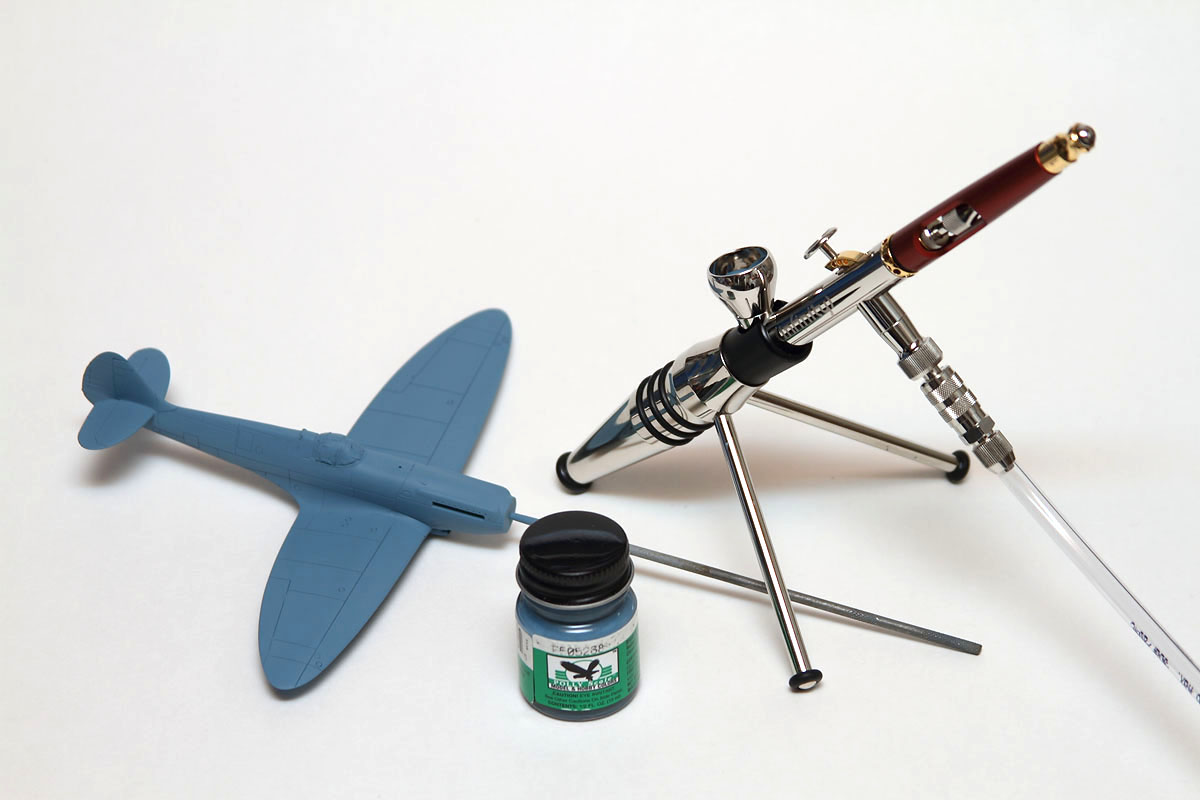
Airbrush: Harder & Steenbeck Infinity double-action gravity feed
Compressor: Harder & Steenbeck Euro-Tec 10A with pressure regulator
Spray Booth: Model Expo Compact Spray Booth
Paint: Floquil Polly Scale water soluble acrylic
Subject: Airfix 1/72 Spitfire PR. XIX
Preparing the Model
The first step is, obviously, to get your model ready for airbrushing. This generally means assembling the model, but sometimes it works out better to paint parts before assembly. Small details such as landing gear and propellers and such are often better left off the model before painting, as they can be damaged in the twisting and turning that invariably occurs during the airbrushing process. Also, some paint schemes benefit from having major sub-assemblies separate (if possible). For example, an aircraft that has a hard line color demarcation between the wing and fuselage. If it is possible to do, it would be better to paint the wings separate from the fuselage, to avoid complicated masking. For our subject aircraft, though, we have none of those problems, as the entire aircraft is overall PRU Blue.
With the model ready for paint, the first step is to lay down a primer coat. This can be done with the airbrush (as I did in this case), or it can come from an aerosol can. The latter could be a model-specific aerosol primer such as Tamiya primer or Mr. Surfacer 1200, or it can be a generic brand, such as Krylon. The purpose of a primer is two-fold: first is to check for any surface flaws that might have arisen in assembly, and second is to provide an even base tone for the color to go on to. I recommend a light sanding after the primer coat with very fine sandpaper (1000-grit or finer) to smooth out the finish.
Loading the Paint
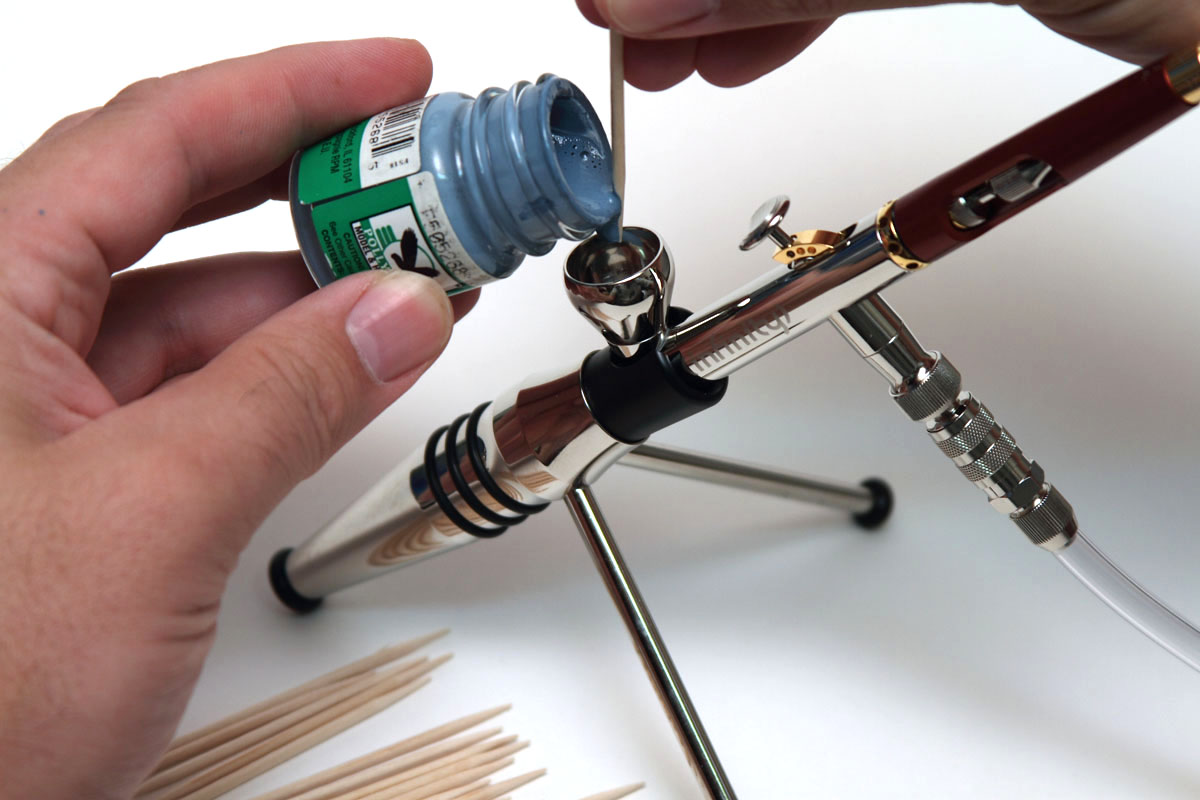
The key to getting a good layer of paint begins with the paint itself. The paint needs to be thoroughly mixed. Invariably this will involve more than just shaking the bottle, as the binder and additives tend to coalesce in the bottom of the container. I recommend getting dedicated stirring sticks for this purpose. These can be simple disposable types, such as bamboo skewers, or reusable types, such as a stainless steel rod. Whatever your choice, be sure to stir completely, and scrape any collections of binder & additives back into the container. After stirring, shake the paint again to get a thorough mixing.
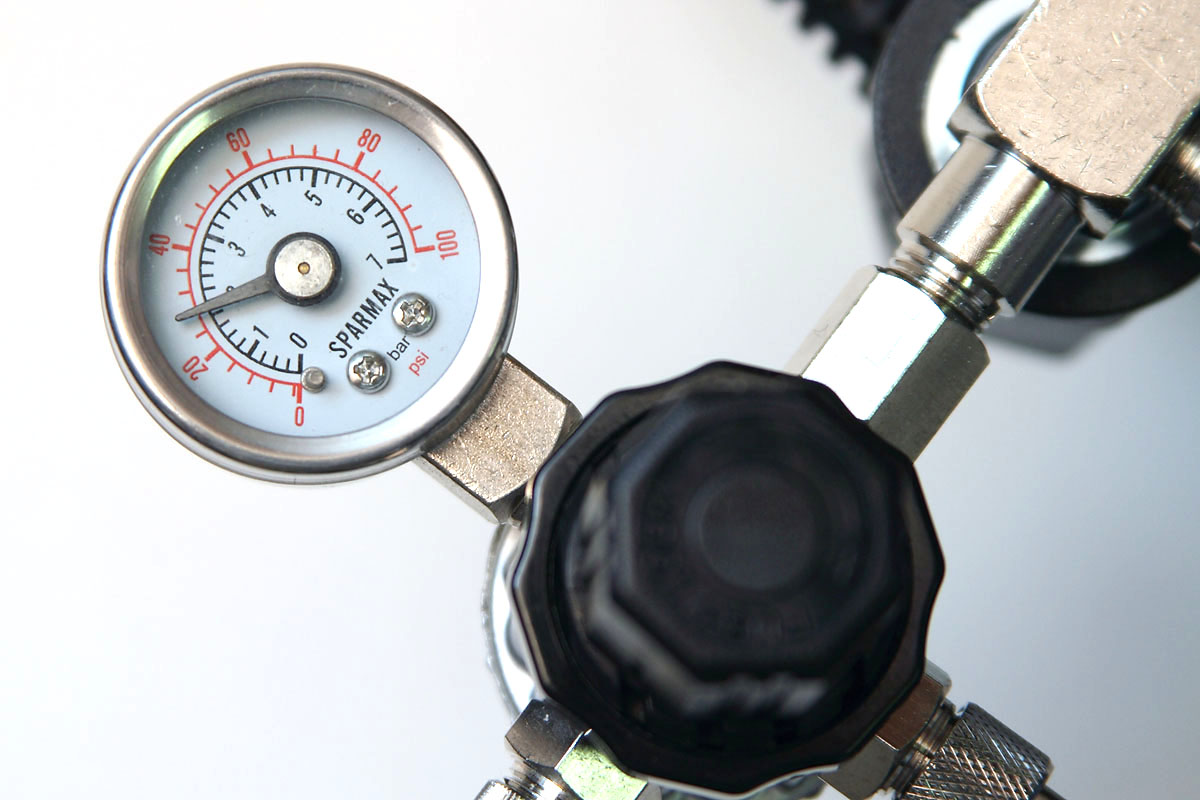
Setting the Compressor
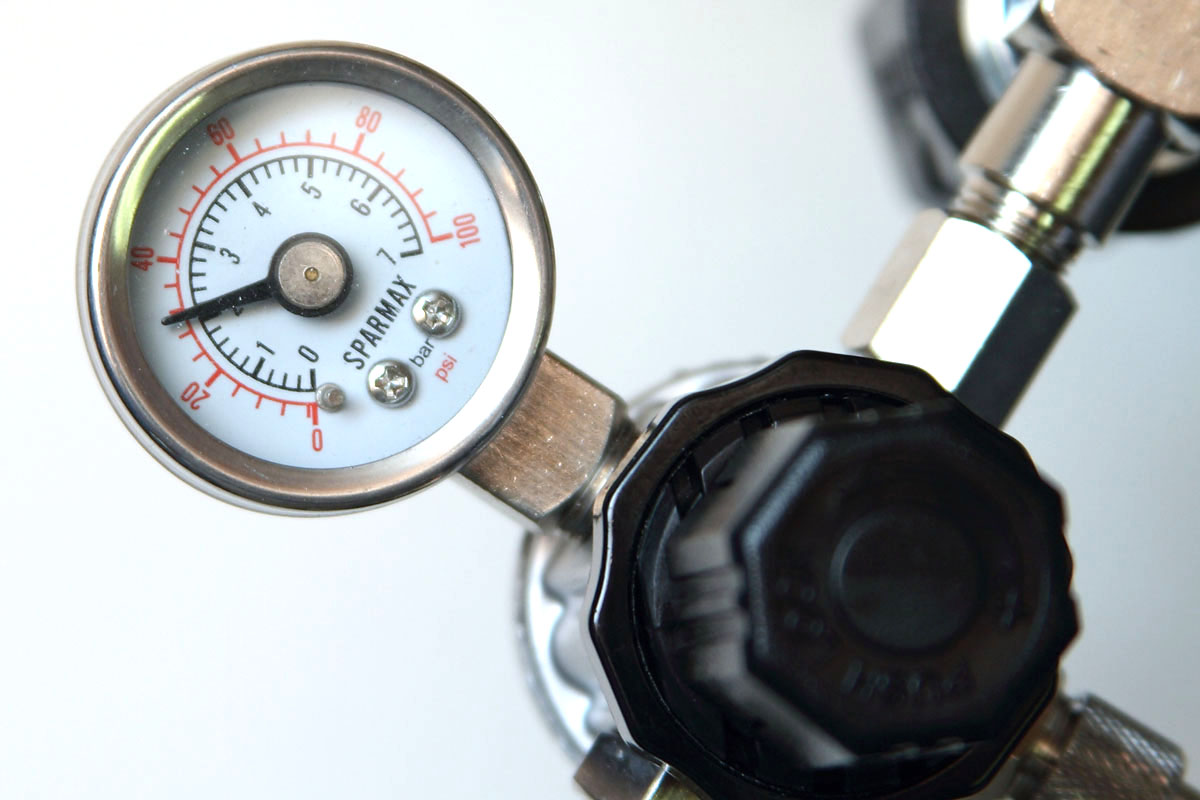
Now most fears with airbrushing comes from the arcane science of proper thinning ratios. Airbrushes need thinned paint in order to spray, or so the theory goes. However, that is not necessarily true. What really takes place is that there is a correlation between paint viscosity and air pressure. Increase the air pressure enough, and you can spray any paint without thinning. On a practical scale, though, modelers should probably limit their air pressures to under 40psi, which for many paints will require some level of thinning. For the Floquil Polly Scale PRU Blue, though, I will be airbrushing without thinning, and will adjust the compressor pressure until I get a good spray.
So the next step is to determine what PSI I can spray this paint at. With a simple compressor such as the Euro-Tec 10A that does not have a storage tank, there will be two pressures that show up on the gauge. The first is the initial pressure. As this is a closed system initially, this pressure is basically the pressure contained in the hose between the airbrush and the regulator. The second pressure is the actual spraying pressure. When you hold down the trigger of the airbrush, the pressure will drop as the system is no longer closed. It is this second pressure that is the actual number you want to look at. So, for example, if you hear a fellow modeler state that he is airbrushing at 22psi, you would dial that in by adjusting your regulator while holding the trigger down on your airbrush.
Putting Paint on the Model
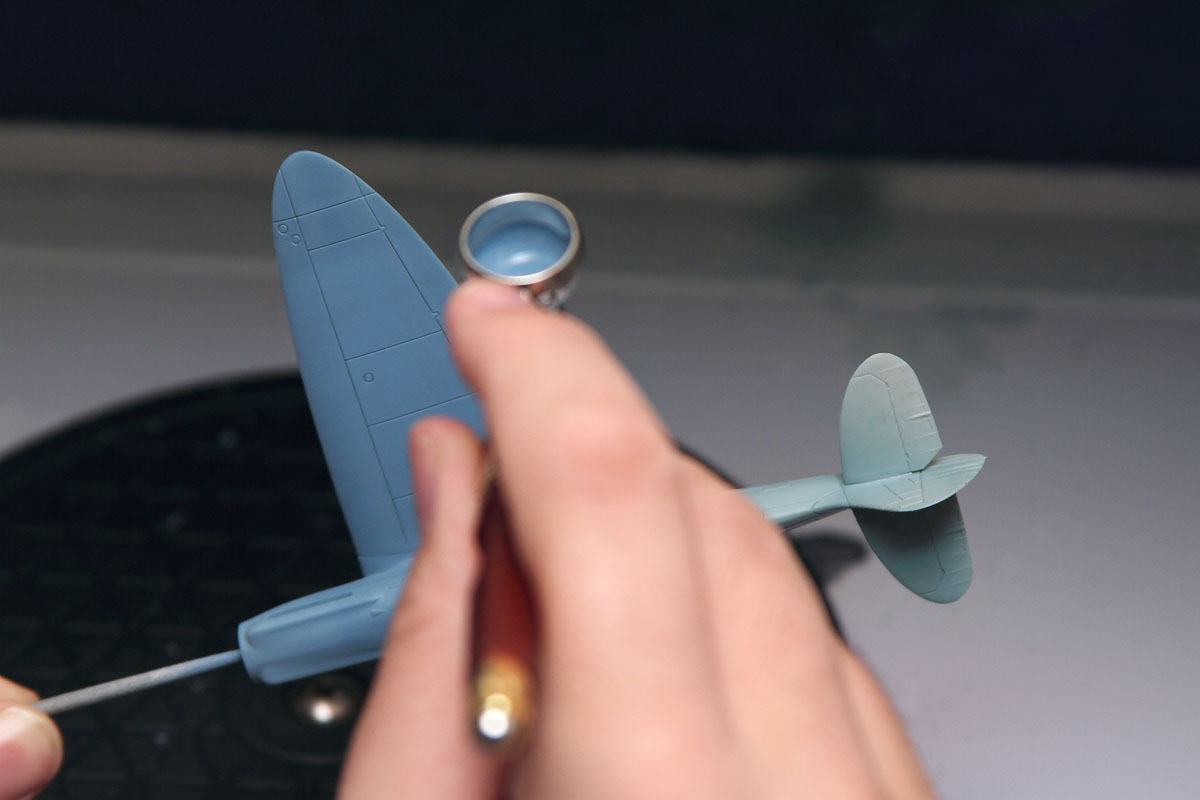
With the paint in the brush, and the pressure set accordingly, it's time to start coloring up the model. To keep my hands off the model, I use a handle. For this aircraft, this handle is easy to create, and for propeller aircraft I use a simple round file in the propeller shaft hole. The reason I use a file instead of a stick is that the file is tapered, and it has teeth. So I can simply twist it into place and it holds tight to the model, and a simple reverse twist removes it.
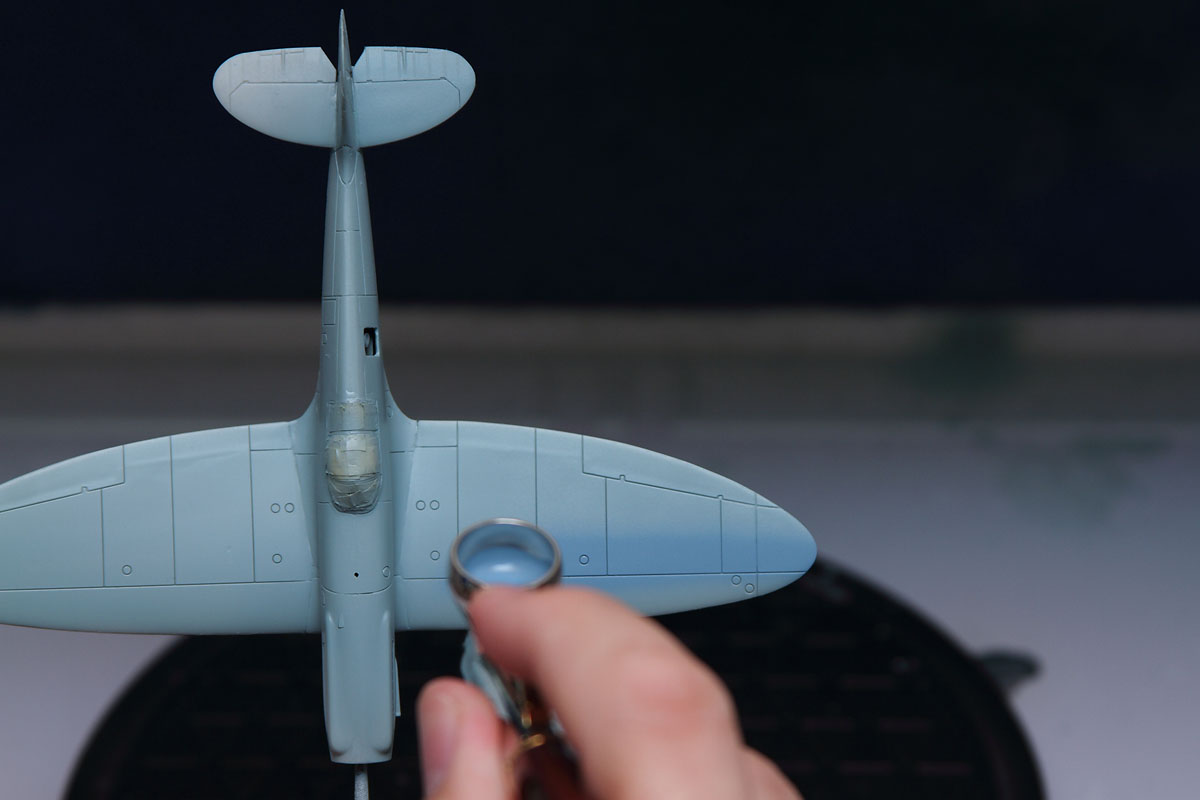
Painting around complex curves, such as the nose of the Spitfire, will generally involve multiple passes from several directions. Be sure to watch where your paint is going, too, as it can be very easy to get a proper distance from what you want to paint, and not realize that you are way too close to another part. This can result in large paint blotches that are a pain to remove. If that does happen, the best course of action is to immediately stop painting and let that wet spot dry thoroughly. Then lightly sand it out and restart the painting process. Attempting to fix it while the paint is still wet will only result in a much bigger problem to fix.
Conclusion
Next week we will look at a different type of paint and how to create hard-lined camouflages.