Airbrushing 251: Airbrushing Armor Models
By Eric Christianson
The Equipment
Every time I use my airbrush I use the same procedure, with steps that have become second-nature to me. That way there are few surprises which makes everything a little more enjoyable. For me, the following approach works best:
- I first turn on the booth lights and exhaust fan to get the air in the booth and my model room circulating and pulled through the exhaust vents.
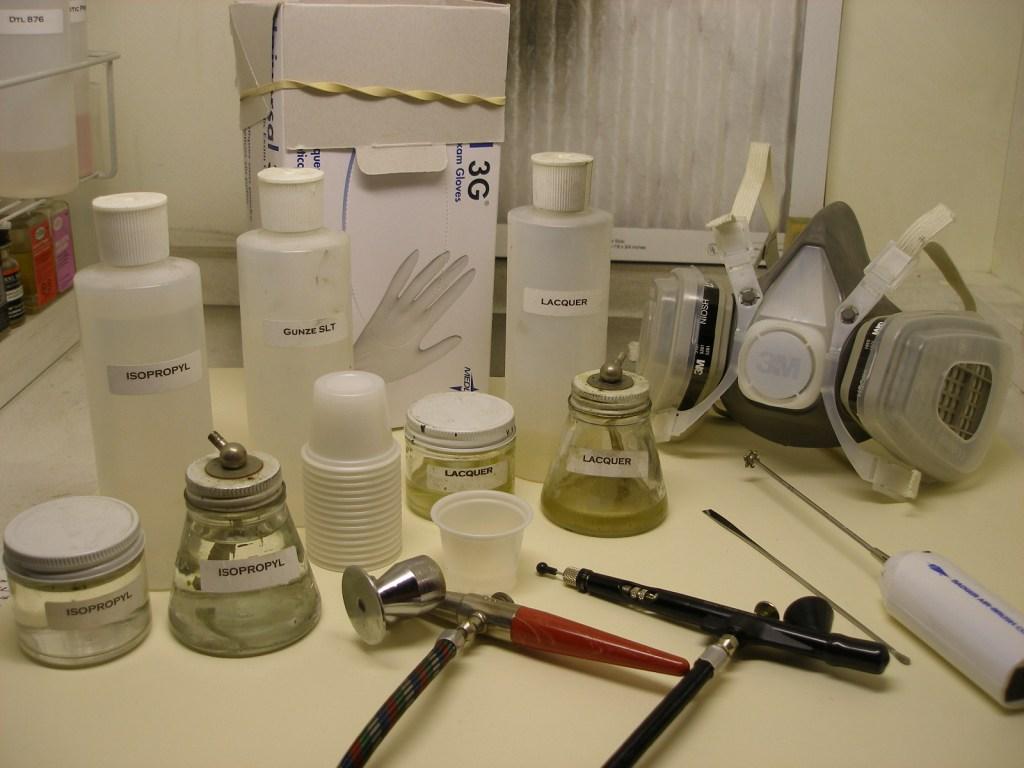
- I pull down three containers of cheap lacquer thinner for cleaning; a small jar for using an eyedropper with, a jar that can be attached to my Pasche to blow some thinner through, and a large squirt bottle for cleaning the color cup and refilling the other cups as necessary.
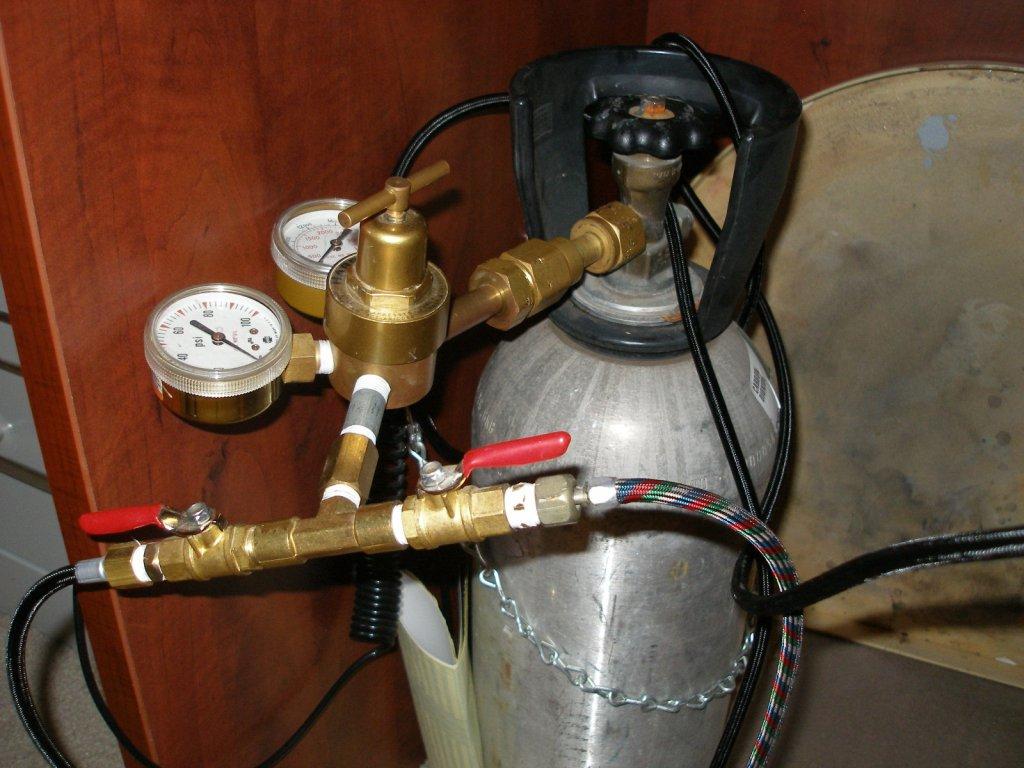
- I put the No. 3 tip and color cup onto my airbrush body and turn on the air tank to make sure the equipment is all working.
- I open the jar of paint and hit it with my Badger paint mixer – just about the most useful tool in my booth, aside from the airbrush – really – it's the best five bucks you'll ever spend. I run the mixer in an old jar of lacquer thinner to quickly clean it off after mixing the paint.
- Using a toothpick to control the flow, I pour the paint I need into a cheap plastic ketchup cup you can pick up at fast food restaurants. Usually this amounts to just less than 1/8th of an inch of paint in the bottom of the plastic cup (resulting in a full, standard-sized Pasche color cup). To that I add another 1/8th inch of Gunze Self-Leveling Thinner (SLT) – in my opinion, the best darn airbrush thinner on the market. Because the plastic cup is translucent, I can see when I have reached a 50/50 mix.
- I then use a Tamiya paint mixing tool (another excellent doo-dad – leave it to Tamiya) and evenly mix the contents of the cup. Again, since the cup is translucent, I can splash the mix up on the inside of the cup to see just when the paint starts to get thin enough. I think it's ready when the mixture turns translucent in about 1 second as it drains off the inside the cup – otherwise I add more thinner until it does.
- Next I pull on my spray mask, and put a latex glove on my left hand (I am right-handed). I use this glove throughout the session to test paint flow and to hold the model.
I pour the contents of the plastic cup into the airbrush paint cup, adjust the air to about 20lbs psi and away I go. I start by painting the back of my (gloved) hand until I get the right pattern, and then move on to the model.
Tamiya paint thinned with SLT goes on beautifully – it is actually difficult to create drips and runs – the paint sticks and covers just about any way you spray it on.
A final note about cleaning. Unlike most people, I break down my airbrush after every session (it's just three parts!) and clean it. I use cheap lacquer thinner to clean everything, and just about every kind of paint. I do not use Q-Tips (too fluffy) - instead I use the cheap brand of 'cotton-swab-o-Q-Tip-Wannabe's' sold at Target for next to nothing. The wadding is less fluffy and they will easily fit in all the places I need them to. I use thin pipe cleaners for the color cup neck. I leave the booth fan on for 20 minutes after painting. I throw all the refuse into an air-tight kitty litter container so the air in my model room returns to normal very soon after each session. Most airbrush sessions last about 20 minutes and I airbrush about twice a week or so.
But that's it – no special mixes or expensive materials or fancy techniques. Just basic stuff – and more often than not I am rewarded with a really fine result. So let's get to it!
The Model
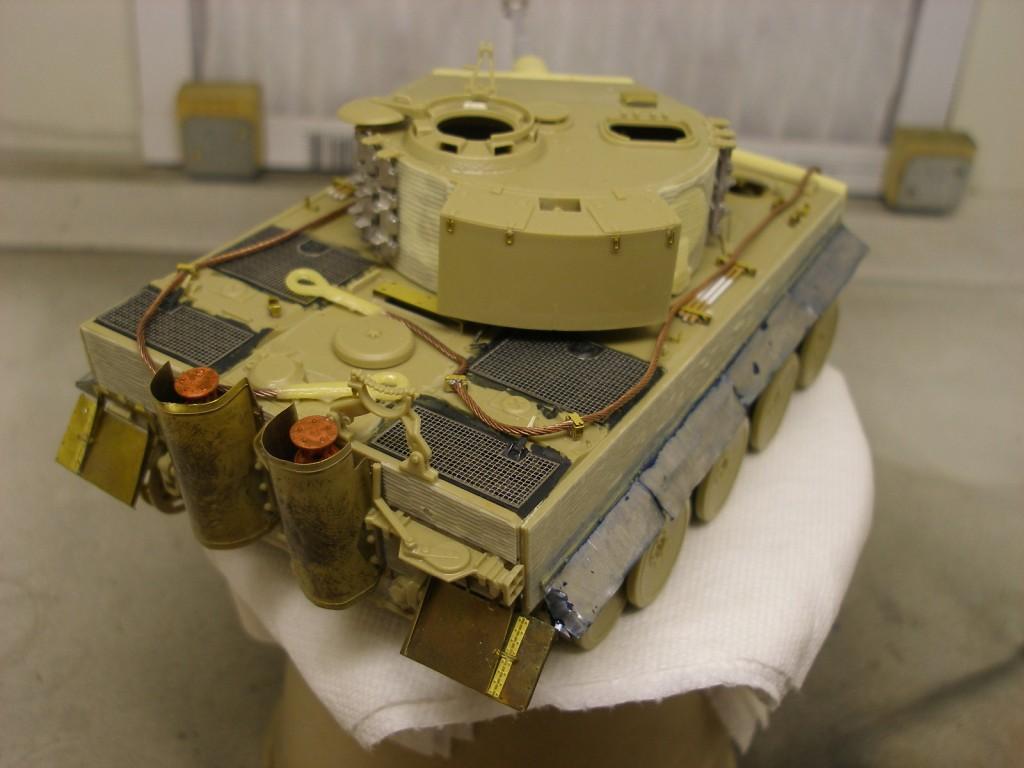
I painted the exhaust stacks and added a rust pigment at this stage because the stacks are difficult to get to after the photo-etch covers are added. The bright rust color will be toned down during the finishing process.
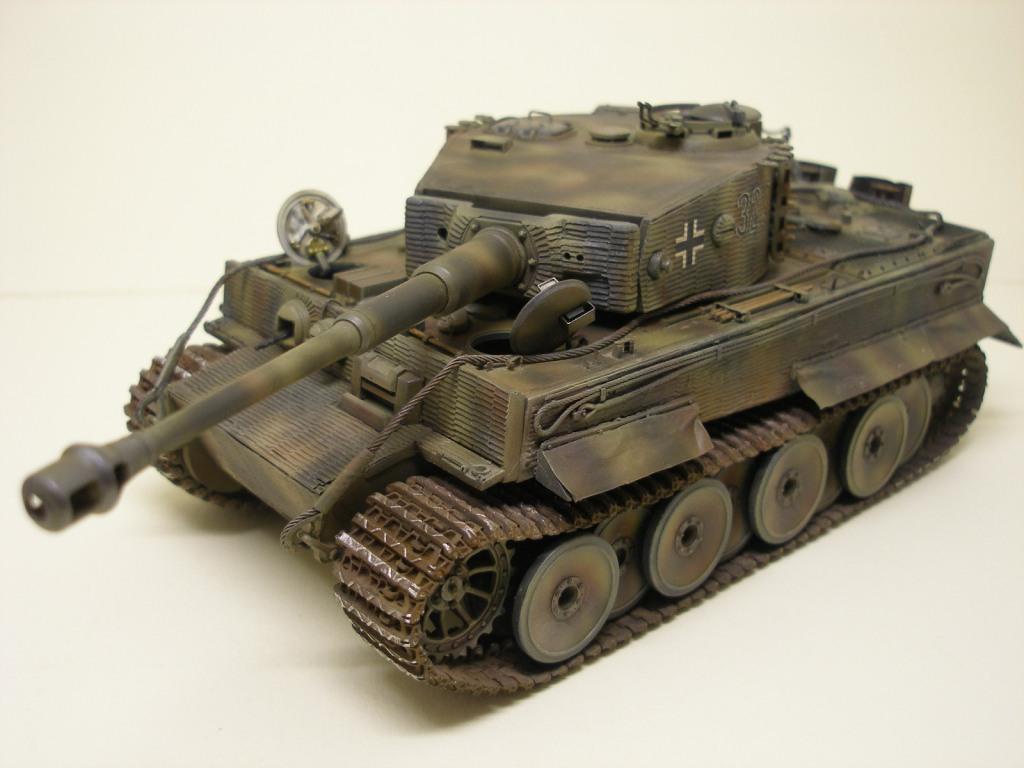
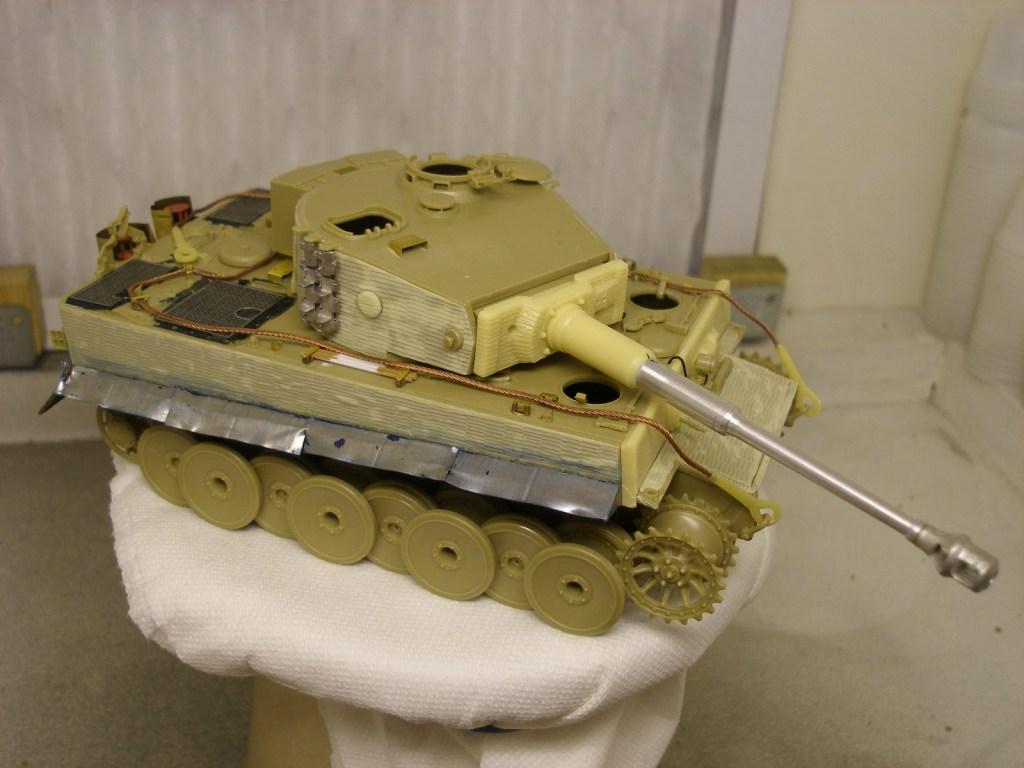
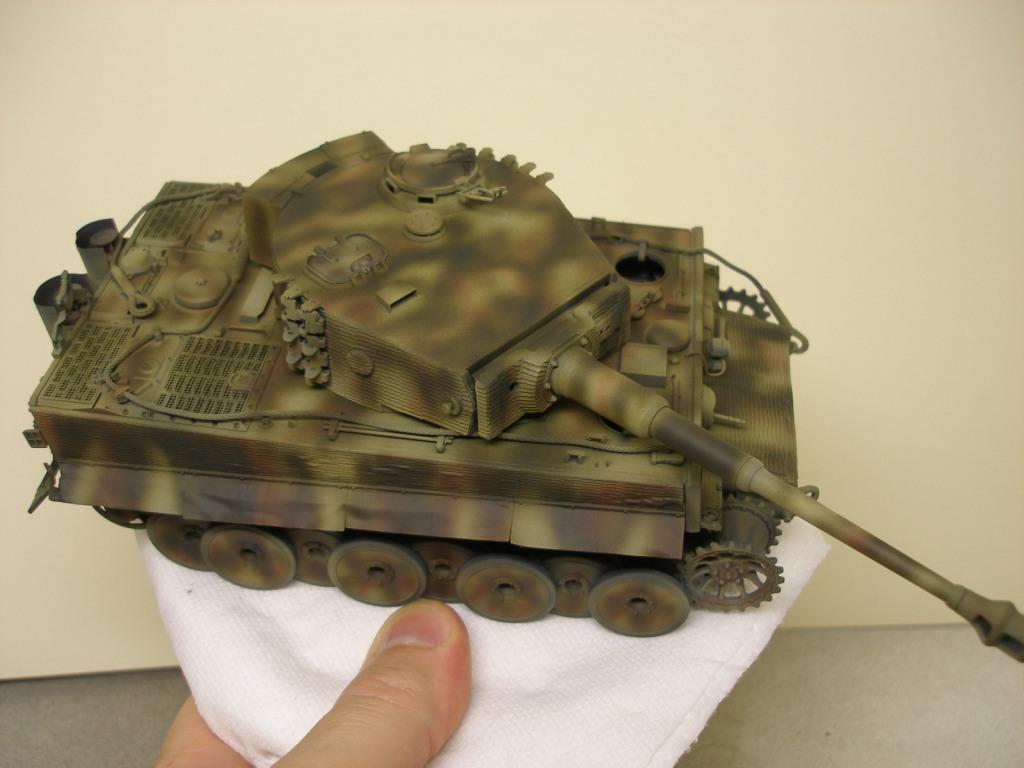
The Tiger has exposed tracks (they are not covered by fenders, etc.), so I will paint the tracks separately and attach them later after all the airbrushing is done. Otherwise, I would attach the tracks before I start to paint. I find I can paint the wheels and surrounding areas with an airbrush without messing up the tracks and visa-versa. Tanks are filthy. Any slight over-sprays can easily be hidden by weathering later on. If I am building a kit that has individual links, such as Dragon's MagicTrack, I will always attach the tracks before painting. I used an after-market set of all metal tracks for this Tiger.
Before Painting: Will I spray on a primer coat or wash the surface to remove oils and mold release agents?
Most models, especially resin kits/parts, have a considerable amount of mold-release agent that is still present on the surface of the parts. Add to that all the fingerprints and other assorted oils introduced during assembly and you end up with a surface that will tend to resist most paints, at least in spots. There are two alternatives for removing this stuff: Spray a primer coat on the model, or clean the surface of the model. Both alternatives will produce a good surface for the camouflage paint to grip on to.
If my model has been assembled using a bunch of different materials, such as with the Tiger I above (styrene, resin, photo-etch, aluminum, lead foil, steel, brass - even latex rubber!), I will spray on a coat of Gunze Mr. Surfacer 1200, thinned 50/50 with Gunze SLT.
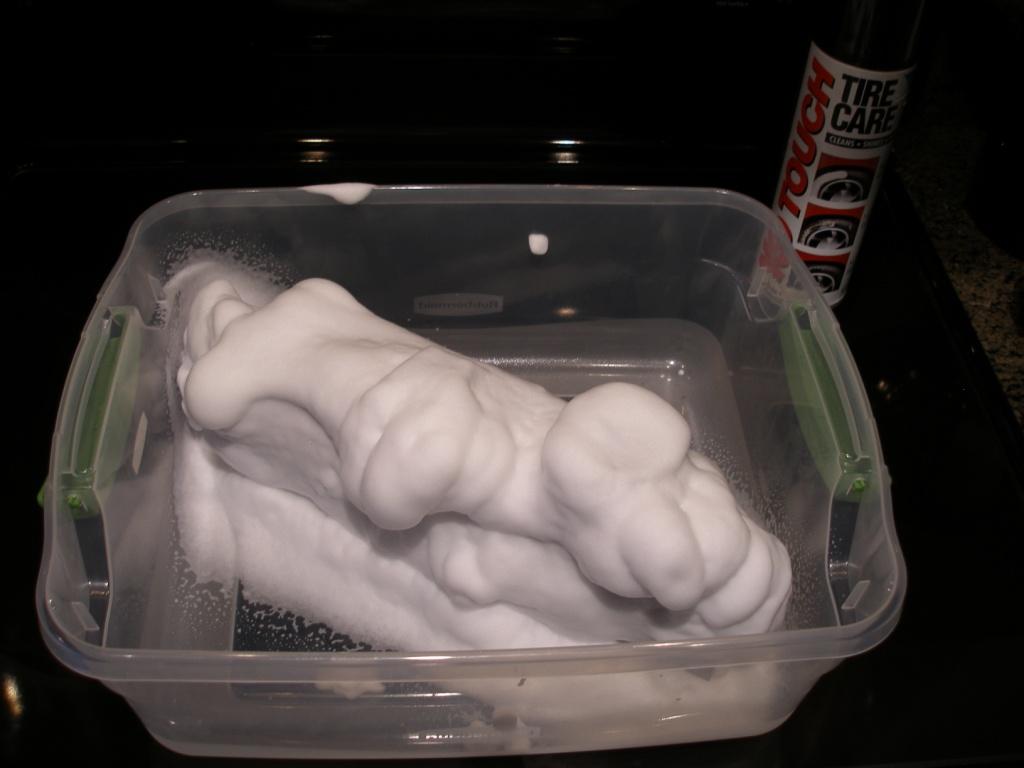
After assembly, I place the model in a plastic tub and cover it entirely with foam. I let the foam evaporate and then rinse it thoroughly with warm water and let it dry. The paint seems to adhere to the plastic just fine after that.
Painting
Base Coat
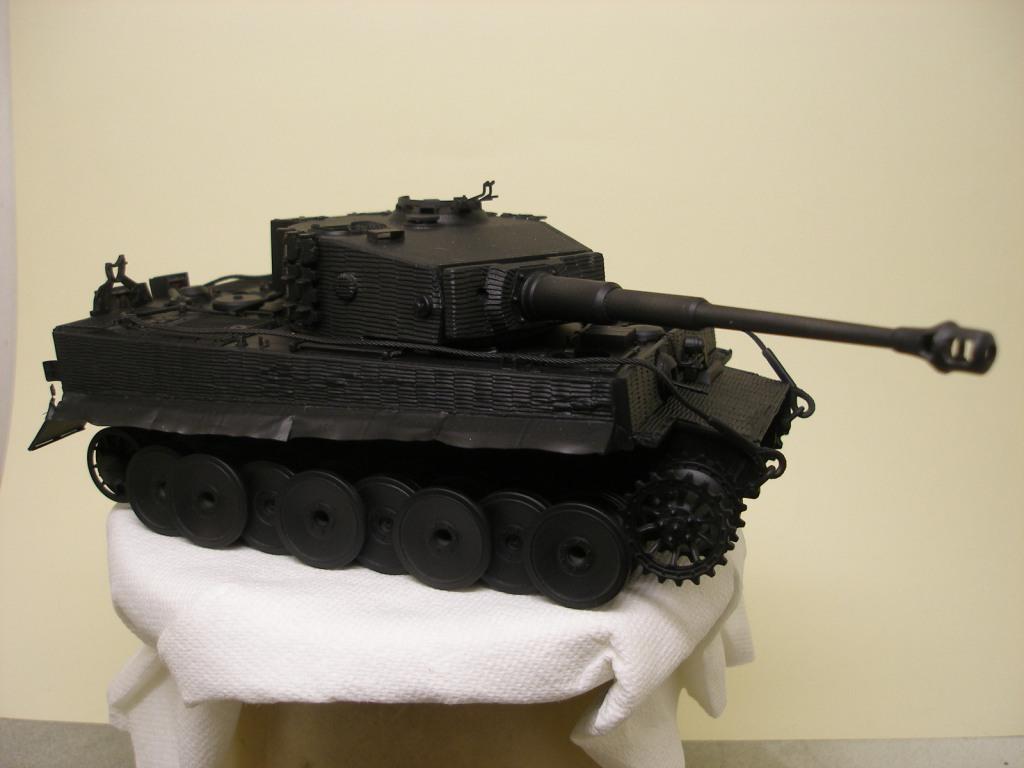
Once I have a good surface, I begin by giving the entire vehicle (and tracks) a dark base coat to deepen the shadows and crevices all over the model. This sets the tone for the overall armor finish - dark, menacing, heavy.
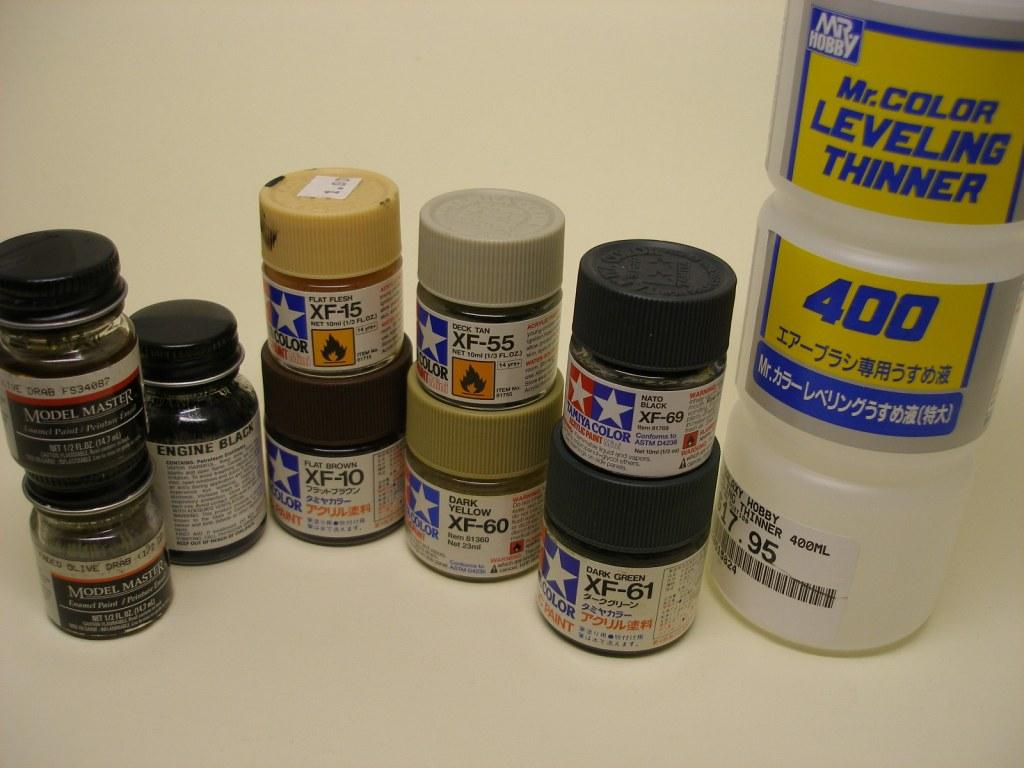
Most of the time I use Tamiya NATO Black, but sometimes (as in the case of WWII American and Russian armor greens and drabs), I will use a dark brown if I think the final coats will blend better with brown. I thin Tamiya paints with a 50/50 mix of paint and Gunze SLT. I want complete coverage – all the nooks and crannies, top bottom, wheels and sides.
Tracks
When the base coat is dry, I spray the tracks with a mixture ratio of 70/30 XF-68 NATO Brown and Tamiya XF-9 Hull Red. I thin this mix 50/50 with SLT. Unlike the base coat, I do not want complete coverage. I want nothing to appear consistent, as if the tracks have just been out in nature doing what tracks do.
If the tracks are attached to the vehicle already, I dial the pressure down a little (about 15lbs) and try to avoid the surrounding hull and bogies/wheels, but any overspray can be fixed later with the post-shading coat. If the tracks are separate I crank up the pressure to about 30lbs – there are a lot of little nooks and crannies in the track. I find hitting tank tracks with paint under low pressure takes for-ever.
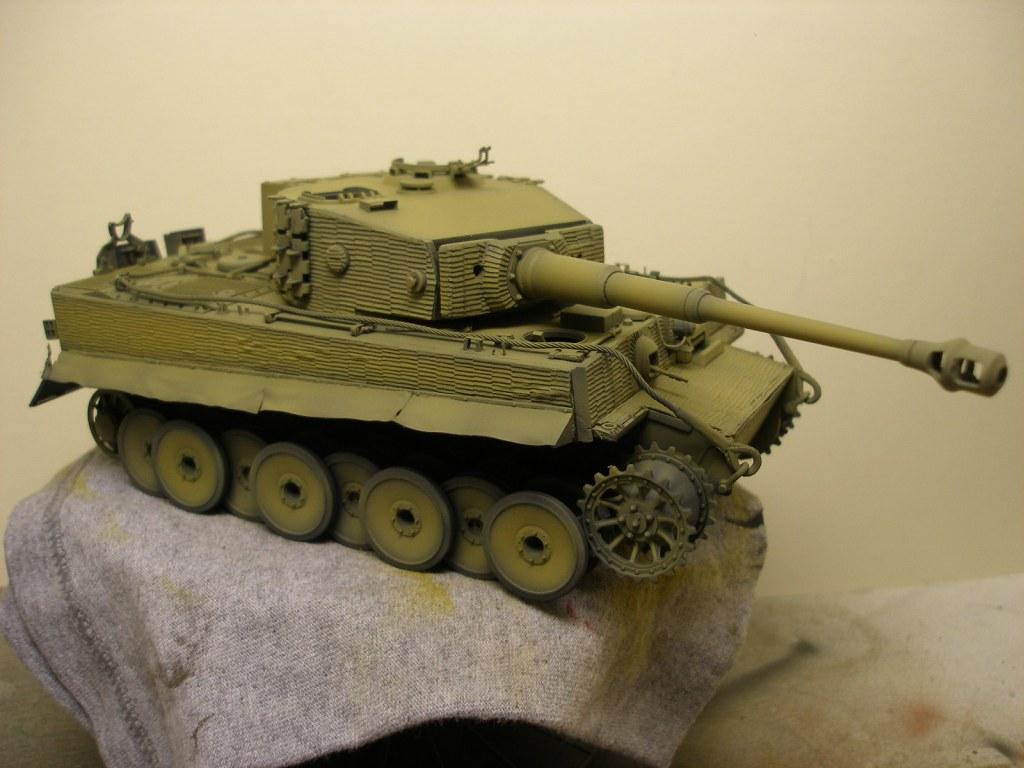
Camouflage Coat
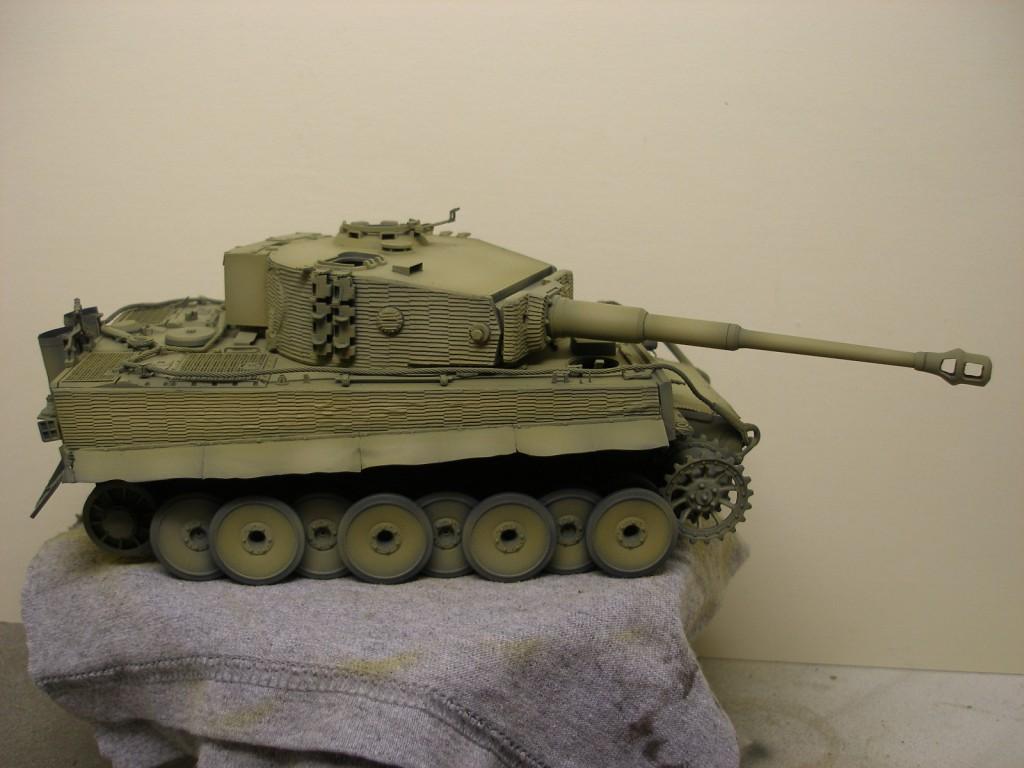
Post Shading Coat
I could stop here, but this Tiger will receive two additional camouflage colors before it is done.
Hatches...
Before applying a second camouflage color I temporarily attach the hatches that I had left off the vehicle. This is because I need to match the camouflage pattern across the outside of these hatches even though they will be open on the completed model. I could have done this earlier but I wanted to see (and mark with paint) the parts of the interior that can be seen from outside of the tank. I do this by shooting the airbrush directly down into the open hatch. Later (with the turret off), when I am painting the inside of the hatches (Model Master Panzer Interior Buff), I will be able to see (and paint) the areas marked beforehand.
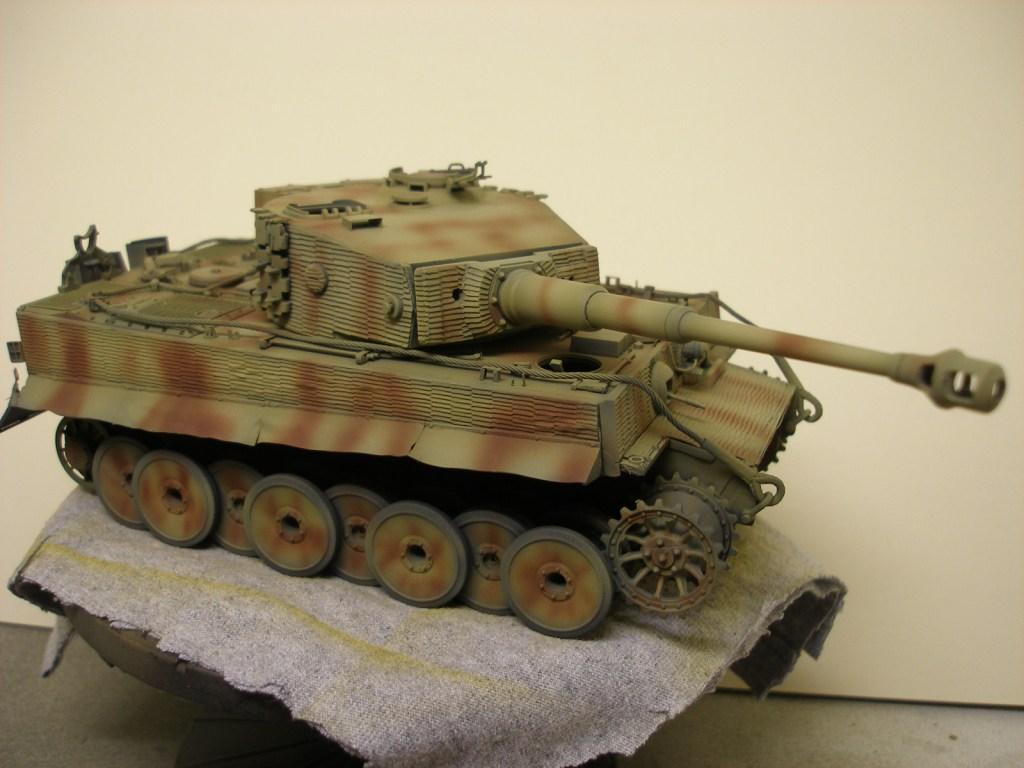
Additional Camouflage Coats
Each additional camouflage color was lightened up using a compatible color. The following picture shows the tank with a patterned coat of Tamiya XF-10 Flat Brown mixed with a few drops of Tamiya XF-64 Red Brown and a few drops of Tamiya XF-15 Flat Flesh over the entire tank, followed by a Tamiya XF-61 Dark Green also lightened with Flat Flesh applied directly over the brown.
Next will I apply dry transfers and hand-paint all of the on-board tools and paraphernalia.
Clear Acrylic Coat
Once that is done, I spray a heavy, undiluted coat of Future Floor Polish, an acrylic, over the entire model (avoiding the tracks, if they are attached, as best I can). Future provides a tough, smooth surface that protects the underlying coats of paint from the washes and weathering to come.
If I am applying decals, the Future also prepares the surface for the decals to 'take' without silvering – although I recommend using dry transfers for armor that sports a coat of zimmerit anti-magnetic paste, as is the case with this Tiger I.. I let the Future dry for (at least) TWO days before doing anything. If I apply decals, once they are dry, I spray an additional coat of undiluted Future – but just to the areas that received decals. I then let this coat dry for another two days.
At this stage I will apply various washes to the glossy surface by hand and then dry brush the vehicle.
Tone-Down Coat
Once dry I spray the vehicle with a thin, light dusting of the (lightened) base camouflage color. I mix it with SLT using a 25/75% ratio, paint-to-thinner. This 'tones down' camouflage/decals/markings/ hand-painted detail and blends everything together.
Road Dust Coat
I then use heavily thinned Tamiya XF-52 Flat Earth (25/75% paint-to-thinner ratio) and build up just a little color from the bottom up, around the fenders and lightly streaking several areas. I want it to look like rain has washed some of the filth off the sides of the tank and left subtle streaks. Use this color very lightly and build it up until you can just barely distinguish it from the background colors. Then STOP!
Flat Coat
Once I am happy with the look, I will spray the entire tank with a generous coat of Testor's Dullcoat thinned with Gunze Mr. Color 110 Thinner to deaden the finish to just above dead-flat. Testor's own Airbrush Thinner works well here too. This produces a surface that will more readily receive an application of various pigments and final detail.
Now that the airbrush can be put away, I will attach the tracks and get to work dirtying up my perfectly painted beast.