Background
The Kit
This full-build review follows the in-box review written previously. Please see that earlier piece for photo’s of the sprues and other materials included with the kit.
The rest of the parts cleaned up quickly and looked great.
The Build
Step one in the instructions brings the main hull and wheels together. I had no problems with this step; everything fit nicely and held fast. Part T-A1, the front hull plate that extends across the top of the vehicle's hull was a little tight, but squeezed in with a little coaxing. I must say that the fit of this kit is a marked improvement over some of the other Trumpeter kits I've built. The parts seem to stay put after being glued. Bravo!
The Tracks
After lining up 52 links (for the top run of the track) on a glue-proof cutting board, I placed a small drop of Testors 'black bottle' liquid cement between each link and let this cure for a full 20 minutes. After 15 minutes I assembled and glued the bottom run of the track on the glue-proof board. This portion consists of three small runs and two groups of two individual links. This approach would give me 5 minutes to get the top portion fixed on the vehicle before the bottom portion was ready to attach.
While attaching the cured top run I was alarmed when the links did not appear to fit over the teeth on the drive sprocket – they appeared to be too narrow (or the sprocket too wide). Rather than deal with this at the time, I attached the run so the outside (visible) side was lined up smooth against the sprocket. This caused the track to bow up on the inside of the run where it laid along the sprocket. Grrr. Thankfully, later, when both runs were attached and had dried a little more, I found I could apply a little more force to the area and the run slipped into place across the teeth on the inside. I guess the fit was just a little tight, and while the runs were in their fragile state, it looked as if they didn't fit. My suggestion is to NOT do what I did – just stay calm and don't panic!
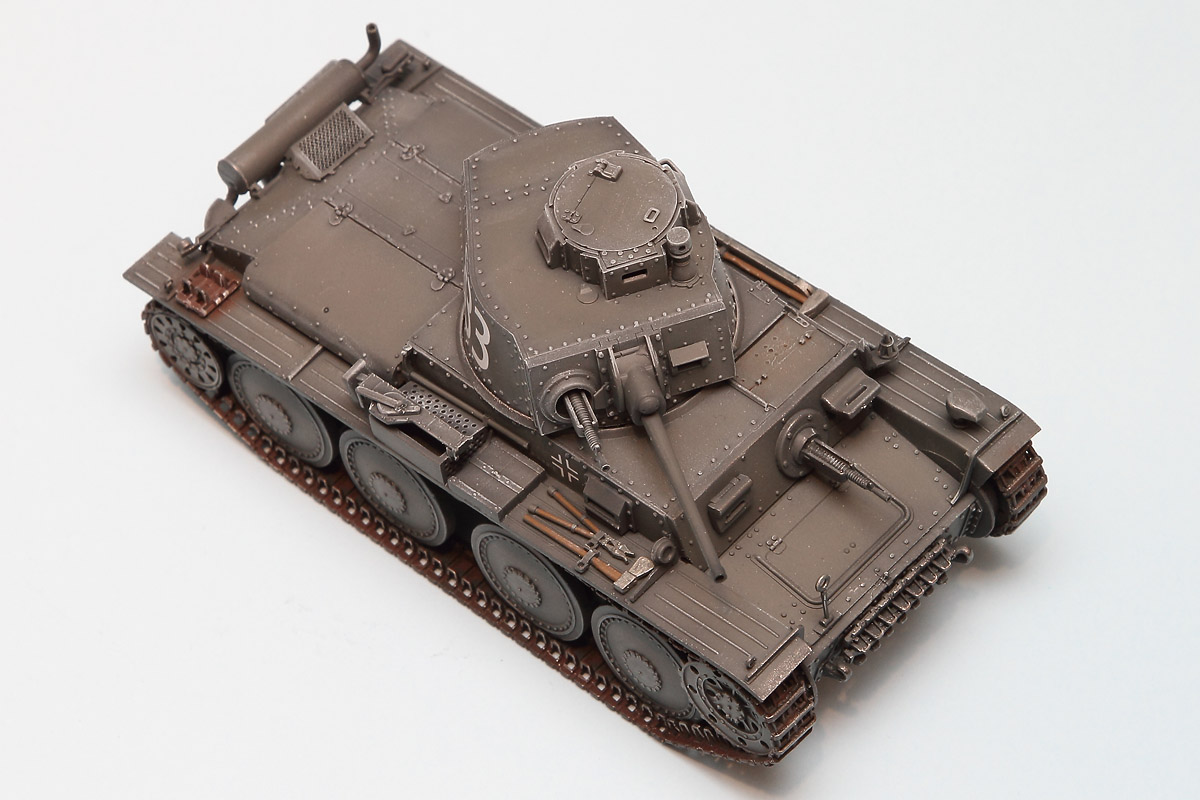
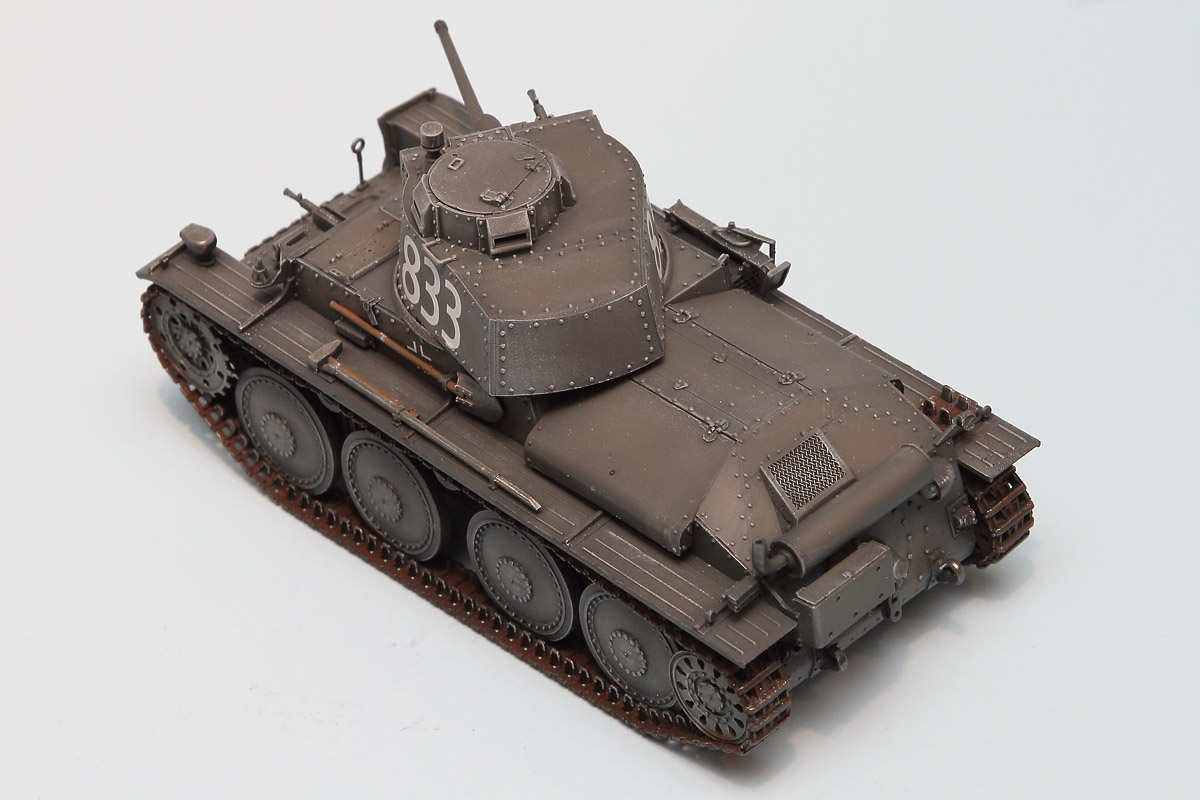
A final note – the instructions called for a top run of 52 links; I found that I had one too many links when attaching the two runs together. Perhaps I miscounted, but I would prepare yourself for the possibility. I simply pulled off one of the links and everything fit fine. The track 'droop' of the 38(t) is captured perfectly – bravo once again Trumpeter!
Painting and Finish
I started by airbrushing a primer coat of Gunze Mr. Surfacer 1200 over the entire surface to cover the photo-etch, oils and glue spots and to prepare it for the subsequent finish. I then airbrushed the entire vehicle Tamiya XF-69 NATO Black. This provides the dark shadow that is needed in all the nooks and crannies.
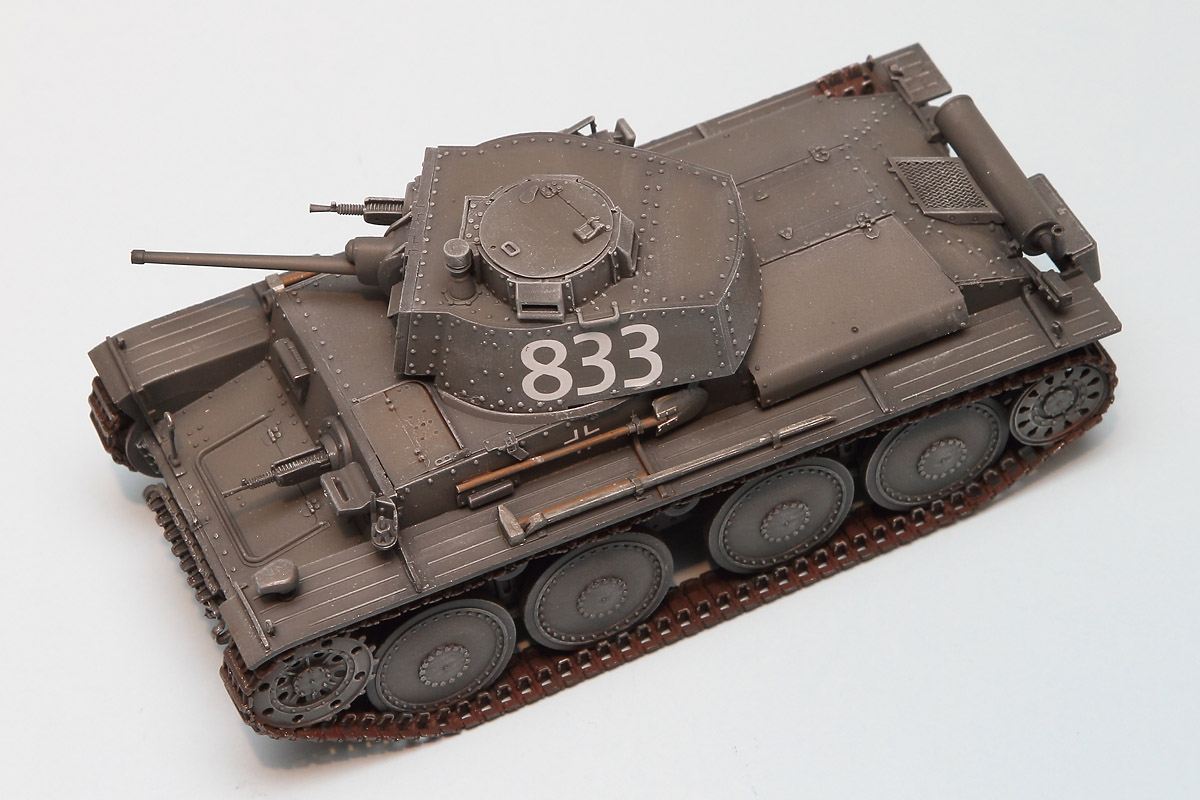
I followed this with a base coat of Tamiya XF-63 German Grey. I was careful to spray the inner portion of the wheels and try to miss the nearby track. I then mixed a little Tamiya XF-15 Flesh in with the German Grey and sprayed the inner portions of all the panels to lighten up the grey a little. Finally, I mixed a little Tamiya XF-1 Flat Black with the German Grey and hit the edges with a little post-shading.
With painting finished, I prepared the surface areas that would be receiving decals with a coat of Future floor polish to give the decals a smooth surface to slide on to. I let this dry for three days.
Decals
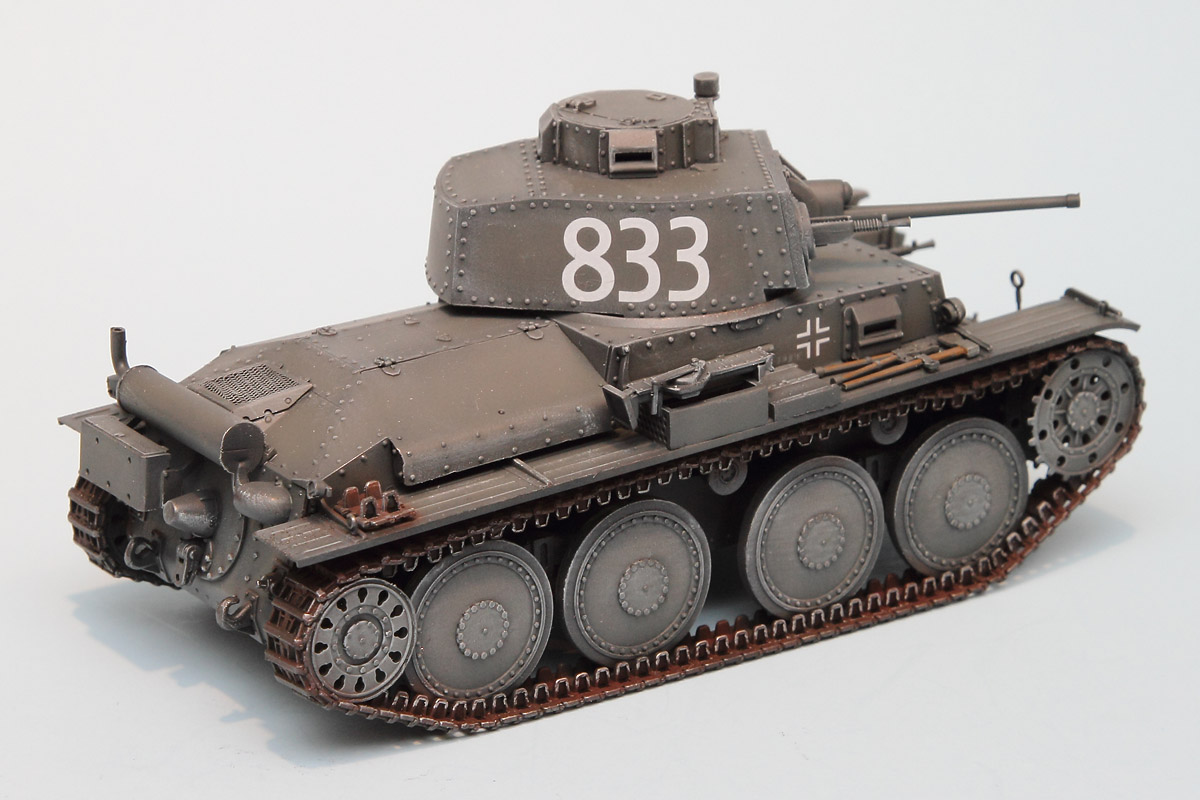
Once the Future was dry I went about applying the decals. The decals included in the kit are beautiful, but also very thin - and once they hit the surface of the model they are very difficult to move, period. I just went very slowly and, using water only, carefully slid the decals off the backing paper to exactly where they should go. Some responded to touches with a toothpick or cotton swab, some didn't. Once the decals were dry I gave the entire surface area another coat of future to seal the decals and let that dry for another three days.
The Finish
Conclusion
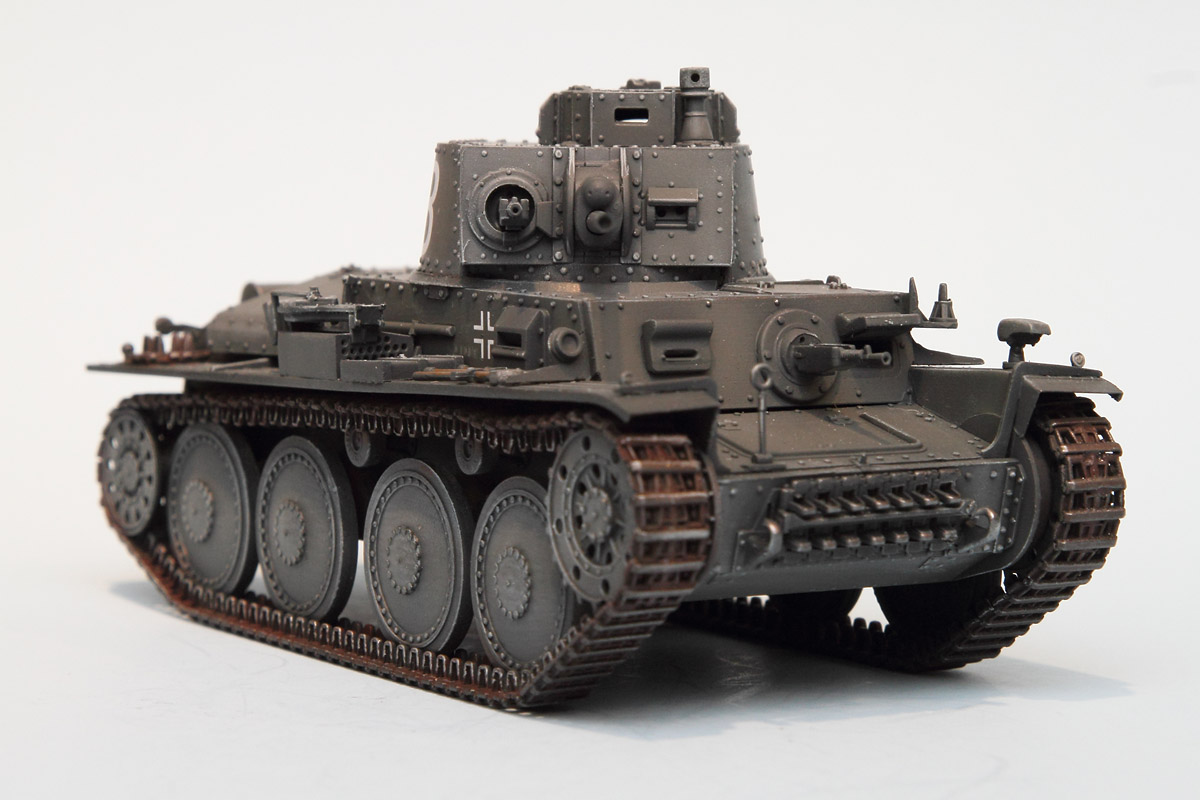
Building this kit was a most enjoyable experience for me. The fit was perfect, if not a little tight; the detail excellent. All those rivets and sharp angles – the finished vehicle is really a lot of fun to look at. Trumpeter seemed to really get this kit right. If I had the time, I'd build another ten of these for every paint scheme there is.
I recommend this kit to anyone who likes to build and finish German AFV's. The build went very smoothly and the result keenly represents the 'little tank that could' from Czechoslovakia.
I would like to thank Stevens International for providing this kit for review, and to Internet Modeler for giving me the opportunity to build it.