
Brengun 1/144 VZ-9-AV Avrocar
By Matt Bittner
Introduction
Using Wikipedia I explained the origin of the VZ-9-AV Avrocar in my First Look. In that First Look I also show the parts and break out to Brengun's 1/144 model. There isn't a lot to this kit so it should be a relatively quick build.
Construction
Should be a quick build unless you use it as a means to try new things, for me it was trying yet another primer, this time the grey primer from Alclad. I couldn't get it smooth no matter what I did and eventually became tired of dealing with it. I did sand it prior to painting but did notice it wasn't as smooth as it could be.
Ah well, before I continue with how I painted the diminutive model I'll mention a bit about construction. After removing the main body from its pour block construction is simple. The seats are photoetch so will need to be carefully folded and bent prior to adding the photoetch seat belts. I decided to glue the belts to the seat prior to painting then after spraying them black I went back with a small brush and hand-painted the seat belts. I had these built – and the photoetch handles folded – prior to painting but left everything off until the end.
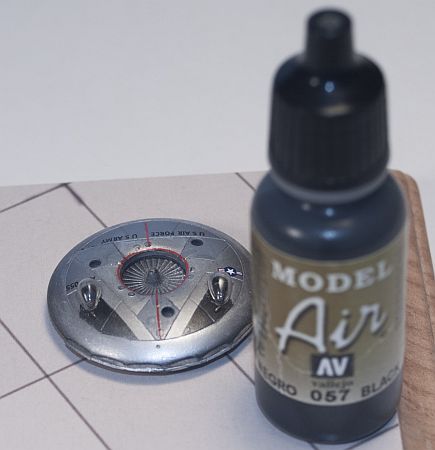
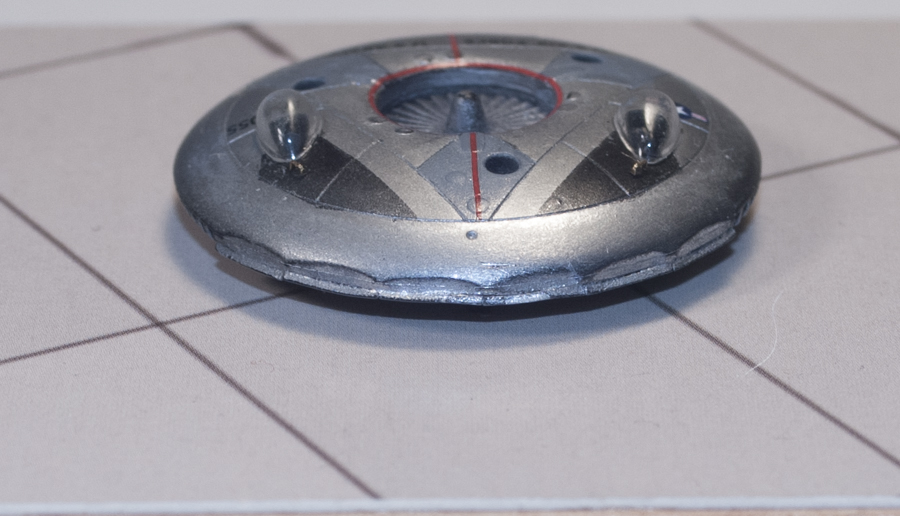
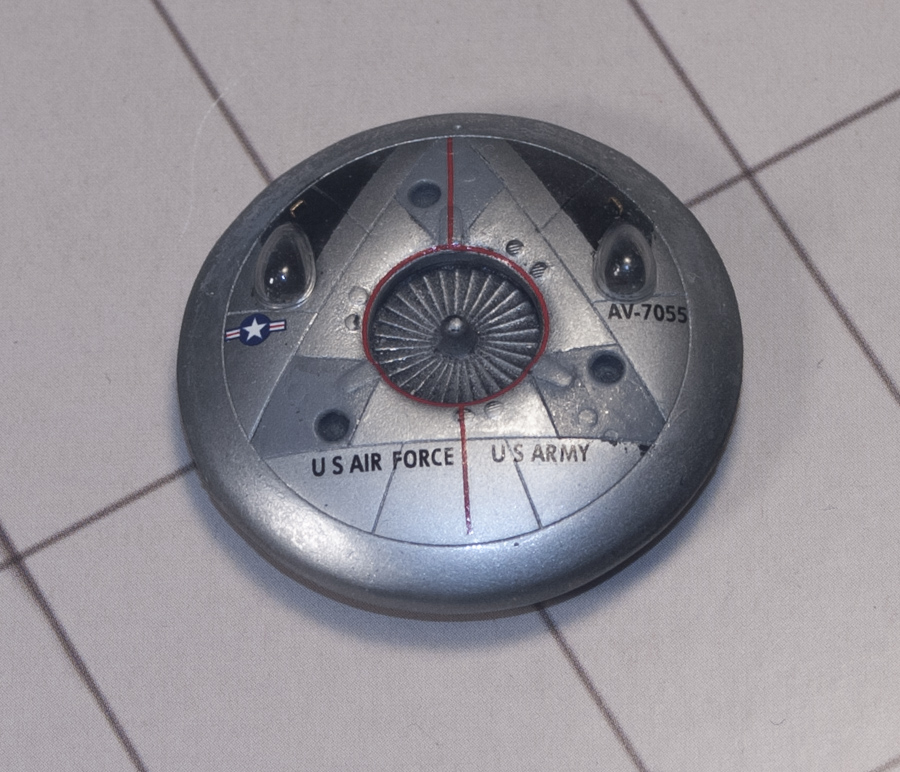
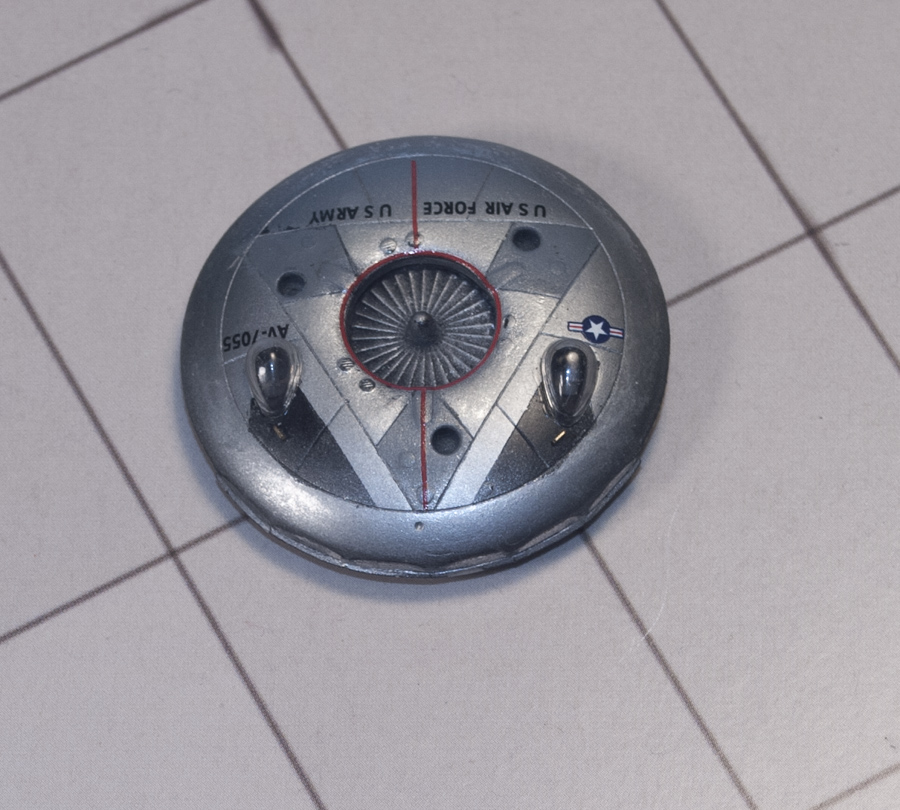
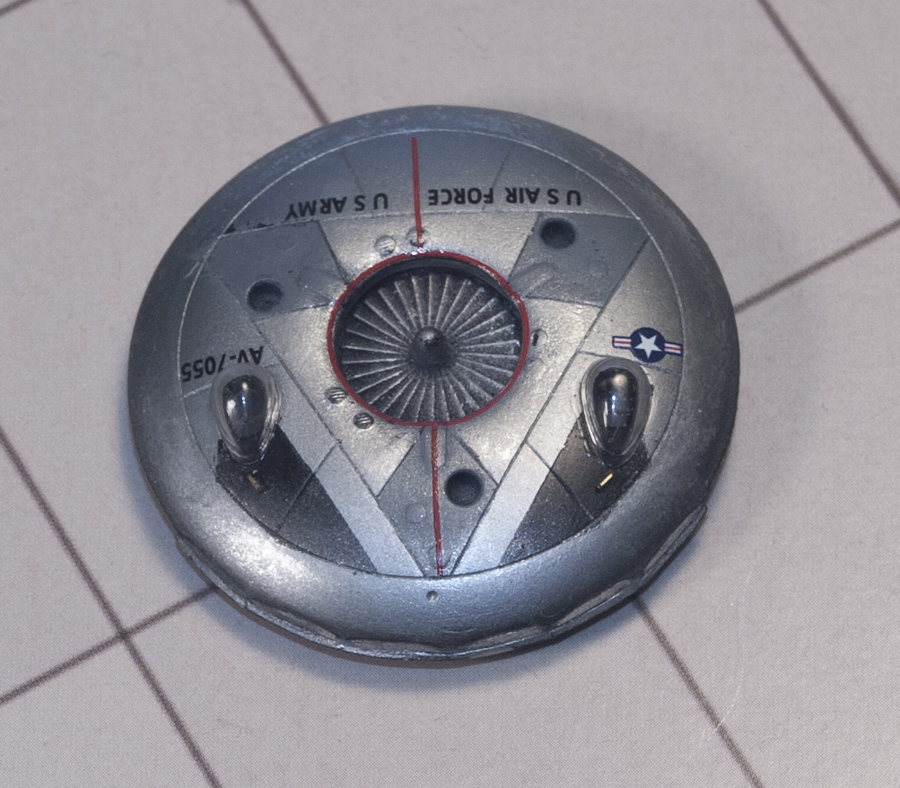
In a reversal of painting I painted the entire model in Alclad, first the underside and after that dried a few days then the top side. That way I could stick the body onto a craft stick to ease the rest of masking and painting the upper surface. After masking the three gray panels I then sprayed on Alclad Aluminum. Once it dried I masked off the panels in front of the cockpits and sprayed them black. After that dried I wanted to experiment some more and tried the AK Interactive True Metal pastes on the outside edge-panels. Like any natural metal paint it truly needs a smooth surface to really work, but I still liked how the dissimilar colors look: it definitely would look different, and maybe a little better, if the surface it was applied on was smoother.
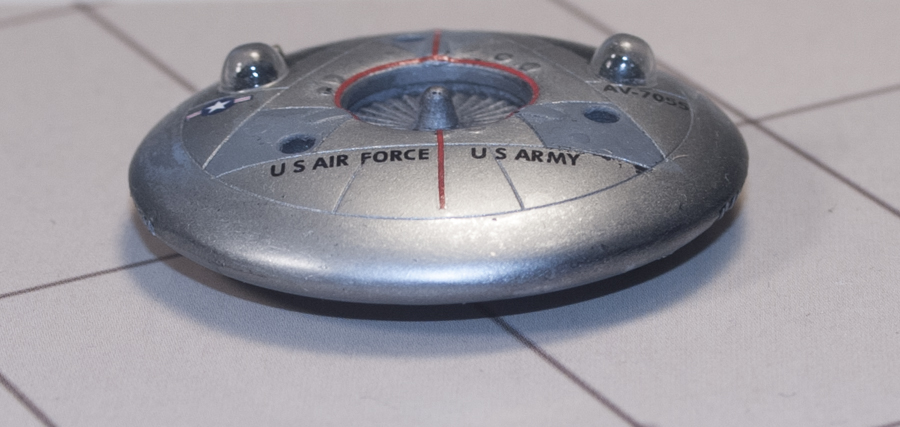
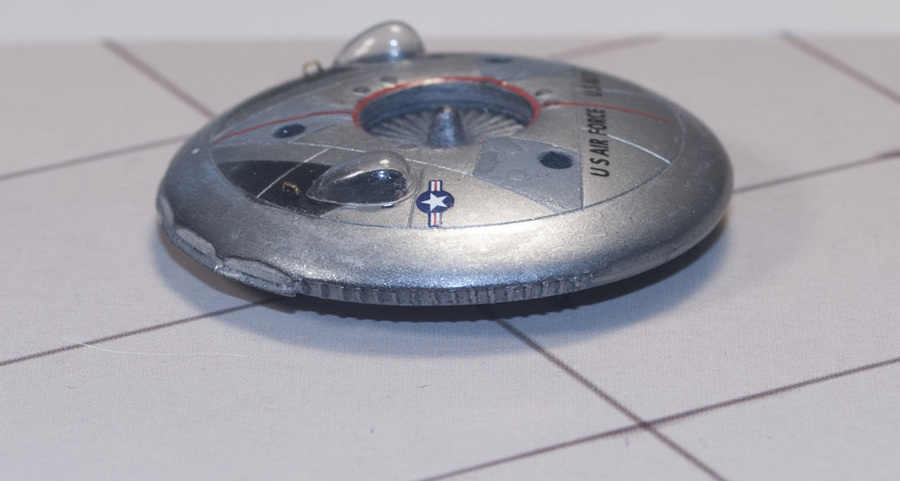
I also went against traditional norms and applied the decals over the painted model without any overcoat of any kind. I did this not only because I liked how the paints created different sheens between them but also wanted to test how the decals would work without any Future or anything like that. I think they came out exceptional and very little – if any – decal film can be seen.
After the decals had dried, and I sanded out the vacuum-formed canopies, it was time to finish the cockpits by gluing in the seat/belt assemblies, followed by the vac canopies. I glued the canopies down with Loctite's Go2Glue as it dries clear and is a bit stronger than standard white glue. Once these were dry I glued the wheels to the underside and then painted them.
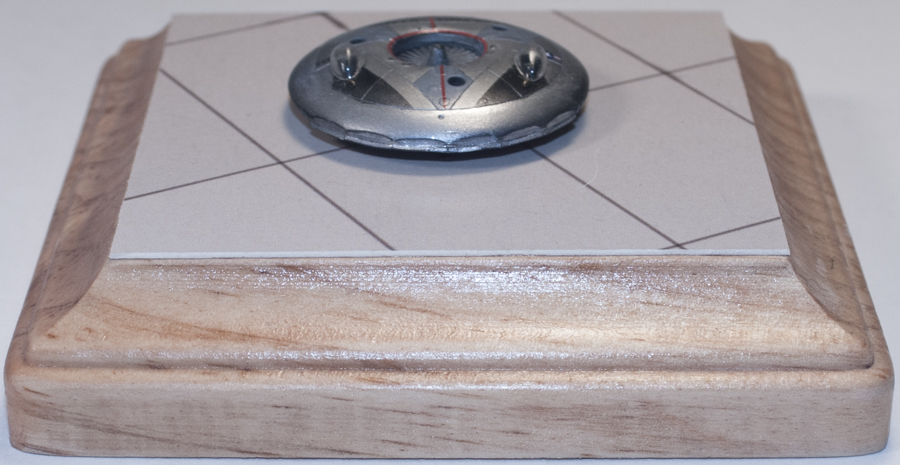
After the base was created (I used a wooden base from Hobby Lobby, clear coated, and applied a pre-made card-stock base from Mark I) I glued the model to the base, again using Go2Glue. Now it was time to muster as much patience as possible and glue down the small, photoetch lifting handles, again using Go2Glue. I haven't painted them yet and unsure if I will. I like how they stand out and they show people just how "fun" building 1/144 models truly is.
Conclusion
This is an unusual model, one that definitely receives numerous comments (although I'm not sure if I like having my model called "cute"). While it's available from another manufacturer in 1/72 I really like how the 1/144 kit looks. However, if you build one I would definitely mount it to a base. The resin landing gear are quite tiny and bound to break off with too much handling.
I definitely want to give plenty of thanks to Brengun for allowing me to review this kit. Even with the tiny parts it was a blast to build.