
Building Hasagawa's 1/32 Kawanishi N1K2-J Shiden Kai "George"
By Steve Gallacci
Overview
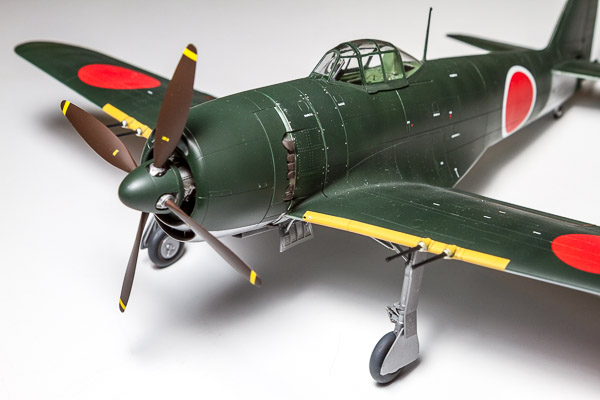
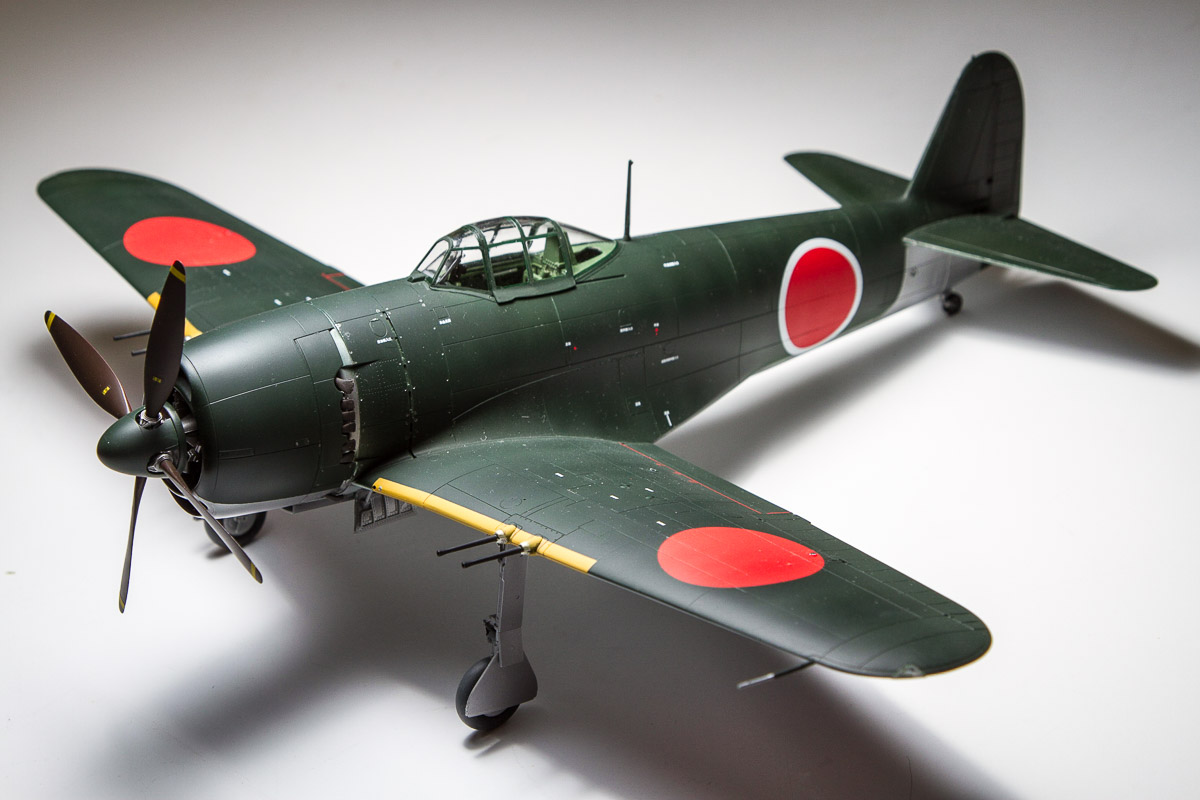 Here we have another new Hasegawa kit, not too over done with fiddly-bit details or unnecessary engineering complications. As this was supposed to be a simple build review, and given the experience of other recent Hasegawa releases, I figured this was going to be a pretty straightforward build, little more than a week-end job. To be sure, the part count (just over 150) and general engineering of the kit was well within that level of simplicity and, for the most part, it lived up to that expectation.
The Build
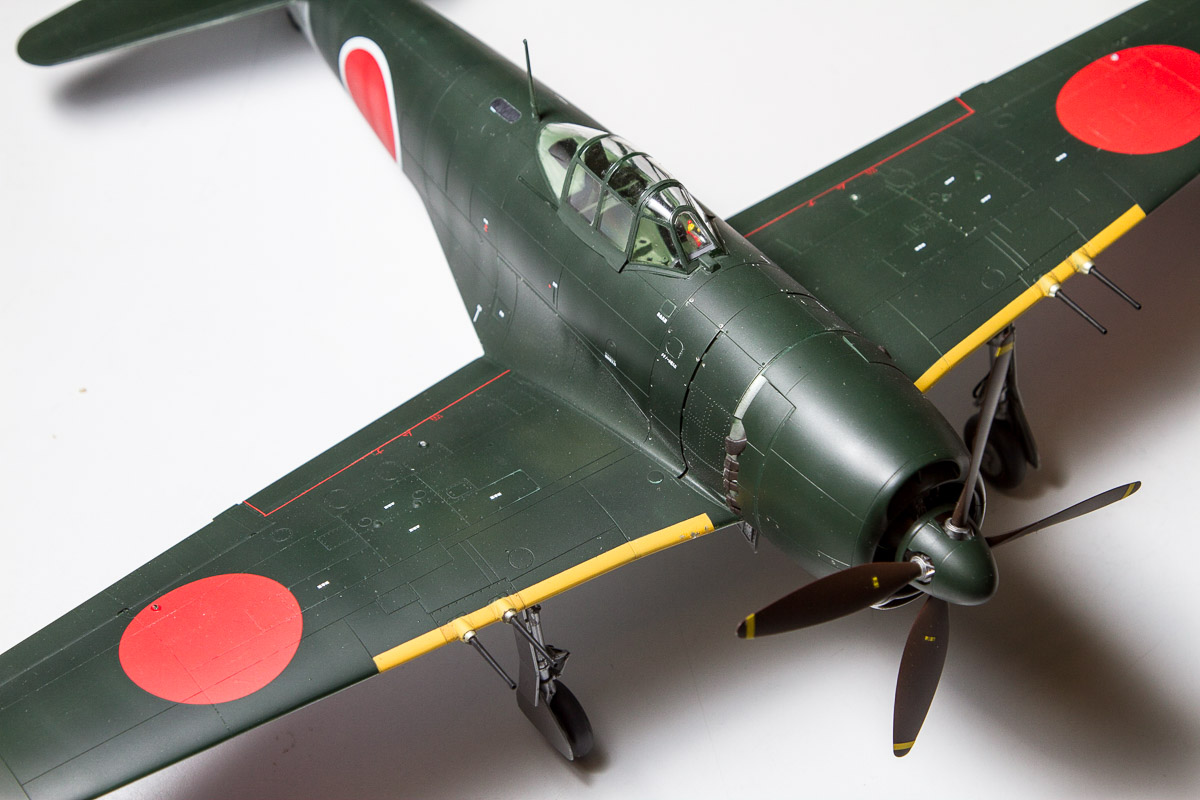
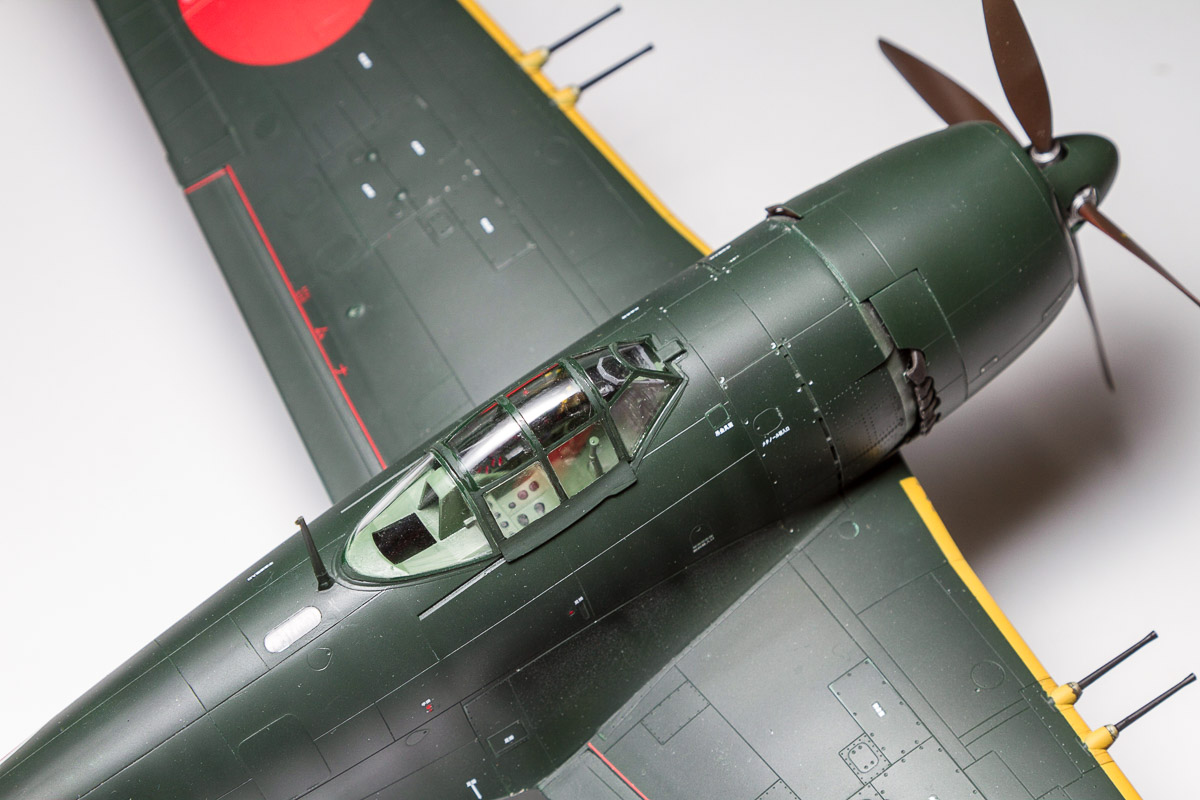 To start, the kit comes with a very nice multi-part pilot figure and includes alternate heads, cap flaps up or down, and a wide range of decals to dress him up. The cockpit canopy has an open option, with separate elements to accommodate the over-lapped open parts.
The cockpit is nicely detailed and has most of what you need to represent the busy interior. The original is a bit busier, but only by degree, and the kit is just fine as is. There are a couple decal options for the instrument panels, and while the clear film plus dials conformed nicely to the surfaces, the black option did NOT conform at all even with substantial decal setting solution and I'd suggest cutting out the dials on to a painted panel instead.
 The basic fuselage, with the added stiffening bulkheads will make for a solid build, but test fitting the elements is critical, as mine didn't go together as tightly as I'd expect without. I also missed the little rear cockpit deck insert part A1 as part of the assembly before plugging in the cockpit. I also found the first real build bug, the rear fuselage and tail unit is a separate part and the joint is a chore to align and putty up. I would recommend attaching the fuselage fore and aft part halves together to align the panel lines and general fit rather than trying to plug the tail group as a unit into the fuselage as a unit.
 The wing assembly also had a little fit problem in that the left upper wing half did not line up quite right to the bottom and the whole wing assembly did not fit quite right to the fuselage and needed some jiggering. Like the separate tail to fuselage joint fuss, there are wing panel inserts that need very careful fitting to greater or lesser success. Finally, the kit has optional position flaps, but the flaps are not really engineered to be mounted in the up position, even with the kit instructions, and to get them properly in the up position will take some extra effort in grinding down the flap to fit in the flap well.
 The engine and the rest is straight forward enough, though even the instructions note that you need to pay careful attention to which way is up for the engine element stack. Painting instructions and decals were okay, with the exception of the previously mentioned instrument decals. I chose to finish the build in a more generic basic scheme just to keep it simple.
Conclusion
 As previously mentioned, I expected the build would be simple enough, but the option assembly joints took a lot longer to get fully filled and smoothed than I planned and some of the other basic kit fit was a bit less precise than what I expected. Absolutely none of which were any kind of deal-breaker for the general merits of the kit, only that it drew the work out to weeks instead of days, though most of that was in waiting for putty and primer to dry.
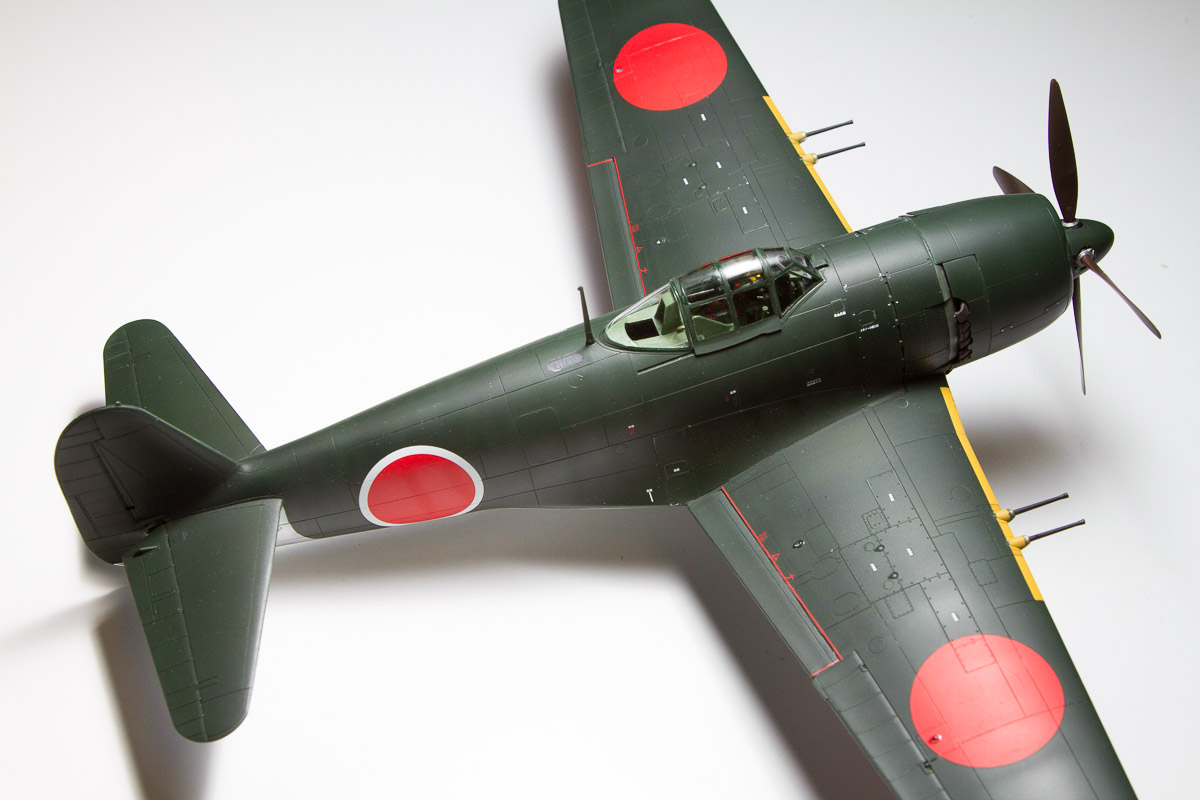
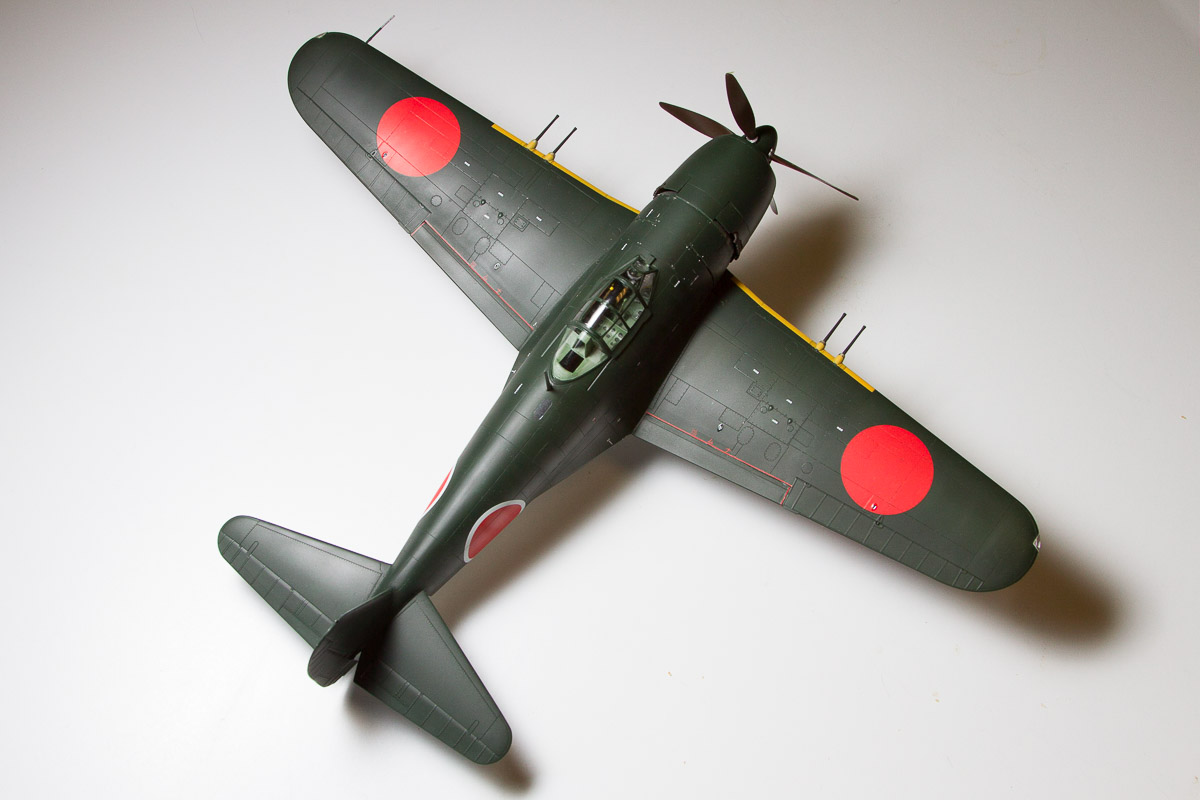
The results of all this does make for a fine looking build of an up to date kit of the subject. Highly recommended. Our thanks to Hasegawa USA for the review kit.