
Building the Mark I Models 1/144 HS.748 / Andover CC.2/T.2
By Chris Banyai-Riepl
Overview
 Back in June, I did an inbox review of this kit and thought it would be a fairly easy build. I had some bench time clear up, so I gave it a shot. Between then and now, Mark I has announced two more boxings of this kit, both with multiple marking options, so there's likely something out there for anyone, and probably then some.
The Build
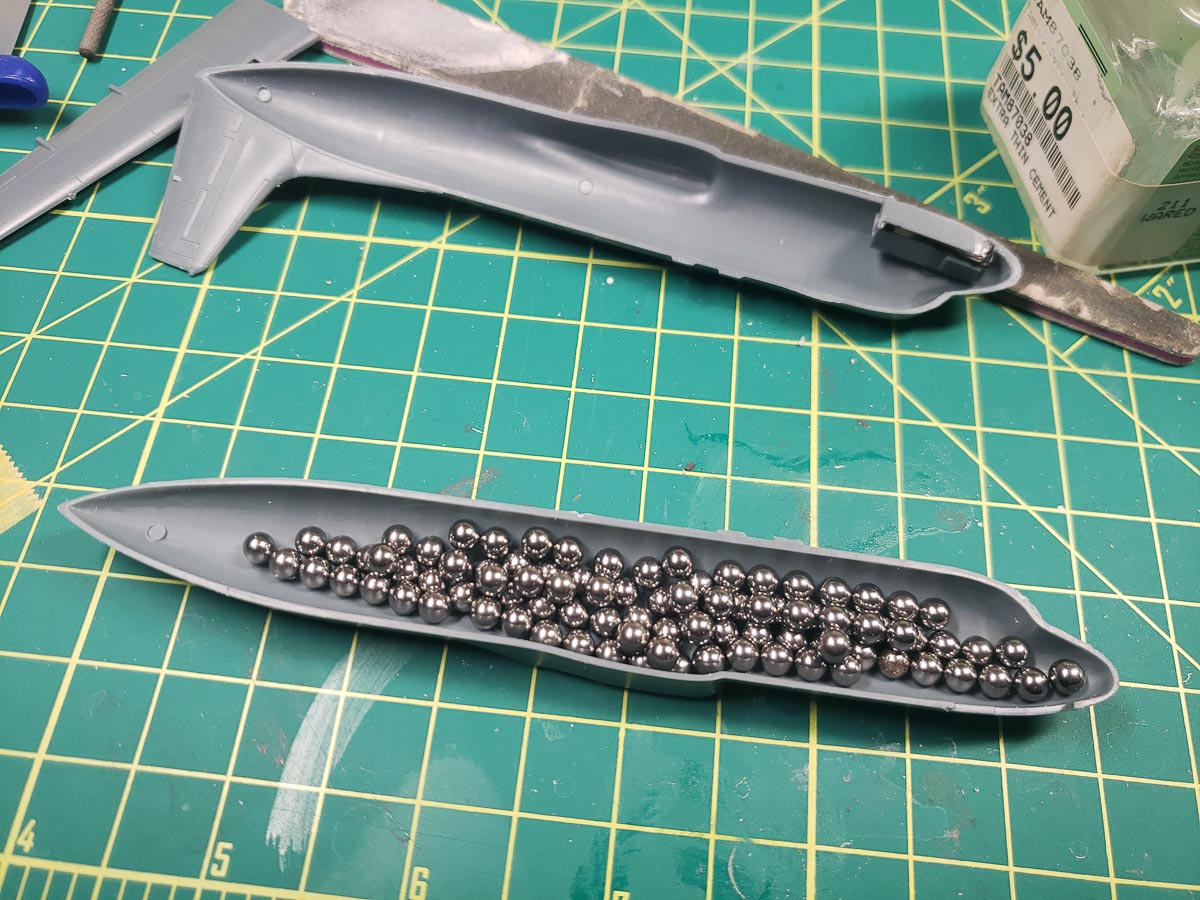
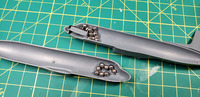
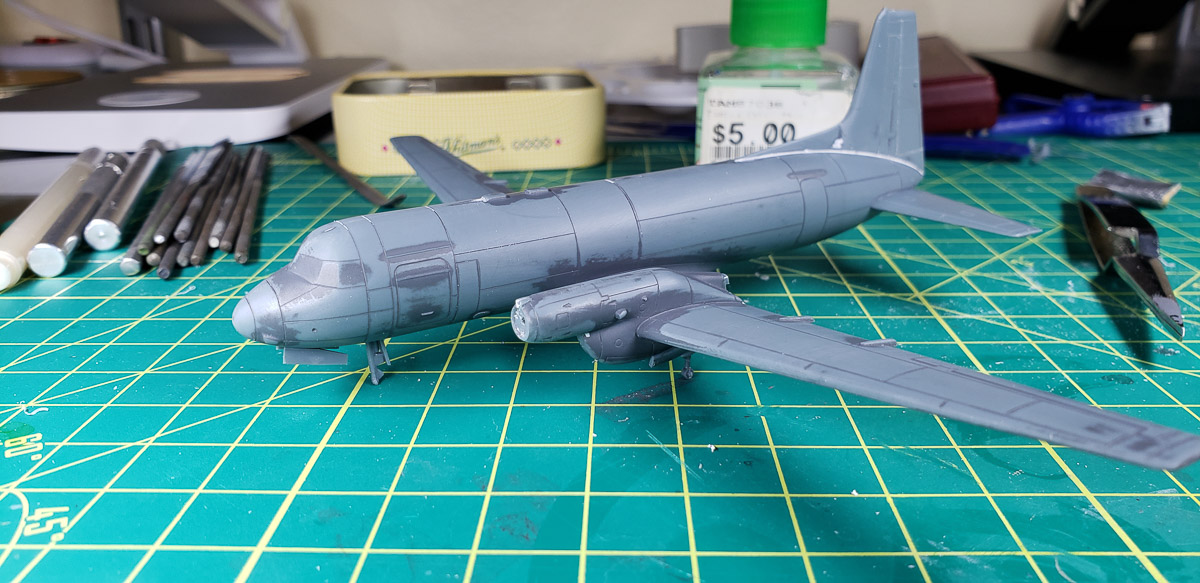
Typical of 1/144 airliner kits, this kit comes with a solid fuselage and decals for the windows, so there is no real interior to worry about. However, there IS a challenge, and that's making sure this sits on its nose gear. The instructions indicate that you'll need 30 grams of weight, so I broke out the scale and measured out that much weight in the steel balls I have for nose weights. As you can see here, either the 30 grams is not a correct measurement or my scale is WAY off. I scaled back to far fewer balls, taped things up, and did a balance check. Once I got that sorted out, I added a few extra, built up the nose gear bay, and closed up the fuselage.
|
|
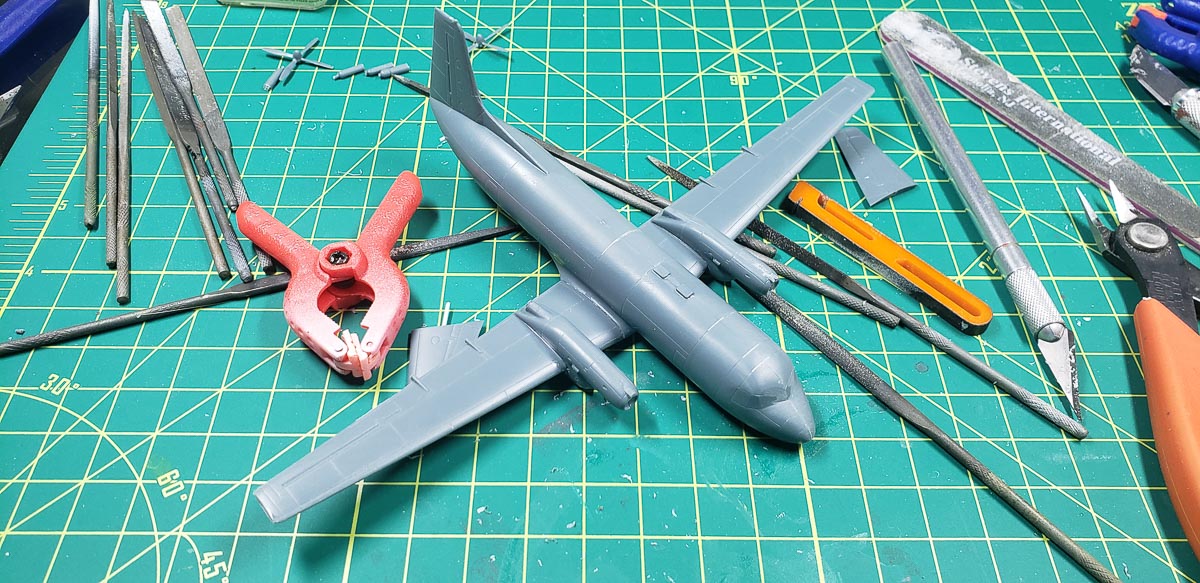
The next step was to get the stabilizers on securely, and with these being a butt joint I decided to add some pins to give it just a bit of extra strength. I did this by adding a small drop of paint on the stabilizer and pressing it in place. With that I now had two matching marks for the pin & hole. I drilled holes in both the stabilizers and fuselage, then added a piece of styrene rod in the stabilizer pieces. That gave me a nice strong joint and guaranteed everything would line up.
|
|
The engines and wings are next, and these are pretty straightforward. The only real challenge area is with the back end of the engine nacelles. I drilled out the exhausts once they were glued in place, and just about the only place I needed filler was on the trailing edge of the nacelle piece. For the most part, though, the fit was pretty solid across the board, and after a coat of primer I turned to choosing the scheme.
Painting & Decals
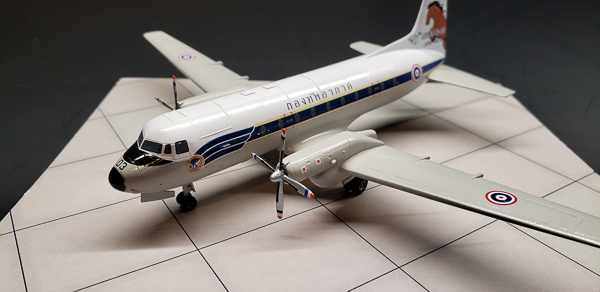
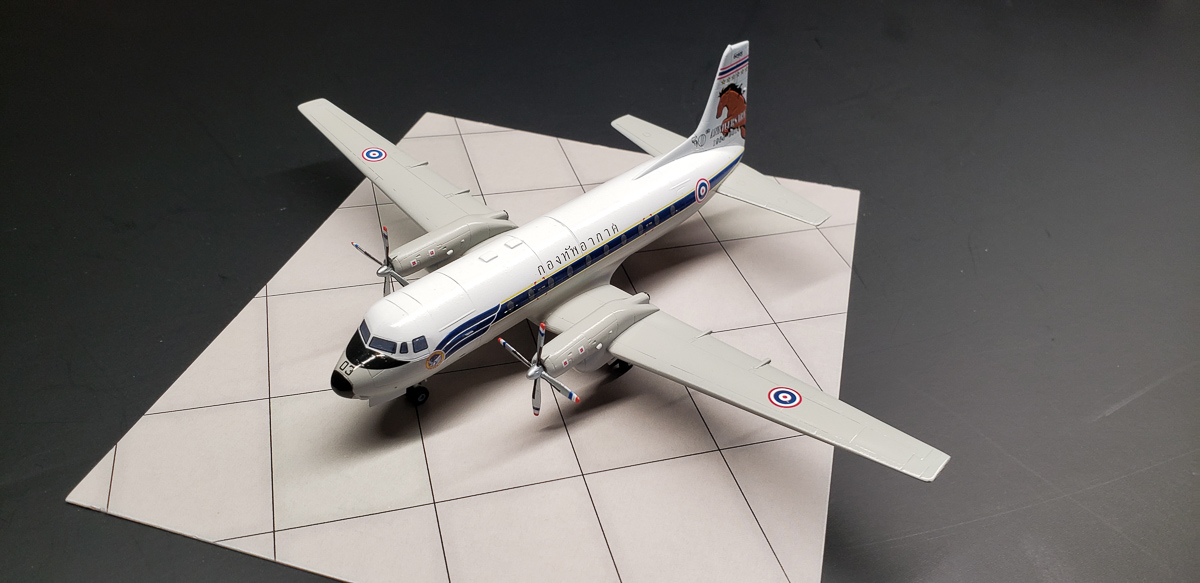
There was no real choice for me when it came to the decals, of course I was going to do the one with a big horse on the tail. All three options had the same basic paint scheme of white and gray, though, so if something happened in decaling I could easily switch to one of the other scheme. For painting, I used Mission Models white and gull gray, which went down well. A gloss coat later and it was time for some decaling.

|

|
For those not used to decaling aircraft with cheatlines, these can be quite a pain, especially when there's clear marks to line up to. To make this easier, I cut the one-piece stripes into a couple pieces, just to make things easier. The first step was to apply the decals on the back end, lining up the end points together and making sure that they rolled out parallel to the fuselage line. Once those were in place, I applied the windscreen decal and used that as a marker to apply the forward half of the stripes, lining up the badge with the last window of the windscreen and running it back to match up with the back piece. It was a bit more work this way, but I was able to ensure everything was positioned properly as a result.
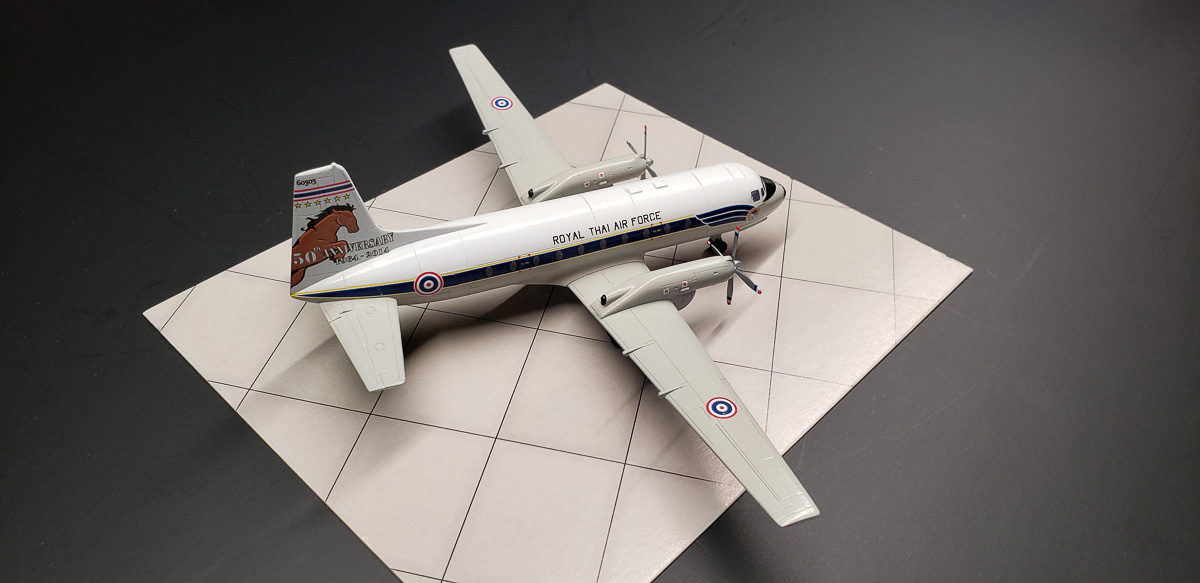
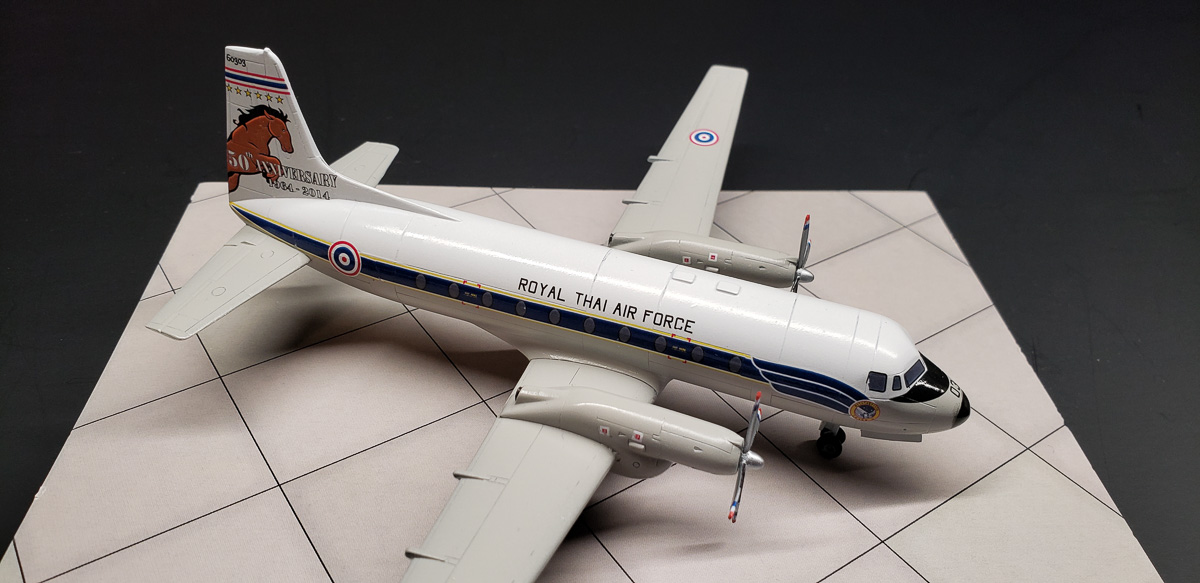
The tail decal was a bit challenging as well, mainly due to the size. The decals are thin, so they can fold up on themselves easily and be difficult to unfold. I found this out on this on one of the 50s on the side, with one side folding up bad enough that I couldn't sort it out. How to fix that? Easy, just don't photograph it closely (or in focus). I might try going back later and see if I could touch it up somehow. It is black over the white, so maybe I could just print a new one on clear film and apply it.
|
|
With all the decals on, the only real step left was to hit it with a clear coat, do some detail painting, stick the wheels on, and call it done. Well, mostly done, as I did leave the antennas off. Somewhere I know I have some photoetch 1/144 antennas and once I find that I'll add the blades and towel rack antennas that this plane has, as that will look far better than the plastic parts. Overall, though, this is a pretty fun one to build, and I'm probably going to pick up another one or two to do a camouflaged one and perhaps a civilian version
Conclusion
 If you're looking for a fun little kit to build up in between bigger projects, definitely check this one out. The construction is straightforward, there's no real surprises, and you have no shortage of interesting color schemes to choose from. My thanks to Mark I Models for the review copy.