
Classic 80s Throwback: Building Hasegawa's 1/72 Mirage F.1C
By Chris Banyai-Riepl
Overview
We all have one of these. Well, perhaps not exactly this kit, but the same idea: a model, decades old, that we picked up somewhere ages ago because the price was right, it had cool markings, or just looked neat. The Hasegawa Mirage F.1C is apparently hitting multiple marks for me because I discovered no less than three of these hidden away in my stash. Now that I have my modeling desk fully set up with my airbrush station right next to my work area, I figured it was time to bust out some of these older kits to start building up my modeling chops again, so first up is this Mirage F.1C.
The Build
 If we put on our way-back glasses and roll through the decades to the 1980s, the Hasegawa F.1C is fairly stereotypical of kits of that era. Petite raised panel lines, fairly accurate shape, minimal interior detail, and a simple construction. There is plenty of room to go all out with this kit, should one desire that, but for my purposes it is perfect as an out-of-the-box build. While the French markings are attractive, I dug through my aftermarket stash and found an old FCM sheet that had an Ecuadorean F.1C that caught my eye. So with all the parts in place, I dove into building it up.
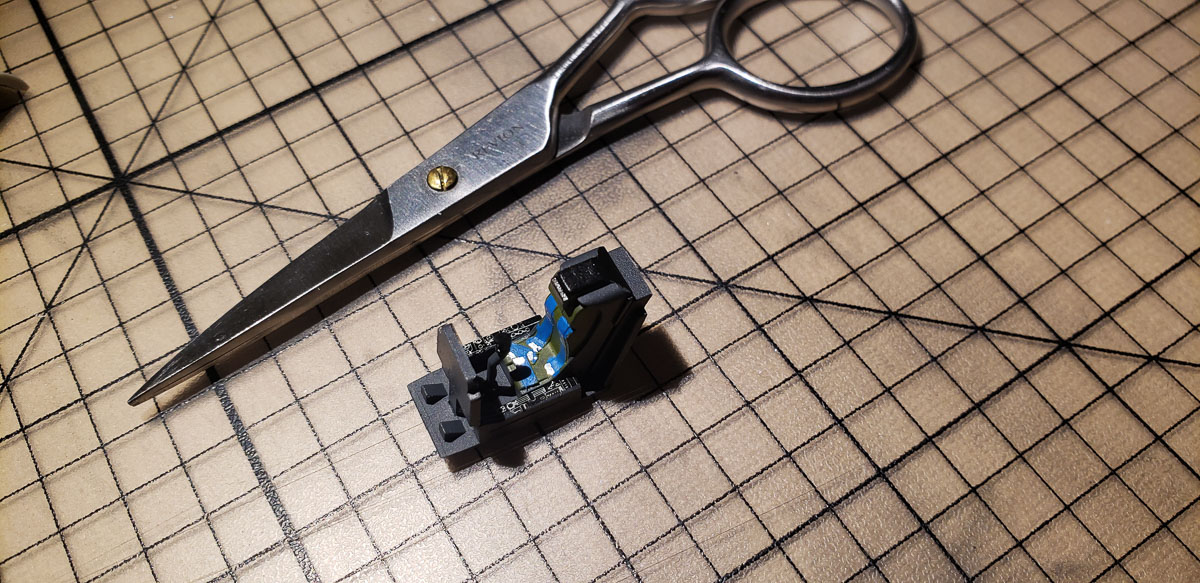
Starting with the interior, this kit comes with decals for the side consoles and instrument panel, a basic seat, and a control column. Plans from the beginning were to build this closed cockpit, so all I really needed to do was add some tape seatbelts and call it good. With the canopy down and the basic cockpit interior color being dark gray, you'd have to really squint to see anything else.
|

|
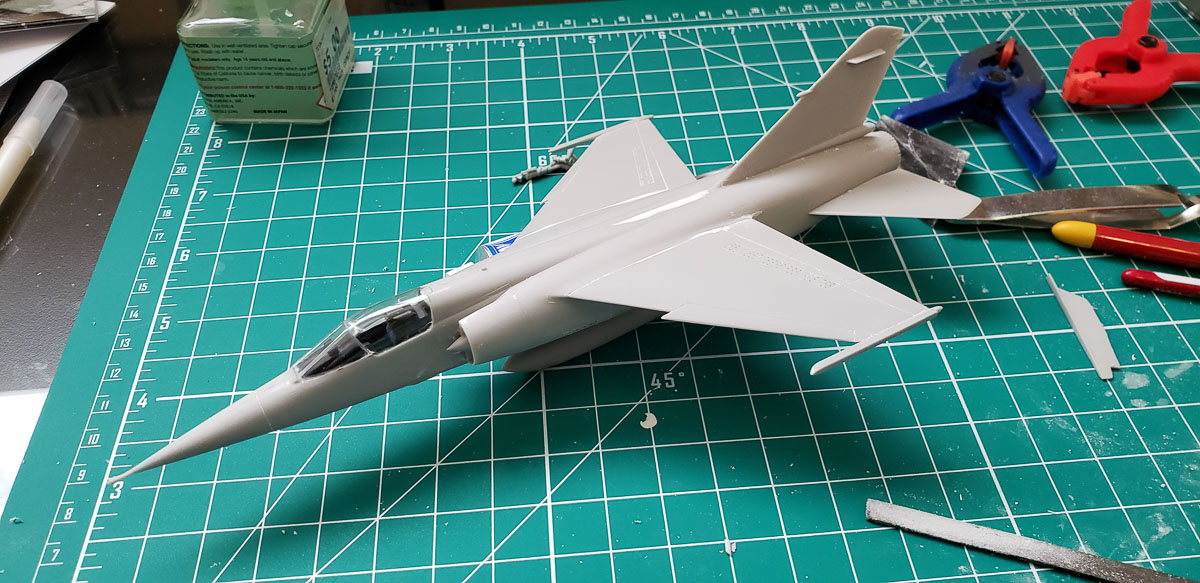
With the innards together, the assembly can start. The first decision I needed to make was what to do with the raised panel lines. There's the option of rescribing the whole thing, or alternatively keep the raised panel lines and carefully repair them over the seams. I chose option three: total obliteration. My initial goal was to just sand them all off and then draw them on after painting with a pencil or something. That decision made the assembly process much easier, as I didn't have to worry about protecting details. As it is an older kit, the fit isn't flawless, but overall it is not bad and I only needed minimal filler in places.

|
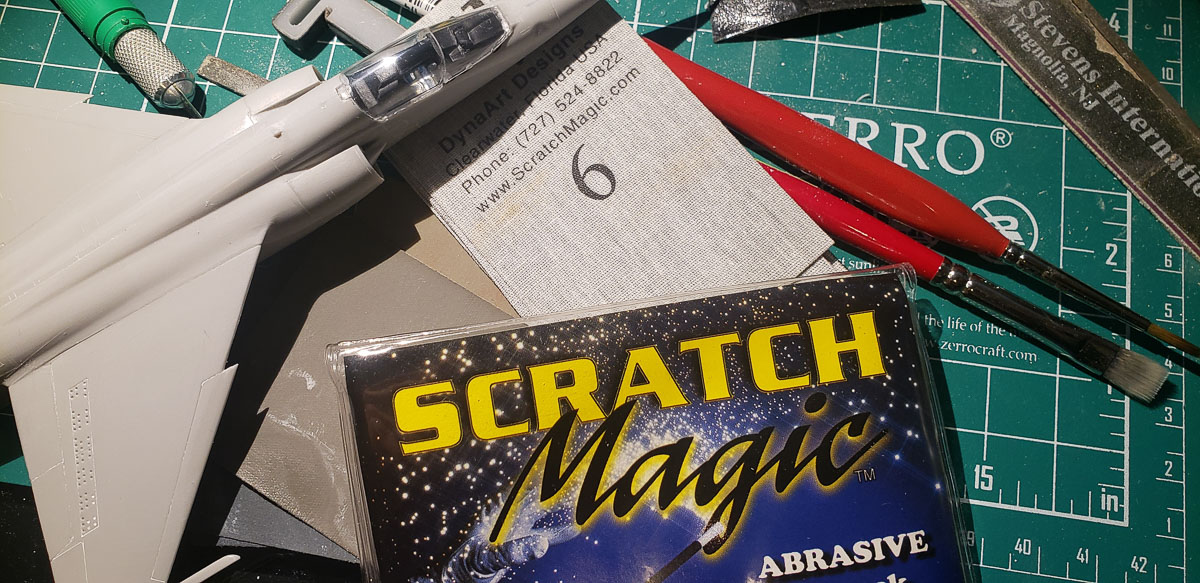
One problem I had, though, was one of my own making. In attaching the canopy, I managed to plop a nice big fingerprint on the main canopy. While that might make some modelers test the flight characteristics of the kit, I knew going into this one that it would be something for me to practice my skills on. Sure, I didn't plan on practicing this particular skill so soon, but opportunity knocks, or so they say. I broke out my set of Scratch Magic sandpapers and got comfortable. With a bit of water and moving up through the grits, not only did I get rid of the thumbprint but I ended up with a canopy that was far clearer than the original kit part. And total time on that was maybe only 15 minutes or so, definitely time well spent.
|
|
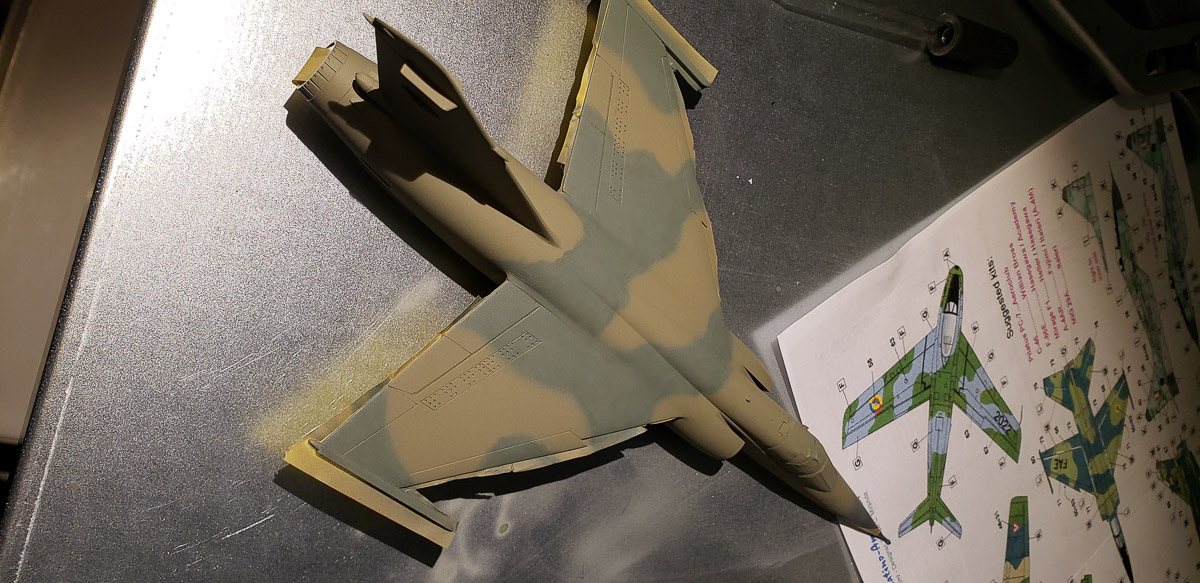
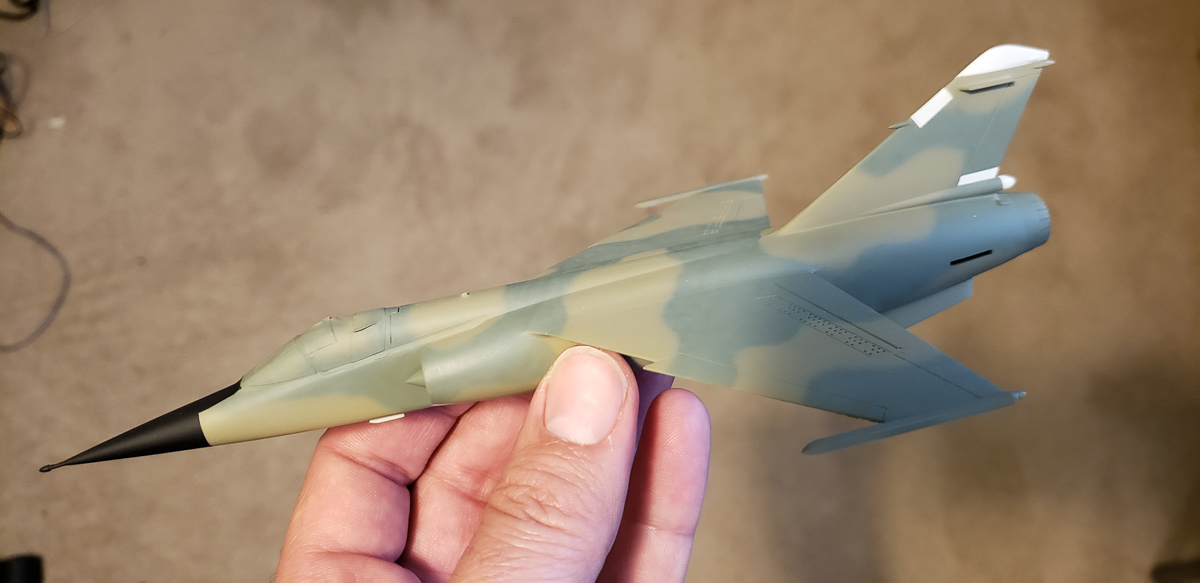
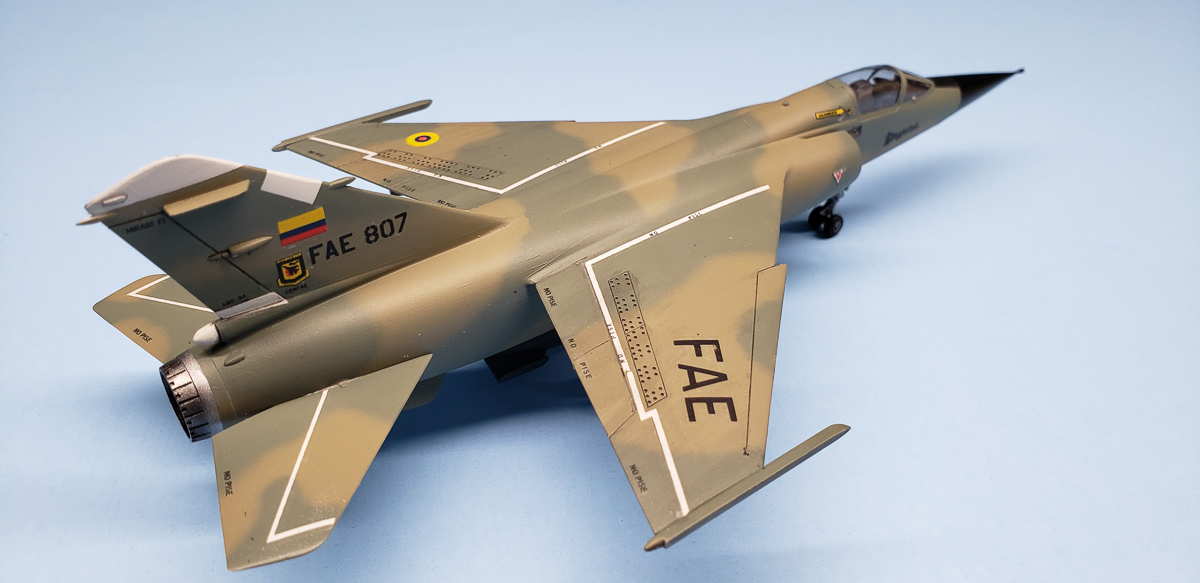
With everything sanded smooth and the canopy masked (just Tamiya tape, carefully trimmed and put in place), attention turned to painting. I picked up the Vallejo Model Air set for Vietnam colors, which includes SAC bomber paints. Two of those were used in the upper surface camouflage, with light gray for the underside. I masked a hard line for the underside gray, but freehand airbrushed the upper surface camouflage. Once all of that was dry, I masked off the nose and antiglare panel for some black paint, and masked off some white bits on the tail. A coat of gloss and decal time.
|
|
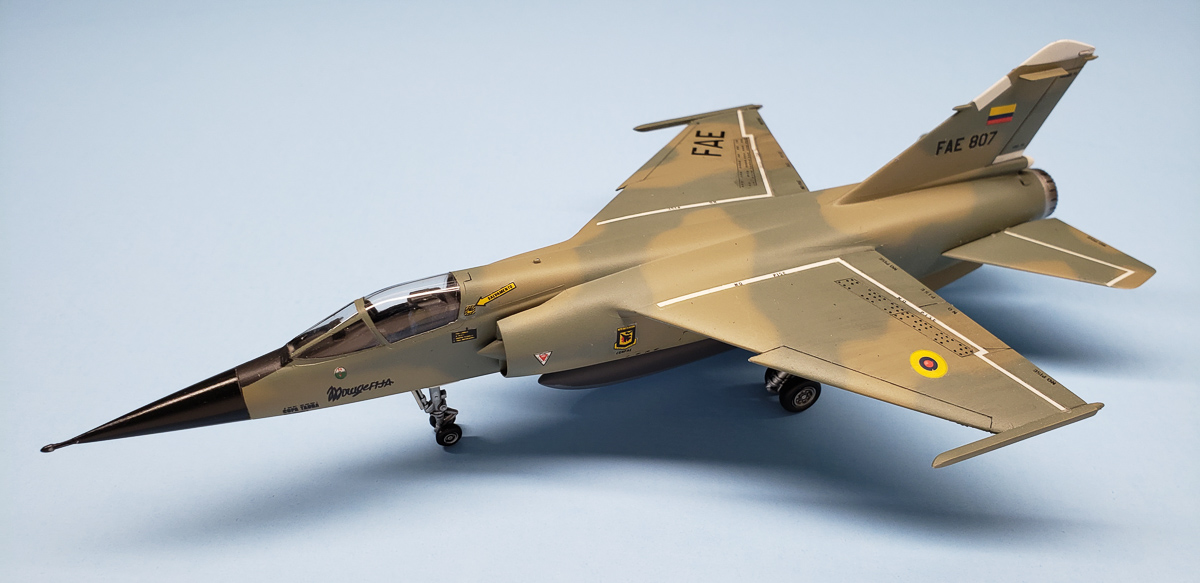
The decals were always going to be a big question mark for me, as these have been sitting in my stash for 15+ years, easily. They're older FCM decals, and feel very thick on the sheet, so I came prepared and broke out the Solvaset. Luckily, all the surface detail was gone, so there wasn't anything fine detailed they needed to conform to, just flat surfaces. To help things even more, I used a bit of Future on the model before placing the decal down. Even with all of that assistance, there were still places of silvering on some of the larger decals, even after pin pricking the clear areas and re-applying Solvaset. Luckily, those areas were few, and for the most part the decals ended up looking pretty good in the end.
|
|
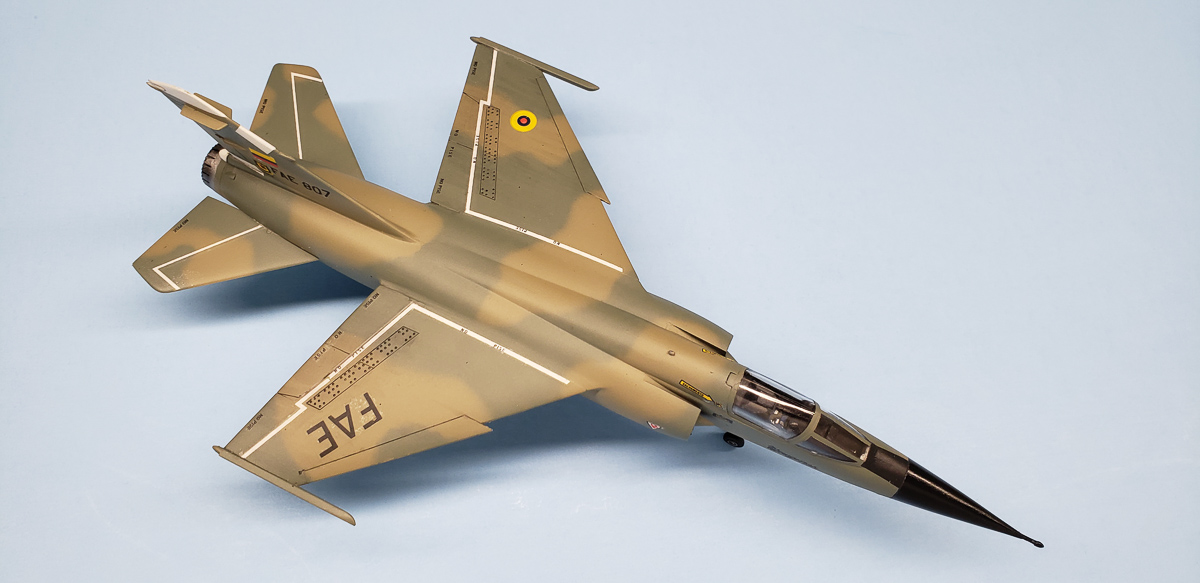
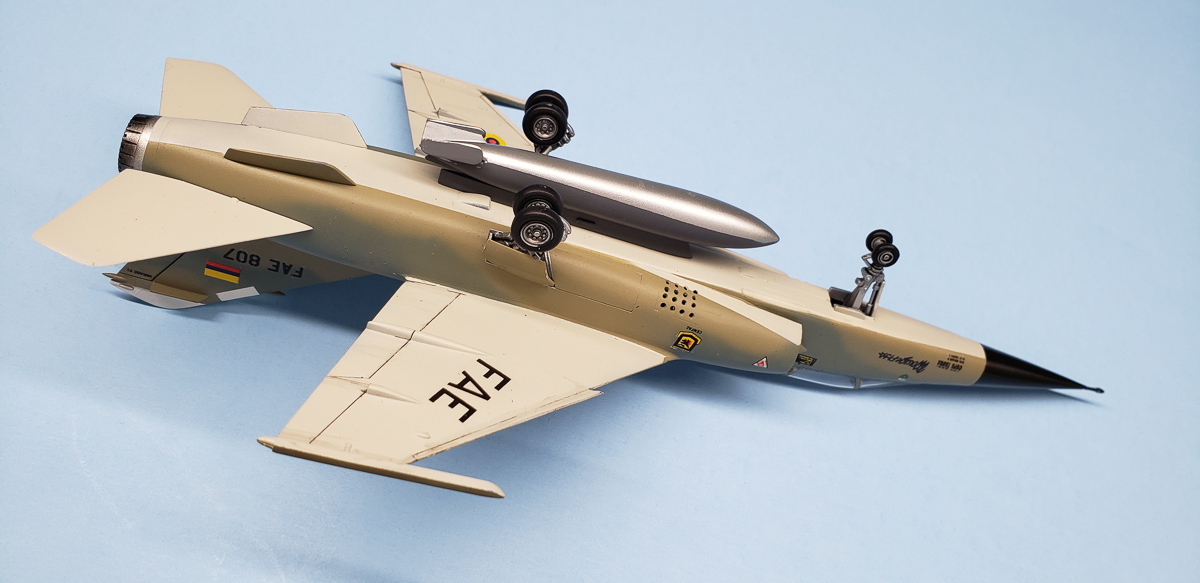
The last bits and pieces, then, were to give the whole thing a final matte clear coat (masking off the radome to leave it gloss) and add the landing gear. The landing gear is tricky, as the main gear does not have a very positive location in the kit, and it has two wheels per gear leg. Getting all the wheels flat on the ground took a bit of fiddling around, but I got there in the end. The last thing was to add the centerline fuel tank, which was painted in the original French colors of gray and silver.
Conclusion
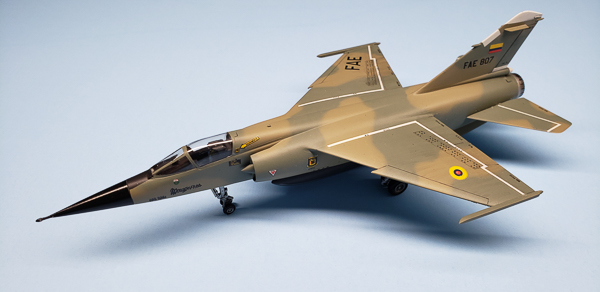
 So, at the end of all of this (which, surprisingly, was not all that long; I maybe spent two weeks total on this build), I had fun, I tested my skills, I motivated myself for the next project, and I added an interesting and colorful Mirage to my display case. Moving forward I'm definitely going to be tapping into those old kits more and more, as they are great fodder for producing a decent model and letting you test your skills without worrying about trashing out a $100+ kit.