Dressing Up the Revell 1:28 Spad XIII with Copper State Models Decals and Details
By Steve Perry
 |

|
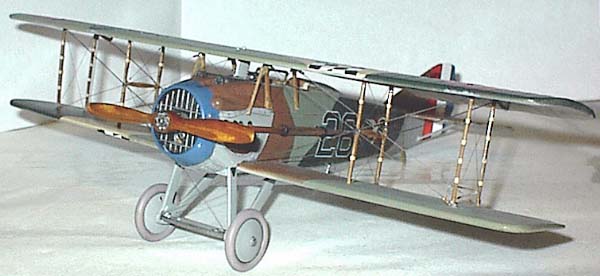
 My stepfather bought this particular kit new in 1965, the year this version in the flat white box was released. I have wanted to do it up as Luke's #26 ever since it was given to me a few years ago. I knew I'd hit the jackpot when I was at the 99 Nats in Orlando and came across the Copper State Models table. All sorts of 1:28 scale goodies for my old Spad. I picked up a Spad detail set and a Frank Luke decal sheet. Later when CSM had a sale, I bought the French Instruments, Nuts & Bolts, Prop Bosses and Vickers guns PE sets.
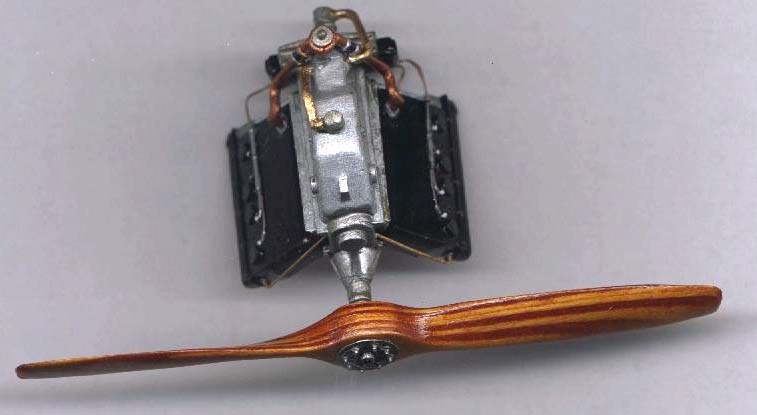 I began construction by assembling the Hispano Suiza engine. This replica has 15 injected parts and is very highly detailed for a kit of this age. The older technology leaves ejector pin marks in many parts and that includes the cylinder bank pieces. These are a nuisance to clean up, but tell yourself that it builds character and get on with cleaning up the pin marks.
 The Martin Digmayer hand-carved props that CSM makes available are simply gorgeous. CSM makes a fret of prop bosses that are just the ticket for this item. The prop bosses have a central hole and two concentric circles of smaller bolt boles.
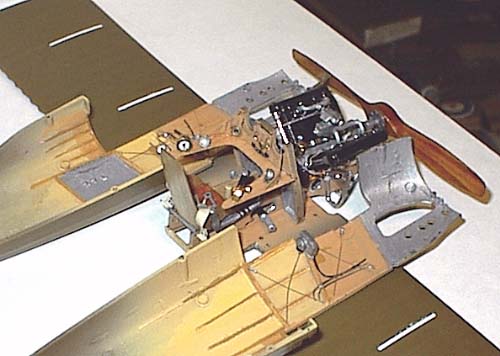 This will not work if you are going to detail the cockpit. Build the engine bearer assembly directly on the lower wing. Be sure all the interlocking pieces fit completely. You will need to trim to achieve this. You can work the two fuselage halves around the interior structure and fit them together with a slight twist. Don't worry you will fit them together and take them apart a bazillion times as you work through the detailing process. Practice makes perfect. By the time you get delicate sidewall detail on, you will be well practiced at the manoeuver.
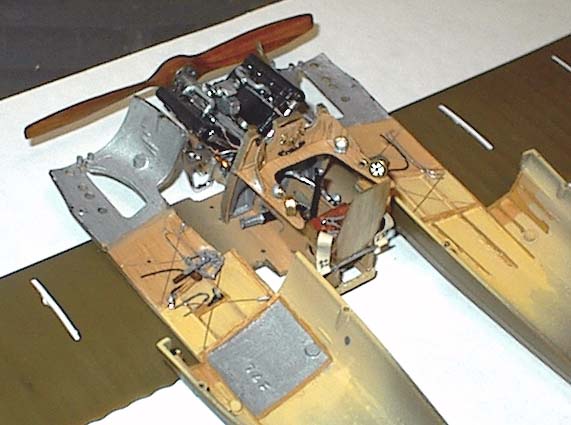 Since the Spad interior is so detailed it is best to build it in three main pieces and those built up in "layers" of details. The central piece built around the engine bearers and lower wing and the two fuselage halves with their sidewall details make up the trio.
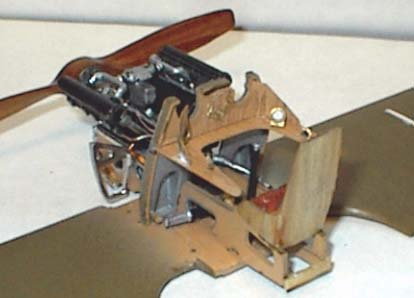 Before you glue the firewall on it needs slight modification in order to work with the CSM PE instrument shelf. On the cockpit side, locate the raised horizontal ridge that is just below the gun cutouts. The hugely thick kit piece mounts below this ridge as evidenced by the two locator tabs. The CSM piece needs to rest along the top of this ridge. In order for it to do this you will need to notch the vertical edge ridges where they intersect the top of the horizontal ridge. The CSM shelf is exactly as wide as the firewall, so the notches let it sit flush with the firewall while resting along the top of the horizontal ridge. Don't glue on the shelf yet.
 One of the few things I found lacking in the detail set is the X support for the rudder bar. Make one from 5 thou card and fold it over without kinking it. Wrestle this into place above & below the rudder bar and between the engine bearers. Did I mention to paint it aluminum and let it dry thoroughly BEFORE you attempt to install it.
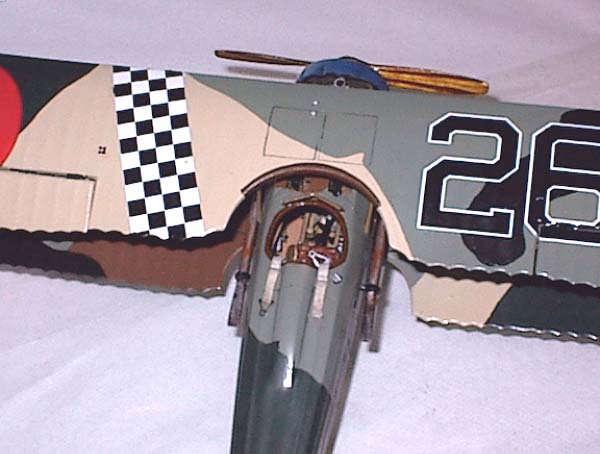 The next layer of detail in the central structure is the, seat, joystick and shelf. The kit seat is completely inaccurate, I made one from 1/64 plywood. Use ammonia to loosen the fibers of the wood on the outside in order to get the proper bend in the back piece. I blatantly cheated on the seat cushion. I have a Poucher Caudron G.3 kit and that includes molds for pressing a pattern into material to make a seat cushion. I pressed a piece of plastic foam gotten from a plastic figure 8 packing peanut between the mold pieces and a perfect seat cushion resulted. I just cleaned up the kit joystick and thinned out the base where it attaches to the support frame. A gun trigger wire can be draped between the joystick and the firewall under where the shelf attaches. Finally add the shelf. Make sure it is at 90 degrees from the upper portion of the firewall. Fit the vertical piece to the firewall and bend in a curve to match the photos in the Datafile.
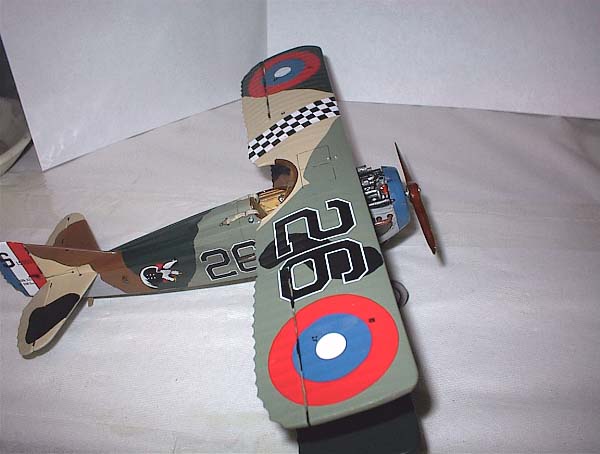 The final layer of detail on the central structure is the instruments on the shelf. The CSM French Instruments are perhaps a bit small, but they are exquisitely detailed. Paint the back side of the film white. When this is well dry, cut out the dials. "Yeah right Bub, those suckers are less than a quarter inch in diameter, why the whole film piece is about three quarters of a square inch." Easy, with a sharp #11 blade, carefully separate a dial face from the sheet. Make the cuts by laying the edge of the blade on the surface of the film and pressing directly down making a long single cut in one "click". Make similar cuts just tangent to the circular face of the dial. You will leave little points of clear plastic around the circular dial. Attach to the Photo Etched beezel with white glue. A damp toothpick end will clean up any glue from the face of the dial. Add instrument bodies from styrene rod or sprue and paint brass or aluminum and attach them to the instrument shelf as per your references.
 The Revell Spad has wonderful detail in the tail surfaces. There is a gap and hinges already there. No need to cut away and reposition these. I took a strip of sanding film and slipped it between the gaps and cleaned them up leaving just the hinges. Then I simply bent the surfaces to the deflected position. Gently. I also trimmed away the locating pin that goes into a hole in the horizontal tailplane piece, leaving the tab that fits in a slot in the fuselage. It sits better this way.
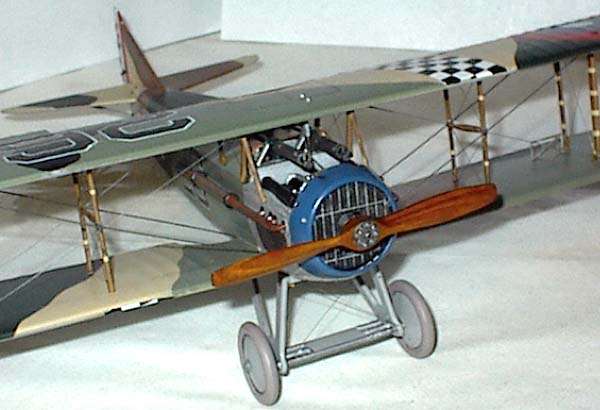
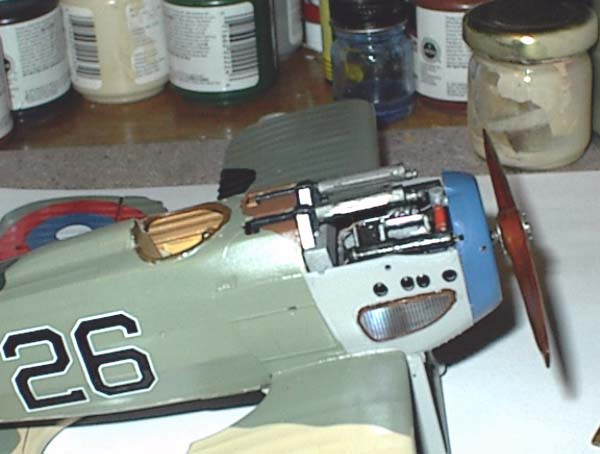 I painted the bottom surfaces a light gray. And immediately showed up all sorts of imperfections in the seam work. These were dealt with and another coat of paint applied. I began the 5 color French camo with the biege color overall the top surfaces. Then with Parafilm, I masked and sprayed the other colors, light green, brown. dark green and black. All my paints were Liquitex acrylic mixed with Future.
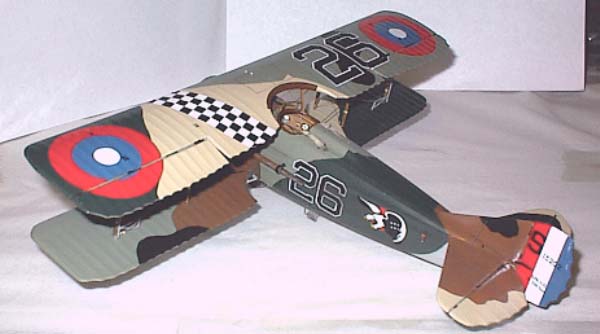 Rigging was a combination of stretched sprue and stainless steel wire. This was the only part of the model that I didn't like. I will never use anything but stretched sprue for rigging again. Nothing works as well for me.