
Eduard 1/48 Siemens-Schuckert SSW D.III ProfiPACK
By Ken Murphy
The Siemens-Schuckert SSW D.III first entered service in November of 1917. The aircraft was designed around the unique Siemens-Halske Sh.III 11-cylinder rotary engine which was geared to rotate in the opposite direction of the propeller, eliminating the worst of the gyroscopic effects of rotary engines. It was only slightly faster than the Fokker D.VII and harder to fly, so it saw limited service at the front. However, it's phenomenal rate of climb made it a perfect air defense fighter.
Having built the Weekend Edition of this kit for Internet Modeler in 2016 (see my review), I was surprised when asked to tackle ProfiPACK's offering in the market. Intrigued by the opportunity to correct my numerous mistakes on the first build, I figured this would be my chance to get it right. Or so I thought.
The Kit
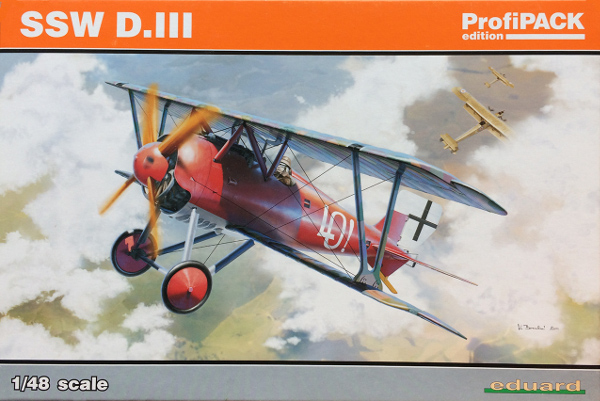
The ProfiPack Edition comes in the usual sturdy box with dramatic cover art of Ernst Udet's "LO!". Inside there are 2 sprues with 78 injection-molded parts in the typical Eduard grey and a clear sheet with two printed windscreens to be cut out. The moldings are crisp with fine detail and recessed panel lines. All of this is included with the Weekend kit, but the ProfiPack Edition provides some extra goodies that take the model to the next level.
|
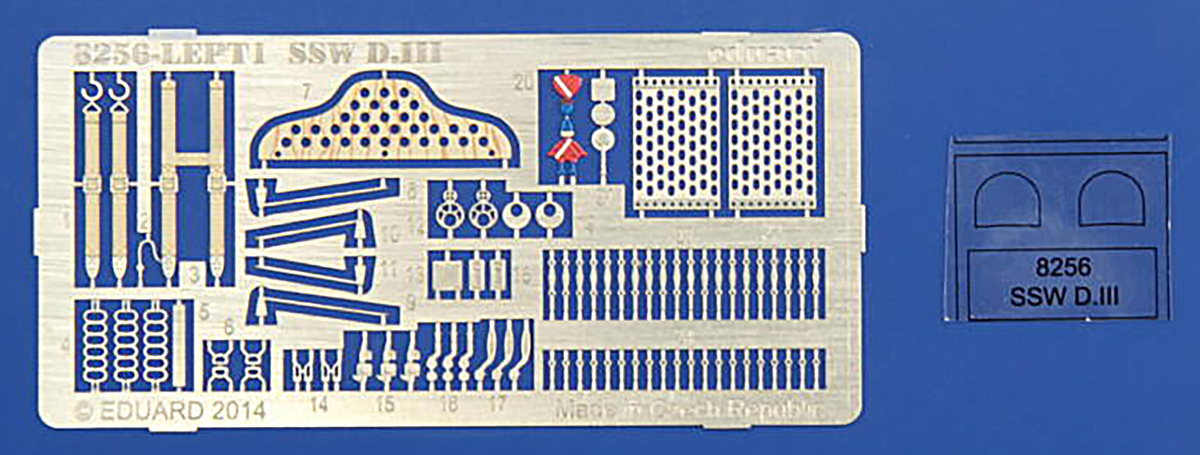
Those additions include a photo etch fret with replacement seat back, harnesses, machine gun cooling jackets, and turnbuckles, plus some other things I didn't use (if I need a microscope to see what I'm working with, I tend to do without). Also included are paper tape masks, a full color instruction booklet, and decal marking options for five planes.
The Build
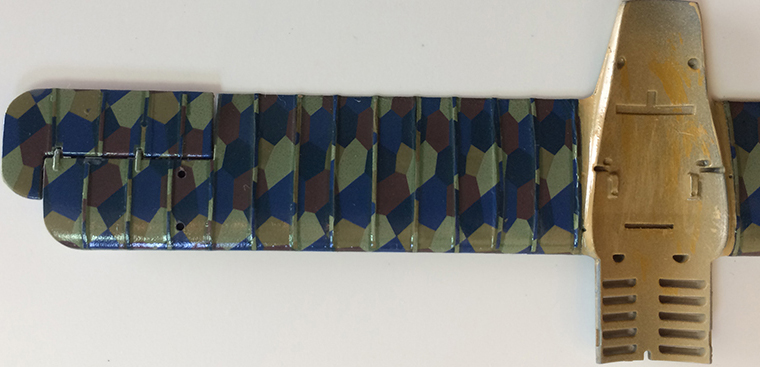
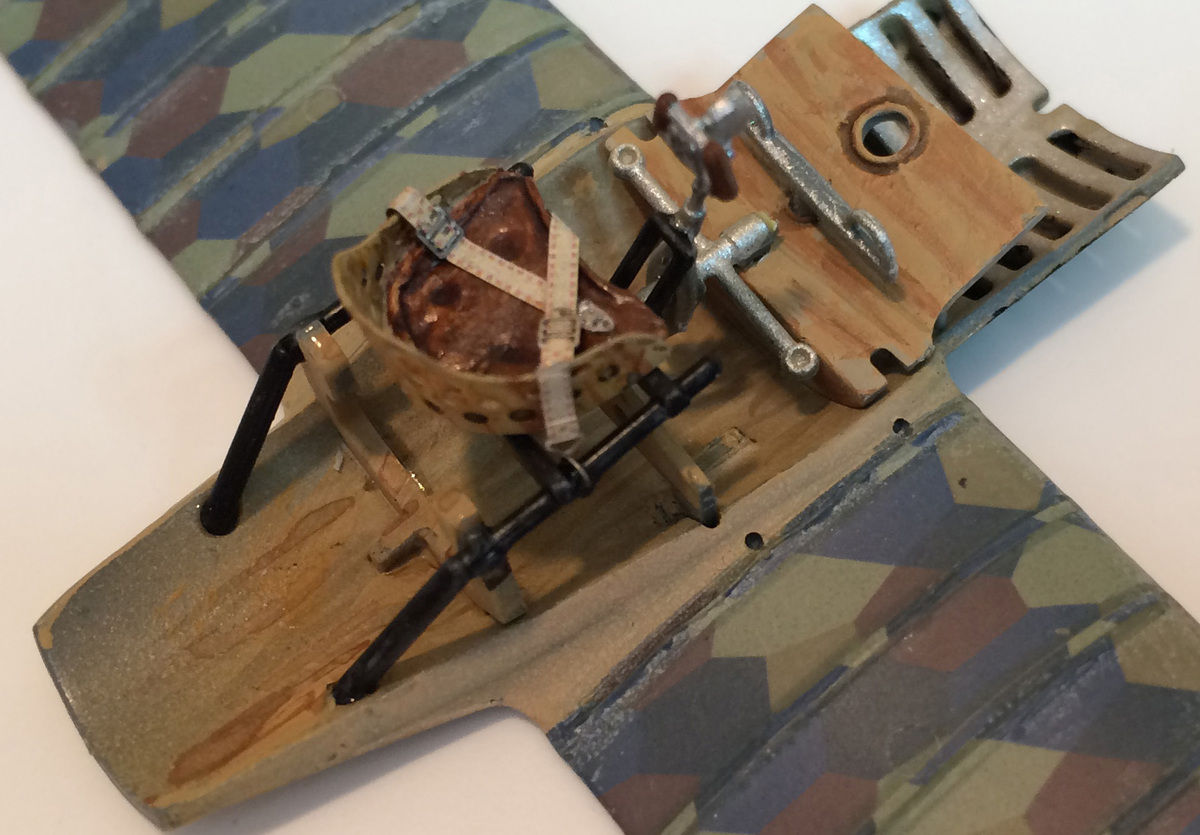
The office is a busy place in this kit with 20 parts along the fuselage halves and another 11 on the seat and controls mounted on the wing center section. Here's where I got to correct my first mistake on the previous build. This time, I decaled the lower wing before I assembled the cockpit. That requires two pairs of long lozenge decals along with 26 rib tapes for each half. Before, all that handling resulted in breaking the control stick several times.
|
The Trouble with Lozenges
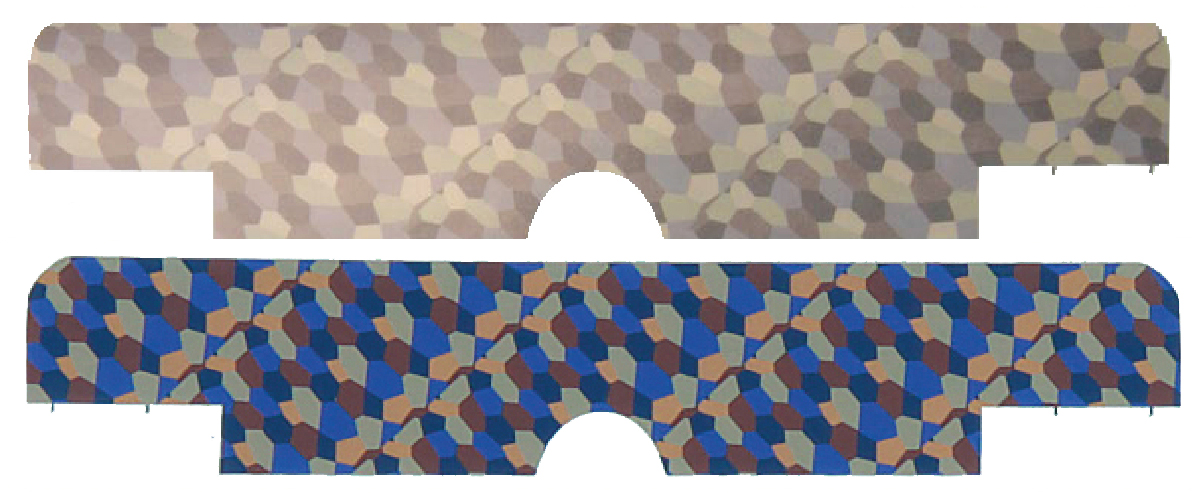
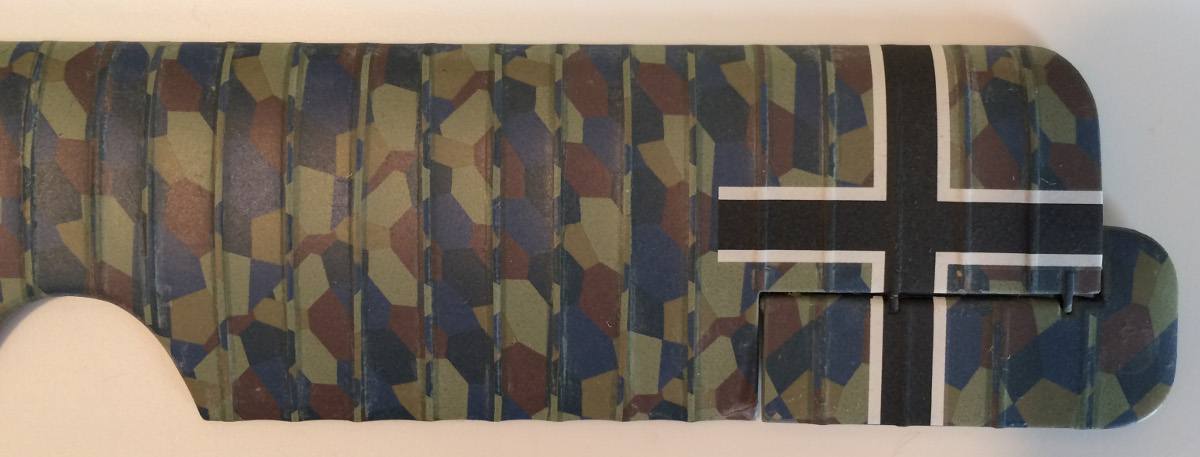
When first released (Cat.No. 8256), the lozenge colors were multiple shades of gray. Not 50 shades, but quite a few. Unfortunately, the lozenges were not wide enough to wrap around the struts and thus required touching up. It's interesting to note that the decals in the Weekend Edition were corrected in color and size, so I was surprised when I got this ProfiPACK, also numbered 8256. Eduard must have been listening because this packaging has a new set of lozenge decals with more accurate, albeit over saturated, colors. They should have used the better decals from the Weekend kit, or maybe that kit was the third try.
|
|
Two versions of the lozenge decals for the top wing. |
Decaling the wings proved a major challenge in terms of time and patience. In addition to the wing, control surfaces, and tail lozenge decals, there are a grand total of 173 rib tapes! It gave me a sense of comradeship with jet modelers who work with hundreds of stencil decals.
|
|
I toned down the colors with a mist spray of light gray mixed with a touch of tan. |
|
|
After decal application, I assembled the seat and controls on the center section of the lower wing. |
Next, I worked on the gun deck which slides between the fuselage halves. The kit provides PE details for the guns including the cooling jackets, end pieces with sights, cocking levers, and a few other parts that I couldn't identify (although, I'm certain machine gun guys would know). In total, there are eight parts per gun and they really add to the look. Alternatively, you could save a lot of time by simply dry brushing the one-piece guns also provided (which I did on the Weekend Edition build, and they look acceptable – and they avoided a problem that I'll mention in a moment.
My Failed Experiment
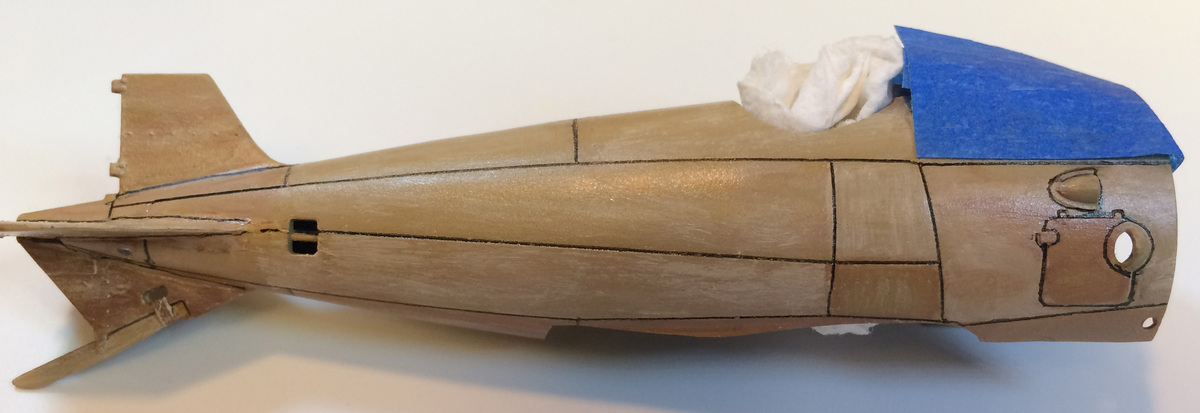
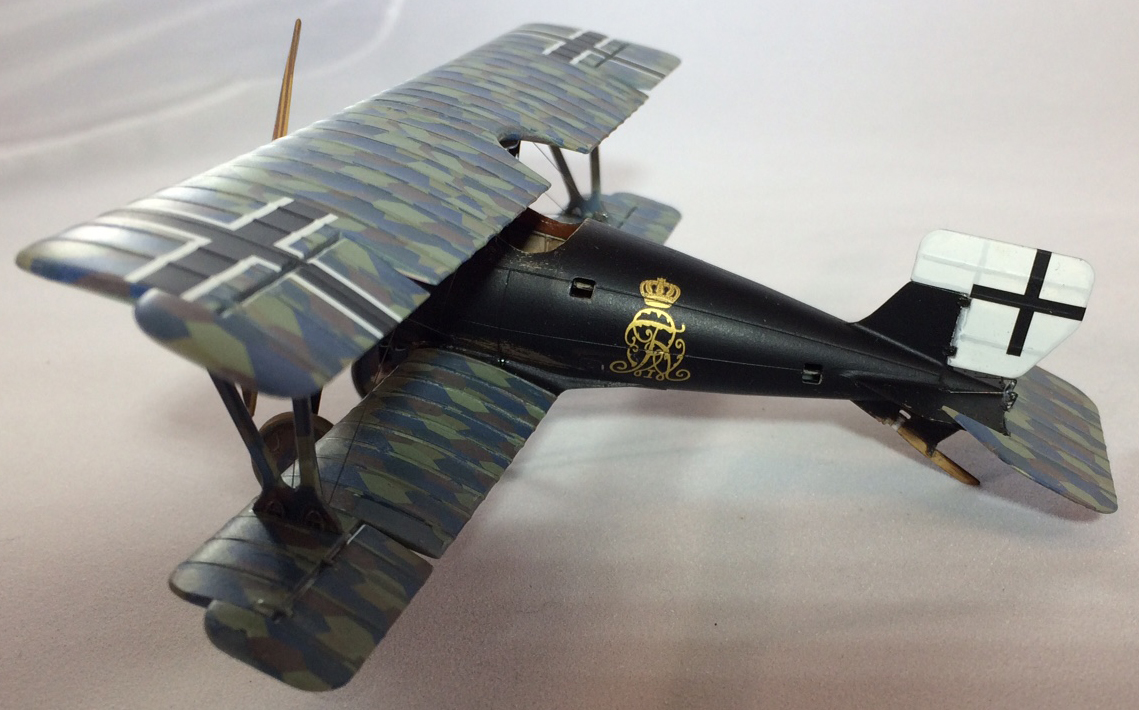
I consider every build to be an experiment (some successful, some not so much). I often attempt some hair-brained idea just to see if it will add a degree of realism that I might not otherwise achieve. For this build, I chose the scheme of Ltn. Heinrich Dembowsky whose airplane had an all-black fuselage with a gold script insignia and crest. Very cool. It looks very polished and shiny in the color profile, but I wanted to show it with some subtle wear and weathering. My clever plan was to paint the fuselage with wood texturing, overcoat with black, then wear away here and there to reveal the wood grain underneath. I also decided to try another experiment for the wood effect itself. Usually, I'd paint a base coat of acrylic wood followed by a coat of burnt umber oil color streaked on with a cut-down flat oil paint brush. The stiff bristles create streaks through the oil paint simulating wood grain. This technique works very well but takes a while as both paints must be thoroughly dry. Instead, I painted the acrylic base coat and scrubbed over it with darker and lighter acrylic tones using the oil brush. I liked the effect
|
and briefly considered sticking with the scheme with the bare wood fuselage. But I quickly came to my senses and decided to stick to the original plan, so I coated the wood with thinned flat black, but not thin enough as black covers very well indeed. I wiped it off and tried again, but the results were much the same. The grain in my wood basecoat was too subtle to show through any amount of black. Oh well. I was able to wear away some around the cockpit and panels and thus achieve an effect I could easily have accomplished with simple dry brushing. Live and learn.
Another deadline!
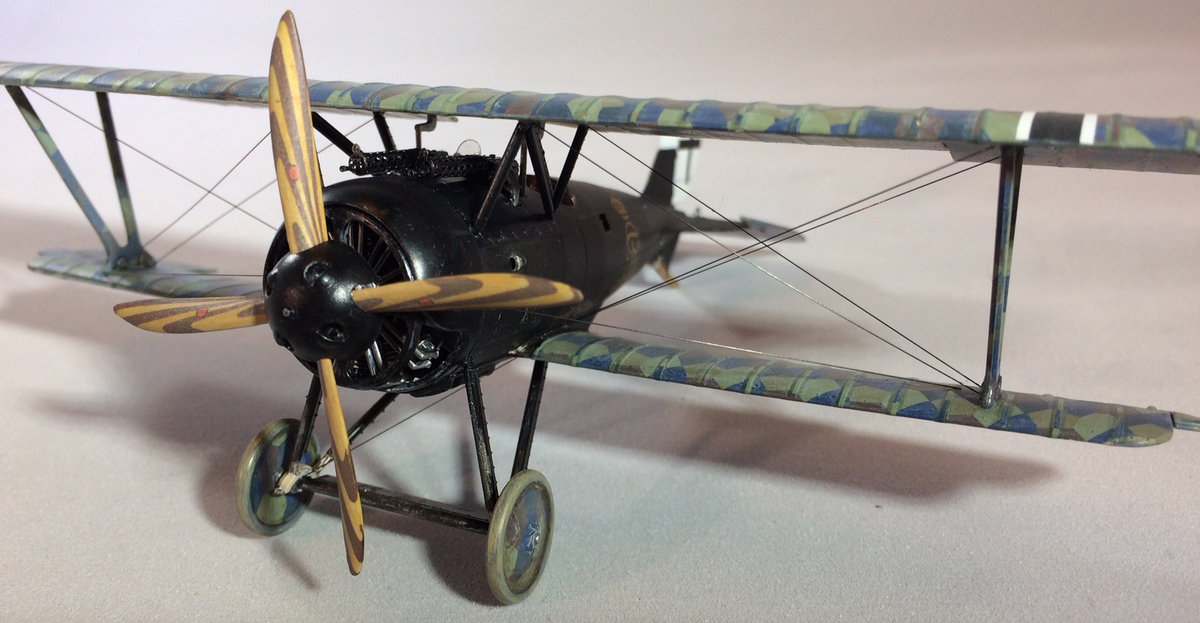
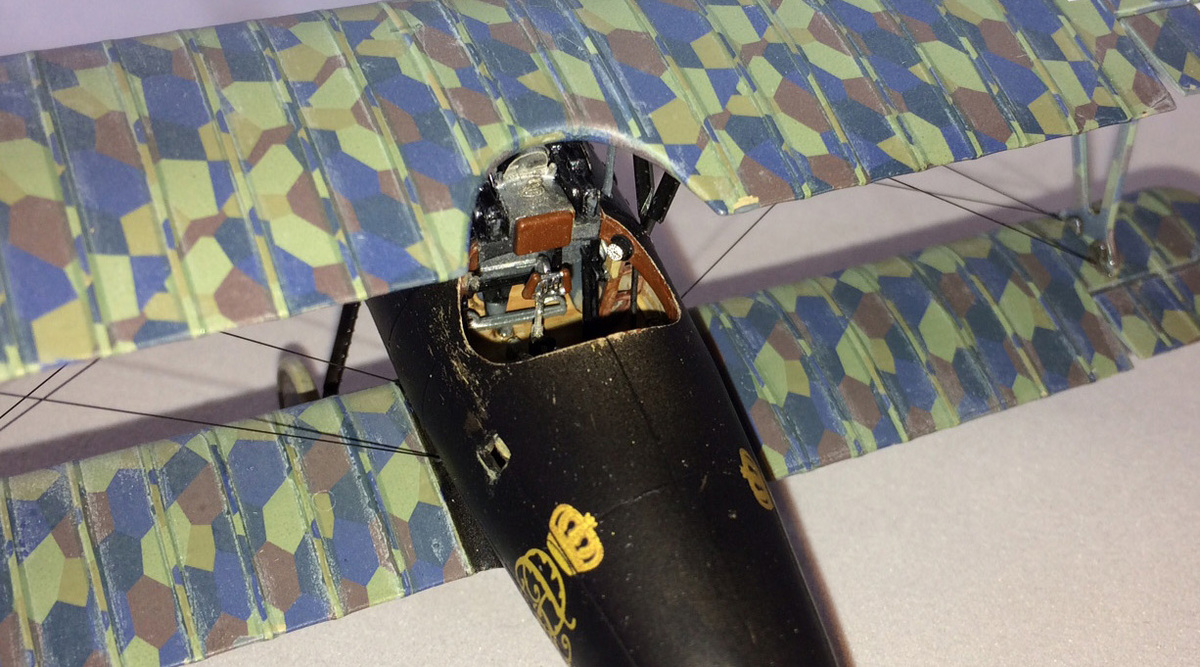
Despite nearing completion after months of puttering, I faced the possibility of missing the deadline for the IPMS Vancouver Show. Once again, I found myself scrambling to complete another project at the last minute. Often, this approach to modeling results in some form of disaster, and this was no exception. Hastily, I glued the machine guns onto the forward deck without dry fitting and discovered only too late that both guns were sitting a bit high with one drifting off to the right. I could have bent it back a bit, but there was nothing I could do about their position. That problem presented itself only after I tried to do the inter-cabane rigging. The line from the strut to the center of the gun deck would have to bend around the gun. Yikes. On my Weekend version, the one-piece guns (sans PE) not only laid down on the cowling, but they were smaller in diameter as well, so no obstruction to the rigging. Since there was nothing I could do with this model, I decided to leave that part of the rigging off. I was interested to see a photo of another build in which that rigging was missing as well, no doubt for the same reason. Given my travails, I would suggest that you do whatever carving or sanding is necessary to get the guns to lie down, and test fit to be sure that they do.
|
Rigging
For those of you looking for a quick and easy way to drive yourself insane, may I suggest attempting to rig a biplane under deadline pressure. I used ceramic Wonder Wire for rigging, and it worked very well. Just drill a small anchor hole at each end, measure the length of the line with calipers, and with a touch of glue, slip them into place. No muss, no fuss. But in my haste, I forgot to drill all the anchor holes and had to rely on holding the line in place while the glue (Gator Glue) slowly took hold. I had to recut and redo several lines while muffling my swearing so as not to awaken my wife.
|
I finally completed it in time, and it took third place even with all the problems. As we say: there are no bad ribbons.
|
What did we learn?
This is an excellent kit. It has a few challenges, but what kit doesn't? In particular, I wish they hadn't molded the tail skid with the fuselage half. Although I have a history of breaking those off, I managed not to do so this time. The lozenge decals are better in the Weekend Edition kit, so if you don't mind and also like those two marking options, I'd suggest getting that one. Otherwise, buy this kit and just tone down the lozenge. In addition, the ProfiPACK Edition has some great marking options and excellent color PE. One other thing: since the early kit with the gray lozenge decals has the same serial number as the new version, you won't know for certain what you've got until you open it. A surprise in every box. Having said all that, I still think you can build a very nice version right from this box.
But if you want to take the build even further, Eduard offers several resin enhancements. Check out Scott Hackney's First Look article.
As for me, I learned that getting the opportunity to build the same kit a second time doesn't always mean a better result – especially if you're in a hurry.
I would like to thank Eduard for the review sample.