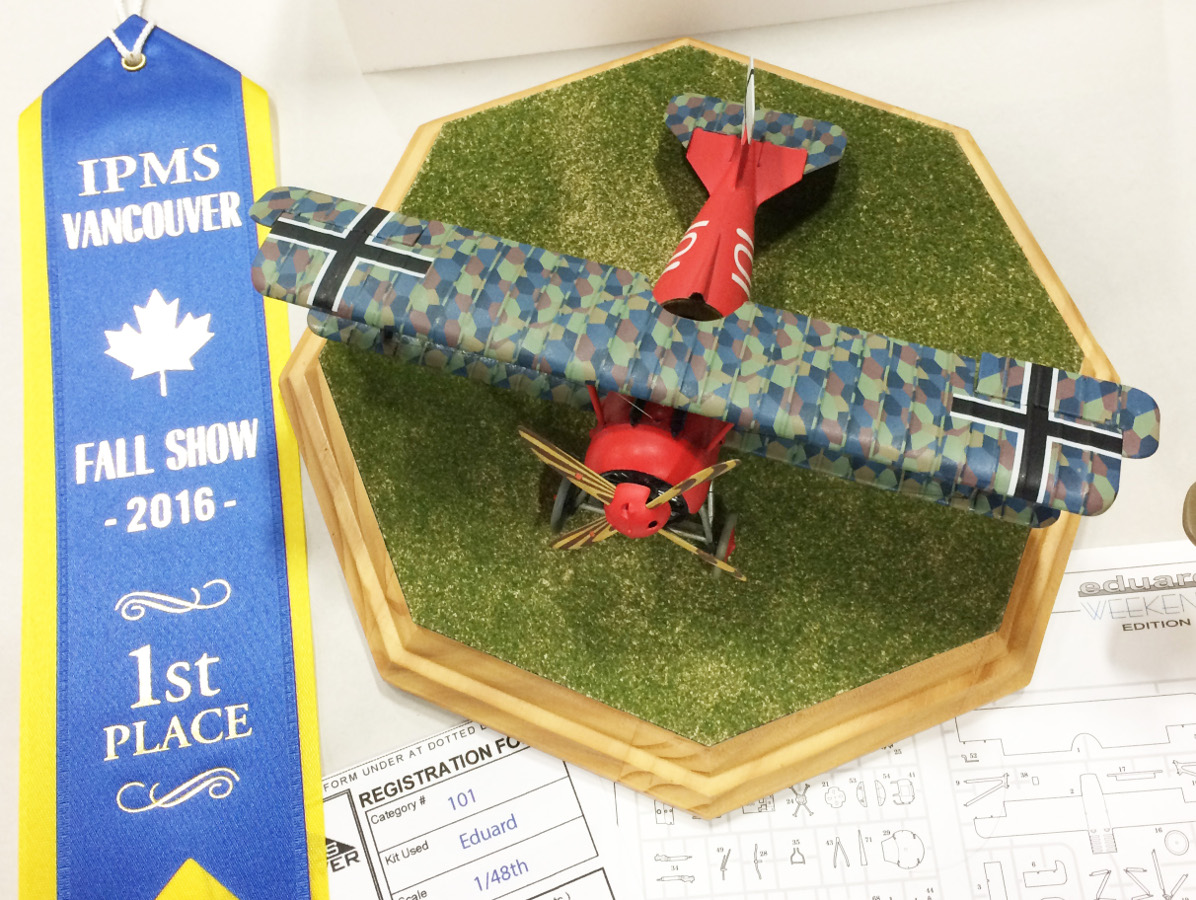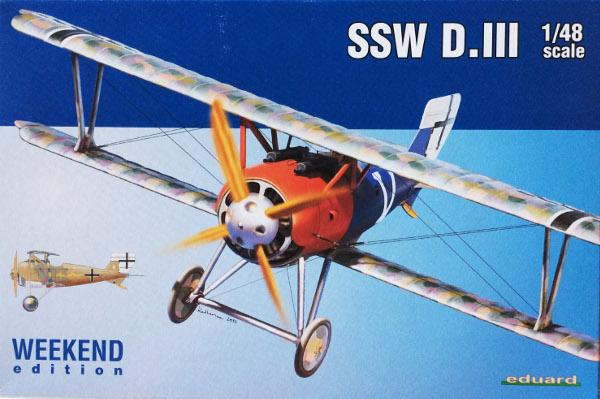
Eduard 1/48 Siemens-Schuckert SSW D.III Weekend
By Ken Murphy
I have long been a fan of the Siemens-Schuckert since seeing profiles such as you can find online at sites like this: https://www.cbrnp.com/profiles/quarter1/index.html , so I was thrilled a few years ago one day when I discovered a kit of it in my preferred scale of 1/48th at the local hobby shop. It was the Eduard kit from the early '90s, which I later discovered was their first 1/48th kit.
When I got it home I was discouraged to discover that the moldings left a good deal to be desired: soft detail, large sprue gates and flash. The positives were nice decals and photo etched parts. It looked like it would take a great deal of work to make anything out of it and being the lazy modeler I am, I quietly closed the box and put it back in the stash awaiting the day I would become the ambitious modeling madman I have fantasized becoming...
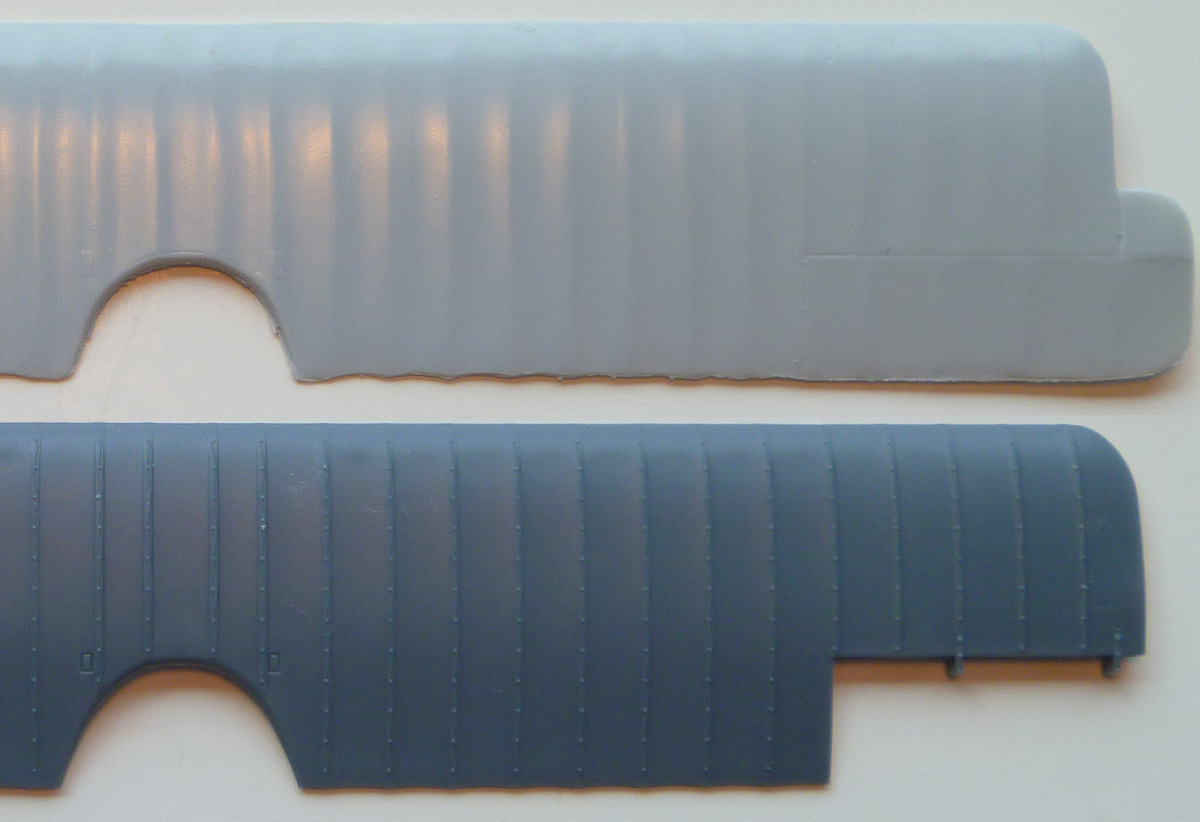
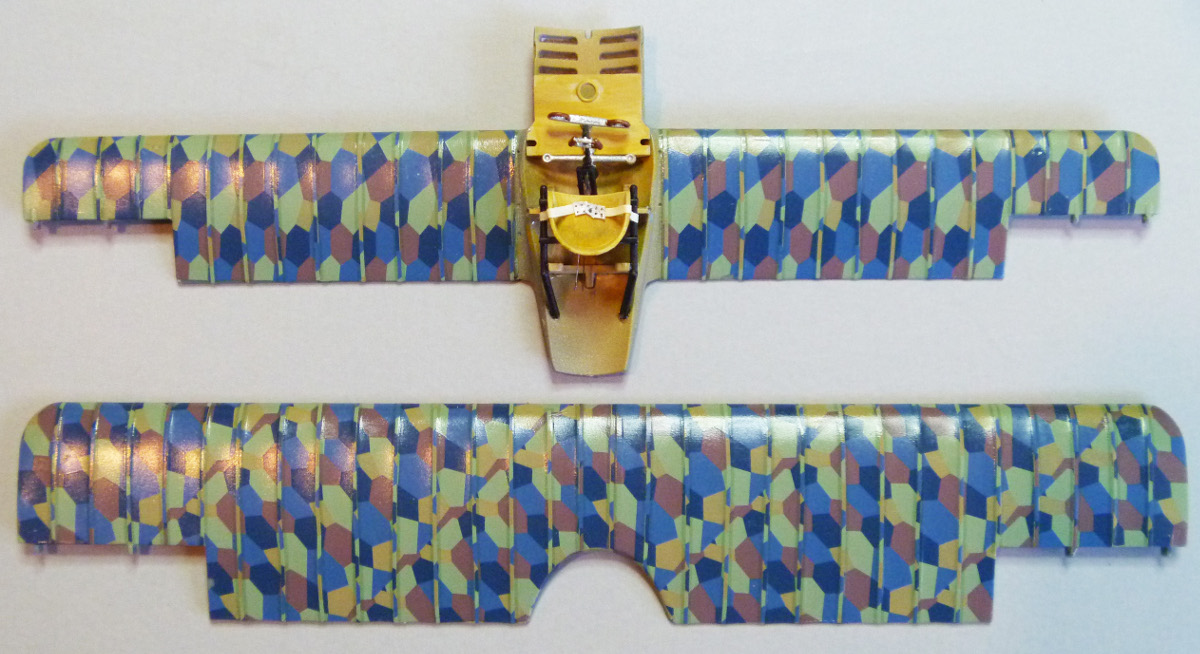
Since that first kit Eduard has gone on to become one of the best model companies in the world, and the quality of their current releases can be seen in the comparison of these wings.
The Siemens-Schuckert SSW D.III first entered service in November of 1917. The aircraft was designed around the unique Siemens- Halske Sh.III 11 cylinder (!!!) rotary engine which was geared to rotate in the opposite direction of the propeller, eliminating the worst of the gyroscopic effects of rotary engines. It was only slightly faster than the Fokker D. VII and harder to fly, so it saw limited service at the front. Its phenomenal rate of climb made it a perfect air defense fighter.
The Kit
The kit comes in the usual sturdy box with simplified cover art and simplified instructions. Usually, these Weekend Editions give only one marking option, but to my surprise, this kit offers two. The decals are excellent and include lozenge camouflage for upper and lower wings and tail and rib tapes galore! There are 78 injection-molded parts in the typical Eduard grey and a clear sheet with two printed windscreens to cut out. The moldings are crisp with fine detail and recessed panel lines. With such delicate detail, I was puzzled and dismayed by the rib stitching on the flying surfaces: they are clearly too large and overscale. It was a nice try to show the actual stitching on the ribs, but if they were to scale the thread would be the thickness of rope! In my search for images of the wings, I could find nothing that showed obvious thick stitching, so my first order of business was to sand down the detail. I didn't completely remove it, but I did reduce it to what I think is a more reasonable scale look.
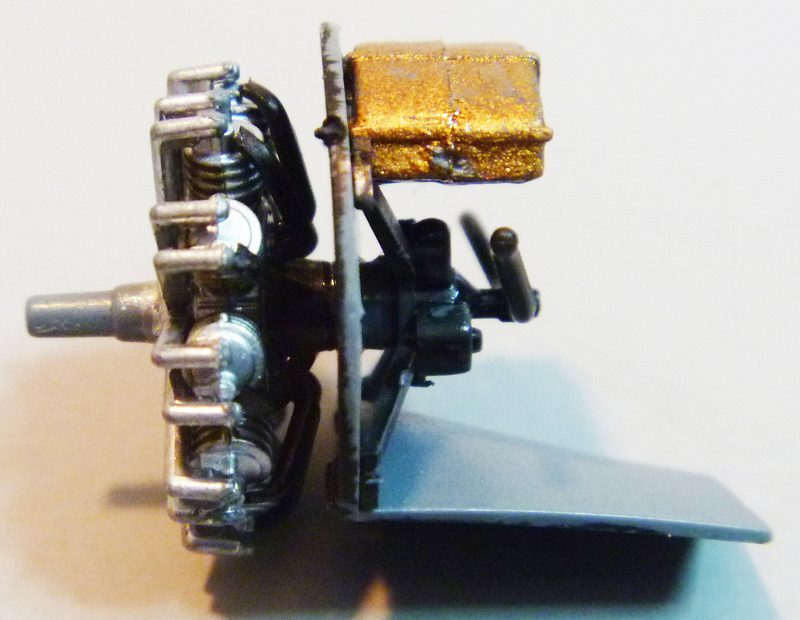
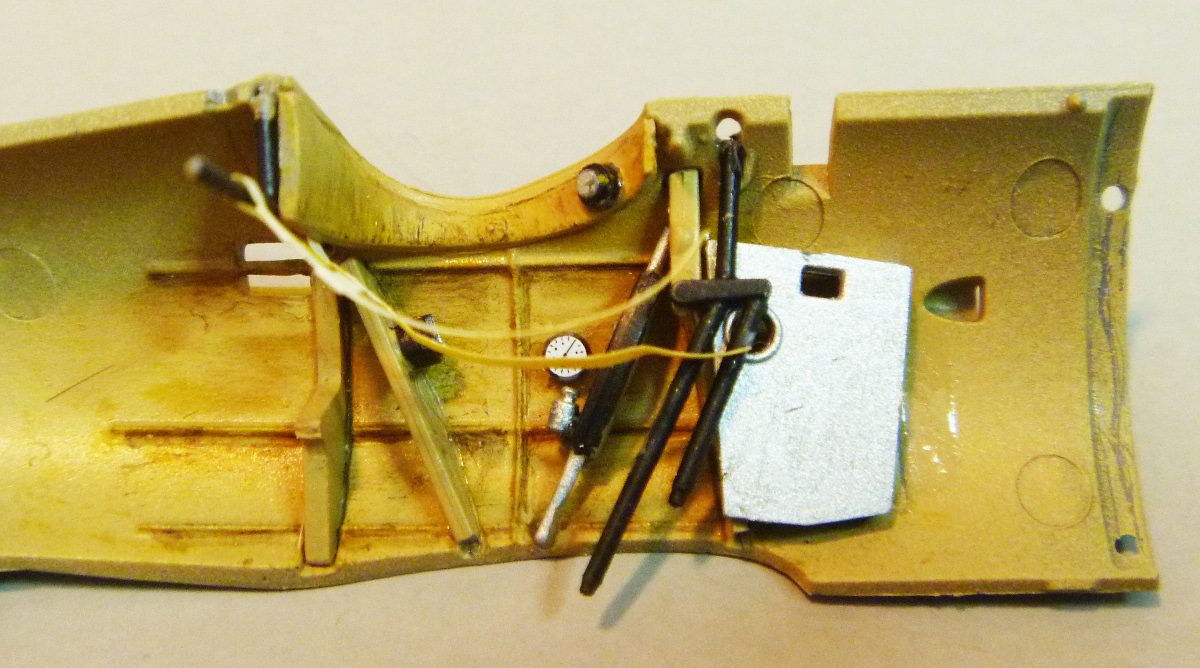
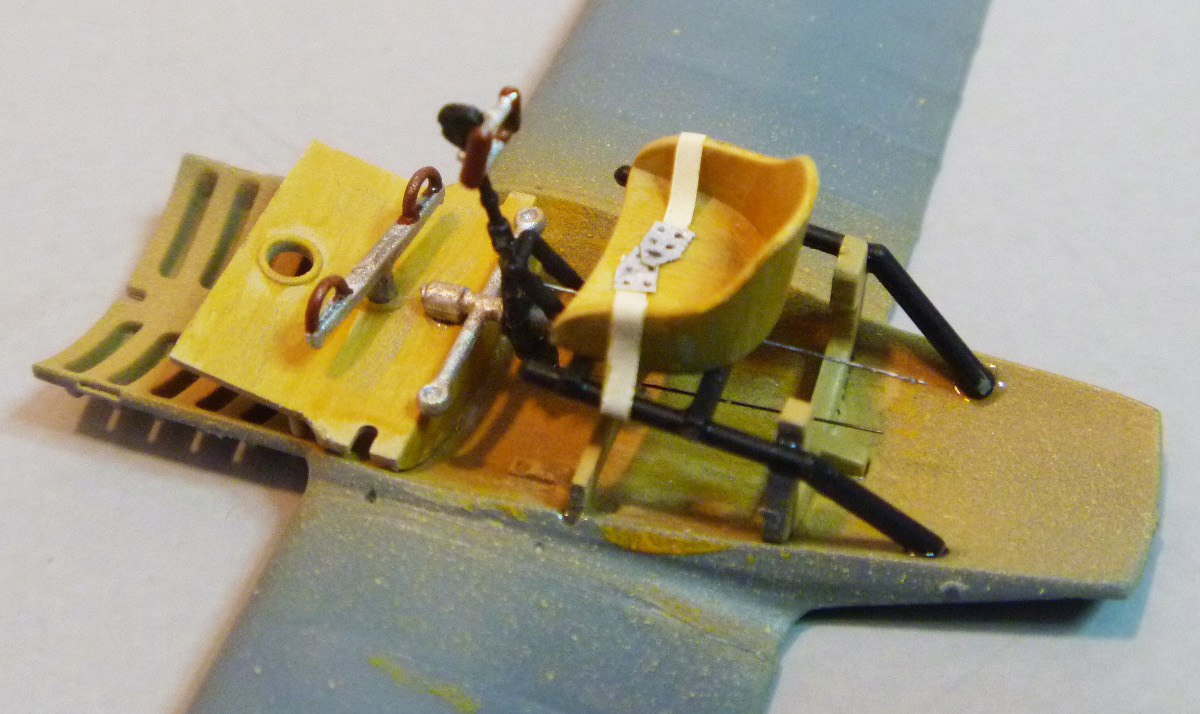
Construction was straight forward. The cockpit walls consist of 11 pieces on one fuselage half and 9 on the other. The seat and controls (another 11 parts) are built up on the one-piece lower wing, which then slides up into the fuselage. That's a lot of detail in the office! The top "gun deck" drops into the forward fuselage and it consists of another 9 parts, all but three of which will never be seen. The same applies to the engine: 8 parts including fuel tank, firewall and supports that are behind the engine. All of these parts give you a ton of detail to play with, if you don't mind them being hidden forever (yes, yes, I know "God knows they're there").
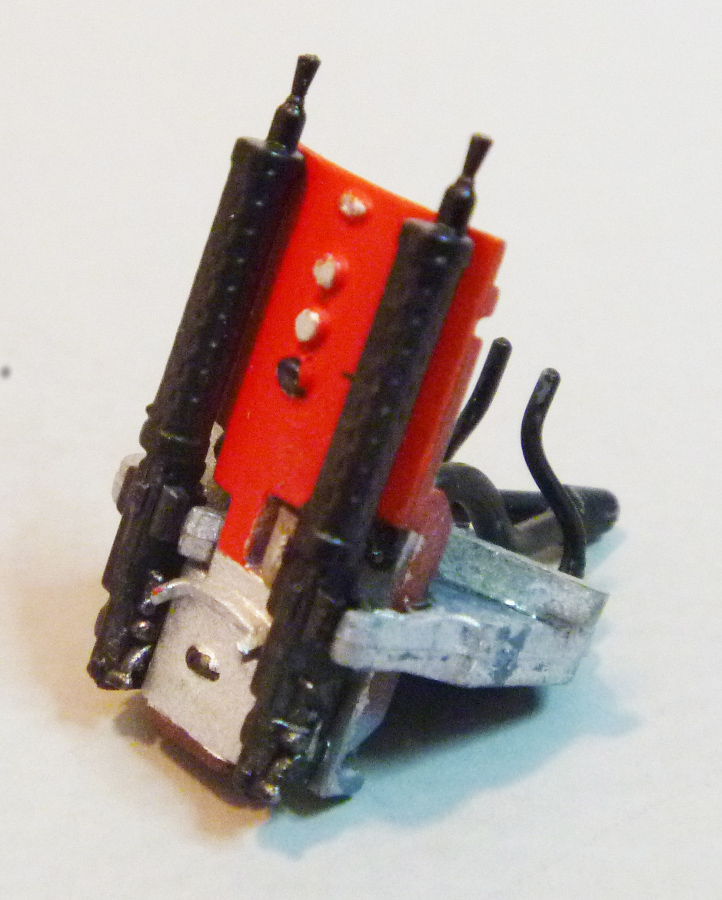
The finely detailed, scale thickness parts lead to a few problems. Getting all this detail to line-up and fit is a challenge. It was tricky getting the fuselage halves to line up with the gun deck and then the engine cowling. In the process I broke off the machine gun tips and nearly glued myself to the cowl. With all this handling, I also managed to break off the tail skid, which is annoyingly molded to the fuselage half. I would break it off twice more before I was done.
Next, I realized I would need to do the lower wing lozenge decals before I could insert the wing/cockpit section. Big mistake. The single piece lozenge for each wing went on easily enough, but each side included 26 rib tapes (not including the ailerons). In the course of all that handling, I managed to break the hair thin control stick several times. I should have applied the decals to the wing before assembling the cockpit or just left off the control stick.
In addition to the wing, control surfaces and tail lozenge decals, there are a grand total of 173 rib tapes! I think it gave me a sense of comradeship with you jet modelers with your hundreds of stencil decals. (Brief side note: There have been complaints about the lozenge decals in the ProfiPACK kit, which I also have but not yet built. I've read that they are not quite large enough to wrap around the edges of the wings and struts, requiring touching up with paint to compensate. Eduard has corrected that problem with this kit. Also, the colors of these lozenges look right. The ProfiPack versions seem unusual: gray on gray instead of the multicolor ones I've seen in every other subject. I don't know why, but that's a problem for another day.)
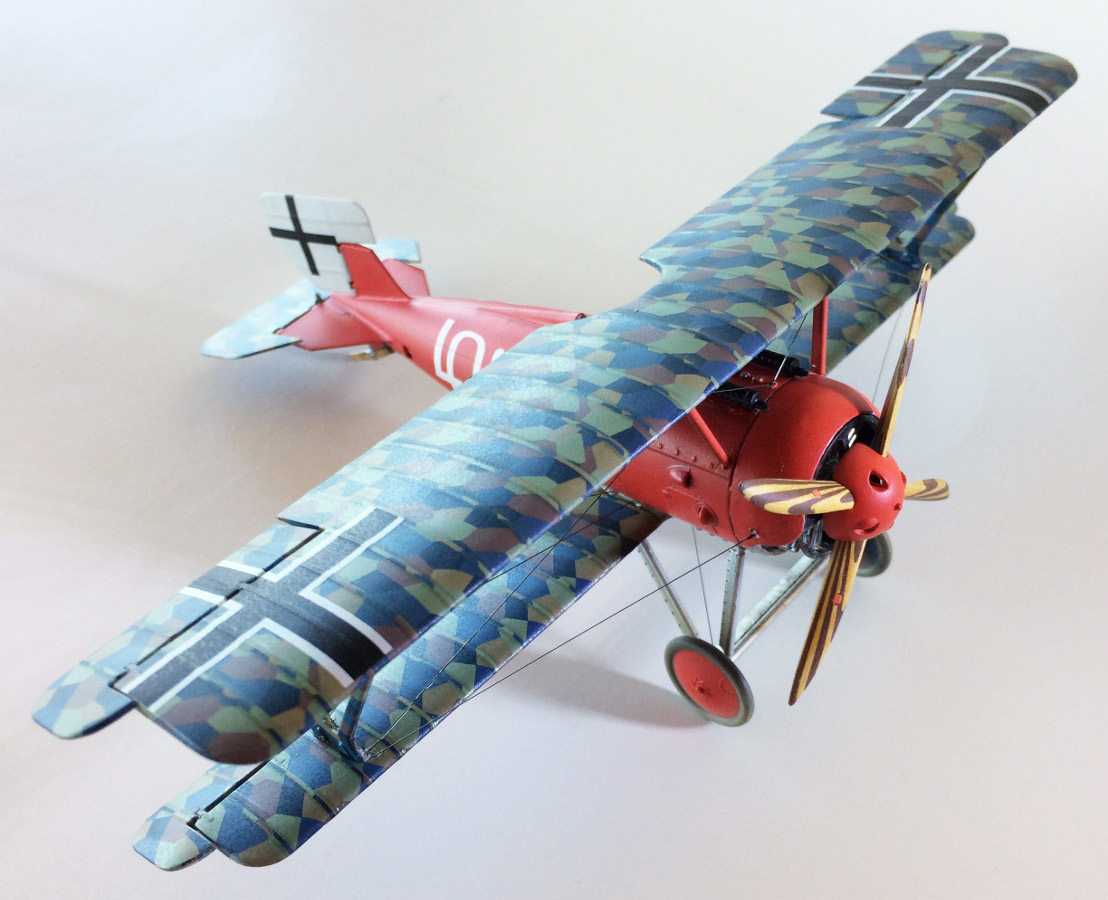
I cheated a little there for the actual markings for my subject. Though the kit provides two marking options I wasn't enamored of either. I borrowed the Ernst Udet "LO!" markings (his nickname for his girlfriend Eleonor "Lolo" Zink) from the ProfiPACK kit. These markings are much more interesting. By the way there is no evidence that Udet ever flew this plane, but my bet is that since they went to all the trouble of doing it up in his favorite scheme, he certainly would have at least taken this little hotrod up for a spin.
Mounting the upper wing is greatly aided by the very positive connections of the cabane struts. I usually start there and slip in the interplane struts once everything is set and aligned.
The rigging was accomplished with my favorite product, ceramic "Wonder Wire." It comes coiled in a bag, but once cut springs straight. Carefully measure with calipers, cut and apply with a drop of Gator Glue (a better white glue), and you're done.
My last step is always the prop. For me, it's like putting a bow on it, especially when the prop is such a focal point. The German laminated props are a real challenge to recreate and I've tried all kinds of approaches, including hand painting, but the prospect of doing that for 8 surfaces got me thinking about an alternative. I drew a blade from the best front-on photo I could find and scanned and traced it in Adobe Illustrator. After sizing it, I printed 4 copies for the front and flip it for the back. I then printed in brown on clear film. I painted the prop wood tan, streaked with ocher oils for a wood grain than applied the decals to each side. It was just another experiment, but I'm pleased with how well it turned out.
All in all, this is a great kit of an interesting subject. There are definitely some challenges, but what build doesn't have those! Oh, and by the way, it took a little longer than a weekend.