Eduard 1/48 X-1 “Mach Buster” Profipack
By Brian Smith
Introduction
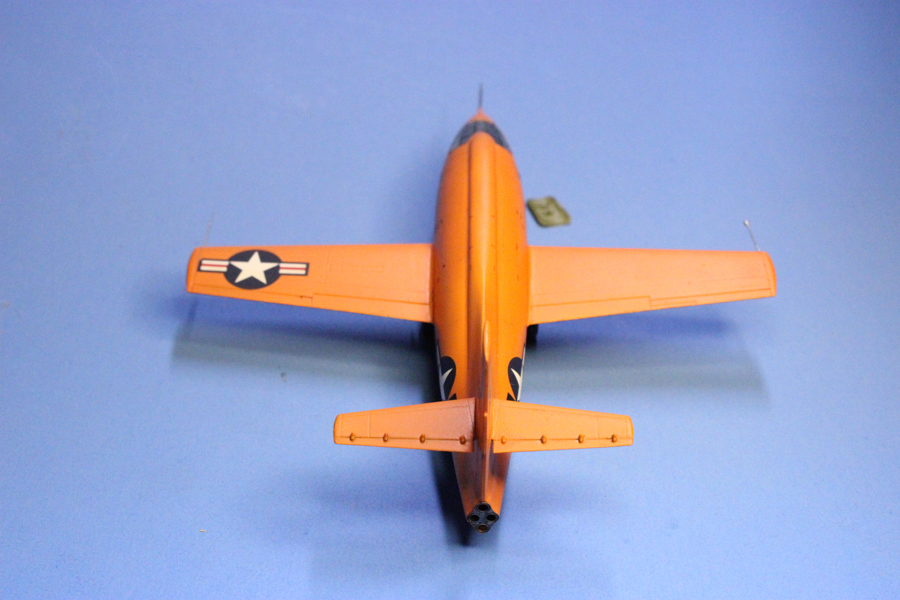
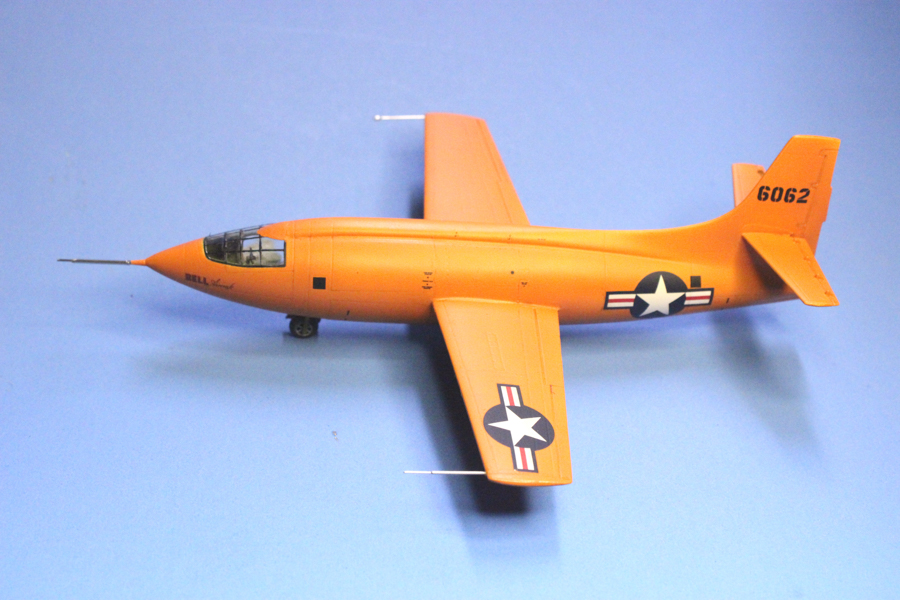
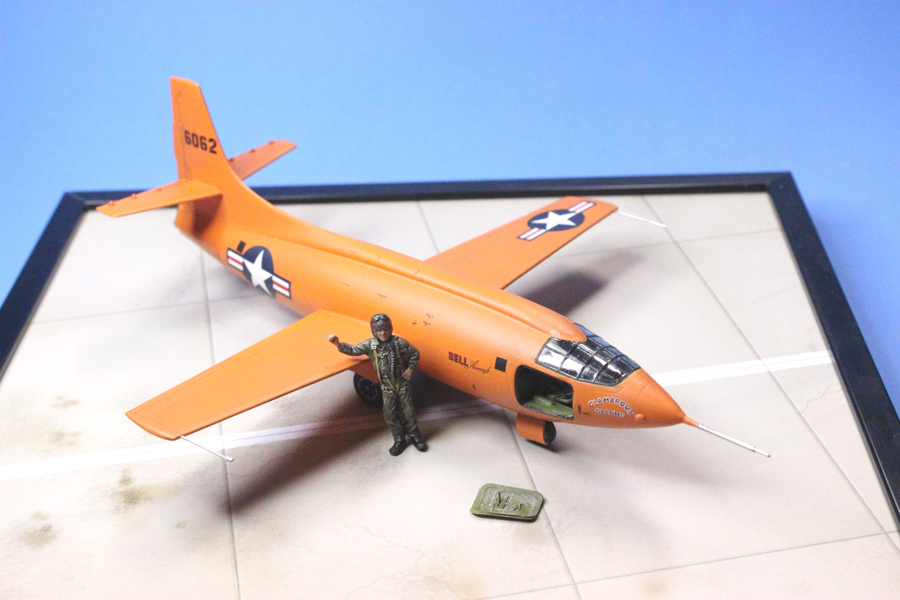
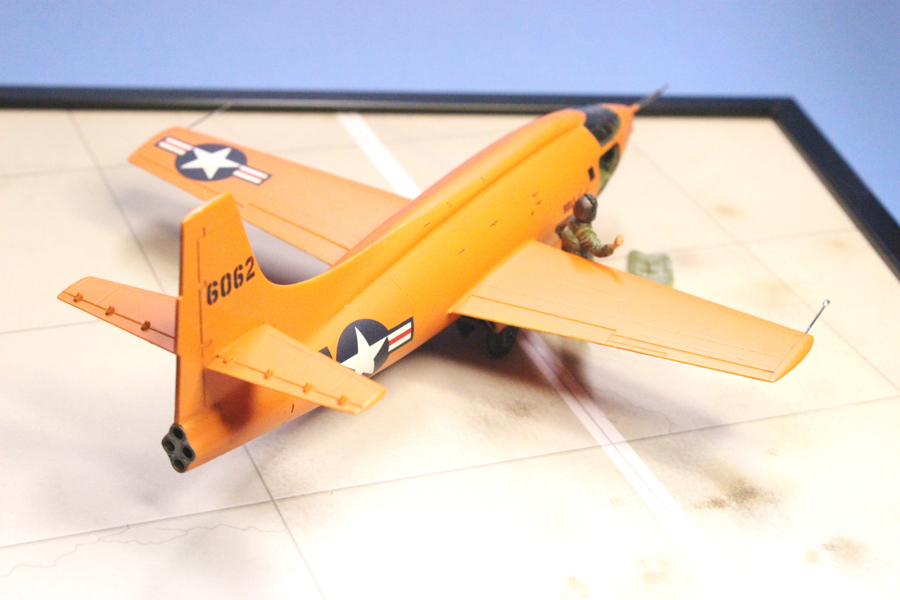
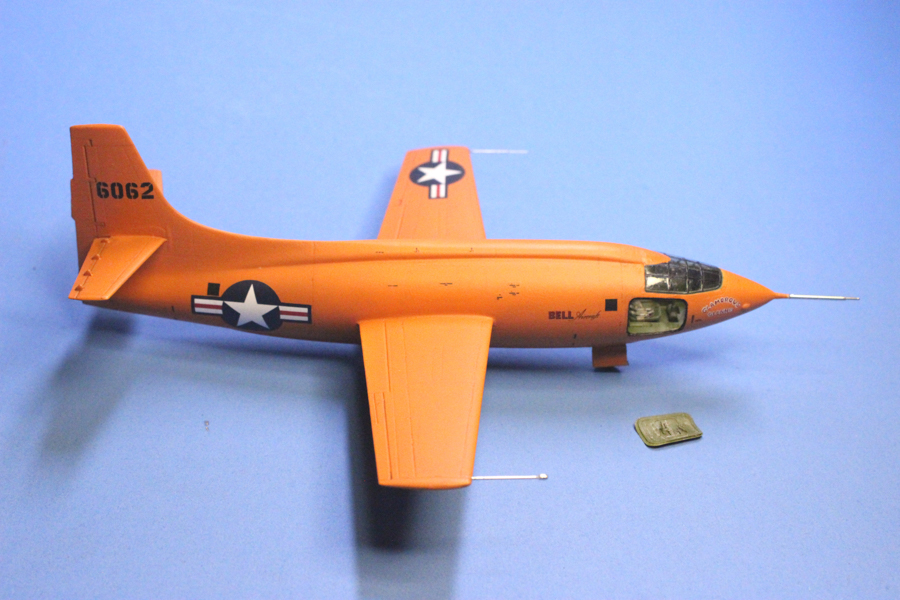
The Bell X-1 is one of the most famous aircraft in the world. On October 14, 1947, Capt. Chuck Yeager, piloting the aircraft, was the first to break the sound barrier. There were two X-1's built, numbered 6062 and 6063. Number 6062 today resides in the National Air and Space Museum.
The Kit
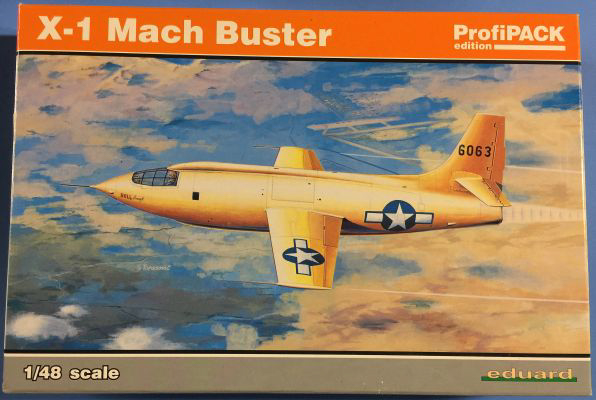
Eduard's ProfiPack of the Bell X-1 in 1/48 scale is a reissue of their kit that was first produced in 2002. Their latest version of the kit is much enhanced with color photoetch parts, resin wheels, and canopy and wheel masks. There are 44 plastic parts in this model. Eduard also sells an X-1 upgrade set which consists of photoetch parts that replaces some interior parts, the gear doors, and the access hatch. The decal sheet contains markings to build four different versions of the X-1.
|
Construction
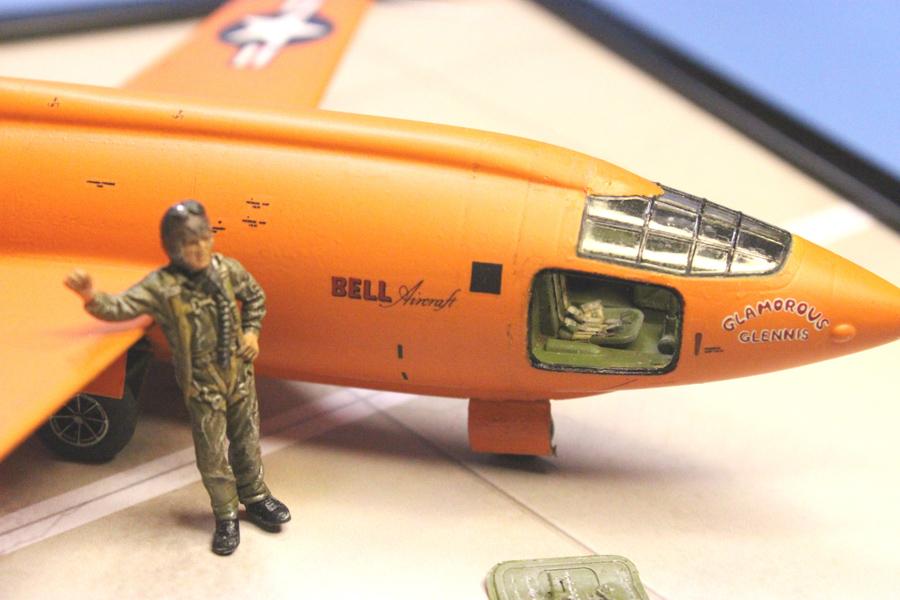
Construction was pretty straight forward with this kit. I decided I was going to build the X-1 as it appeared when the sound barrier was first broken. Starting in the cockpit, I replaced certain plastic cockpit parts with photoetched ones in the upgrade set. The color photoetch has three different variations of the X-1 control panel. I used the one for 6062 as it appeared in 1947.
|
Much of the cockpit was painted in interior green. Various kit parts in the interior were replaced with photoetch parts from Eduard's X-1 upgrade set.
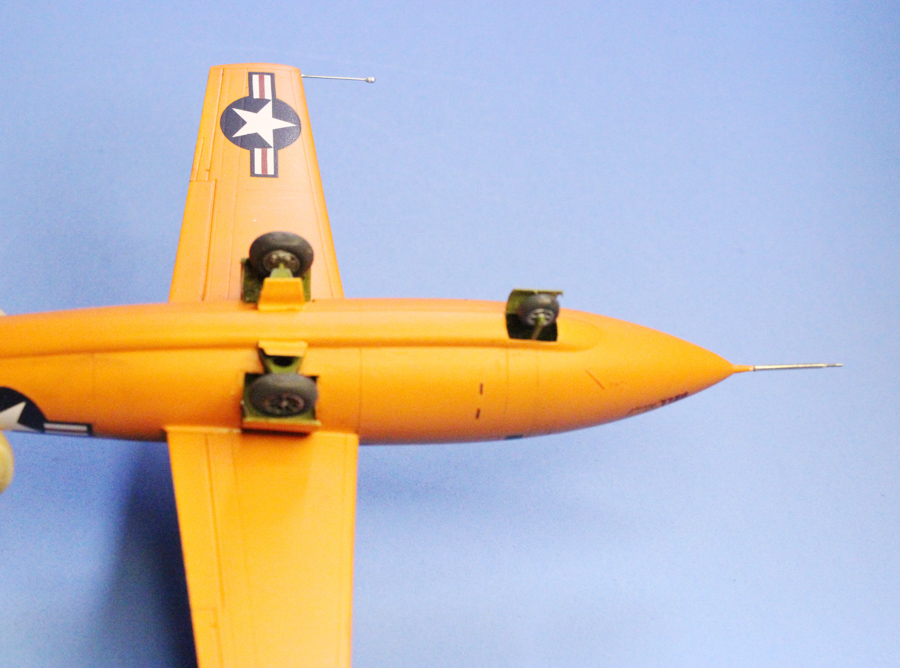
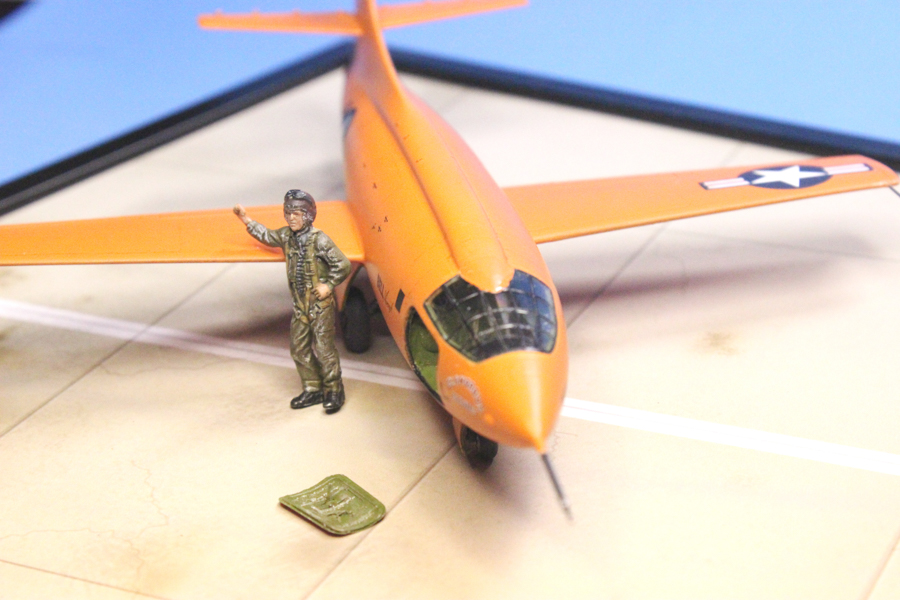
The fuselage fit was very good with minimal filling needed. The same can be said for the fit of the wings and the horizontal stabilizer. Photoetch wheel wells were inserted for both the nose and main wheel well areas. It is recommended to dry fit the photoetch main wheel wells. Even when gluing these into place, there was a small lip of photoetch sticking out of the main wheel wells. I had delicately shaved off the excess metal to eliminate the lip. The wheel wells were then painted interior green.
|
After sanding down seam lines, the model was ready to be primed. I used Tamiya white primer from a rattle can. Tamiya's lacquer primer goes on evenly and is self-leveling.
After drying, I painted the X-1 with Testors Model Master Go Mango paint. The actual X-1 was painted saffron. Saffron is a yellow-orange color. Most color photos from the time period of the late 1940s show the X-1s in this lighter orange color.
|
After the paint dried, I applied the decals. I used a combination of the kit decals as well as the Cutting Edge decal sheet. I then subtly highlighted panel lines using Tamiya Brown Panel Line Accent Color.
The landing gear and gear doors were installed next. The kit gear doors were replaced with the photo etch ones in the Eduard X-1 upgrade set. I used a small wooden dowel to initially shape the gear doors and hatch. I then placed the photo etched doors on top of the respective plastic kit parts and refined the curve shape of the doors. The doors were primed and painted, then superglued on the model.
|
Next, I added the various probes and pitot tubes on the model. I decided to replace the plastic pitot tubes with those made from hypodermic needles. For finishing touches, I painted a pilot figure from an old Monogram F-86 kit and had a tarmac base printed.
Conclusion
The Eduard Bell X-1 was a very enjoyable kit to build. This latest release with color photoetch and the addition of the upgrade photoetch set really adds to the realism of this most important aircraft in aviation history.
My thanks to Eduard for the X-1 kit and the upgrade set.