Introduction
For the history of the subject and my first look, in-box review, see the October 2008 Internet Modeler. To recap, the Hobby Boss (HB) kit is essentially a smaller and simpler version of the Trumpeter 1/32 scale F-105D.
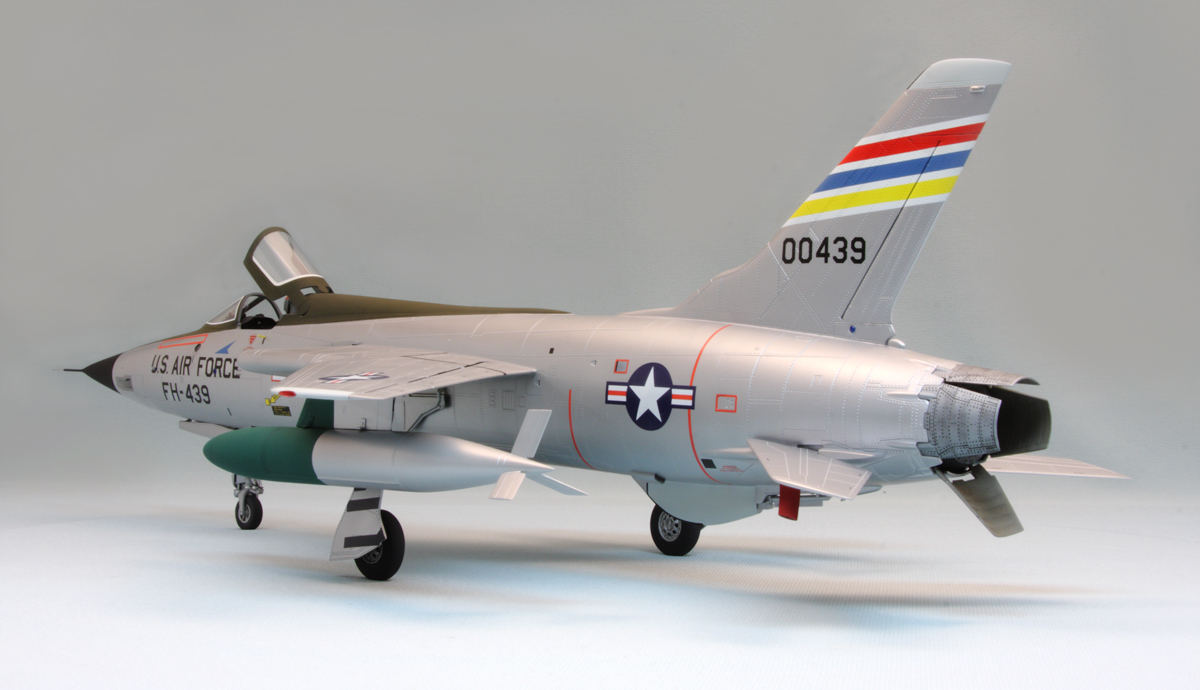
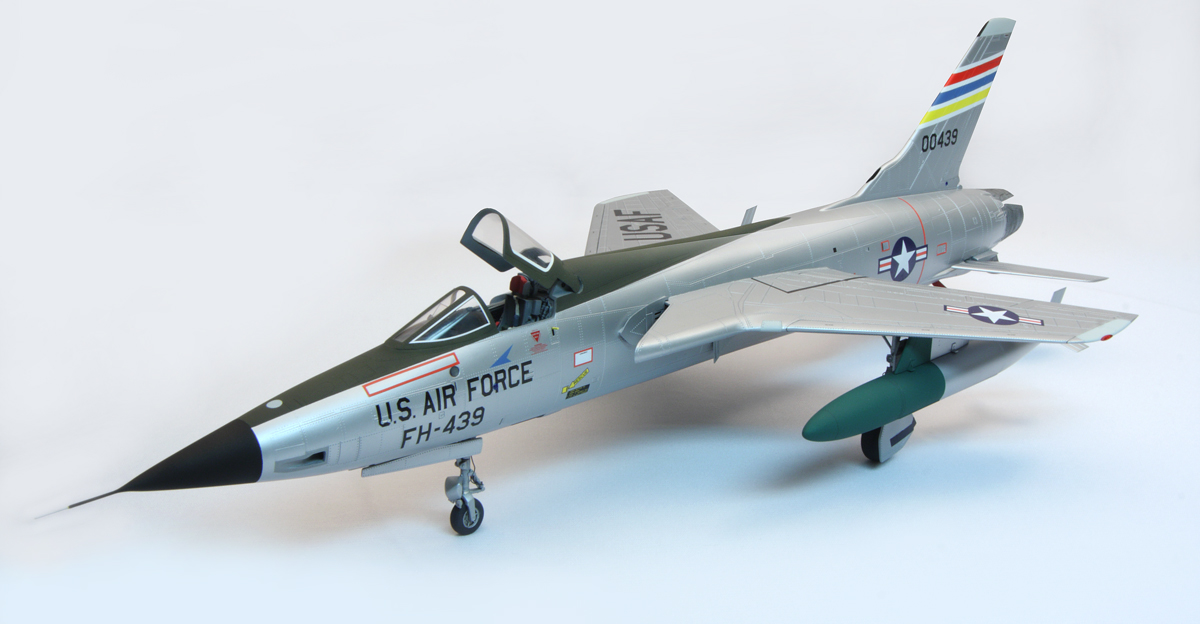
My Thunderchief
Construction Issues
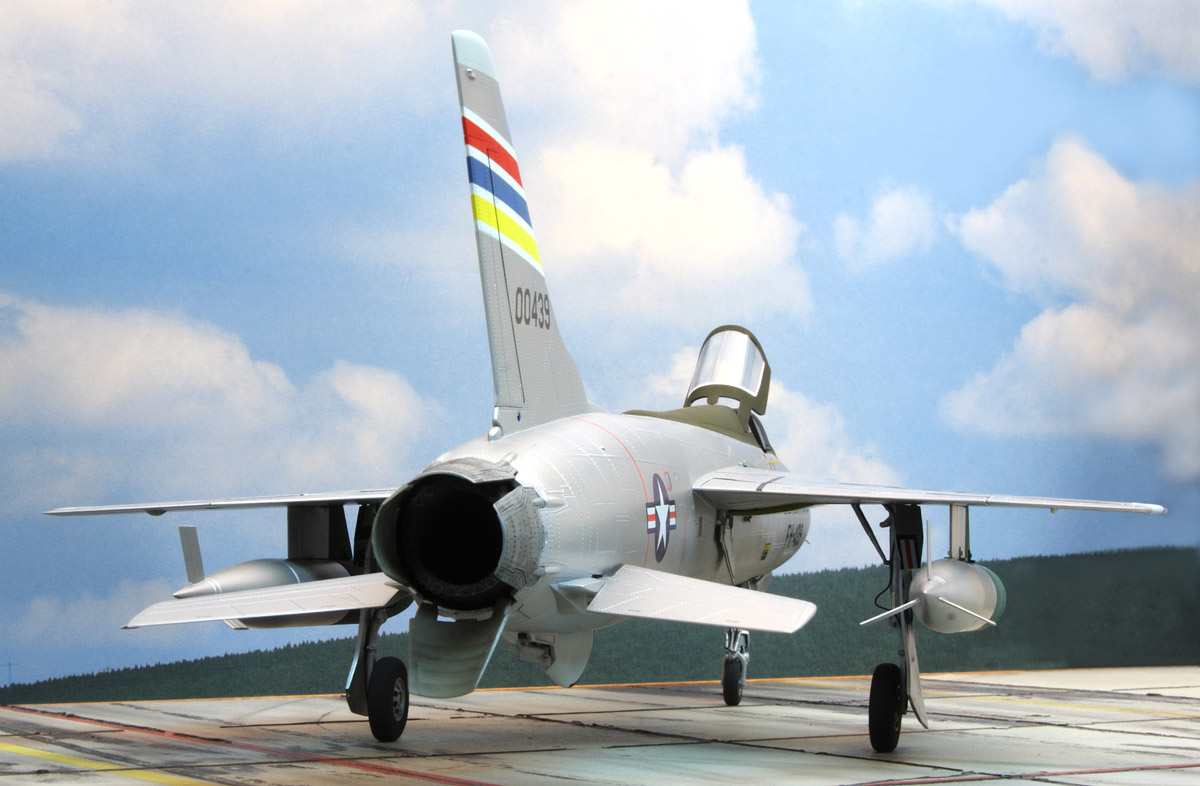
The most fundamental problem with this kit is that it is over-engineered. There are too many features (open gun bay, open radar, open refueling probe bay, engine & separate rear fuselage, separate control surfaces-- including the extreme step of molding separate spoilers, etc.). If you are the type of modeler who likes everything hanging out, then this HB kit is made for you. Go ahead, display your toy-like engine. I, however, prefer a realistic flightline presentation of a closed-up jet.
The intake splitter plates (parts F-47 and F-48) did not line up properly, so I cut off the mounting pins for better positioning.
The main gear legs are very long and skinny, just as on the real aircraft. This unfortunately makes the model wobble, but my main concern was beefing- up the attachment point in the wheel well, which I accomplished by installing a collar made from plastic tubing. I didn't bother with metal gear (which is only available for the Monogram F-105) because it would also have a problematic attachment even if it fit the HB kit.
The drop tanks were another hassle, since the panel lines did not match up well on left and right halves.
Conversion
Other conversion steps included:
1) removing the strike camera/ECM fairing from the lower nose
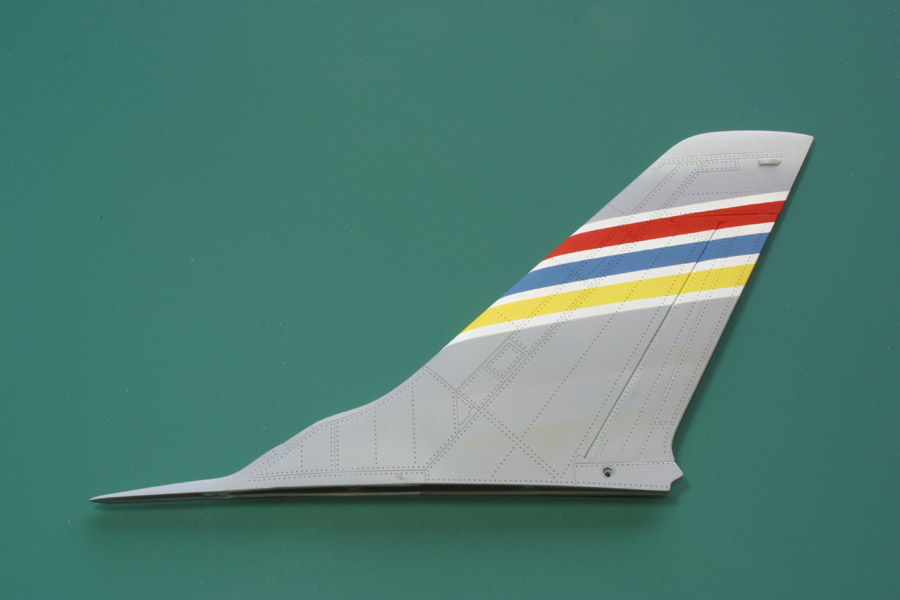
2) removing the ECM antennae from the top of the tail fin
3) removing the dorsal beacon light housing from the spine
4) filling the gun gas vents on part F-13
5) filling six pairs of tiny rear fuselage vents
6) omitting the rear fuselage afterburner cooling scoops (parts B11 and C-13) and removing the underlying raised plates
7) removing the raised reinforcement plates from the wing lower surfaces
8) creating (with decals) a new square vent in the rear fuselage near the national insignia on both sides
Inaccuracies
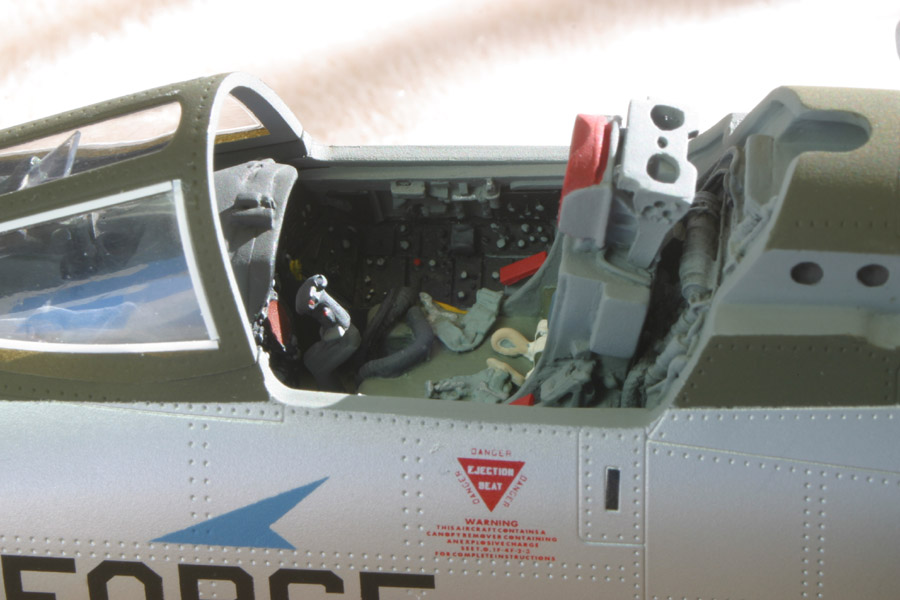
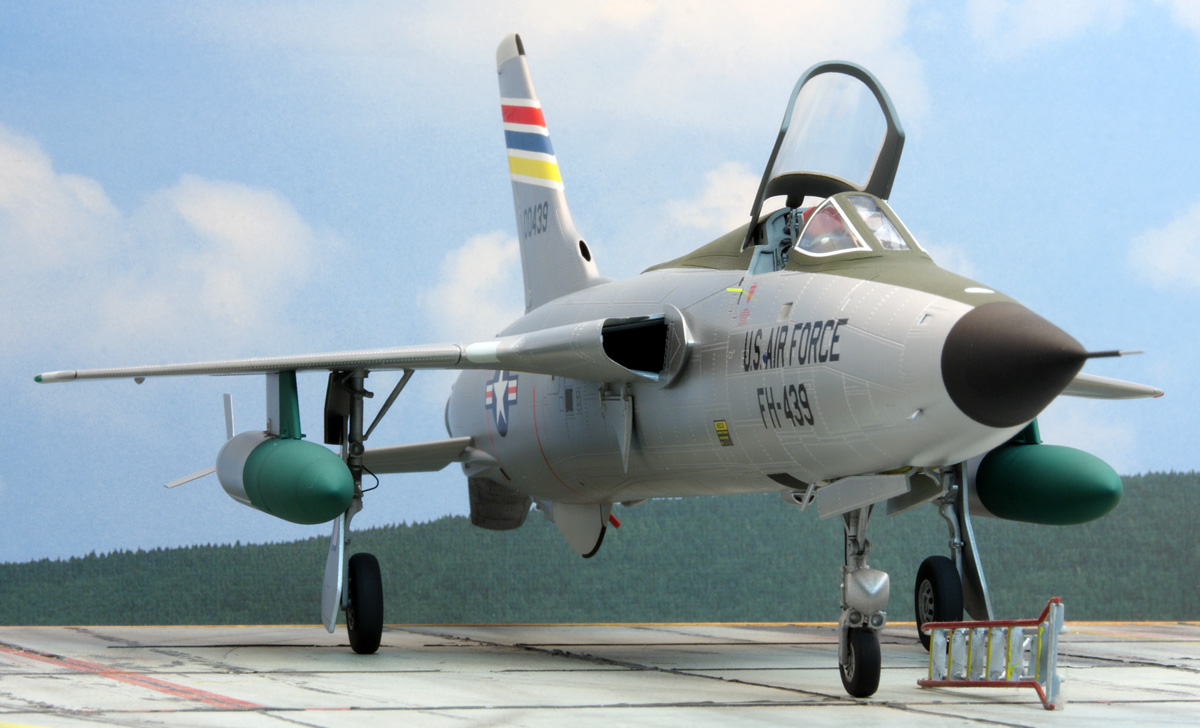
First, the entire cockpit sits too high and it is obvious. If you were a 1/48 scale pilot, you wouldn't be able to see through the windscreen because the instrument panel and glare shield are so high. I elected to use the AMS resin replacement cockpit, which corrects this problem, and is much better detailed as well.
Second, the ventral fin is far too thick, so I cut it off and replaced it with a superior Quickboost resin fin.
And third, the main wheels have grossly-oversized oval depressions molded into the sides. These depressions were filled and sanded.
Other Improvements
To further improve the model, I used metal tubing to create a new pitot tube. I also added brake lines made from solder wire, and I drilled the two small lightening holes under each of the large canopy hinge arms.
Additionally, I scratch-built the two tiny yellow pegs that protrude as part of the canopy lock mechanism. I also scratch-built the UHF blade antenna on the lower forward fuselage. I scrounged two tiny parts to serve as the probe and AOA sensor on the forward fuselage.
Paint
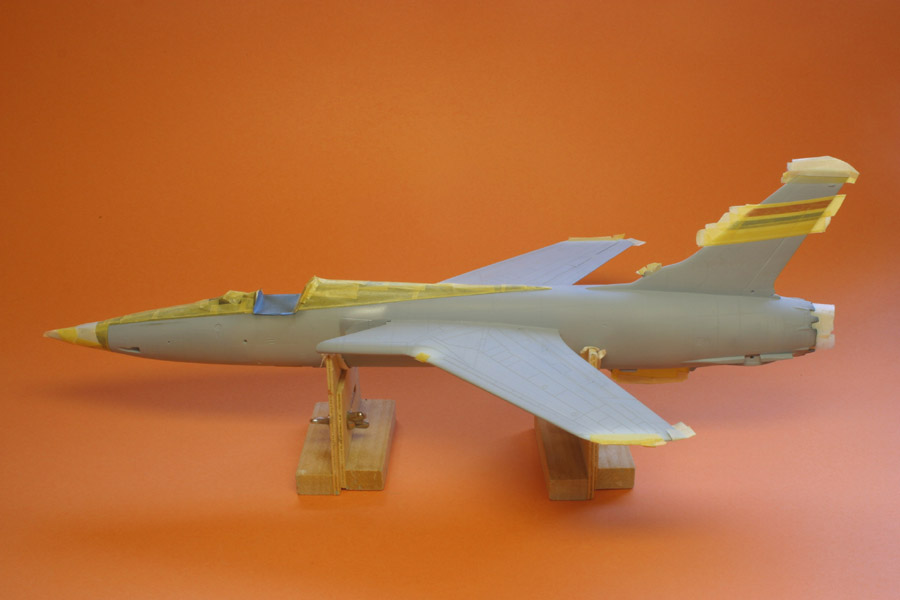
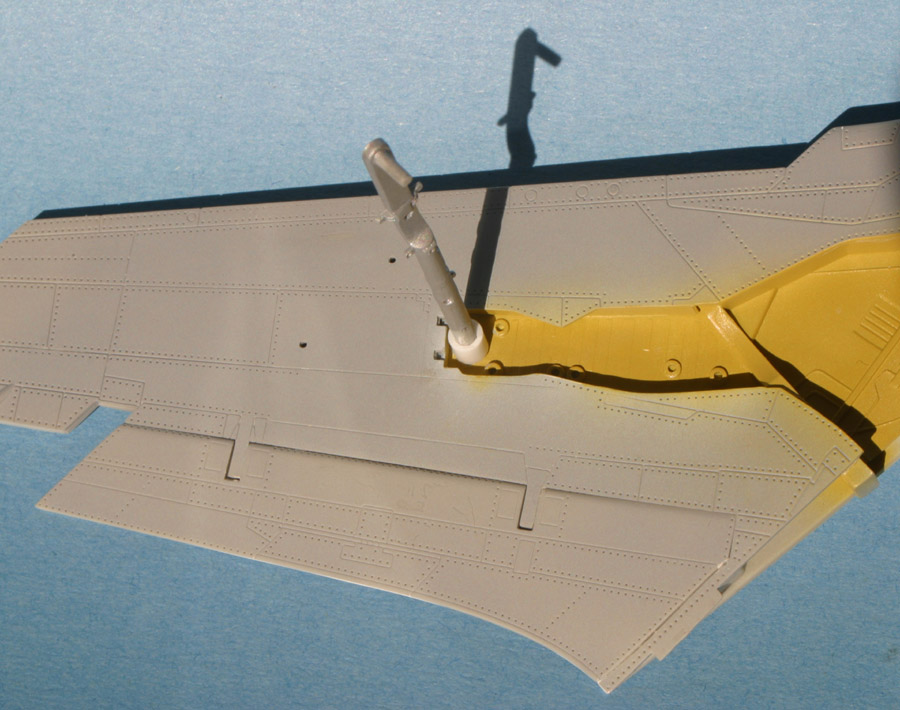
I wanted a clean aircraft, so I did no weathering except on the speed brake petals and certain vents. I applied a light wash in the wheel wells. Speaking of the wells, I was unable to pin down the color for the early 1960s period. It could have been natural metal, silver, green, or yellow. I took a wild guess and chose chromate yellow (Humbrol HU 81), since this color was used by Republic on the F-84 and F-105B wells.
Decals
I purchased Superscale Sheet 481219, which is touted as being for silver F-105Ds and to fit the Hobby Boss kit. Even though I painted my own unit markings, I wanted this sheet for the generic decals: national insignia, rescue markings, stencils, etc. Unfortunately, the Superscale sheet contains many errors and omissions. I had to dig into my decal dungeon for replacements.
None of the kit decals were used.
References
My principal references for this project were:
--Roll Call: Thud by Campbell and Hill
--Century Jets by Airtime Publishing
--Walk Around F-105 by Squadron/Signal
--F-105 in Detail & Scale by Bert Kinzey
Conclusion
Still, with enough sheer grunt I was able to get an acceptable result. I welcome the Thunderchief to my collection of Century Series jets.