Revell-Monogram's F-104C with Albatros Decals “Exotic Stars”
By Bill Glinski
 |

|
 Revell-Monogram released this kit back in 1996. The kit was collecting dust on shelf waiting for me to get up the nerve to do a natural metal finish aircraft. As luck would have it with the availability of the new ALCLAD II lacquers and the release of Albatros’s Worldwide F-104s sheet, I thought why not. I wanted a quick build kit with nice detail so I could concentrate on finishing and decaling and wanted to do it on a cheap kit so if I screwed up I wouldn’t mind the loss of a kit so much. After fondling my stack of F-104 kits I settled on the Revell-Monogram.
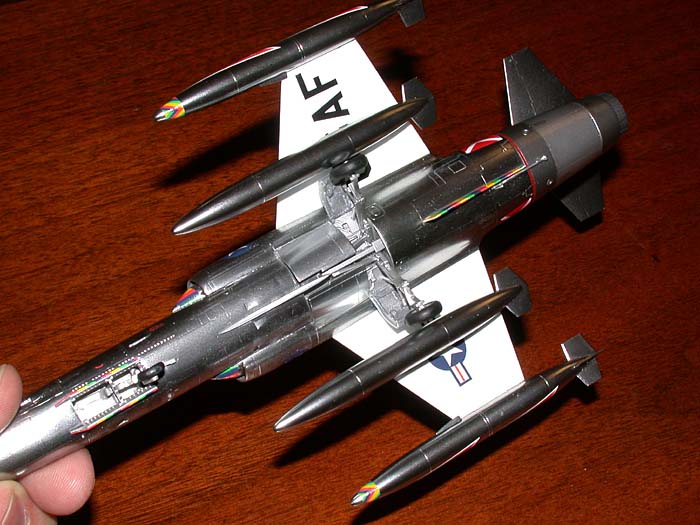 Ninety pieces molded in light gray and clear plastic with finely scribed panel lines and excellent detail throughout. Sadly, the decal sheet just makes me scream in frustration. After all the years of overly thick decals, Revell-Monogram switched to super thin Vitachrome decals and those guys can’t figure out the right shade of red and yellow! True in 1996 and true today. AAAARRRGGHH! The kit provides parts to allow the builder several options. Two sets of wheels and main gear doors are provided for the USAF and foreign versions. Six fuel tanks, four sidewinders and associated pylons allow for several configurations of stores. Clear parts include a single piece canopy, gunsight glass, navigation and landing lights.
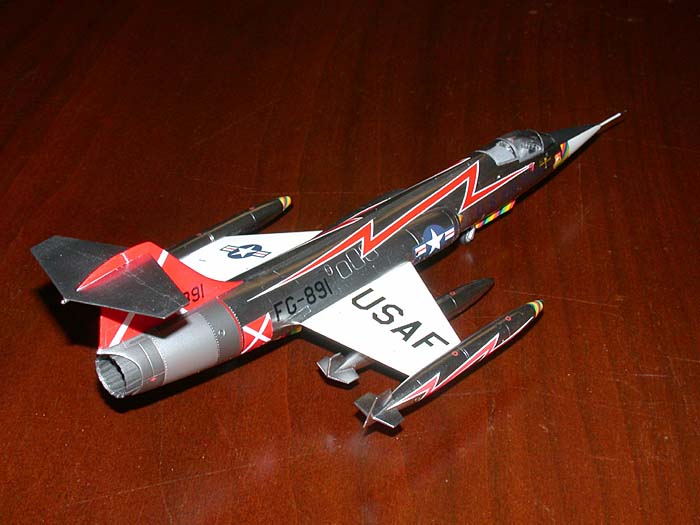 Construction is straightforward. The cockpit is nicely detailed with the instrument panel and side consoles being finely engraved. The C-2 ejection seat is in three pieces with raised belt details. I painted the cockpit light ghost gray and picked out the instrument and consoles in black, good enough since the canopy is a single piece. I installed the cockpit and nose wheel well into the forward fuselage halves. I then added lead weights to the nose cone and glued that into place. Next the gun fairing was trimmed and fit nicely into the fuselage. I left the pitot tube off for last.
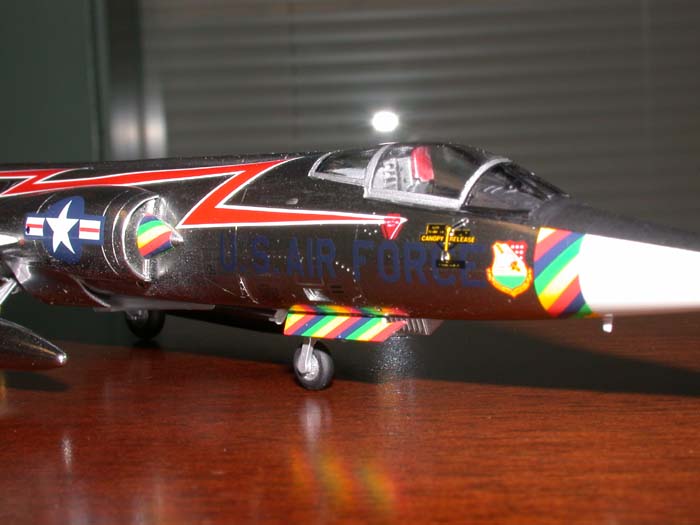 Now it came time to mate the forward and aft fuselage sections and this is where the first big problem arose. There is a slight gap between the sections, fortunately it’s at a panel line which careful sanding and dryfitting takes care of. Then there is a noticeable step from the rear to front sections, which took hours of sanding, filling and rescribing to correct. This flaw was a big disappointment; a lot of plastic was removed almost destroying the overall shape of the fuselage. Next came the intakes that are poor fitting and do a modest job of capturing the shape of the actual intakes. Again there is a noticeable step, this time from the intakes to the aft fuselage. Another several hours were spent blending the intakes to the fuselage. The wings were attached requiring a little filler to fill the wing root gap. Fuel tanks were assembled, the wing tip tanks requiring removal of 4mm of the inboard fins to model the USAF version. Landing gear doors, canopy and wing pylons were set-aside for final assembly. The instructions tell you to attach three ECM blisters (one under the nose and two aft); this is incorrect for most F-104C’s.
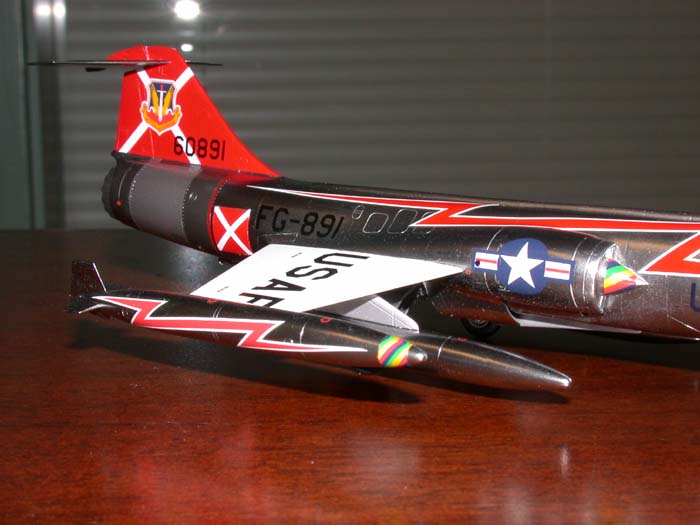 Painting and Decaling
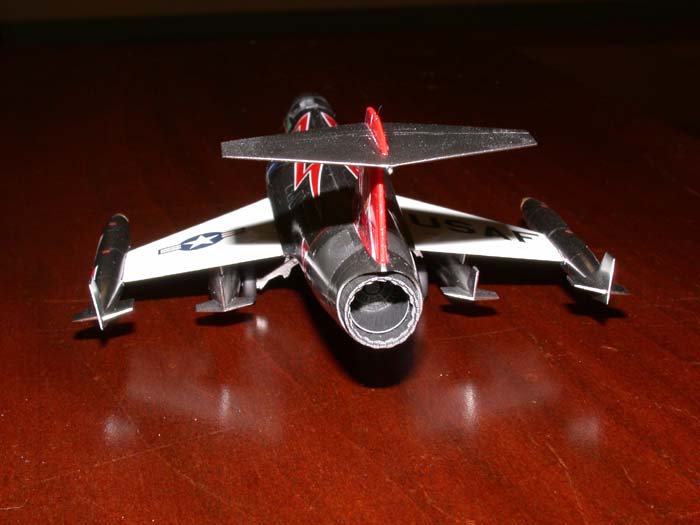 I’ve used ALCLAD II on a couple of kits already, but this is the first time I used the chrome for an entire plane. The stuff is impressive. Just follow the correct instruction for the shade of ALCLAD II used. I applied four light coats and was dazzled with the shine. Later that day I removed all the masking tape except for the cockpit area and gave the entire plane a coat of Future Floor Wax with a Badger 150 with fine tip at 12-14 psi to seal the chrome finish. The ALCLAD instructions say no sealer is necessary, but my experience with metal finishes and decals prove otherwise. I use Future because it won’t destroy the finish by biting into it. I masked off the fuselage and rudder and painted the shaded areas of the aft fuselage with Testors Metalizer steel and titanium and then sealed it with Future.
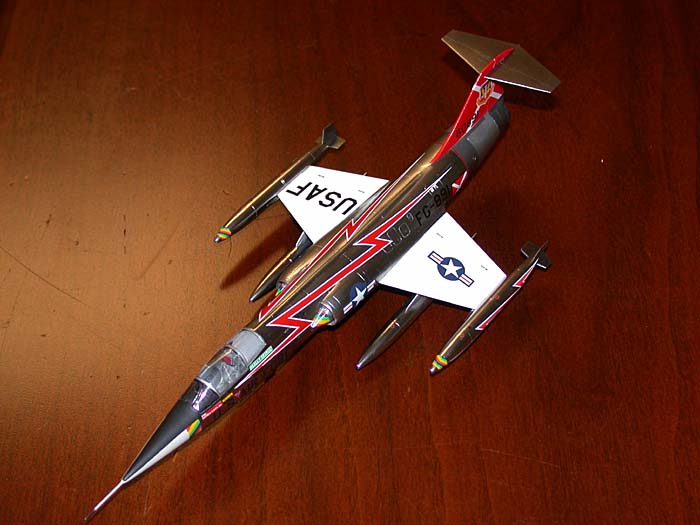
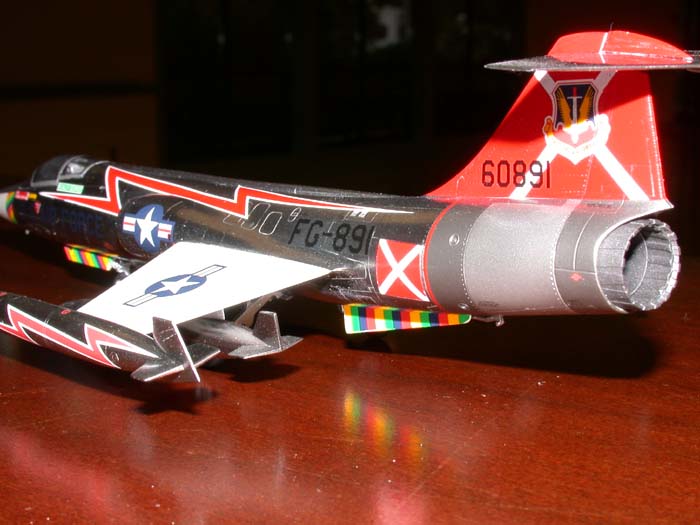 Now came the decals. I loved them and loathed them. Albatros is to be commended for giving us unique choices of F-104s. Their decals are well printed, in register and the colors are opaque. On the down side the artwork is inaccurate and the shading effect leads to confusion especially with the light grays and white, they look the same to me. I chose the popular scheme for George Lavin’s aircraft of the 479th TFW. The lightning bolts on the fuselage and wing tanks are too long. The angle of the lightning bolts for the fuselage don’t allow for correct positioning as in the artwork and in a photo of the actual aircraft. The result is that they sit too high and forward. I cut a ¼ inch from the middle to get it the right length. The fuselage Air Force logos were too large so the ones from the kit were used. The wing tank stripes were troublesome and had to be trimmed to get them to fit, as were the shock cone stripes. Thankfully the rest of the decals went on with no problems. The next day the entire plane was given several coats of clear automotive lacquer, wet sanding between coats to even out the decals.
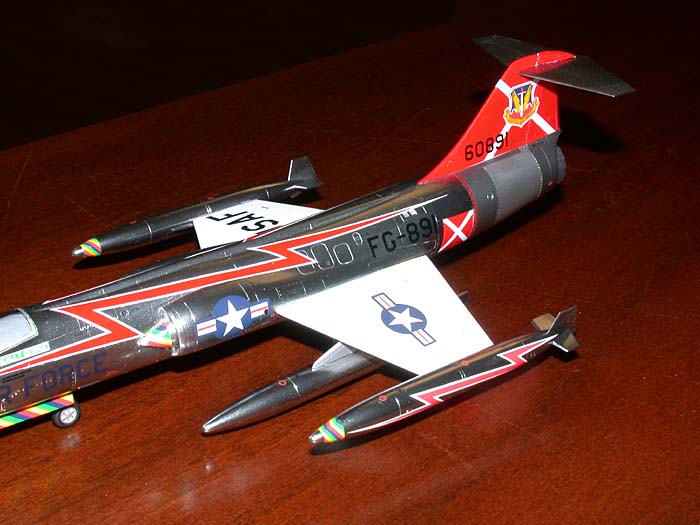 The nose was masked and the anti-glare panel painted flat black. The canopy was painted and installed. Wheels, nozzle, pylons and tanks were added, as were the antennas and pitot tube. The six navigation lights are provided as clear parts, too small to cut, trim and sand I used five-minute epoxy to make new ones. The wing tip tank and shock cone tip should be painted white and the tires should have white walls. The pitot tube should have color stripes painted on. The Albatros artwork missed those points.