Tiger Instinct! Revell 1/144 Rafale C Conversion
By Daniel Clamot
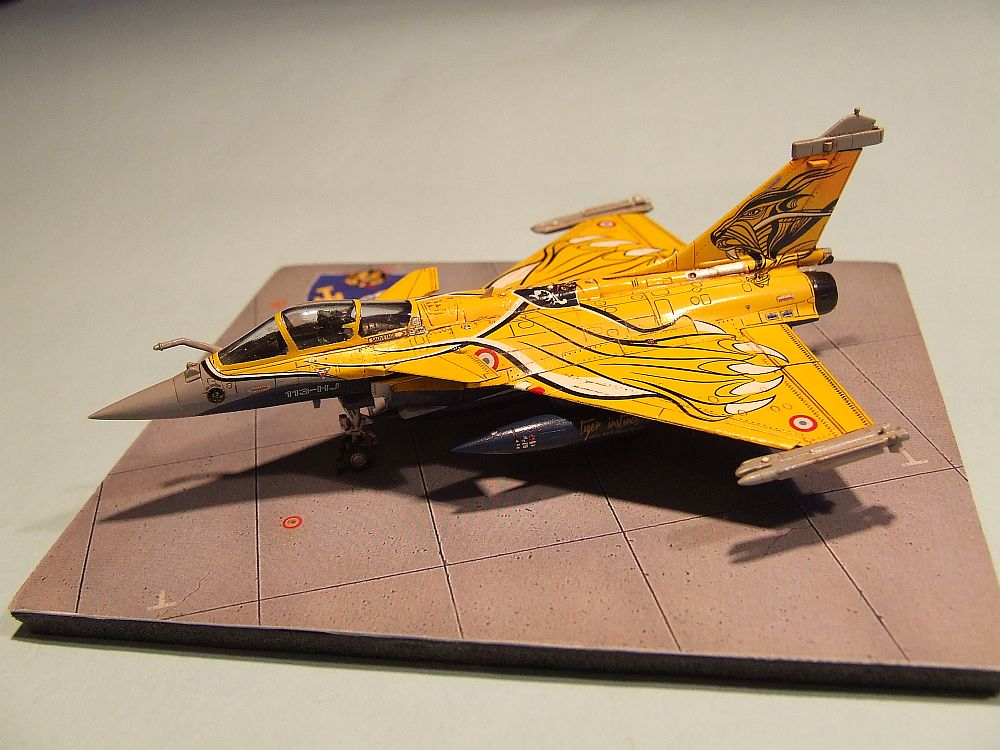
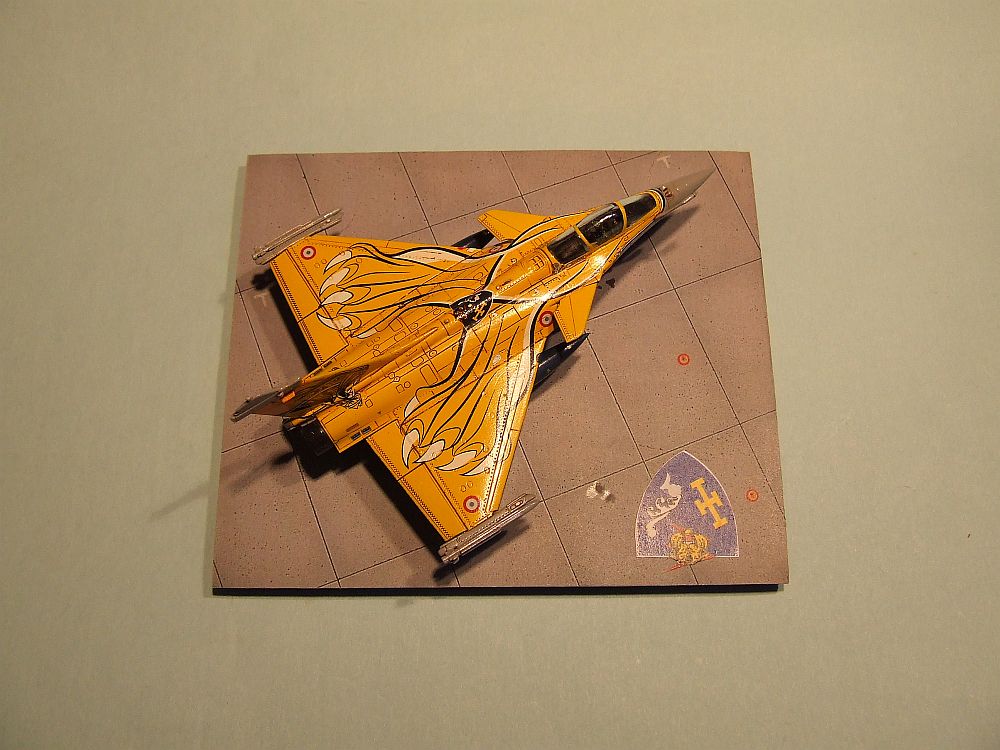
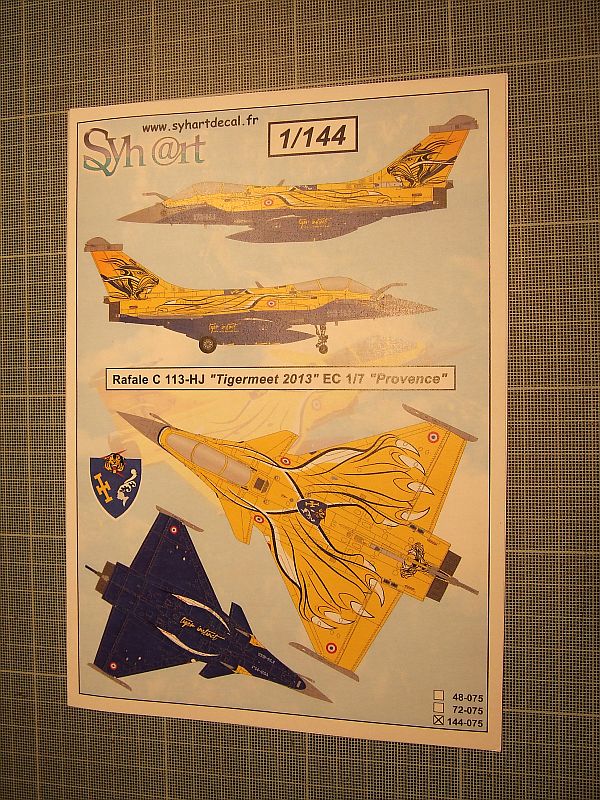
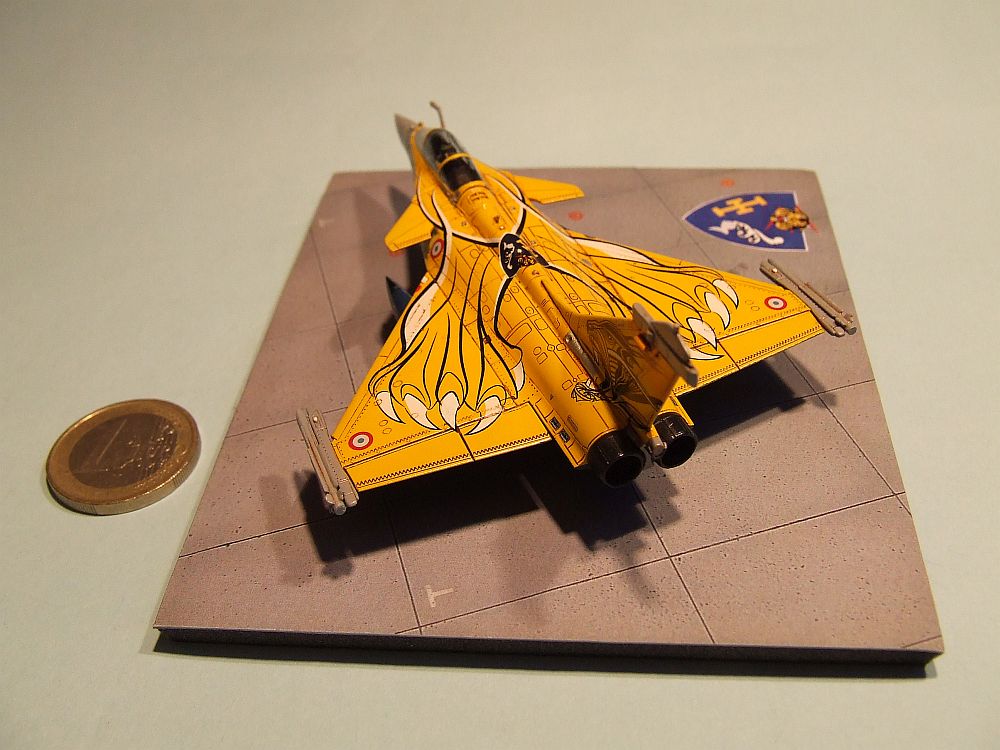
Rafale C 113-HJ « Tigermeet 2013 EC 1/7 Provence
The Rafale is one of my best favourite jet fighters. I own some kits of that aircraft (Rafale C, Rafale Marine, Rafale B) at different scales: 1/48, 1/72 & 1/144.
I've decided to begin with a Rafale C at 1/144th scale and so doing I've used the following:
-
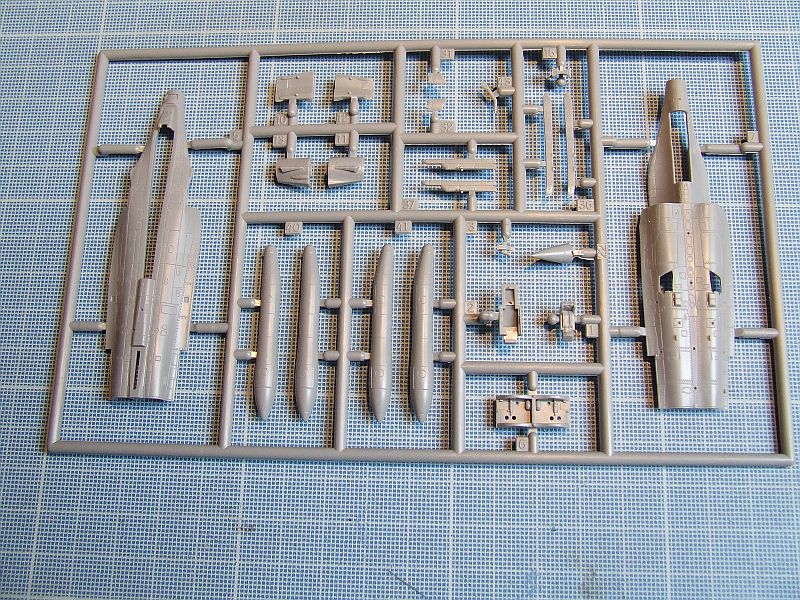
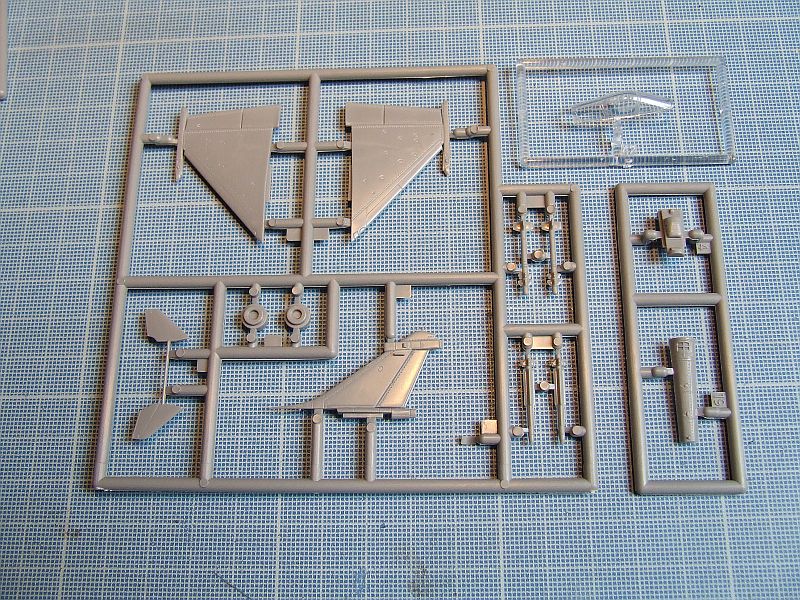
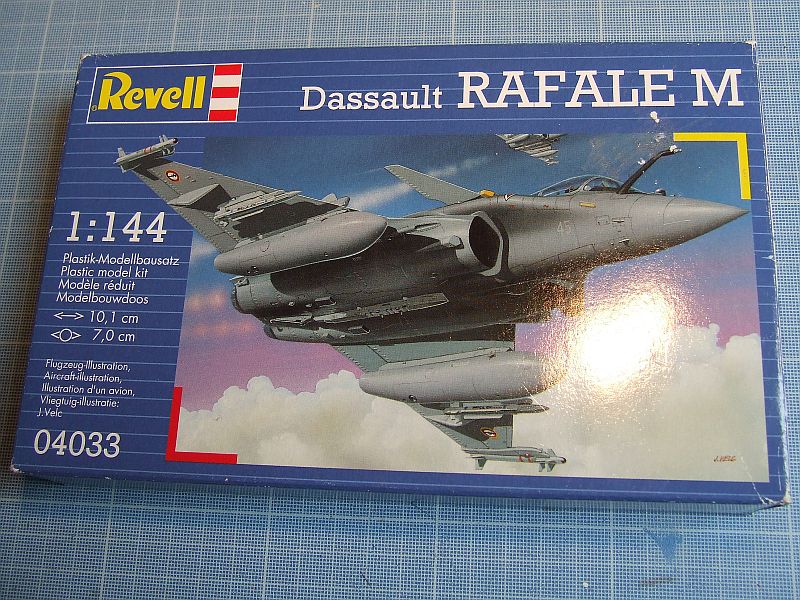
 Kit Revell from Germany of the Rafale Marine
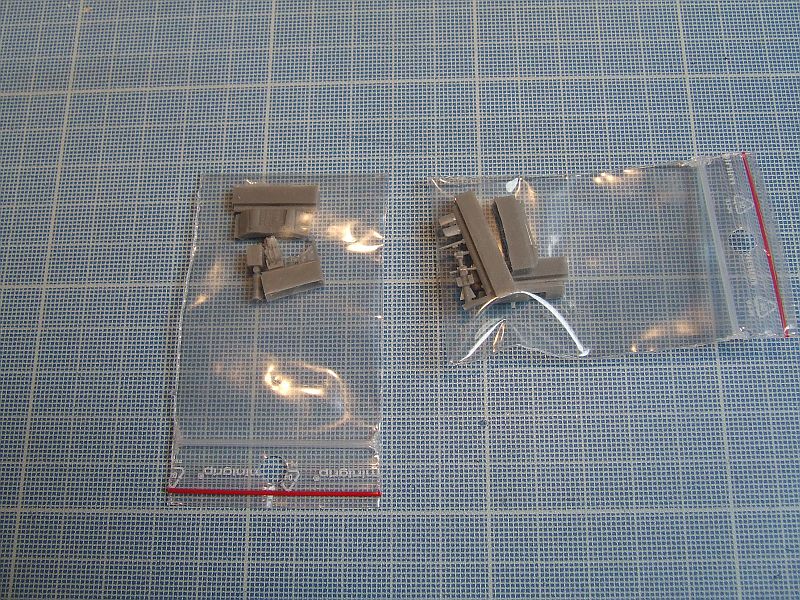
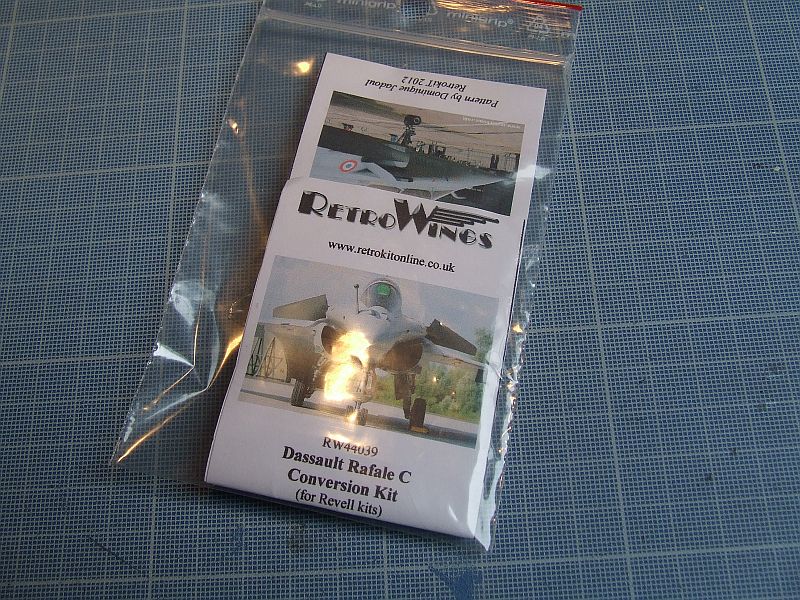
 - Conversion set for Rafale C from Retrowings (UK). The resin set contains essentially a new forward wheel bay, traps and wheel leg; new flare boxes; new extreme end of the fuselage; a detailed seat with engraved seatbelts and two joysticks for the cockpit
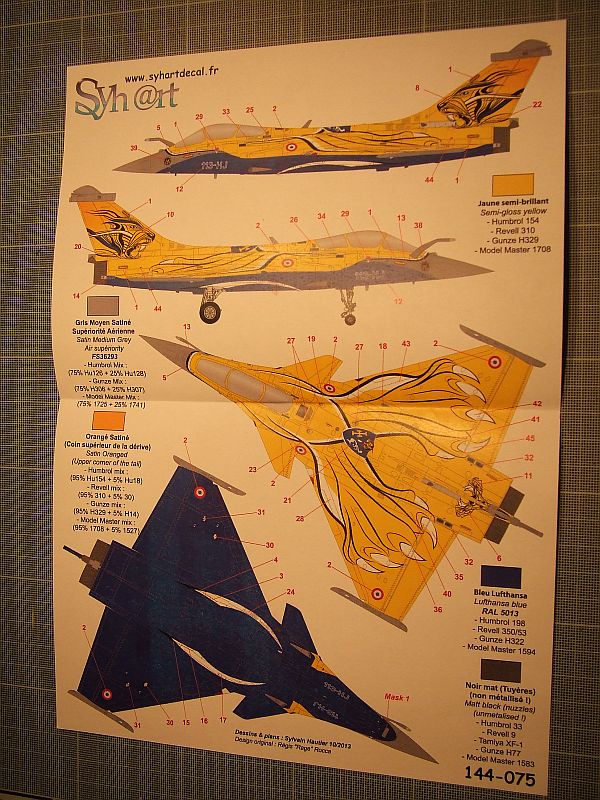
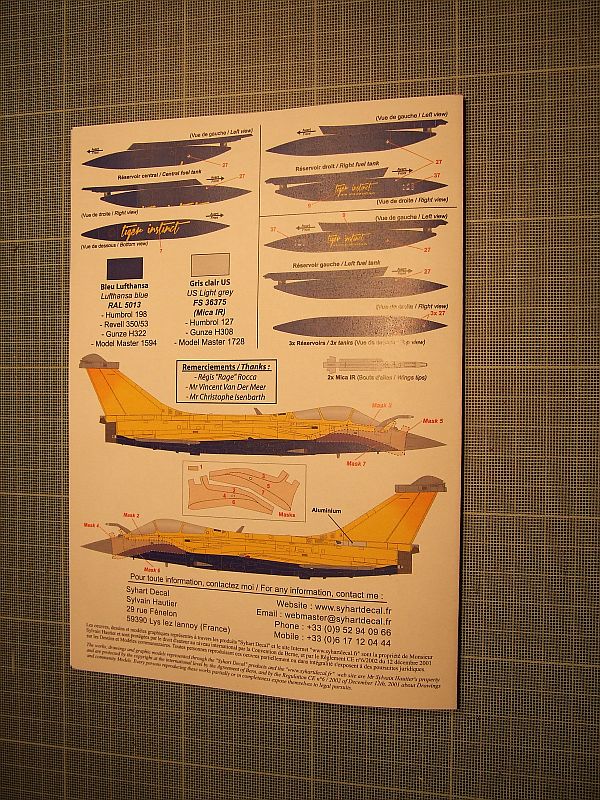
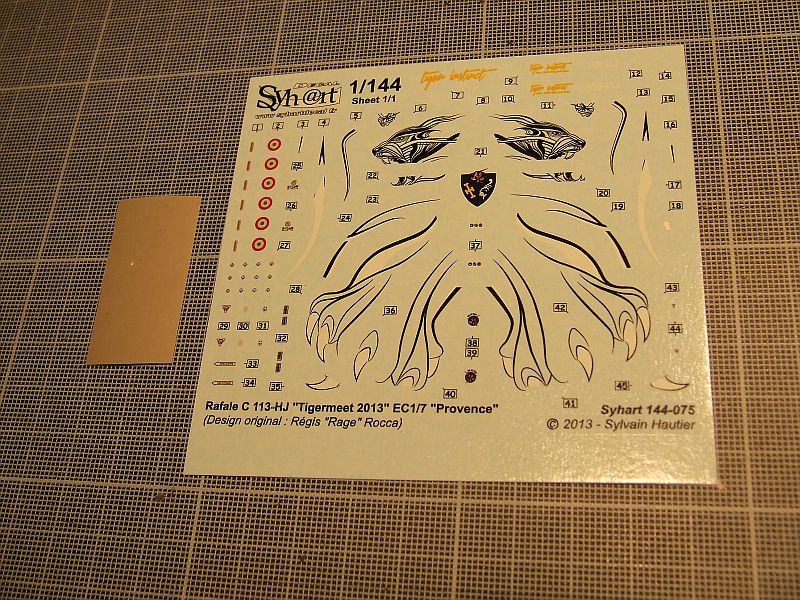
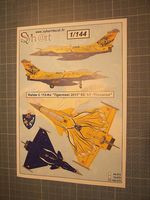
- Decals for 113-HJ "Tigermeet 2013" from Syhart Decals (France). To be noted that that decal sheet also exists at 1/72 & 1/48 scale.
- Base from Frédéric Mertès (Belgium). Such bases exist in different models and at the different scales.
- Gunze acrylic paints ref H14, H77, H306, H307, H308, H322, H329 and Abteilung 502 Wash Brown.
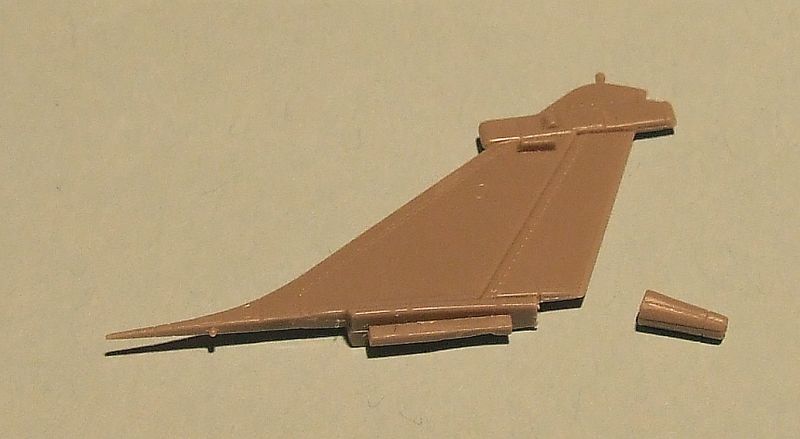
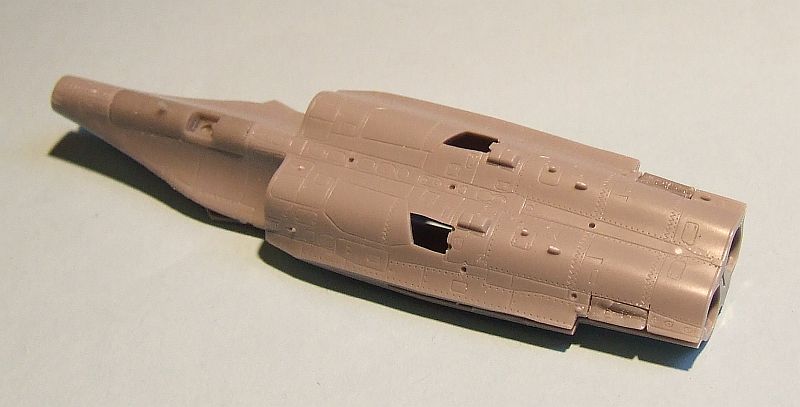
 After having removed all parts of the kit from the sprue, I have begun with the tail: the extreme end of the fuselage under the tail must be removed (with a Tiger sharp blade) and replaced by the one provided with the RetroWings set, to be conform with a Rafale C.
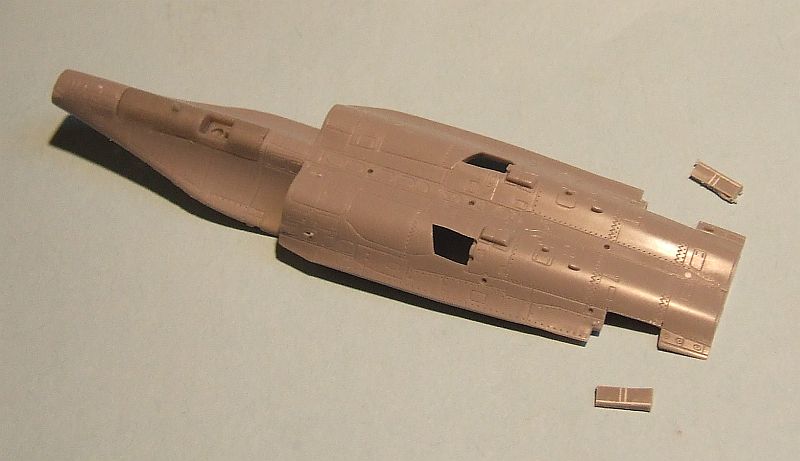
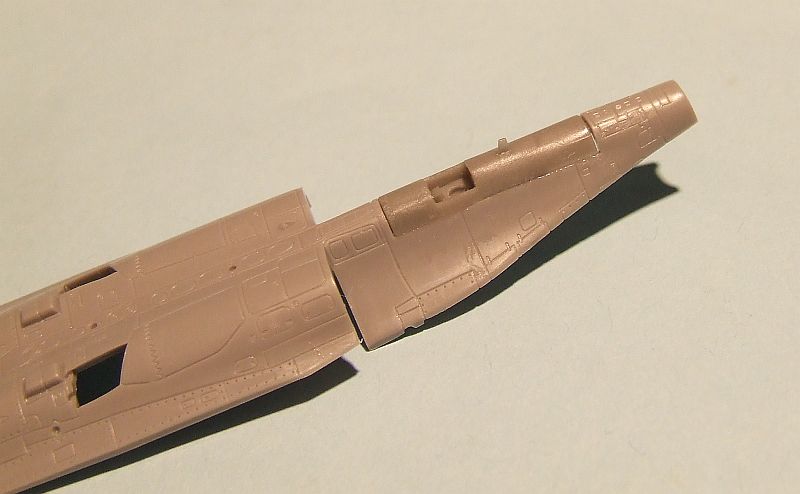 The wheel bay part of the forward wheel must also be replaced: it's an important difference between the Rafale C and the Rafale Marine. The RetroWings replacement part fits exactly on the under part of the fuselage. Flare boxes situated on the under part of the fuselage are gently removed (Tiger blade again) and replaced by the RetroWings ones.
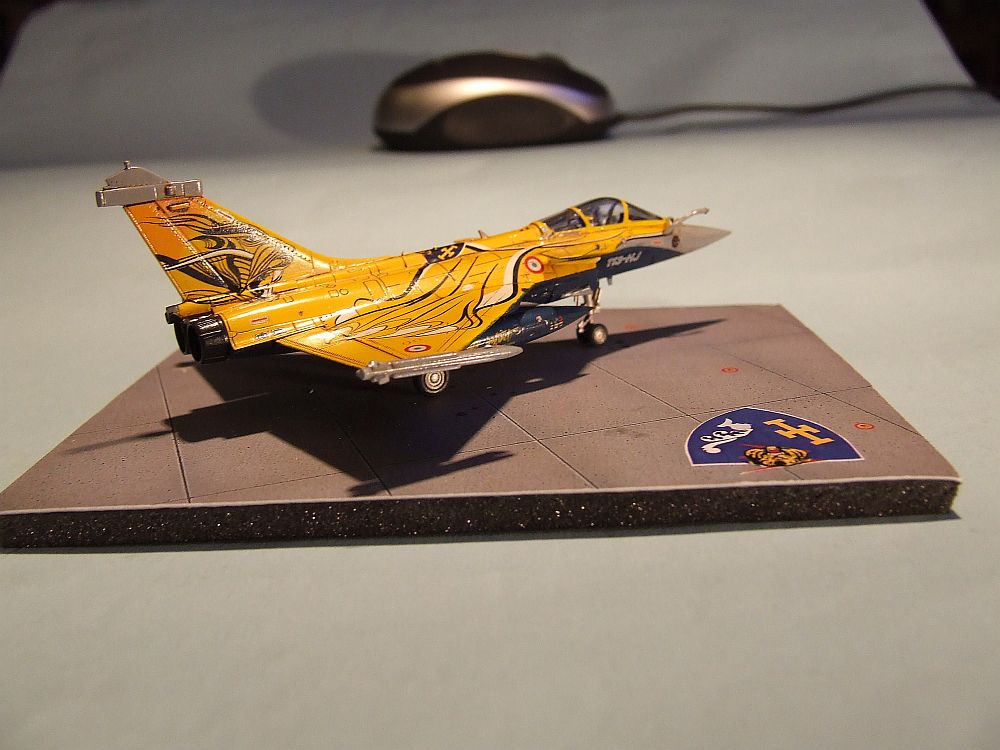
 At this moment of the building process, I realized that there was an unexpected problem: the 113-HJ Tigermeet 2013 is equipped with 1250L fuel tanks, and those fuel tanks are not provided with the Revell kit. So I checked the Trumpeter website to see the sprues of their brand new 1/144 Rafale Marine and fortunately that kit contains those fuel tanks. So I bought immediately the Trumpeter kit to use those fuel tanks on the Revell kit. Of course the Trumpeter kit will be built later as a "Marine", with other external charges. What surprised me is that those fuel tanks fitted perfectly on the Revell supports.
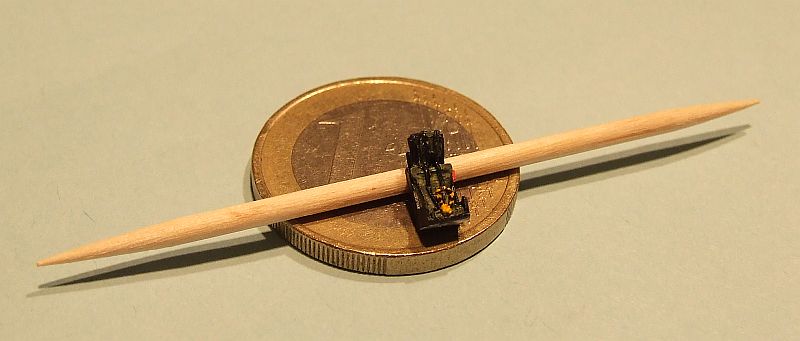 OK, back onto the building stage: the cockpit parts received a white primer then were painted: first the seat; a little jewel at that scale. Nicely done, RetroWings! To be noted that RetroWings notice has a color photo of the seat: useful. The rest of the cockpit is brushpainted then the canopy is masked. Wheel bays and traps are airbrushed, varnished and receive an oil wash. Exhausts are painted in Gunze H77 as indicated by the Syhart notice.
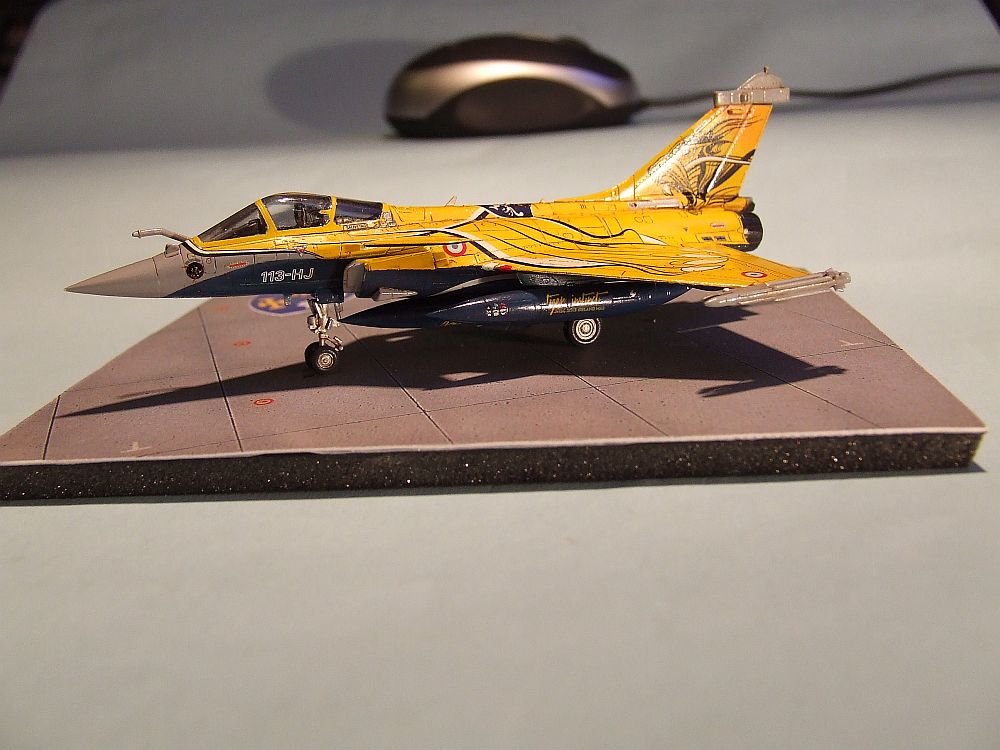
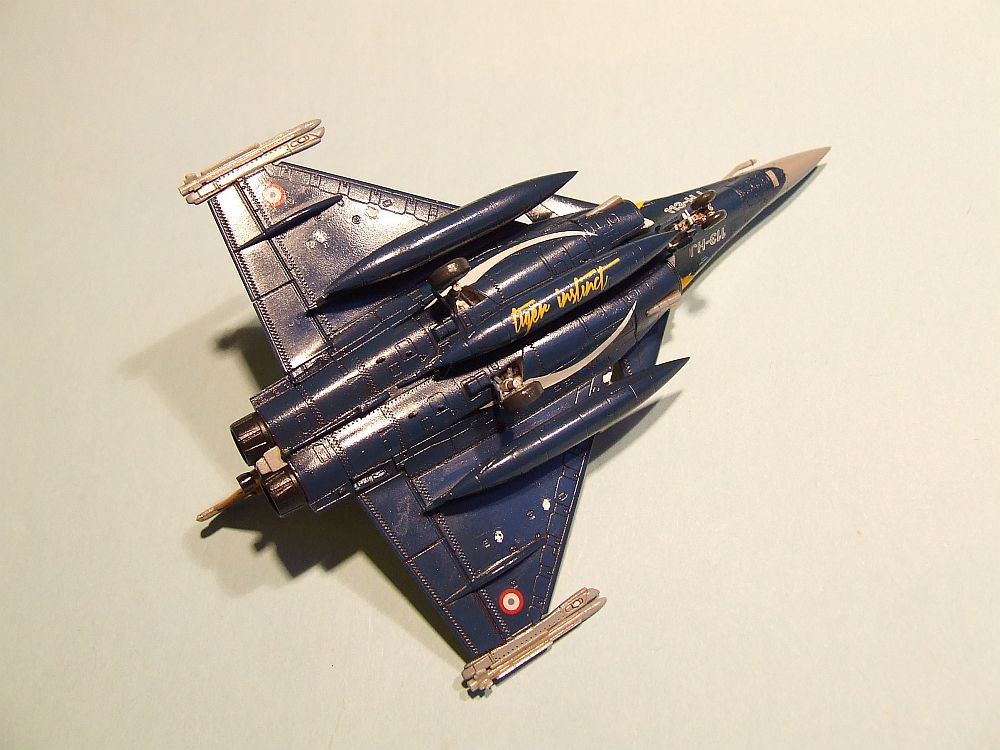
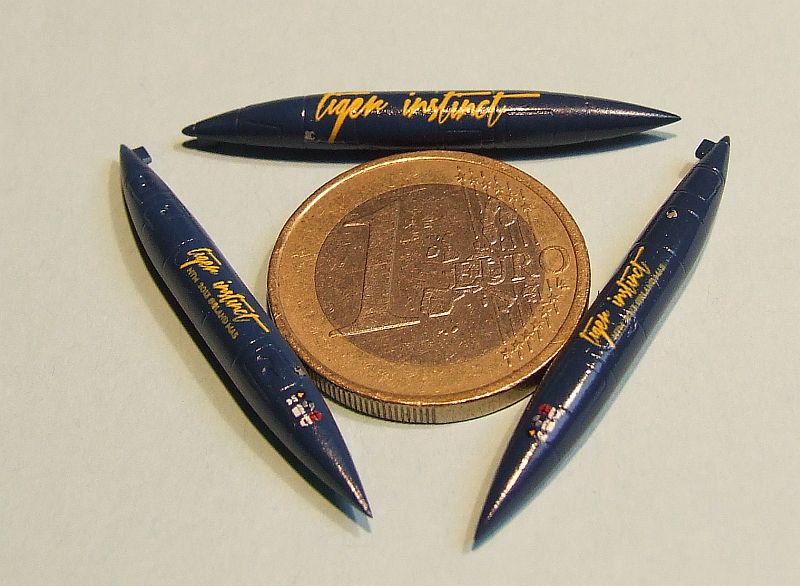
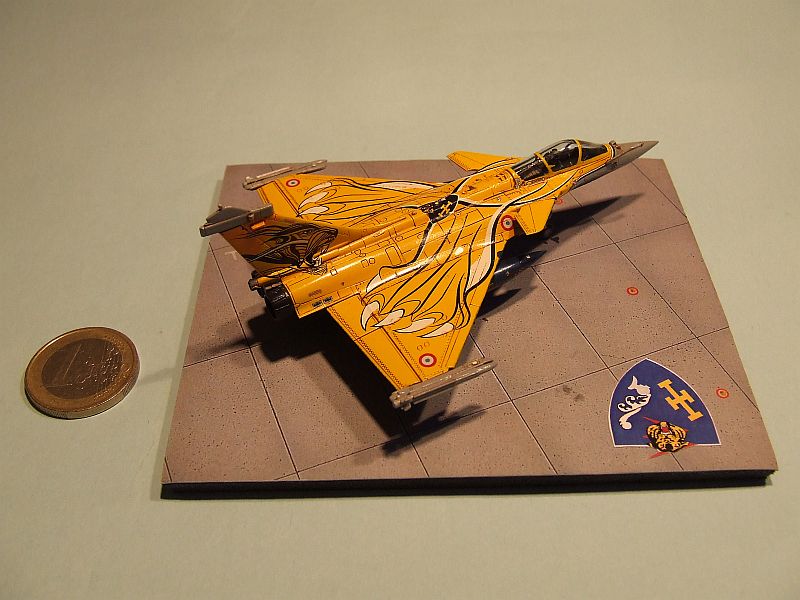
 At this time I had the envy to see what will be the effect given by the blue of the undersurfaces, so I painted the 1250L fuel tanks in H322 and placed the decals: stunning!
Back to the aircraft: the wheel bays of the main wheels are inserted in the half fuselages that are glued together; air intakes; wheels, supports of the fuel tanks are also glued. A little bit of putty will be needed then I airbrushed a white primer.
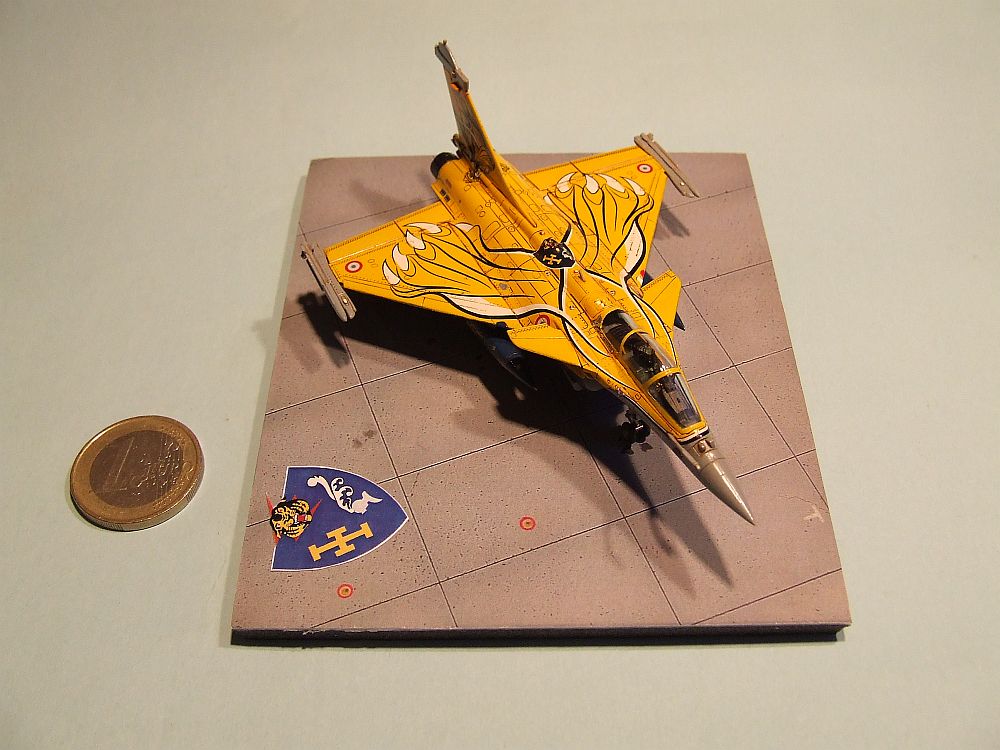 As I prefer to paint the lighter colors first, I begun with the yellow paint of the upper surfaces (Gunze H329). When dry, Tamiya masking tape is used. On the nose, I used masks provided by Syhart with the decals (useful, once again!). A fine part of the aircraft on the left side under the tail must be painted in alu. Then the undersurfaces are painted in H322. When dry, these are masked and the nose of the aircraft can be painted in grey (75% Gunze H307 + 25% Gunze H308).
Now the masks can be removed and minor corrections in the painting are made.
 OK, important stage now: the decal setting. No clear varnish needed before that because the paints are clear ones.
Syhart have very well conceived the way to present their decals and, with attention and patience, decaling stage is simply an easy stage. Decals are fastly removing from their support (only a few seconds) and are easily placed on a very wet surface. When correctly in place, you remove the water and it's done. I haven't used MicroSet but well MicroSol.
 The aircraft is varnished with Pébéo clear varnish and then I made an oil wash (Abteilung 502 Wash Brown).
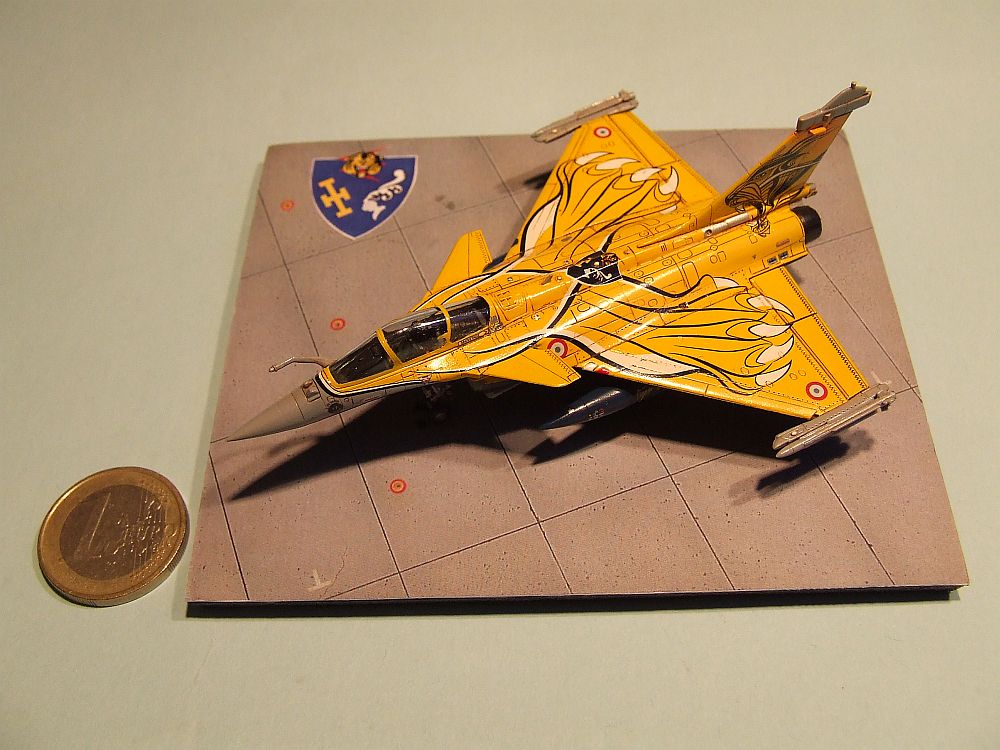
Wheel legs, wheels, wheel traps, fuel tanks are glued and the tiny Rafale can be placed on the base from Frédéric Mertès: done!
Conclusion
Very easy transformation of a Rafale Marins in Rafale C; fun build; nice decals; nice base... Impossible to ask for more...
References
Frédéric Mertès (NB : don't be afraid by the home page : Frédéric is first a photograph then a model maker...)