
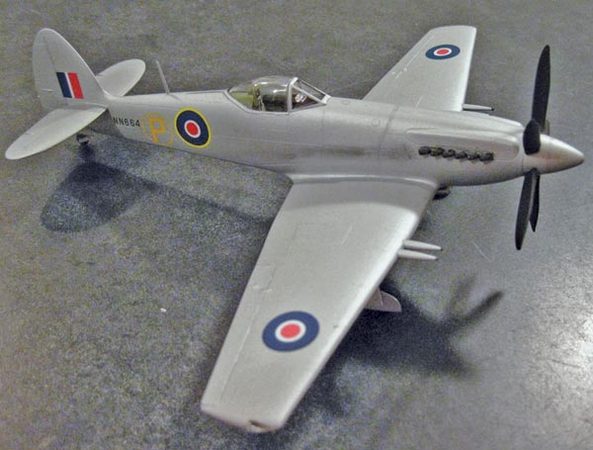
Trumpeter 1/48 Spiteful F.14
By Robert Hill
Overview
The Spiteful was an attempt by Supermarine to overcome some aerodynamic limitations in the original Spitfire wing. While the new wing allowed a Spitfire-fuselaged prototype to go faster, it was found to have unacceptable low speed characteristics. After a new fuselage was designed and mated with the new wing, the airplane performed satisfactorily and was ordered by the RAF and Royal Navy as a hedge against the delay of the new jet fighters just starting to come on line. In the end the jets worked out, and the Spiteful and its Royal Navy stablemate the Seafang (also kitted by Trumpeter) were no longer needed and were retired. In a twist of fate Supermarine used the Spiteful's wings on their first jet design, the Attacker.
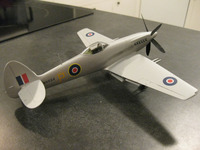
I had built my share of Spitfires in various scales over the years and since there weren't too many photos of the real Spiteful I decided to keep the kit as close to out-of-the-box as possible.
The Build
One thing this model has (and I've noticed this on other Trumpeter kits) is the annoying sprue gates that extend down onto many of the mating surfaces. What this means is that you can't just nip the parts off the sprue. You have to then go back and remove the gates via nipping and sanding in order to get a good fit. This was particularly bad on the wing leading and trailing edges and the horizontal stabilizers. Oddly (thankfully?) this problem was only on the larger parts including the fuselage halves.
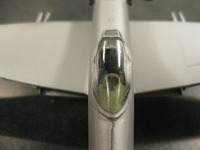
Once I finished painting the cockpit the whole assembly is aligned with two slots (vertical/horizontal) in one half of the fuselage, then placed into the other half, pressing them together and then applying glue to the fuselage join lines. I chose to make the propeller removable and didn't capture the prop shaft into the fuselage per the instructions.
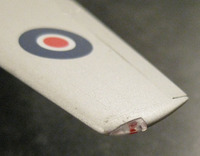
The wings were next and after removing the sprue gates was able to get a good leading and trailing edge. Before I joined the top and bottom halves I glued the main gear wells into the lower wings. The gear wells are boxed in with separate parts that fit very well. These snapped in without too much difficulty. The left and right tops were then glued to the lower portion. I found that the wing leading and trailing edges may need filler and sanding.
Next up I attached the stabilizers and again they joined to the fuselage without the need to use filler. My model was finally looking like an airplane.
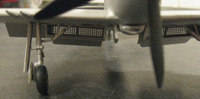
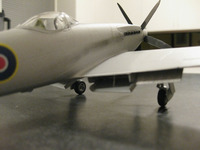
The main landing gear is comprised of 6 pieces (not including doors) and aligned perfectly. The tailwheel assembly has a separate wheel/tire that fits into a yoke and I left that off until after painting was complete.
|
|
Conclusion
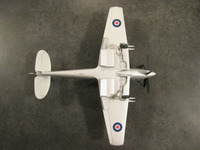
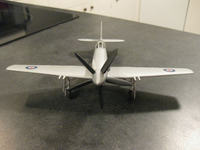
Despite some small problems with the kit I enjoyed this build. While not perfect Trumpeter has filled a big void and this model should be a part of every 1/48 scale Spitfire or Supermarine collectors inventory. I highly recommend this model.