
A Cold Iskra: The Miniwing 1/144 PZL TS-11
By Matt Bittner
Introduction
There are times in one's modeling life where things don't go as planned. This has happened to me a number of times and again, this time with this kit. It's not really a fault of the kit itself, just ham-handedness and clumsiness that contributes to a "failing". But even then, "make lemonade out of lemons" and finish it in a way that while maybe not good for a contest, will still look nice siting on your shelf. So this time, with some judicious use of "scale snow" I was able to display my Iskra in a way that will hopefully make people, at least, not dislike the finished product.
Construction
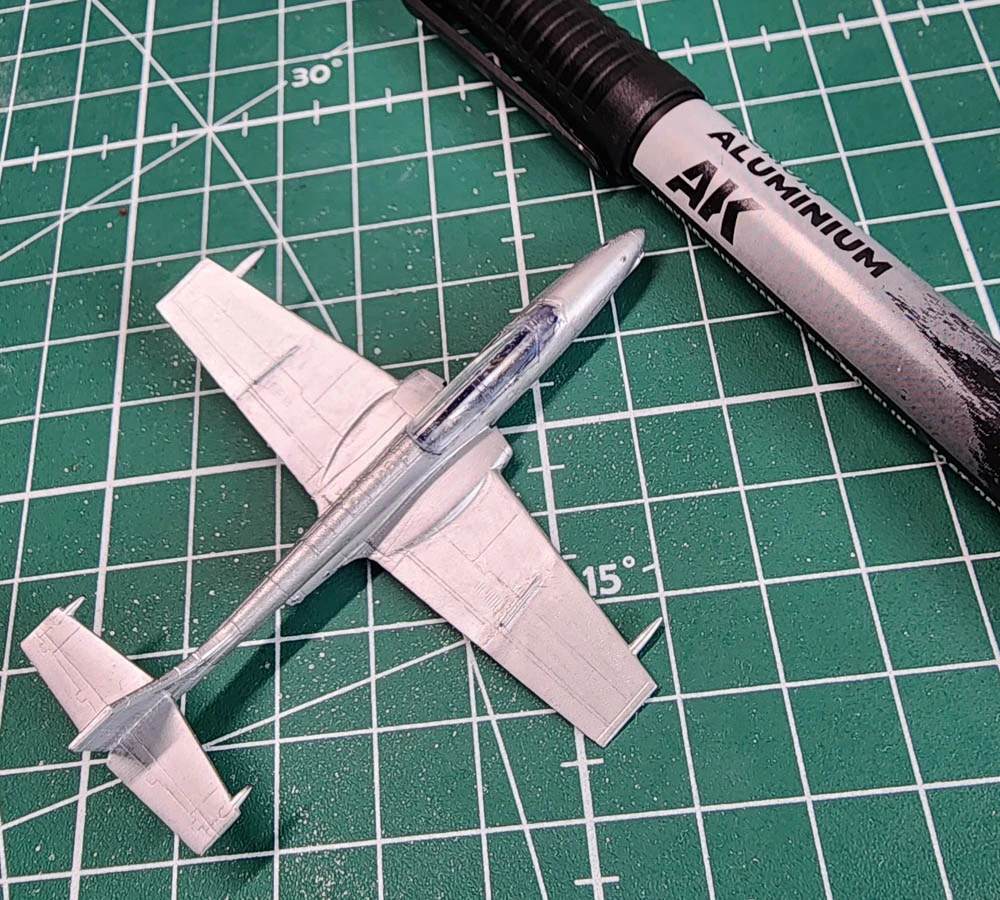
You can see in my First Look on the Miniwing 1/144 PZL TS-11 "Iskra" how the kit is broken out and just know there aren't many parts to the kit. The majority of the model is a single print so your time will be spent cleaning up the support contacts as well as the final finish. Originally I had hoped that I could get away without sanding the print lines away from the main surfaces; it just wasn't going to be. So before I decided on how this was going to be finally displayed I decided to sand the flying surfaces to remove those striations, which also removed all the paint I applied to those surfaces. So after a few rounds of sanding just the flying surfaces it was time again to paint those. This time I decided to try some of the metailic-paint markers companies have released, namely AK. I decided to try them on an unprimed surface but now know I will not do that again. I will prime before any type of "painting" from here on out, especially those models that require a "silver-type" finish. So after playing around with the AK markers, along with a little bit of brushing on Vallejo's Metal Colors I acquired a surface I thought was decent enough. Then I glued on the windscreen.
 |
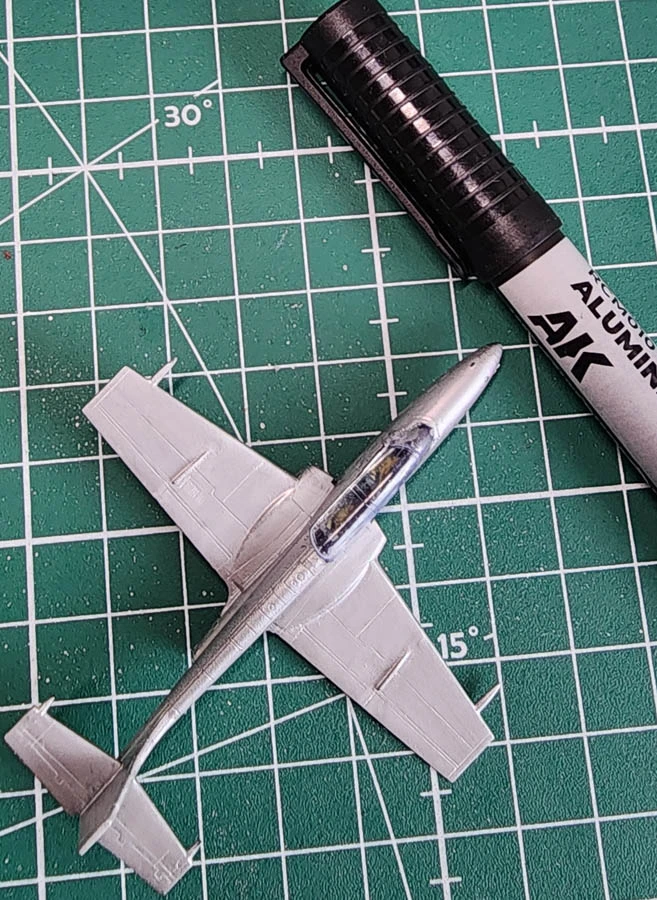 |
Know that the clear parts are also 3D printed which means you'll need a cement compatible with 3D resin. I opted for CA but didn't dip the clear parts in any type of material before, for example what now passes for Future. So yeah, what I thought was exterior blemishes from gluing down the windscreen were actually on the inside of the windscreen, and I didn't want to remove it to start over. That's when I came up with the idea of applying "snow" over the tops of the airframe. This means that all the work I did with the markers was moot, but at least it gave me experience to how to proceed with them in the future. I glued the canopy on, but again it needs help to get it to fit, and mine had a gap on the port side where it meets the fuselage even after I was able to get all other edges in place. Another reason why my final decision was a good one.
 |
 |
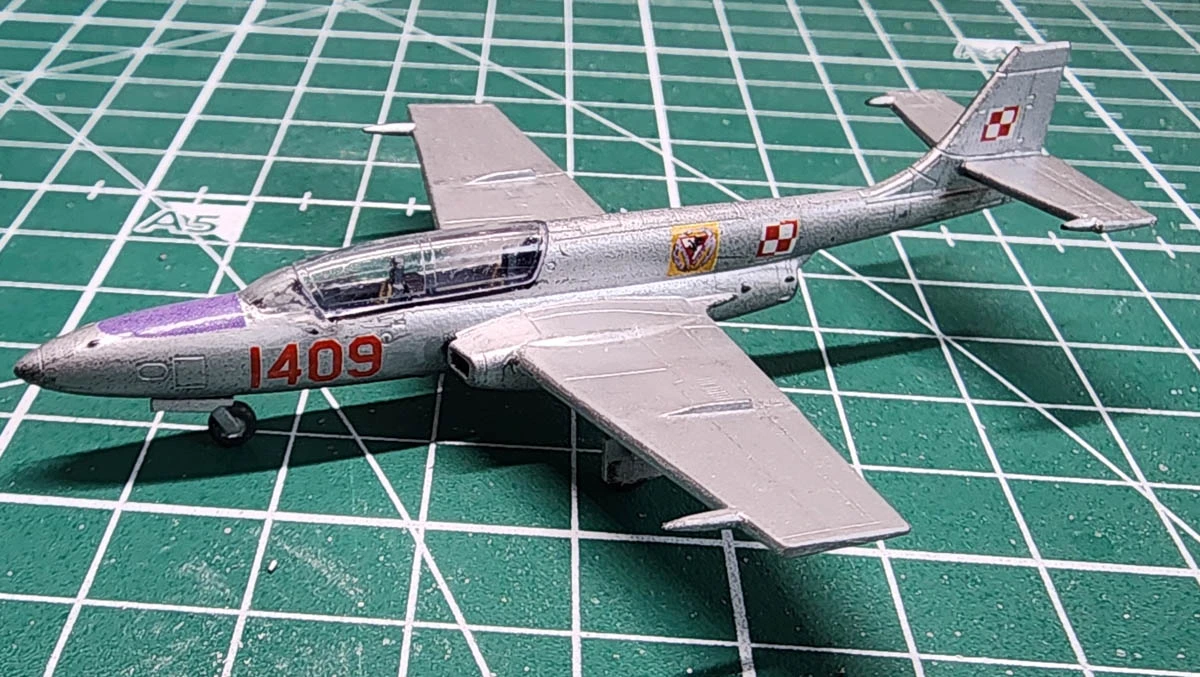
The decals went down fine with out an issue and I mainly used just Micro Sol. One item to be aware of: Miniwing has printed extremely thin and small "items" that stick out of the bumps on the leading edges of the flying surfaces, at the tips. Plus they printed a gun coming out of the bottom where a gun should be. With all of my handling and sanding, unfortunately all of those broke away. Ah well.
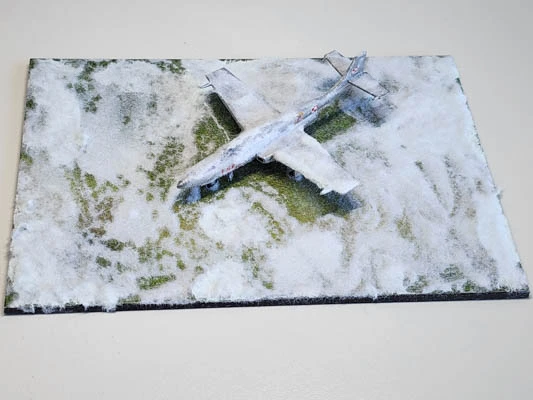
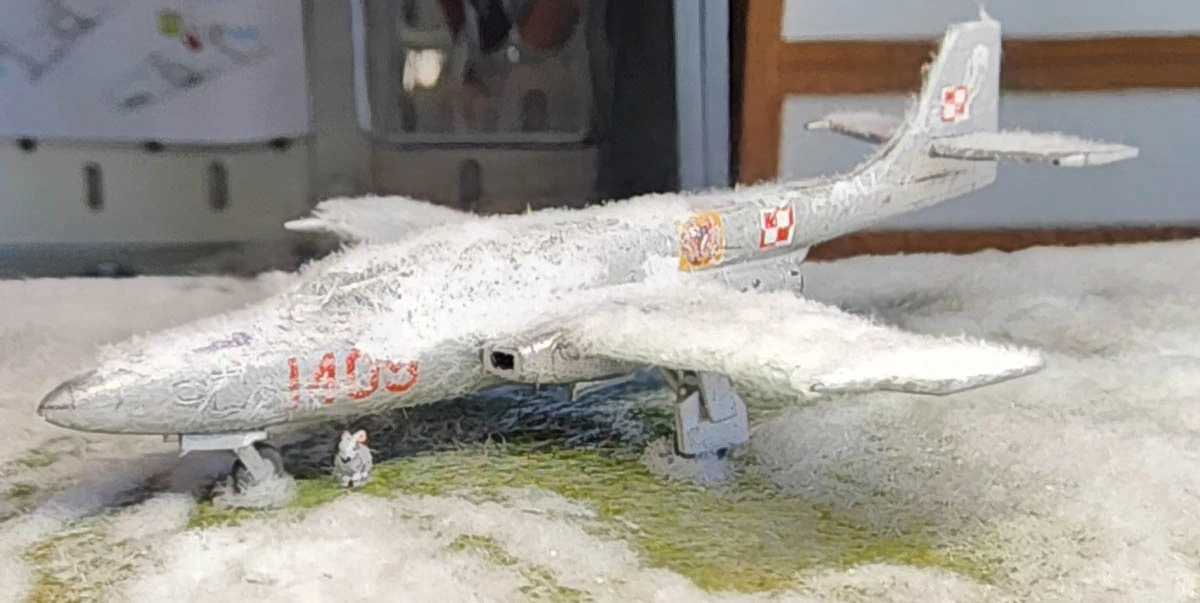
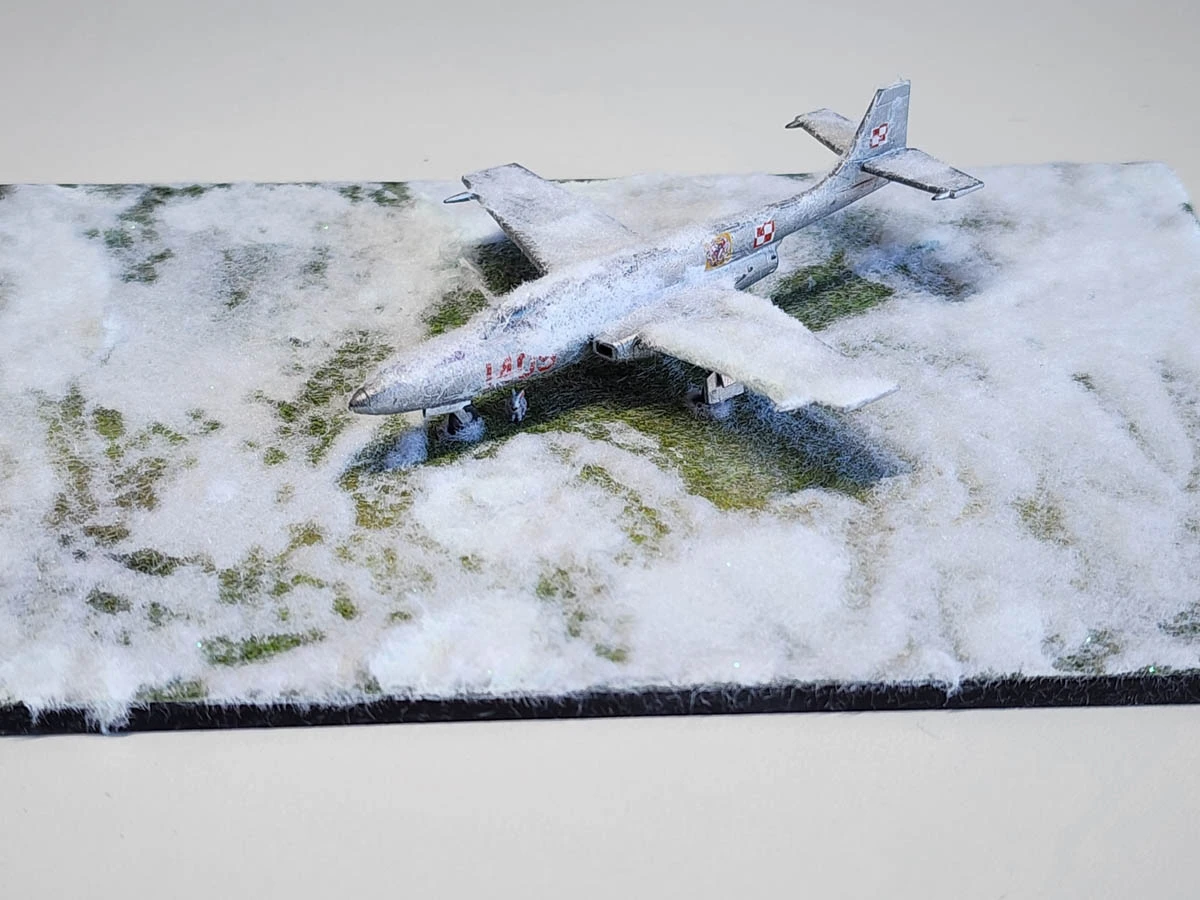
At The End
So when thinking of the final display I was wondering - since a lot of my modeling materials are still in the US - what I was going to use for a base. That's when I remembered Coastal Display Bases out of the UK and chose one that looked like "grass". That's because some of the photos I was seeing of actual Iskras "lying around" were in parks and other places they could be "gate guards" or the like. I Blue Tacked the Iskra to the base and then using the Noch "snow system" I applied the snow both to the base and the model until I was happy with the result. Once I had it looking good, I waited for the "snow glue" to dry then popped off the Iskra so I could glue on the N gauge Noch rabbit, after painting it to look more like a snowy bunny and glued it where it would be under the aircraft. Then I glued the aircraft back onto the base and I have a finished, cold Iskra on my shelf.
 |
 |
Conclusion
Don't take my ham-handed fistedness to be an indicator of the Miniwing kit. Aside from the print line issues on the flying surfaces, it is a truly nice kit and will build relatively quickly in any other person's hand.
My thanks definitely go to Minwing for supplying the review model. You can buy the kit via their e-shop.